There comes a day in every amateur mechanic’s life when it’s time to step up to the next level. For many of us, this means a certain greasy rite of passage, something beyond a bolt-on modification or alternator replacement. That something is a ground-up engine rebuild.
Cranking over an engine you built yourself for the first time is a moment that separates the dabblers from the serious home tinkerers. If you’ve never built an engine before, it can seem like an almost impossible task. Lucky for most of us, it’s not.
It is a job that requires a careful eye for detail and a strong ability to follow directions. Rebuilding an engine may not be hard work, but it is precise work. Every part that goes into your engine has to be mated squarely with the others. The clearances will be less than a few thousandths of an inch, so there isn’t much room for sloppiness or shortcuts.
There are a few lessons we’ve learned through the years when it comes to going elbow-deep into an engine’s guts. Doing a full tear-down and rebuild of a modern engine is not as difficult as it sounds, but keeping these points in mind will help the job go smoothly.
Plan ahead
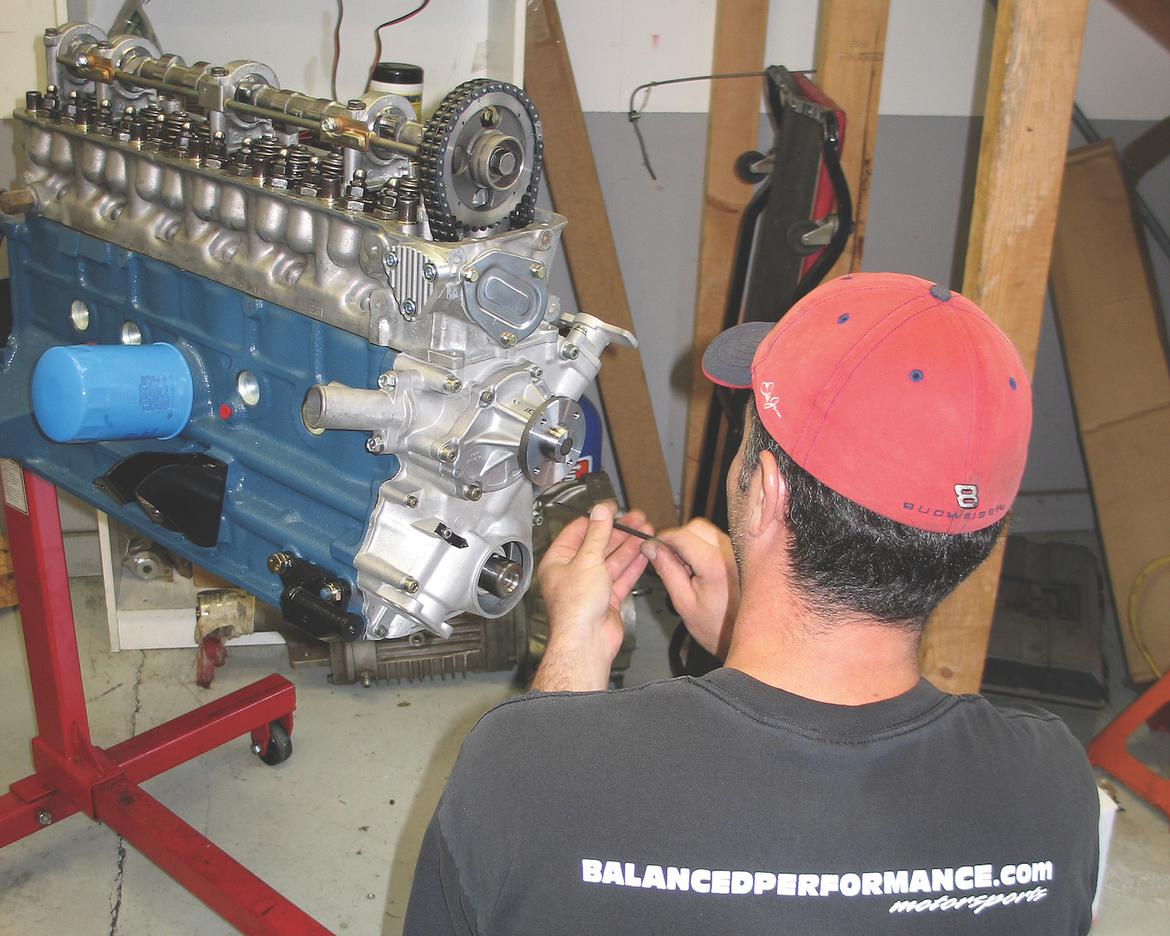
Photography Credit: Kim Schroeder
Rebuilding an engine may not be difficult, but you will need a good selection of tools and supplies before you start. If you’re an experienced home mechanic, you probably have most of the necessary hand tools already. However, some more specialized tools will come in handy: a quality micrometer or two—metric or standard depending on the engine you’re rebuilding—and an accurate torque wrench. A first-rate straightedge is a useful item, as are expanding bore gauges.
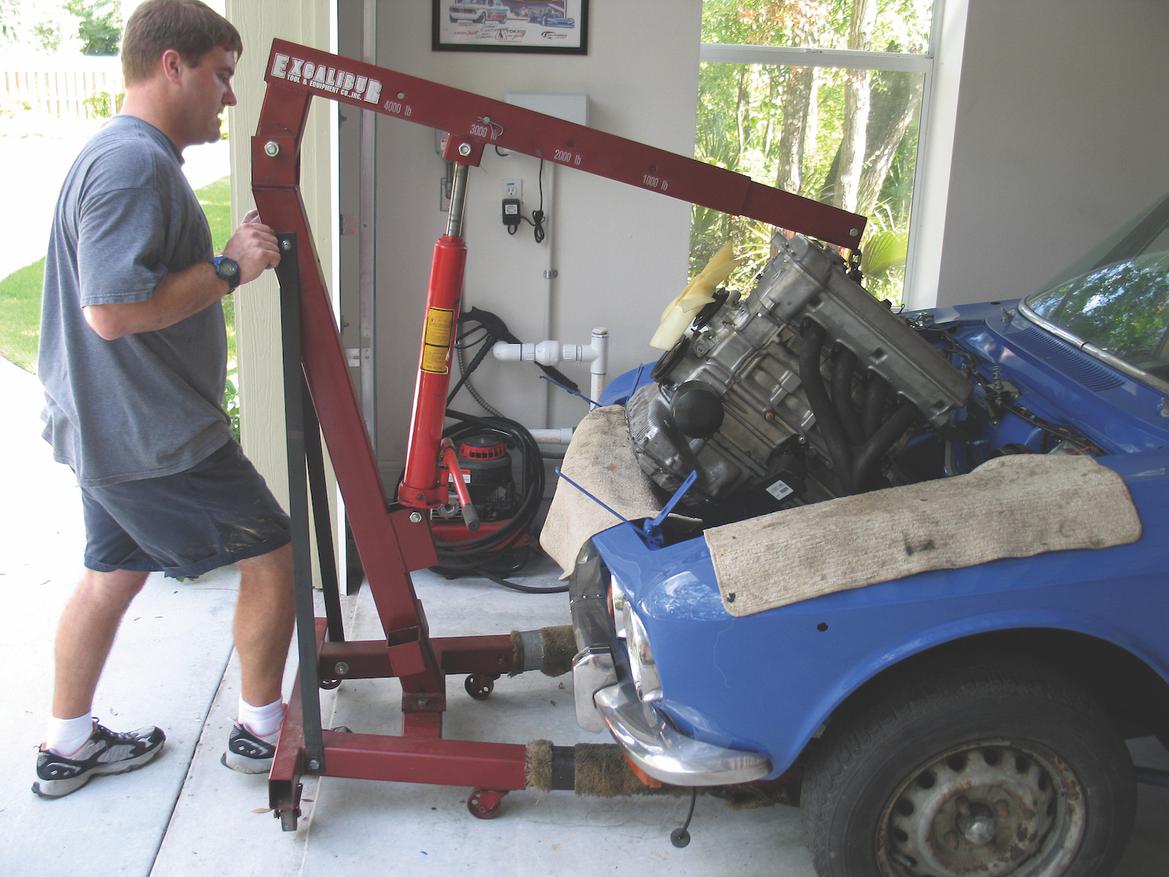
You’ll also need a place to work. You can build an engine in the living room and install it out by the curb, but that certainly isn’t the best way to go about it. A garage is best. Don’t have one? See if you can borrow or rent one. It will make your life much better.
In addition to a proper workspace, you will also need to rent or borrow an engine hoist to pull and install the engine. Once the engine is out of its bay, an engine stand will hold it at a working height. Engine stands are cheap enough that buying one shouldn’t rob you of your project budget.
Beyond that, you’ll need basic hand tools and a clean surface to lay out freshly machined and purchased parts. As for supplies, get used to wielding plenty of blue shop towels, carb cleaner, and cleaning solvent. Low-VOC (Volatile Organic Compound) paint thinner, while not as cheap as “real” solvent, is easier to acquire in many areas.
Once you’ve put together your parts list, check around and see if you can order them all at the same time. Most suppliers will give you a discount when placing a large order, but if not, at least you’ll save on shipping.
Buy a complete gasket and seal kit even if you think you won’t need the entire thing—it’s better to have extra parts than to be short one critical seal. And on the subject of seals, try to buy OEM if at all possible, unless you have a good reason for going with aftermarket. OEM seals and gaskets are almost always better quality than what you can order from the local chain parts store, and if you shop well they won’t cost much more, either.
Finally, if it’s a race engine, don’t forget to consult the almighty rule book. Do you keep the stock cams? How much cylinder head work will you do? Decisions like these will be guided by your rules.
Don't build a race engine for a street car
Photography Credit: Antonio Alvendia
As cool as it sounds when you tell your buddies that you have a full race engine under the hood of your daily driver, it’s not cool at all to drive. It will leave you worrying about pinging, poor cold-weather performance and hard starting.
Race cars are much more forgiving than street cars—nobody cares if a race engine has no real power under 3000 rpm, for example. Race engines are set up completely differently from street engines: they have looser bearing and piston clearances, higher compression, lighter and more expensive materials, etc.
Big ports and lots of expensive head machining will probably work fine on the street, especially if we’re talking about a modern fuel-injected engine. High compression will be much harder to tune around and live with, especially in 91-octane states like California.
This obviously means that you need to buy different parts and order different machine work for each type of engine. It doesn’t pay to be a bench racer. At first you’ll be jazzed at the extra power of your high-strung engine, but after living with high compression and poor low-speed performance for a couple of months, you’re almost guaranteed to regret being overly aggressive. Autocross doesn’t usually count as race use, in case you’re wondering, since engines tend to cover a pretty big rpm spread during a run.
The biggest difference between parts for race and street engines surround the camshafts. Race engines use much more aggressive cams. It’s hard to make generalizations about cams because each engine has its own needs, but there are some rules of thumb.
First, the bigger the engine, the bigger the cam you can run without compromise. If you’re stroking or boring an engine significantly larger than stock—like taking a 2.0-liter Mitsubishi 4G63T to 2.3 liters with a 4G64 crank—then you can safely run a bigger cam than stock. In fact, you should run a bigger cam than stock in order to get more air into the now larger cylinders at high speed.
Sometimes a bigger cam can come from another engine that’s in the same family. Subaru engine builders stepping up from 2.0 to 2.5 liters usually use the cams or even the entire heads from the U.S.- or Japan-market STI for more breathing ability.
If your car will be expected to pass a tailpipe emissions test, keep your cam timing conservative. The magic number is 220 degrees—more than that and the overlap period between intake and exhaust starts to get too long for clean idle emissions.
A related issue is “lobe separation,” which means the degree of crank rotation between the center of the intake and exhaust lobes. If you’re dealing with a DOHC engine, you can vary this with adjustable cam pulleys, assuming they’re available.
Increasing lobe separation can help make big cams more streetable, although it will take away some of their breathing ability on top. Single-cam engines and most chain-driven DOHC engines don’t have this option, so watch the lobe separation numbers carefully as you peruse the catalogs. Variable valve timing like that found on Honda VTEC engines adds another variable to the mix since they can use much larger cams without compromise.
The best policy when cam shopping is to call the cam grinders directly and get their advice. If that fails, talk to people running the same engine as yours and get their impressions of the cams they’ve tried. Just keep a skeptical view of everything you hear and read, since one person’s streetable idle is another person’s race-cam stutter.
Measure twice, cut once
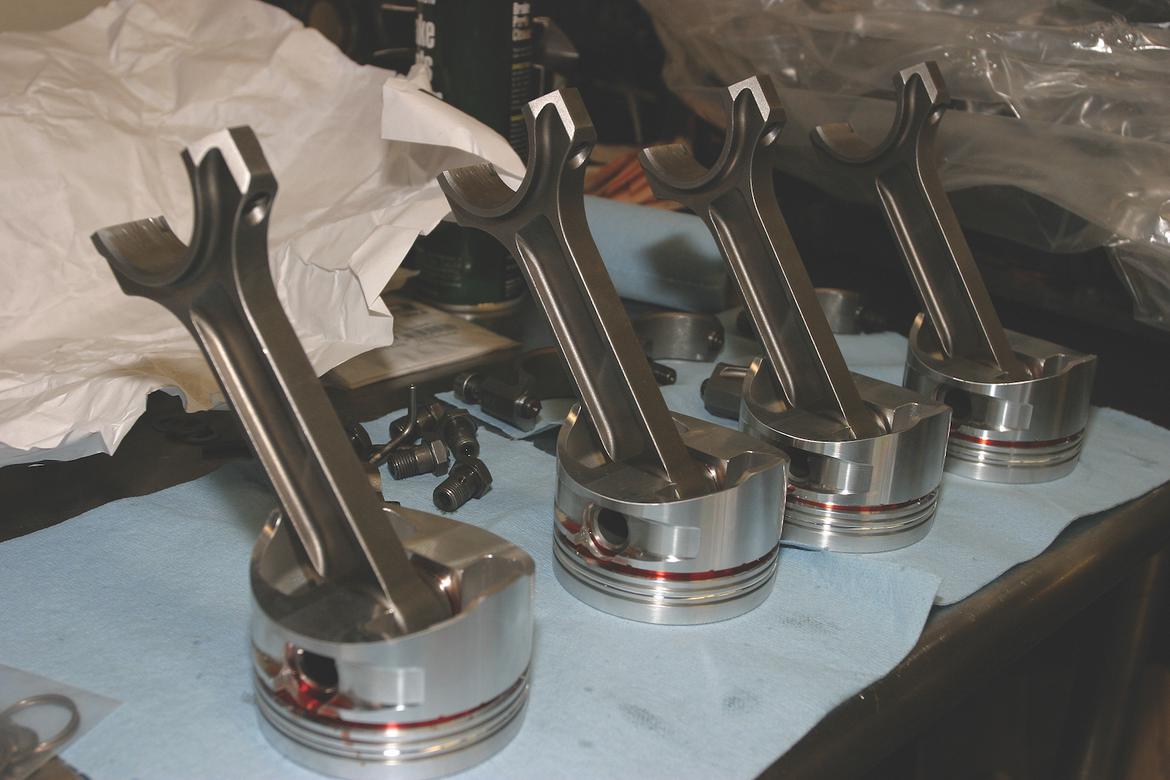
Photography Credit: Tim Suddard
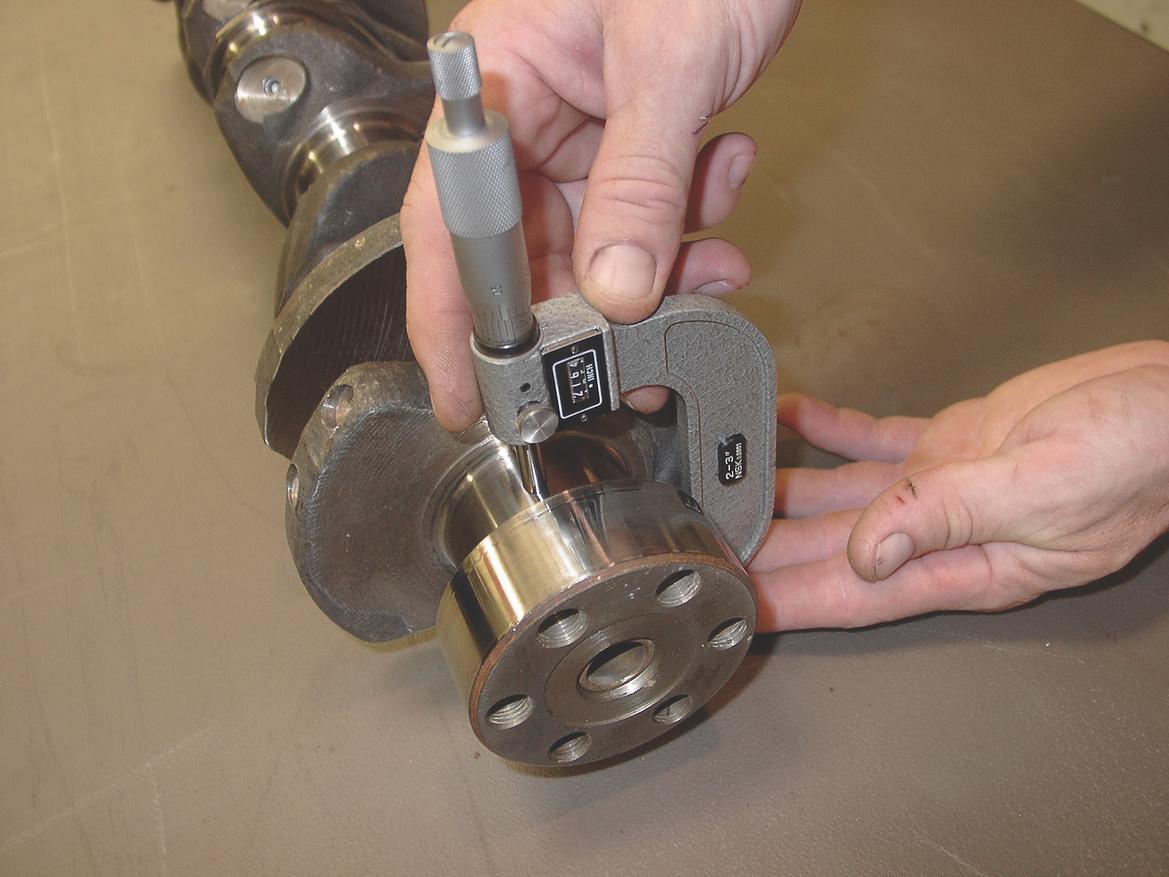
The first rule of engine rebuilding is the same as the first rule of carpentry: Measure twice, cut once.
As the engine builder, it‘s your responsibility to check every dimension of every part that goes into your engine. Even the best race machinist in town is still human and can make mistakes. Check everything twice before you send it to be machined, and check it twice when it comes back from machining. Note both sets of numbers in a notebook that won’t be misplaced.
Before you install the rings onto your pistons, measure the ring gap in the cylinders. Check the fit of the rings in their grooves and the pin in its bores and the rod. Make sure the bore marked on the piston is, in fact, the bore that you expected. Measure them, and measure the cylinders. Do a “dry build” of one or more cylinders to make sure that you have sufficient valve-to-head, valve-to-piston, piston-to-head and valve-to-valve clearance.
Measure deck height, combustion chamber volume and rod length. Check each crankshaft journal for proper dimensions and check the bearing clearance of each journal for proper clearance. Check the crank thrust clearance with the main bearings in place. Check cam and balance shaft bearing clearances.
Measure rod bolts for stretch or, better yet, throw them away and get new ones. Same goes for head bolts or studs: Check them out, and if they don’t measure up or you can’t check them, throw them away and order fresh ones.
Finally, use a paint marker to indicate that each critical fastener—main bolts, rod bolts and head bolts—has been tightened to the proper spec. Check them all again before bolting on the oil pan and valve cover. Check and set valve clearances before buttoning up the head, too, and make sure that cam timing is spot on.
All of these tasks sound tedious and time-consuming, but if something is out of spec, all the time and money you’ve spent on that rebuild are wasted. If your machinist makes a mistake or there is miscommunication between the two of you, it can be remedied before you go to the trouble of bolting the short block together and dropping it in the car. Once that engine is started, all bets are off.
Choosing a machinist
Photography Credit: Tim Suddard
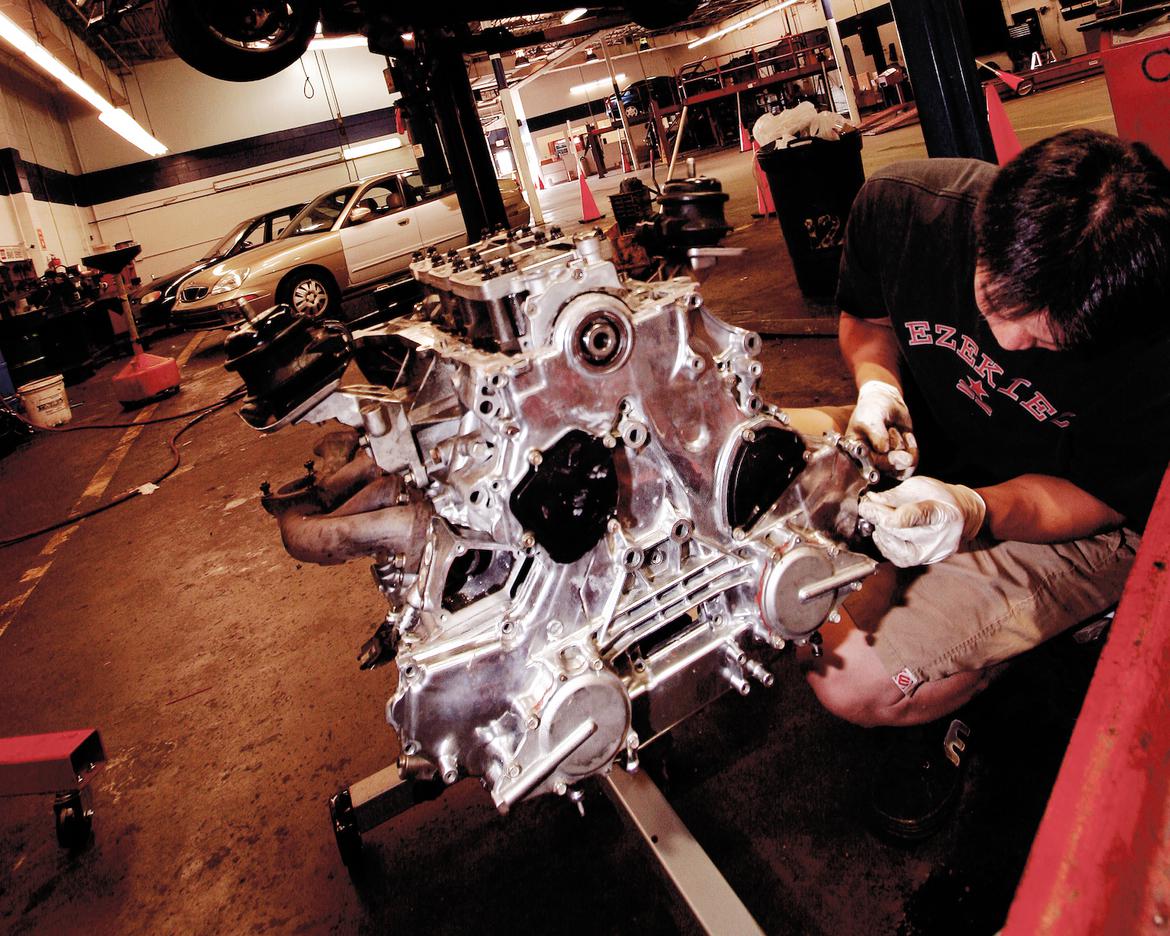
Unless you’ve got a Sunnen cylinder hone, milling machine and Serdi valve seat cutter in your garage, you’re going to have to farm out the machine work on your engine. If you have all this equipment, there probably isn’t much we can teach you about choosing a machinist. For the rest of us, choosing a machinist is a very important part of a rebuild project.
More important than the actual parts used, the machinist will have control over how those components fit together. A good machinist is almost never the cheapest one. A good machinist is also never—absolutely never—the fastest one. A good machinist is worth the rate charged. He’ll take the time to properly check every part handed over and will know what questions to ask before starting the work.
In a way, a good machinist will be like an advisor on your project. He’ll probably have an opinion on many of the parts you plan to use, and he will be able to steer you away from pitfalls like a conflict between some pistons and your combustion chambers. He should be able to suggest less expensive, more precise or stronger alternatives to parts you want to use.
He’s probably seen dozens of failed engines like yours and might even know how to fix some of the shortfalls that plague certain engines—like how to survive broken Miata crank snouts and “wiped” Mitsubishi thrust bearings. Compared to the cheaper machinist, the broken parts and aggravation that the more expensive guy will save you down the road will cover the cost difference.
Ask around and find out who all the racers use. Every town has one or two shops that do the bulk of the local high-performance work. Drag and circle track racers seem to be especially good at finding quality machine work, probably because they’re such frequent customers.
Don't guess
Photography Credit: Tim Suddard
This one might be better stated as “don’t be a know-it-all.”
We all like to think that we know everything about our engine, but unless you’ve built and destroyed dozens before, you probably don’t. As harsh as this sounds, it’s the truth. Ask the experts lots of questions, including the people supplying your pistons, rings, bearings and other parts.
When you’ve found the right machinist and parts suppliers, cultivate that relationship. Be a good customer by honestly discussing your needs. Keep the bench racing talk to a minimum, as they usually have work to do. Give them a good idea of what parts you want to use and why. Let them give you advice, but don’t feel obligated to follow it.
Use your experts’ information as your main shop manual. Factory manuals don’t always provide the level of detail necessary to rebuild an engine, but they can still be helpful. Don’t have a manual? Get one.
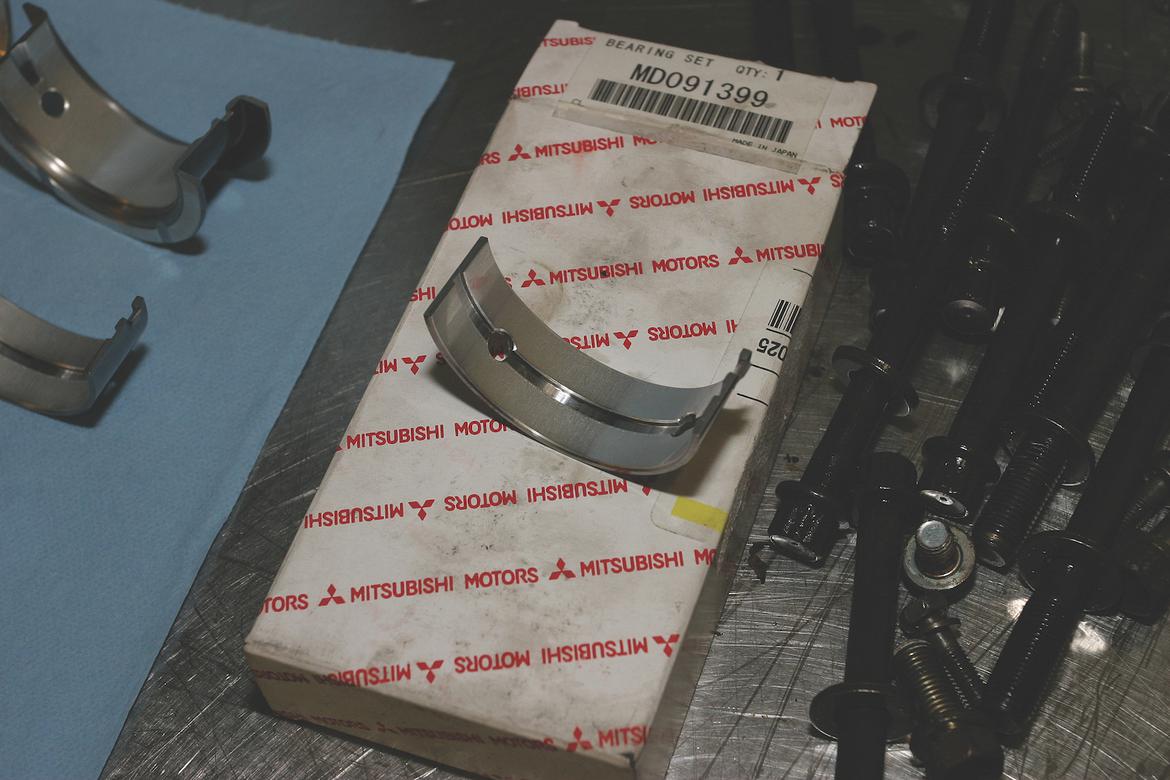
Deviate from the factory-provided information only when using non-OE parts, or when your experts suggest it. If you use factory fasteners, follow the torque specifications religiously. Same goes for factory bearings and pistons. They’re designed with a particular clearance in mind.
Keep everything clean
Photography Credit: Robert Bowen
Our experience has shown that most home rebuilds have one of two life spans: Either they last as long as a professional one or they die within a year. The biggest difference? Cleanliness.
Here’s a goal for you: Every tool, part and chemical that touches your engine must be as clean as humanly possible. The slightest bit of dirt will score bearing journals, plug oil galleries, or possibly chew up oil pump rotors.
Use blue shop towels instead of cloth rags and throw them away once soiled. Cloth rags tend to collect grit that can last through a washing. If you’ve got the budget for it, get lint-free cloths from an industrial supply shop since they’re even cleaner than blue shop towels and won’t leave behind any paper fibers.
As each part comes back from the machine shop, clean it first with fresh solvent, including running solvent down every oil passage. Next, spray carb cleaner down the oil passages and check the entire part for grit or chips left over from the machining operations.
When you’re done cleaning a part, hit it with WD-40 or other water displacement spray to prevent flash rusting. Then wrap the entire engine with garbage bags to keep out the dust. Just before you install or assemble a part, hose down the whole thing with carb cleaner one last time to remove any residual dust or fibers.
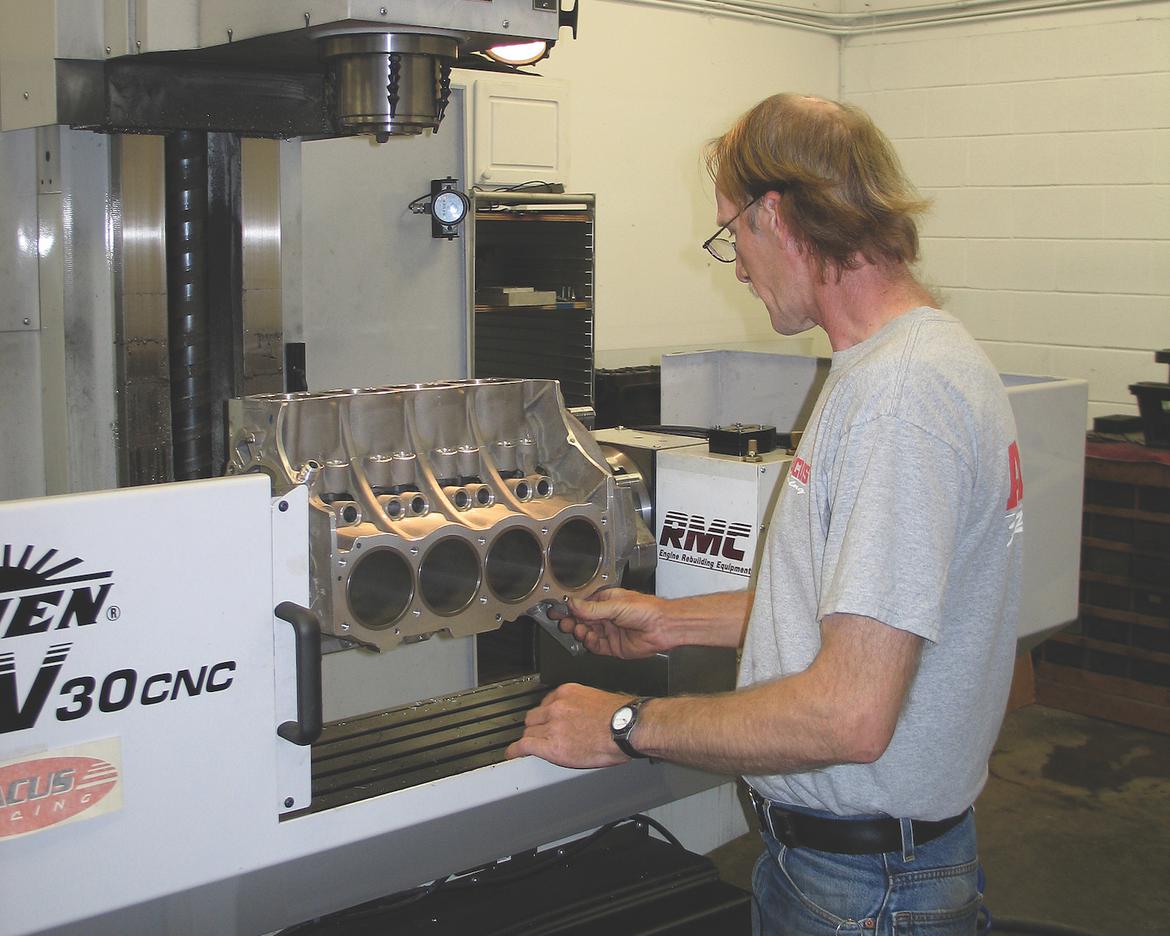
Cylinder blocks with fresh bores require an extra step. Wash the bores with dish soap and water to get rid of any abrasive grit from the boring and honing operations. Use a soft brush and thoroughly scrub down the bores. Blow the whole thing off with compressed air if you have it; towel it off with blue rags if you don’t. Rinse well with clean solvent and follow the procedure above.
Incidentally, the best way to clean front covers, valve covers and other thin, complex aluminum castings is your kitchen dishwasher. Just don’t let anyone catch you at it. Also, be careful with the dishwashing detergent you use—some detergents attack aluminum and leave it black. Avoid products with potassium hydroxide, sodium hydroxide, or sodium carbonate and do a test run with a piece of scrap aluminum or a broken part when no one else is home.
Cleanliness should also extend to your work area. Keep it swept up and spotlessly clean. Ideally, this would be an enclosed area away from bench grinders and other tools that produce chips and grit.
You also need some way of keeping the area clean while you aren’t working on the engine. Unless you’re very good at this kind of work, it will take you several full days to tear down and sort the old engine, farm out the new parts to your machinist, and then assemble everything. This kind of project always seems to take longer than you expect, so it must be possible to keep your area clean for extended periods. Garbage bags work well as covers. Cheap painter‘s drop sheets from the hardware store also work well.
Be thrifty but not cheap
Photography Credit: Robert Bowen
We all want to save money wherever we can. Unless you’re a professionally sponsored race team or a paid engine builder, being frugal is an important part of a rebuild. The first time you rebuild an engine you may be a little shocked at the cost of all the parts you’ll need. Internal engine parts add up quickly, since for the most part there is no reason not to replace something once the engine’s apart.
All consumables fall into this category—replace every bearing, seal, O-ring, gasket and freeze plug while your engine’s apart. A good rule of thumb is to replace every part inside the engine that’s made of brass, copper, rubber, plastic or paper. Rings also should not be reused, even if you keep your pistons.
Don’t be tempted to reuse components like the oil pump and cam drive parts, either, especially if you’re doing a high-performance rebuild. Sure, they might be in spec now, but these parts are critical to the long-term health of your engine and should be as new as possible. Replacing the cam chains, guides and sprockets might set you back a large chunk of cash, but you won’t have to redo that particular nasty job anytime soon. If your crank, rods and pistons are within specs, you can reuse them in a stock rebuild; if doing a high-performance build, it’s always better to replace them.
The block and head are easier to keep—the bores in many late-model blocks almost never wear out. If they’re within specs, hone them and run with new pistons and rings. Same goes for the valves and other head parts. Check them out but don’t feel obligated to replace them. Ask your machinist if you’re not sure of something.
You can save a lot of money and time by buying used parts, but be very careful. When you’re shopping for used parts at the swap meet, bring your micrometer and straightedge so you can take measurements. Even if you’re buying a block or head for a core—a good idea to save time, by the way—examine it and check every machined surface for wear and cracks.
Make sure you know exactly what you need and exactly what you’re looking at, too. Before you start buying parts, become an expert on your engine and the available parts so that you can identify items at first glance. That set of forged pistons going for a too-good-to-be-true price might have been machined for an odd combination of rod and stroke, for example, or a particular cam might be a 280-degree race cam instead of a 220-degree hot street cam.
In some ways the Internet is better than swap meets for buying speed parts. In some ways it’s worse. Expect to pay more for parts online, especially once you include shipping. You’re not likely to have any more recourse, though eBay and many forums can help you resolve a dispute with a misleading seller.
Whenever you buy used internal parts, check them even more thoroughly than the used parts that came out of your engine. You have no history on the parts, so treat every one as a possible failure. Have your machinist check used parts for cracks and unusual wear before using them, and measure everything as precisely as you can. Don’t be afraid to buy used parts, but make sure you’re getting enough of a discount to make it worthwhile.
Listen to the engine
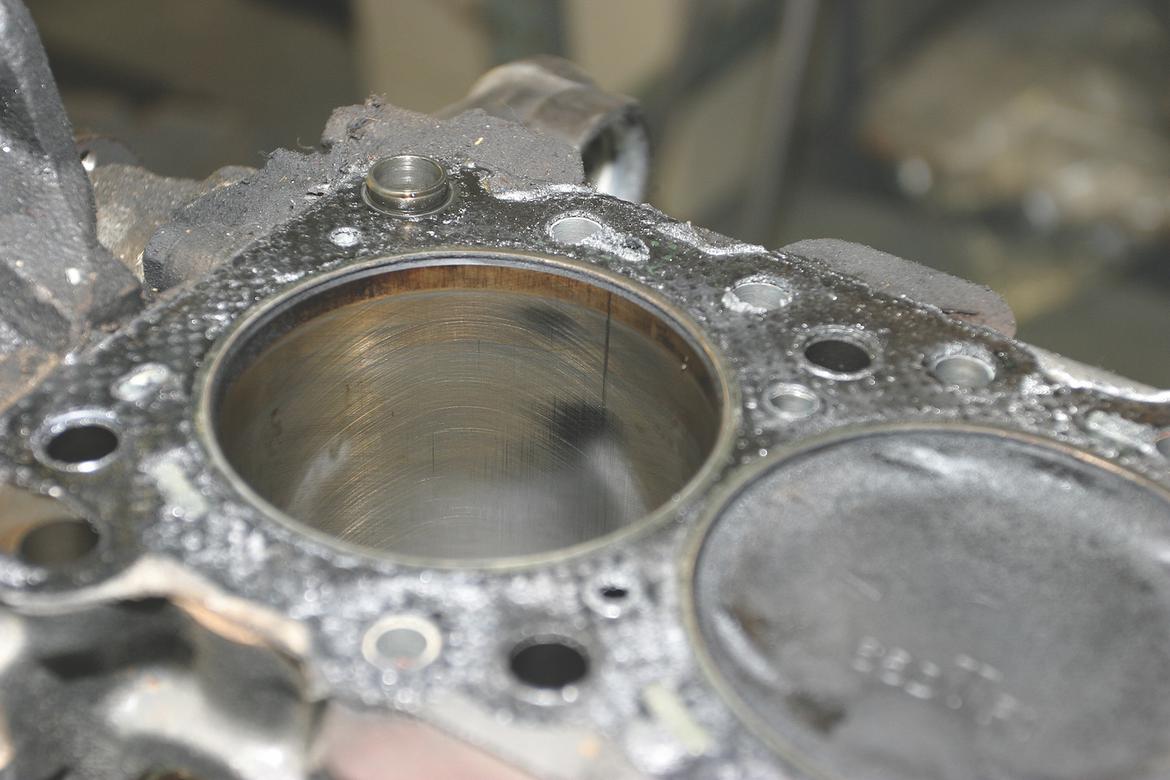
Photography Credit: Robert Bowen
When you’re tearing down your core engine—whether it’s one that you blew up yourself or one you pulled from a junker—try to determine any failures it might have experienced. Even if the engine was destroyed by a previous owner’s neglect, you might find potential weak spots that you can engineer around during your own engine build. Every part tells a story, and learning about that story will pay off in a smoother engine build and longer engine life.
Starting as you disassemble the bottom end of the engine, look for any baffling in the oil pan; older engines typically don’t have any, and this is the cause of many spun rod bearings. Check that all of the main cap bolts are tight. Make sure all of the rod bolts are tight and not stretched. Keep all of the rods with their matching caps and nuts or bolts. A good way to keep track of them is to use punch marks on the side of each cap. Keep the sides consistent and start from the front of the engine so you’ll know where each cap goes during reassembly.
Check the crankshaft for scoring, cracks and straightness. If a particular rod bearing is wasted, or the thrust surface is damaged, make a note of it. Check with other owners for similar problems and see if you notice a pattern. Maybe the aftermarket has already figured out how to improve the oiling to such problem areas. Sometimes rod bearing failures are caused by chronic detonation, so if you have one failed rod bearing, check the upper shell on the others for compression.
Check for cracks and scoring in the cylinder bores as you pull the pistons out, and watch for heavy wear around the head bolt threads. If it looks like there is more wear in those areas of the cylinder, be sure to have them honed with a torque plate installed in place of the head.
Also look for cracked piston skirts and evidence of pinging on the tops of the pistons. Heavy detonation will show up as a “peppered” or “sandblasted” surface around the edge of the piston. If you see this kind of damage, start looking at ways to reduce ignition timing or lower the compression ratio. If you see a collapsed ring land on a turbo engine, turn down the boost or buy stronger pistons—or do both.
Cracked pistons are often due to overrevving, so check carefully for this kind of damage. Again, reduce the engine’s rev limiter, get stronger pistons, or get used to replacing them often.
A bent rod is always a bad sign, too. If you’re seeing failures this bad, try to figure out why they occurred and get the right parts so it doesn’t happen again. Rods in modern engines are usually pretty durable, and damage occurs only under extremely high boost levels or when there’s an overrev or an oiling failure.
Measure the head for warp; the same goes for the block and oil pan surface. If the head is warped from overheating, try to figure out why the engine died before rebuilding it. Does it need more radiator? A bigger cooling fan?
Check out the valves and springs, and make sure that they have enough seat pressure to be reused. The specifications are in your shop manual.
Head gaskets are another area for forensic exploration. If your engine had a head gasket failure, try to determine the cause. Were the head bolts fresh and properly torqued? Check them for stretch and replace if you have any doubts.
Take notes on any failures or unusual wear that you find. Bring it up with your machinist if you’re not sure what it means—chances are he has seen it before and can help you avoid the same failure in the future.
Use the right sealants and lubricants
Photography Credit: Robert Bowen
Depending on how recently your engine was designed, you might have very few real gaskets between mating flanges like the oil pan, valve cover and timing cover. It’s important to use the right sealants in these places if you have a “gasketless” engine. If your engine requires regular gaskets, make sure you use sealants in the correct areas. Silicone is wonderful stuff, but it also can do a lot of harm if used in the wrong places.
Keep a tube of high-quality silicone on hand at all times, but use it only sparingly unless you’re working on a late-model engine that has the proper shouldered bolts and grooved covers to make use of it. In that case, make sure you have the kind recommended by your engine’s manufacturer, or the best OEM-style sealant you can find.
If you have a gasket and new parts, then you don’t need any sealant at all. If your parts are used and require paper gaskets, tough. You can usually use a very, very thin coating of nonhardening gasket dressing like Permatex or Hylomar on the removable side of the gasket—the side that mates with the cover.
You should never use sealants on flexible silicone gaskets or O-rings. On the other hand, freeze plugs and threaded oil galley plugs should always receive a little sealant. Be sure to use as little as possible to get the job done.
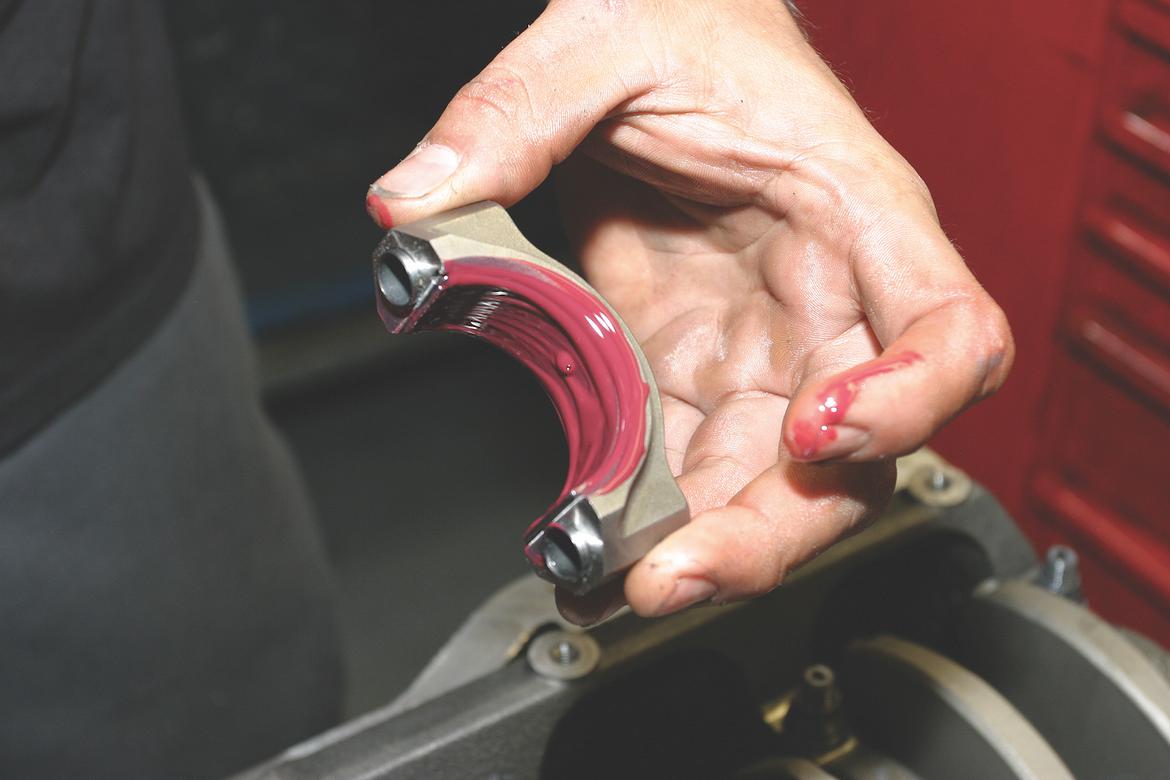
A successful engine build depends on all the parts being properly lubricated. Buy a tube of quality assembly lube—a lot of pros prefer Red Line—and don’t be afraid to use it on and between every moving part. Use anti-seize on every critical fastener and all of the external engine fasteners. You’ll thank us when it comes time for maintenance. Don’t forget to use the wet figure for proper torque specifications on your aftermarket studs and bolts when using anti-seize.
Don’t use assembly lube on the pistons and rings; it could impact break-in. Soak them in a small tub of regular engine oil before you install them in the cylinder. Do the same for the oil pump—pack it with oil or assembly lube before installation. This will help the engine build oil pressure as soon as possible after the build.
Breaking in the engine
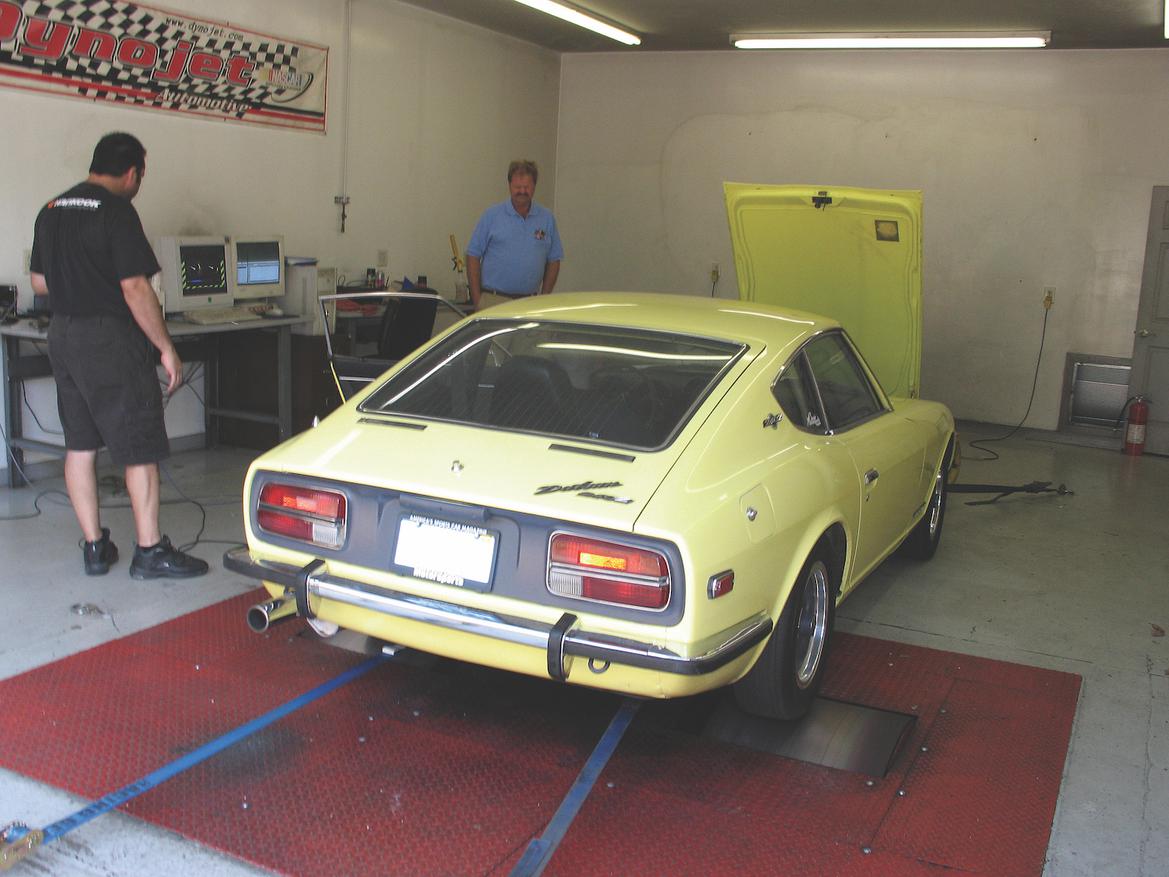
Photography Credit: Tim Suddard
This is such a controversial subject that we almost didn’t touch on it, but break-in is very important to get the best life out of your engine. In theory, a perfectly machined, perfectly mated and perfectly assembled engine should require no break-in.
In practice, however, rings need to “wear in” to mate with their bore for maximum ring sealing and longer life. Cams and followers also tend to wear in to each other.
Some engine builders recommend nondetergent oil for break-in, but others disagree. It’s hard to go wrong following the example set by most manufacturers: Fill the engine with the same oil you plan to run it on. It won’t be in there very long, anyway; don’t spend a lot on expensive synthetic oil, just use regular 10W30. Put on a quality filter since it will quickly fill with leftover dirt from the rebuild.
Before you start your engine for the first time, pull out the plugs and squirt some oil in the cylinders. Then turn it over with the starter until you get a few psi of oil pressure on the gauge, or at least until the oil light goes out. This ensures that every part of the engine has a coating of oil and won’t be starting “dry.” Put the plugs back in and make sure that you have spark and fuel—avoid flooding the engine and multiple attempted starts at all costs.
Once it starts, get it warmed up right away; don’t let it idle for longer than absolutely necessary at first. Keep the revs up for the first few minutes—somewhere between 1000 and 2000 rpm is best since that will make sure you get maximum oil and coolant flow right away.
Get the engine nice and warm but watch the oil pressure and coolant temperature like a hawk. Shut it down after it’s warmed up and check the coolant and oil levels. Change the oil to flush out the assembly lube.
What comes next is up to you. Everyone has a theory on engine break-in, including lots of odd and potentially harmful procedures that involve baking soda, Comet or strange oil additives. In general, stay away from these procedures. Treat your new engine as you would any engine: with respect.
Give it a good run at first with a good amount of varying load. However, don’t rev it very high, don’t abuse it and don’t overheat it. Change the oil again after the engine garners a few hours of running time—figure about 25 percent of your usual oil change interval. Assuming you didn’t skimp on or mess up any of our steps, you’re now free to enjoy your engine and boast that you built it yourself.


 Photography Credit: Robert Bowen