There always seems to be an aura of mystery and magic surrounding welding, but don’t let that intimidate you. While it certainly helps to have some inherent skills—we’ll call it artistic ability—good welding is also the direct result of simple procedures, tactics and, yes, practice. We all know that musicians increase their skills through regular study with well-tuned instruments. The same goes for anyone who welds.
1. Cleanliness Counts:
Regularly clean your welder inside and out to maintain its peak performance.
If you’ve read our welding stories before, you’ll remember one of our mantras: You can’t weld dirt. Seriously, you can’t, so don’t try it.
Not only should your weld surface be clean, but so should every element of your welder. If dirt, rust, oil or other imperfections come in contact with the wire, ground cable or any other component involved in the welding process, your results won’t be as good. That even applies to your gloves. (You’re wearing gloves, right?)
2. Read the Manual
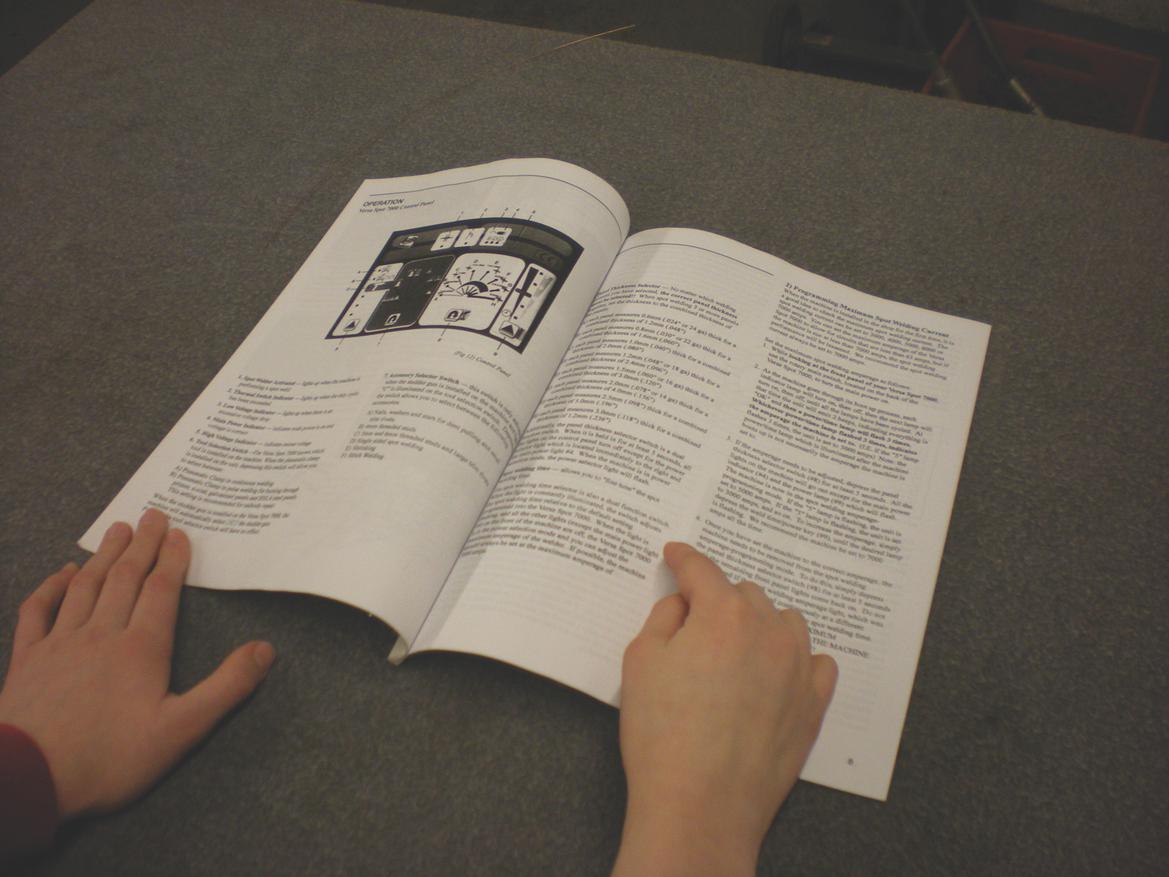
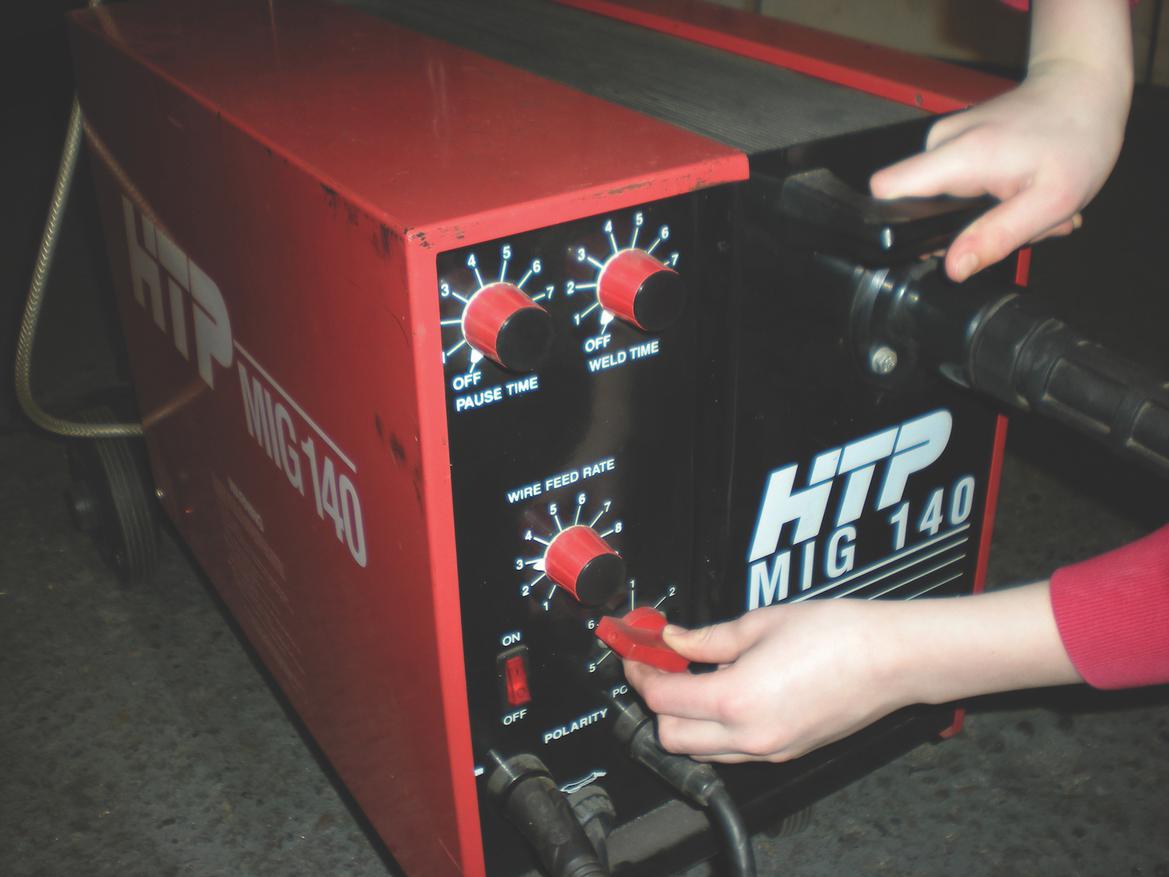
This simple step is often overlooked: Once you’ve read the instructions, you’ll know where to set the dials on your welder.
We’ve taught hundreds of people to weld, often with their own equipment. We’d estimate that about half of the welders we encounter aren’t properly set up.
The adjustments and settings are often not quite to spec for the material being welded, the wire or gas being used, or myriad other details. Most of the time, just reading the manual and using the proper settings makes a big difference in the quality of weld.
3. The Wire Matters
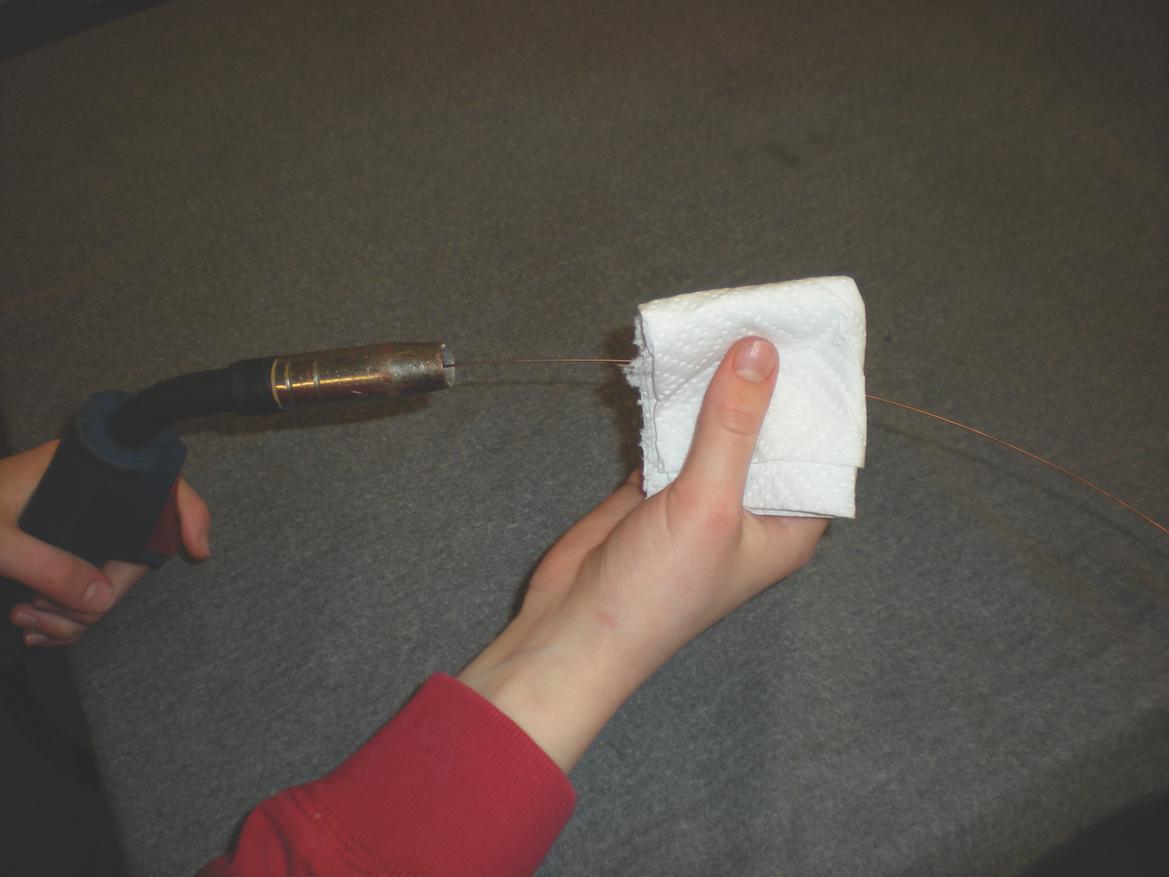
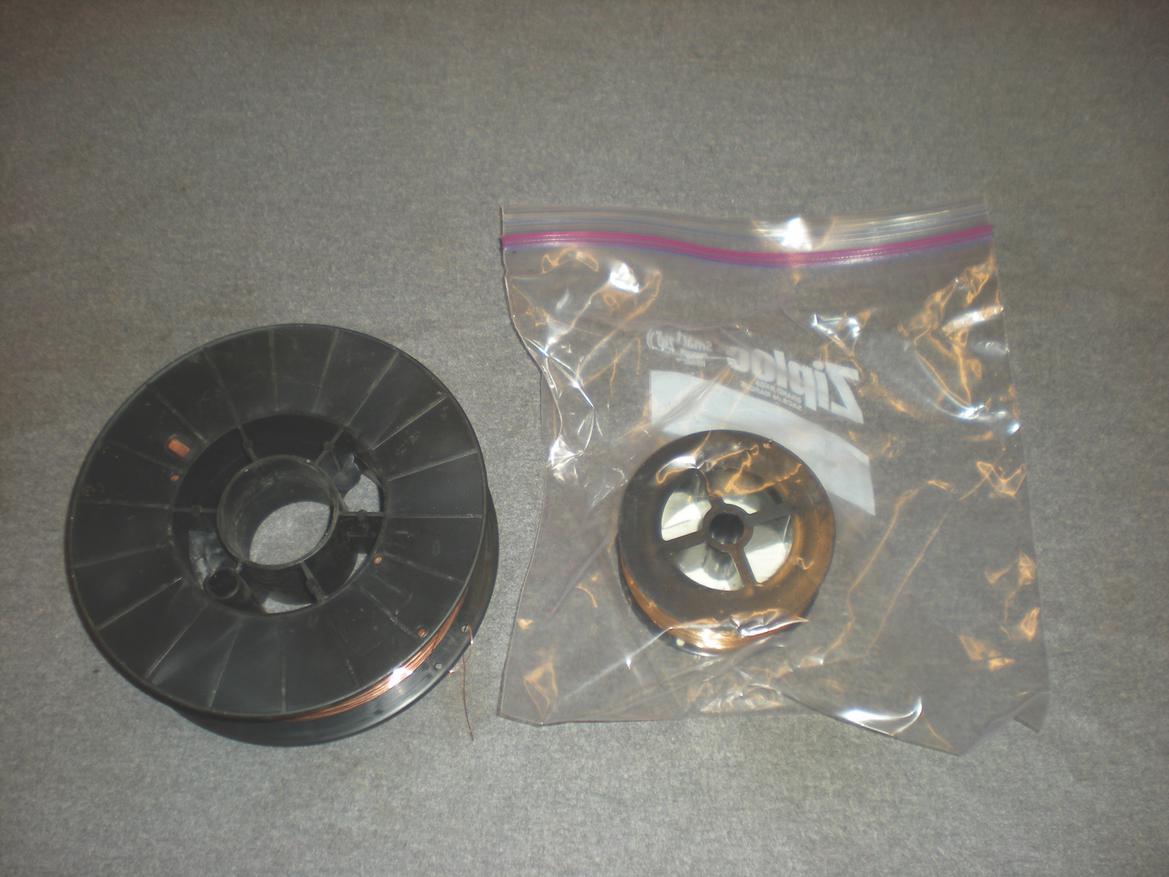
TOP: Not only do you need to have the right wire in your welder, but it also needs to be clean. Check the wire by wiping a length of it with a white paper towel or tissue—a little residue is okay, but a lot means it’s too dirty to use. BOTTOM: While the larger spool of wire may seem like a better value, stick to the smaller spools if you’re not welding every day. When you’re not using the wire, store it somewhere clean and dry.
Some of the biggest problems we’ve seen with welders involve the wire. It’s very common to see dirty or even rusty wire in MIG welders. Sometimes people are using wire that isn’t suited to the material they’re trying to weld.
First, ensure that your wire is the right type and diameter for your job. How do you determine which wire to use? By reading the manual, of course.
Cleanliness counts here, too. Before welding, wipe off the first foot or so of the wire using a white paper towel or tissue. If the wire leaves more than just a trace of residue, it’s too dirty to use. That dirt—which, by the way, you can’t weld—is contaminating your work and making you look bad. Replace it.
While it seems more economical to buy large spools of wire rather than small ones, the large spools often get dirty or rusty before they are consumed. This is especially true in colder climates where temperature changes can cause condensation. When not using your wire, store it in a plastic bag that’s kept in a dry, climate-controlled environment.
4. Clip it and Clean it
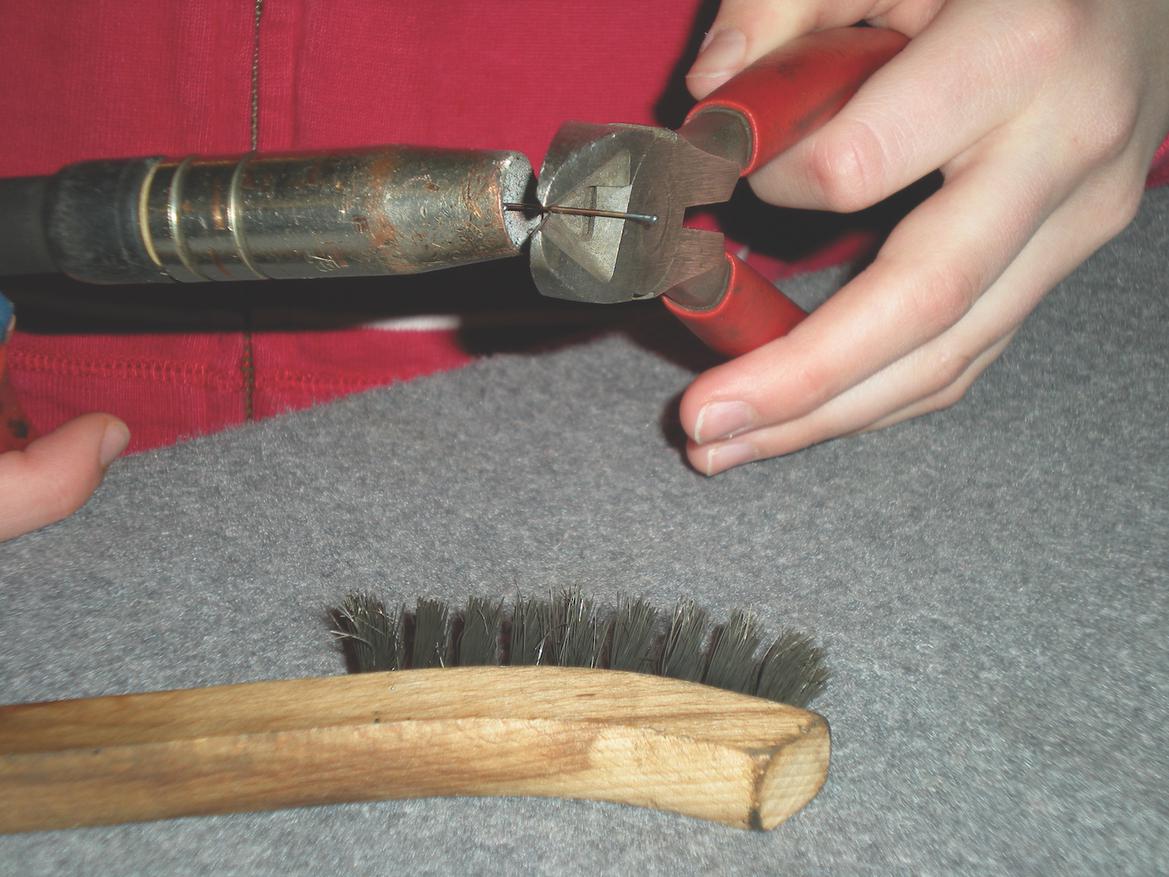
Before you restart the welder, clip off the end of the wire. This step provides fresh, clean welding wire.
Every time you start to weld a new bead, clip off the end of the wire to achieve proper stick-out—the bit of electrode wire that sticks out from the gun. Why do this? First, the wire usually ends in a melted ball that is quite a bit larger in diameter than the wire. As a result, the next weld will start poorly since it takes more heat to melt that big ball than just the wire.
Second, the ball and the wire leading up to it are usually contaminated. As the wire cools from the last weld, it sucks in dirt and dust. Cutting off the fouled portion provides a clean start.
Finally, you want just enough stick-out, usually 3/16 to 5/16 of an inch, to get a good, controlled start. If you have too much, the wire can flop around and miss the weld joint. The shielding gas may also not be as effective for that distance.
One more tip as you’re cleaning things: Keep a wire brush handy to clean away any smoke from the last weld or to clean up the tack welds that you’re about to cover.
5. Use Clean Gas
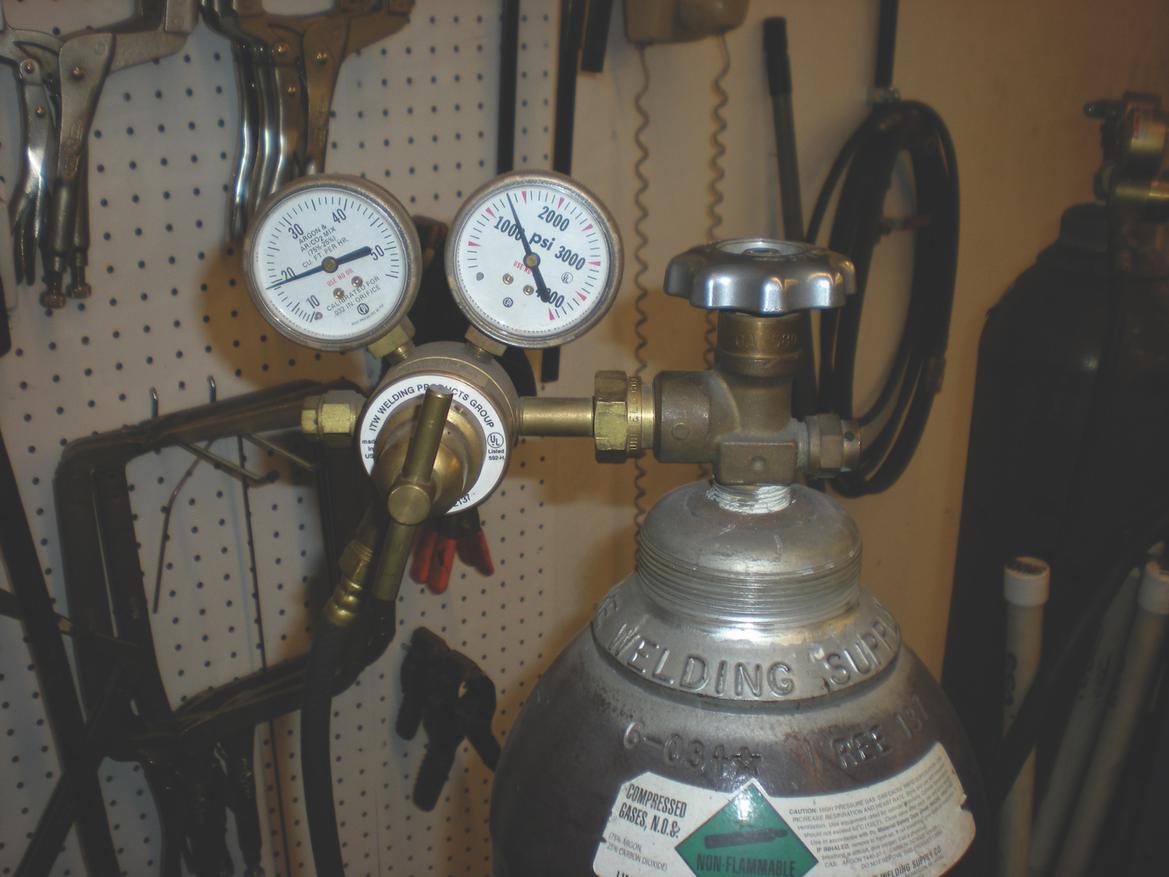
Make sure your gas is clean and the correct type. The regulator needs to be properly adjusted, too.
Your budget may be tight, but always find a way to weld with shielding gas instead of flux-core wire. In our view, flux-core wire is suited to outdoor work where the wind can blow away the shielding gas—picture a farmer fixing a massive piece of equipment. Since our type of work is usually done indoors, we can take advantage of the better results that come with using shielding gas.
Don’t go cheap on the gas, either. For example, while it’s a little less expensive to weld steel with straight CO2, you’ll usually get better results with a 75/25 mix of argon and CO2.
Next, make sure that you have the regulator properly adjusted. What’s the proper setting? That info can probably be found in the instruction manual.
Finally, make sure your gas is clean. (Do you see a trend here about cleanliness?) We’ll occasionally get a tank with contaminated gas that leaves significantly more “smoke” on our weld joints. If that happens, we just exchange the tank for a new one.
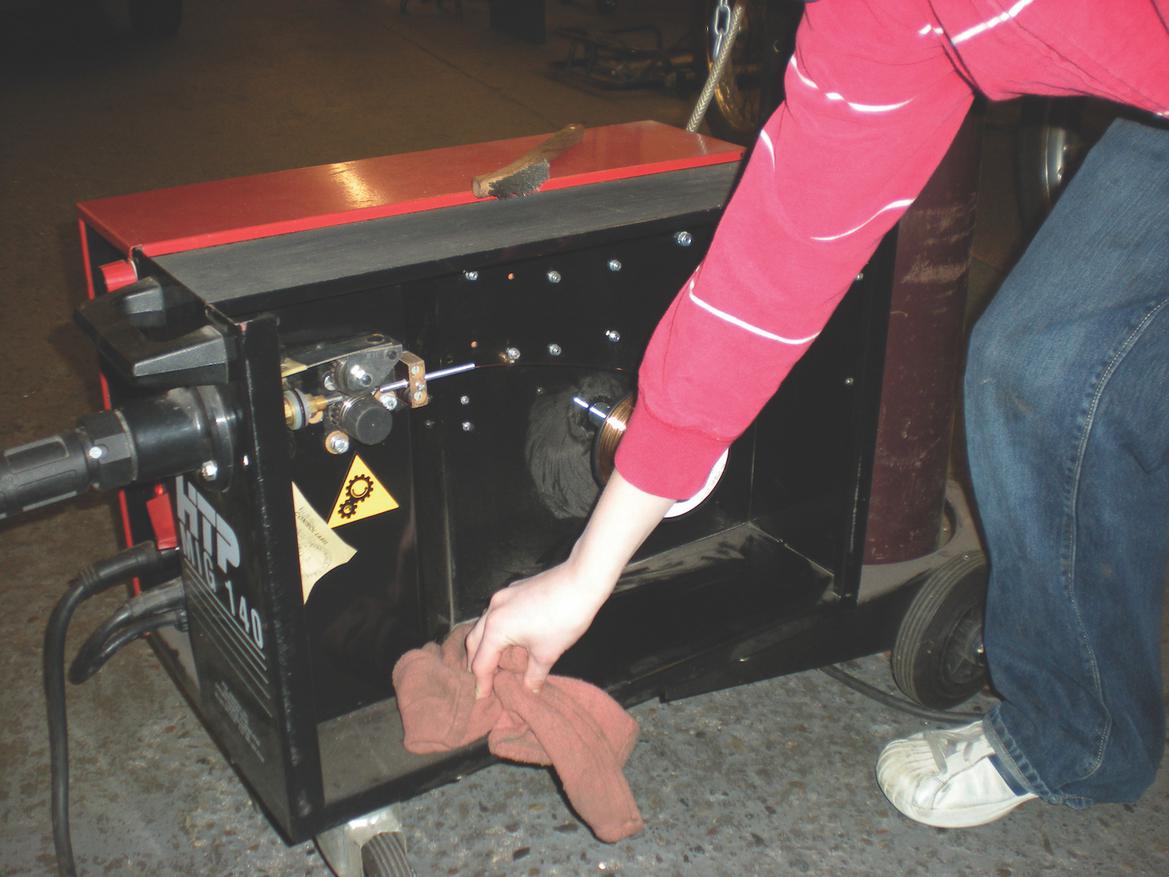
6. Adjust the Rollers
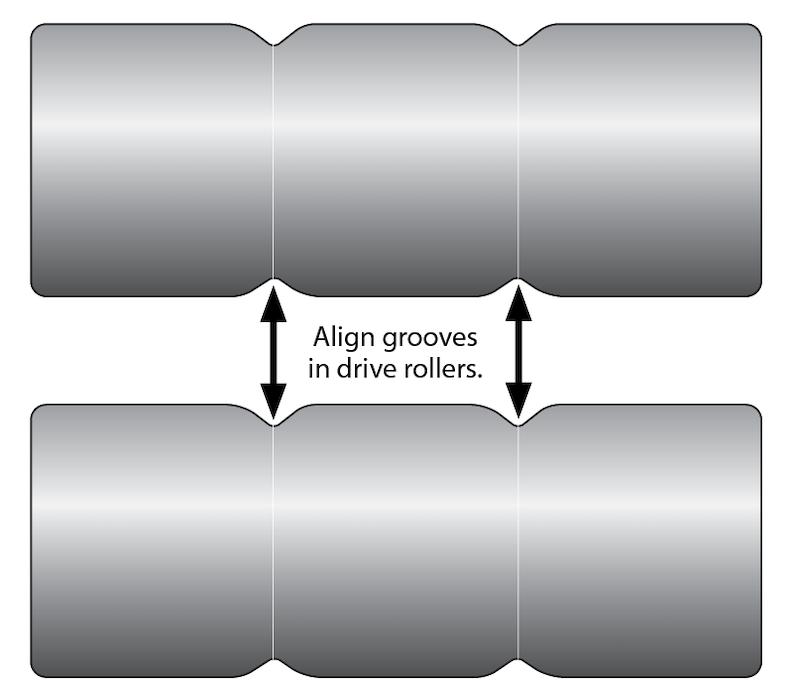
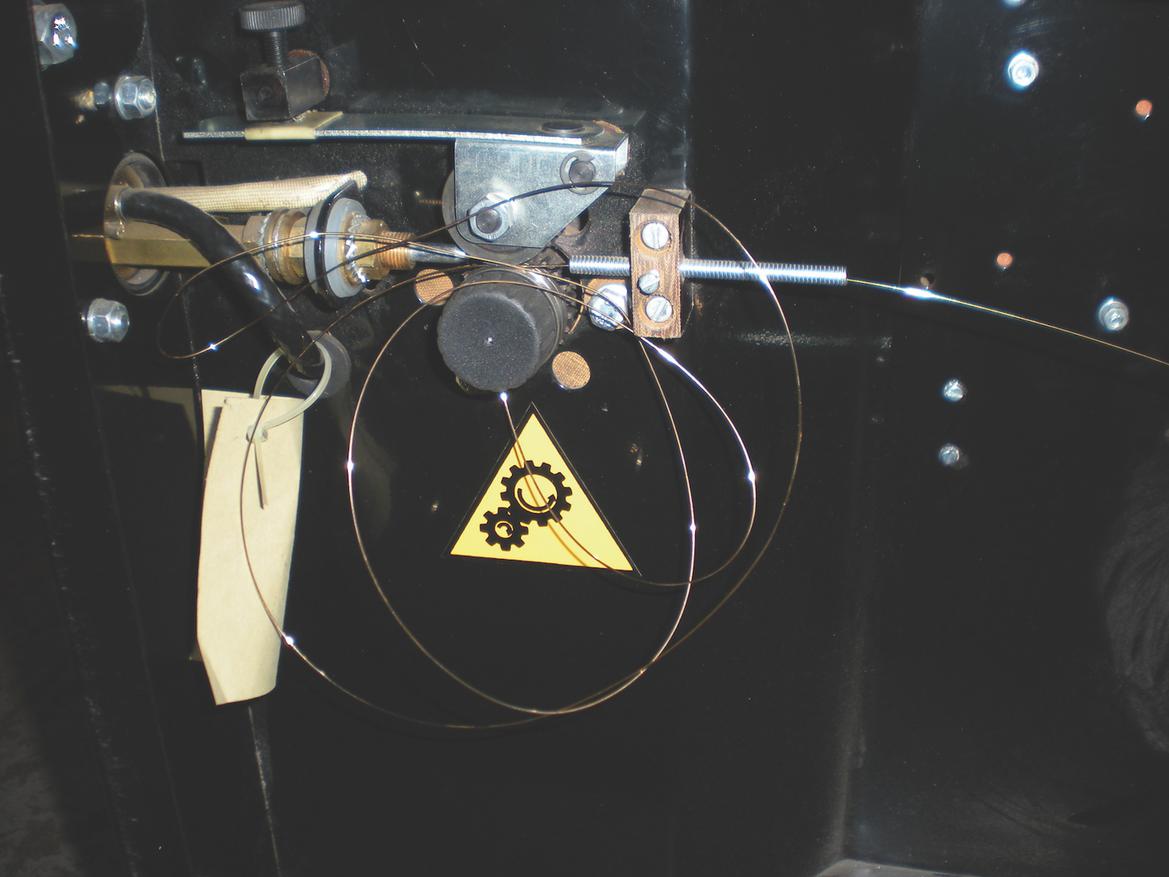
TOP: Make sure the grooves in the rollers are in alignment. ABOVE: Properly adjusted rollers won’t make a mess like this. They should be tight enough to feed properly, but loose enough to slip if the wire sticks or becomes blocked.
Welding wire is typically fed through the welder via two grooved rollers. The adjustment of these rollers is important and should be checked frequently.
The first check is that the correct rollers are being used for the wire at hand. While it’s possible to use 0.030-inch wire with rollers designed for 0.023-inch wire, for example, you’re not going to get maximum performance out of your welder. (Worse yet would be using 0.023-inch wire with 0.030-inch rollers.) Using flux-core rollers with solid wire will also yield less-than-desirable results. Bottom line: The rollers must match the wire.
The next adjustment involves the tension. The rollers should be tight enough to push the wire without slipping during normal welding. However, they also need to be loose enough to slip if some sort of problem occurs. If they’re too loose, the wire won’t feed accurately. If they’re too tight, the wire will “bird’s nest” and tangle up if there is some sort of blockage or problem. Honestly, it’s better to be a bit too tight than too loose.
Finally, some welders feature rollers that can be adjusted to keep their grooves in alignment with each other. While this is a good thing, sometimes the rollers come out of alignment and need to be set back.
7. Have Enough Power
If you’re welding 20-gauge sheet metal, you probably won’t be taxing your welder or your wiring too much. However, as you get into thicker materials that require you to crank up the knobs on your welder, you may be pushing the limits of your power source. This happens more often with 110-volt welders than 220-volt units.
Make sure the welder is plugged into an outlet that has enough capacity for the welder. Also, avoid extension cords as they can cause current and voltage drops. Good welding requires good power.
8. Keep It Safe
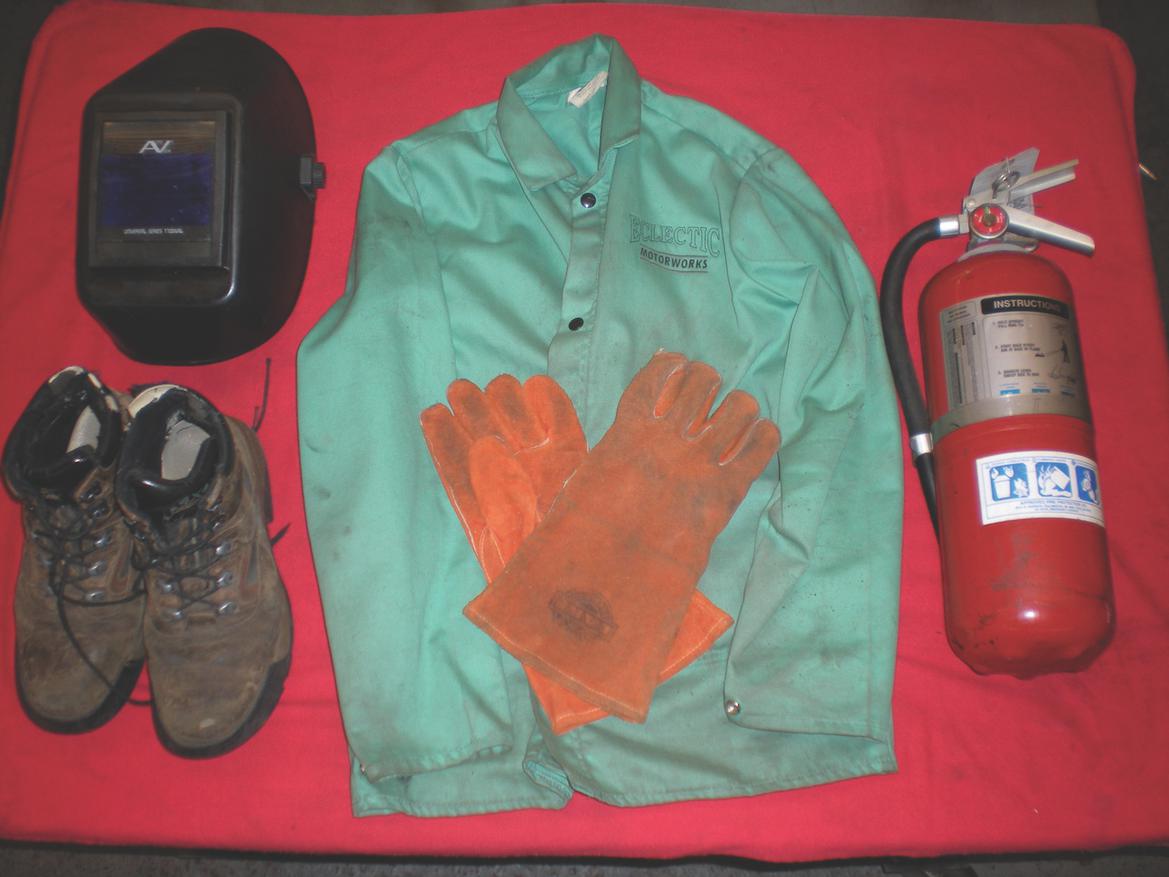
Don’t weld in flip-flops and a tank top. Protect yourself with a welding coat, proper helmet, gloves and sturdy shoes. (Don’t forget some jeans, too.) Keep a fire extinguisher nearby in case things go wrong.
We can’t talk about welding without talking about safety. Make sure you always keep personal and fire safety at the top of your list when you’re welding.
Work in a clean, well-ventilated environment that’s free from wastebaskets and other fire hazards. Make sure the right type of fire extinguishers are handy. Before leaving the shop, always hang out for about 15 minutes to make sure that nothing is smoldering.
Finally, make sure your body is fully protected: A good helmet, jacket, gloves and leather shoes are important. Ideally, no bare skin should be exposed and nothing you’re wearing should be able to catch fire or hold an ember. If you think safety has nothing to do with quality welding, try to weld after an ember has burned through your shirt or canvas shoe.
9. Now Go Practice
Musicians need to tune their instruments before practicing, and you need to do the same with your welder. We’ve provided a bunch of tips to guide you through this process, so now it’s up to you to practice.
Before welding together that suspension upright, for example, practice on some scrap material to make sure the welder is properly tuned. Then, make some practice strokes on the piece before you actually weld to ensure that your form is correct. You’ll be amazed at how much this little amount of practice will improve your welding.


 Photography by Carl Heideman