TimM
New Reader
4/17/21 11:12 a.m.
Finally got a bit of time on the car this weekend...but first few part arrivals:
Fresh dipstick:

Evo 9 oil filter adapter - because it is clean and will support larger oil cooler lines (compared to the V which used one size smaller):

Also, because we can temporarily eliminate the oil cooler for initial start/break in...an oil related failure on this engine will foul the pan/cooler again (we don't trust our engine building skills that much!):

A battery relocation kit - will swap the engine air intake with the battery position front to back - common for Evos as the battery will be behind the air cleaner allowing wind blast to feed the air filter instead of the battery:

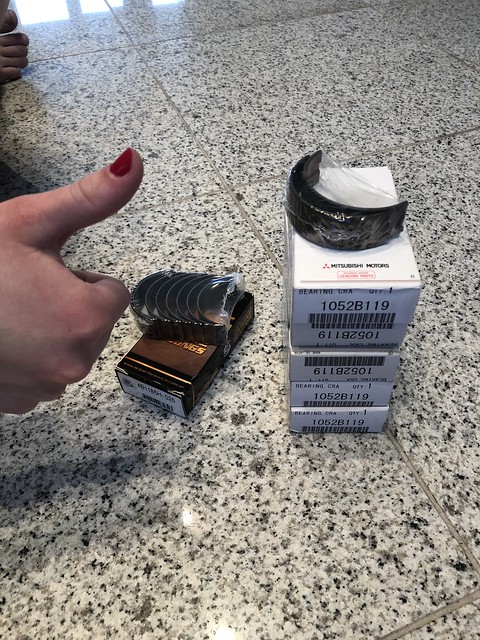
Finally the engine bearings arrived (rod and mains). Will give us much closer to optimum for long life:
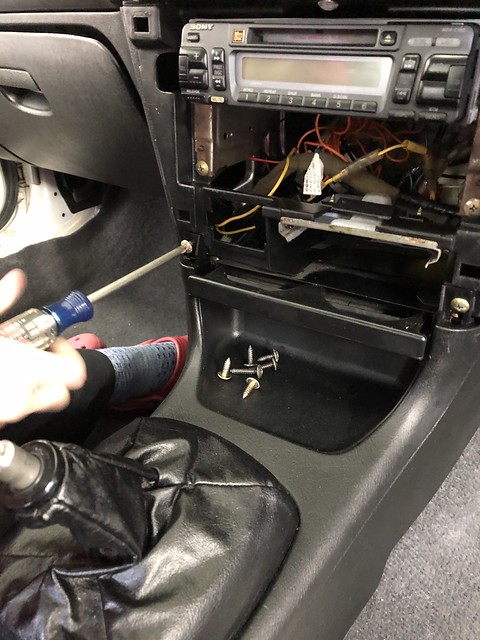
Some rear mud guard replacement...let her figure it out:

And install - easy with those guns! Bolts into plastic are a bit finicky:

Love those calipers...
We are ready to paint the block...just need 60 degree temps to get there...then clean and assemble! Easier said that done...
Curious, did the Evo 5 come with a dipstick retaining spring? I believe they were an OEM part on the US Evo 8-9. Either way, not a bad idea to add one. Even on stock power levels, crankcase pressure can build enough to shoot the dipstick out, which is not good to spray oil over a hot exhaust manifold and turbo. And yes, ideally the PCV pressure should be under control enough to not cause that, but its a cheap insurance for a "thermal event".
https://www.maperformance.com/products/mitsubishi-oem-oil-dipstick-2003-2006-mitsubishi-lancer-evolution-8-9-md343884

TimM
New Reader
4/21/21 1:49 p.m.
Engiekev: great idea! Although checking the parts book for the Evo 5...does not appear to be an OEM part. We will do some searching... Thanks!
TimM
New Reader
4/25/21 1:33 p.m.
We are getting closer...we hit 60 degrees so out came the block, tape, and spray paint!
Chemical rinse:

Taping:

Tape trimming:

Finally, pull the trigger:
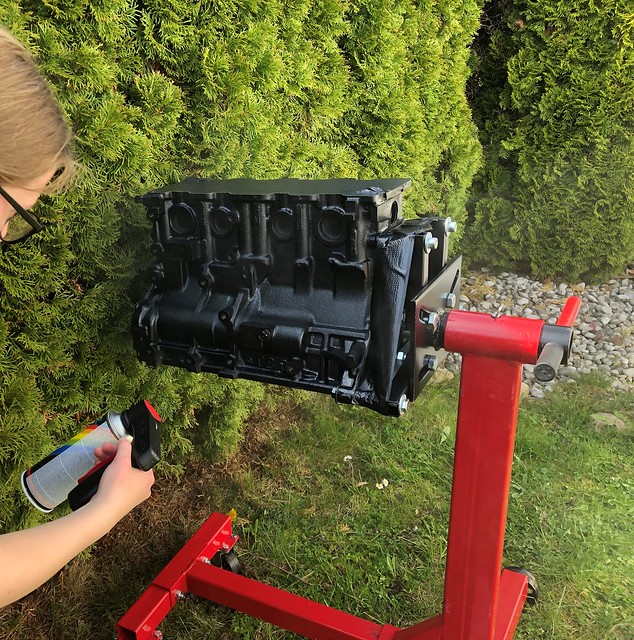
Result of waiting time in between coats...little ladies...

Ready for final clean and assembly!

Although, it seems little of the block is visible once installed...but it sure looks nice now!
TimM
New Reader
5/2/21 1:48 p.m.
TimM
New Reader
5/23/21 7:02 a.m.
Project delays...due to life. But coming back online!
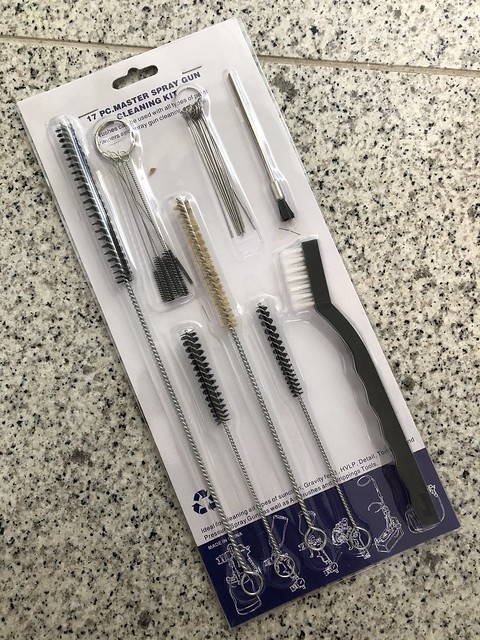
Few parts arrived...cleaning brushes for the final block suds:
Some plastigauge...mainly to demonstrate its use, but also give us a warm fuzzy on the bearings (the first package when lost in the mail!):

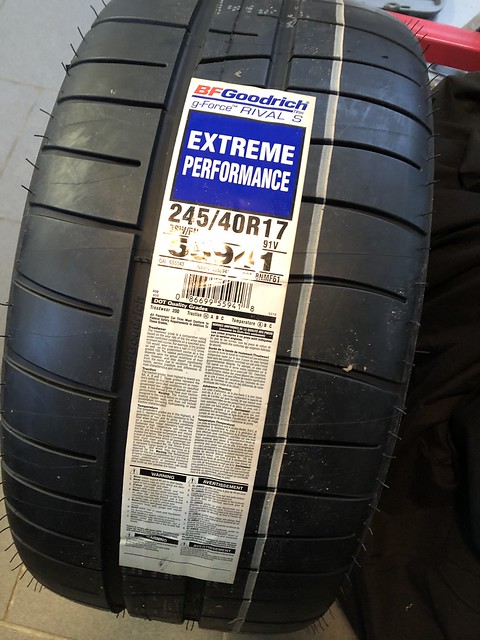
And my favorite tire...exact same as the STI - BFG Rival 1.5's in same size (245/40-17)...hope they fit. Tirerack discounted price by $50 a piece!:
TimM
New Reader
5/24/21 2:15 p.m.
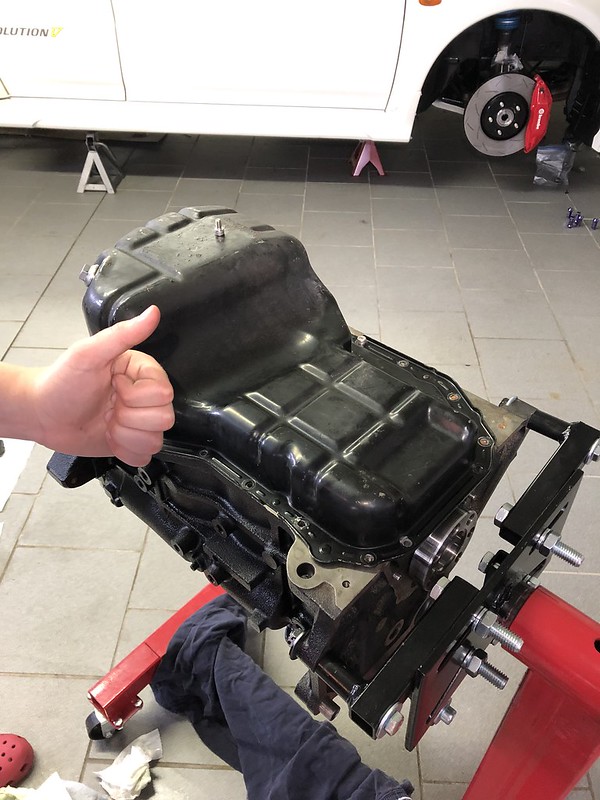
Also, had the friendly machine shop 'hot tank' the original oil pan:

We will likely start with this pan and upgrade to one with 'trap doors' to avoid any issue with oil starvation...at a later date. The money tree is getting thin!
Also had the shop measure our Mahle pistons...piston to wall clearance works out to be .05 mm = .002 inch. Seems a bit tight, but that is what the piston calls for.
Awesome work! Some Mahle pistons run tighter for sure, since the alloy they use expand less than "traditional" forged pistons; great for street applications (piston will not take as long to expand during warmup, less piston slap during cold starts, less skirt wear in bore). They are a great choice for this kind of build.
Will you be using a Stock ECU, or going to a standalone ECU? With stock or close to stock power levels the stock ECU can work great, just less flexibility and knobs for engine protection. Stock ECUs with a tune are a proven setup for late model Evos, easily tuned and the OEM software/calibration is excellent.
TimM
Reader
5/31/21 2:51 p.m.
engiekev: Thanks! We are trying our best... Comments on the pistons is why we gravitated to them...hope they work out!
Will try the OEM ECU if it makes sense and usable. Our goal is 400 CHP - nothing extravagant. Likely enlist a tuner to get us started. I'm hoping the current tune will at least allow us to break the engine in off boost. We did have the OEM injectors cleaned and haven't deviated much from the previous power plant, IMO. Recommendations are always welcome:
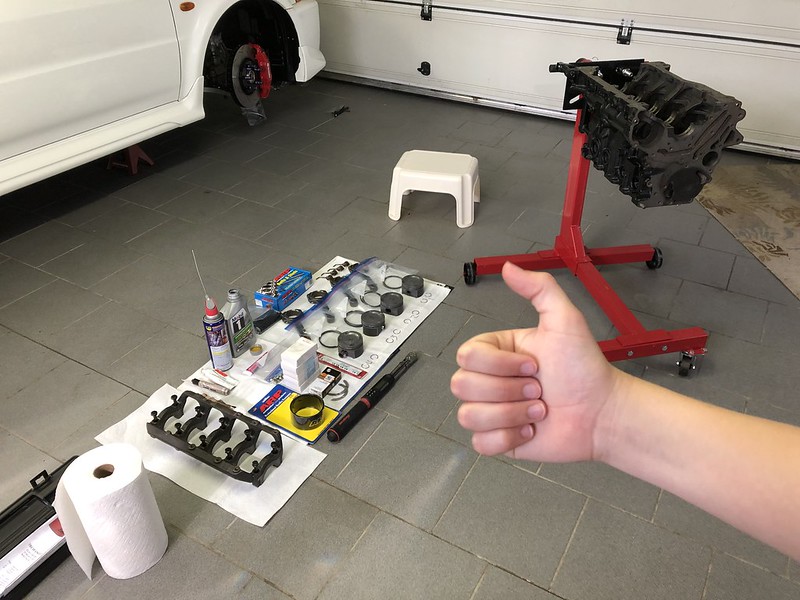
Some work today!
Engine building facility:

Squaring rings:
Looking for .018 gap...:
Disappointing ring grinder:

Piston ring gap complete:

Discussing next step with piston/rod assemling - test fitting:

TimM
Reader
6/4/21 2:11 p.m.
Exciting package arrived from...Australia via Seattle to avoid the 30% customs fee in Germany! New airbox and turbo inlet from ATP:
Unboxing:

Ready for install...we will have to measure for a sizeable K+N filter:

Test fit...clean setup!

TimM
Reader
6/11/21 3:21 p.m.
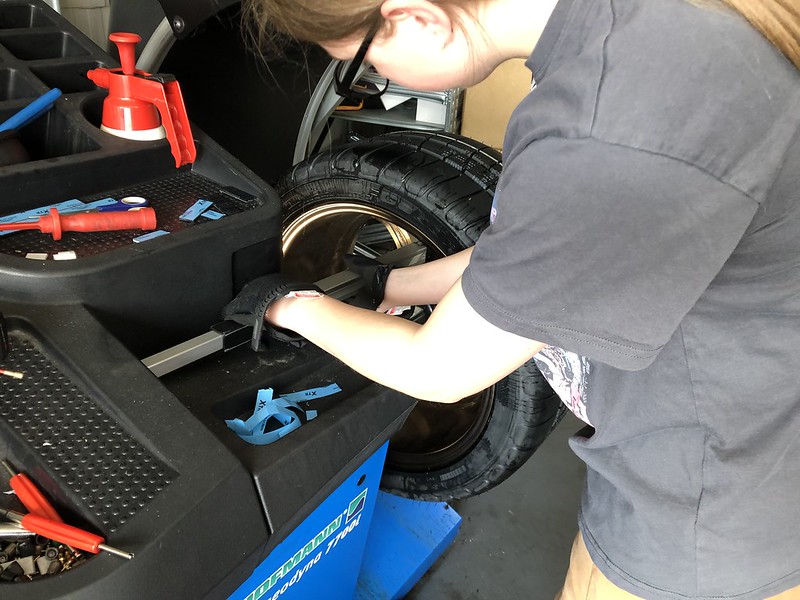
School is out and I got a half a day with the little lady...
Mounted up the Rivals - a bit better than 235 / 6 year old snow tires:

They even let my assistant do the balance - high tech machine makes it tough to error:
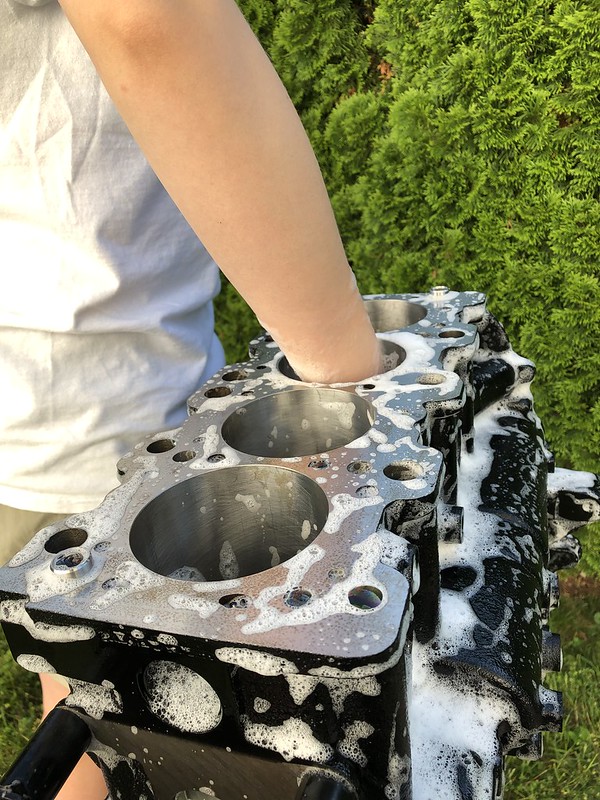
Then to the cylinder case - final cleaning - suds...oil passages and cylinder scrub:

Put my decades old air reservoir to use with 100 psi of free air:

And then my secret weapon (air tank empties quick!) of the hair dryer until the block is nice and hot:
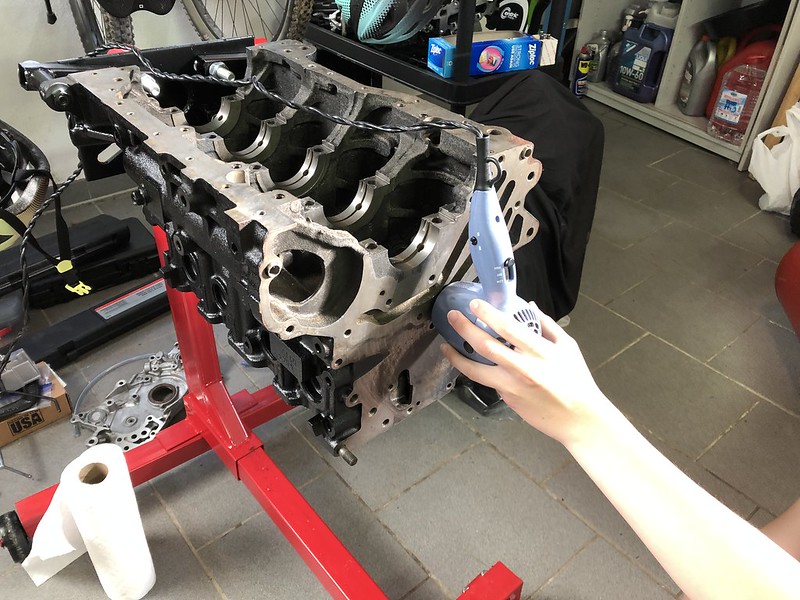
More than a couple war wounds:

None on the assistant!
In reply to TimM :
Did you mount the Rivals on these wheels?

TimM
Reader
6/12/21 12:30 a.m.
Affirm...believe they are 17 X 8's.
Interesting we weighed the wheels and they come in at 22 pounds. Not exactly light...compared to the OEM Subaru STI (2004)...bit of difference at 17.5 pounds. They came on the car and appear to be nearly new other than sitting for 6 years.
In reply to TimM :
Thanks! I'm tire shopping for the DSM & currently have 235/45/17's on 8"-wide Mustang wheels. I was thinking about going up to a 245/40 tire, but was concerned they might be too pinched on the rim.
TimM
Reader
6/12/21 12:21 p.m.
Pete: I've run this size on my Subaru OEM BBS (17 X 7.5) and they performed without issue. Tire Rack shows the ideal wheel size is 8 - 9.5 so I was slightly out of spec, but I had no odd tire wear, etc and ran thru several sets for street and autocross (track days too).
A fun video of my last track day with the Rivals (Daytona - great fun!):
Daytona!
TimM
Reader
6/13/21 3:19 p.m.
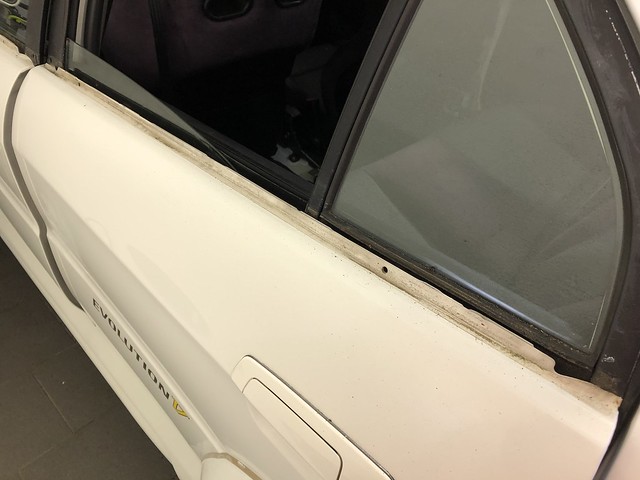
Few minutes on the Evo...popped the new window seals in after cleaning/waxing:


And interior is 95% so in went the new floor mats - a nice splash of color:

TimM
Reader
6/18/21 2:34 p.m.
Thanks to the new Federal Holiday...we got started on the 'bullet':
Piston squirters install:

Crank cleaning:

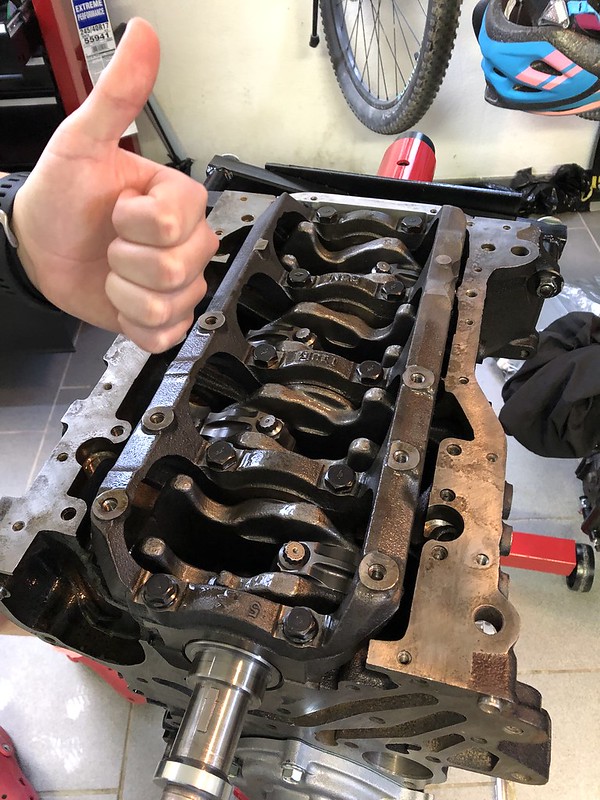
Popping OEM size 1 bearings in place:

Interesting thrust bearing install:

Plastigauge demonstration...first time using:
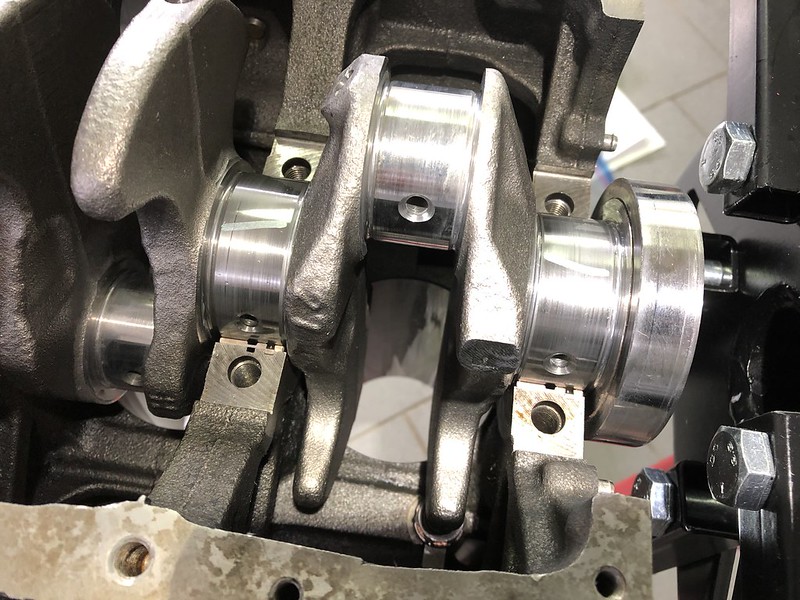
Seemed to work...good clearances:

Crank is done:

Some blood letting occurred...thanks to the floating pin 'C' clips - flat blades makes some deep cuts!:

So far so good...look to hang pistons and ring install tomorrow...
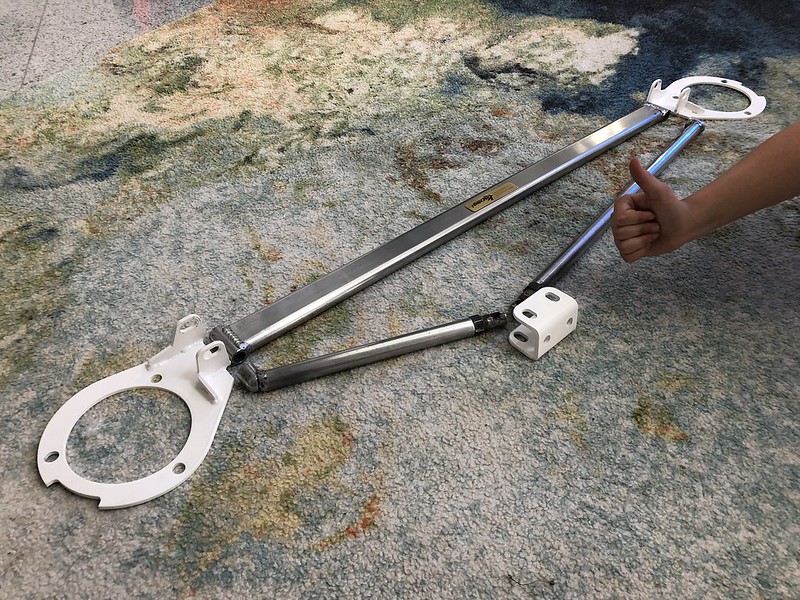
And...package from the Uk arrived to top the engine compartment off...slick Kansai Service strut bar:
I'm so happy to see the younger generation actually dig into cars, especially on this level. Awesome build, you two!
TimM
Reader
6/19/21 2:03 p.m.
Derick: we are giving it our best! I'm looking forward to seeing her smile as it hops the lumps on the ring at full song...with any luck, this year. At the very least, some self confidence and accomplishment will be gained.
Another fun day in the garage...
Threading rings - she got pretty good by #4 nearly performing the install solo!:

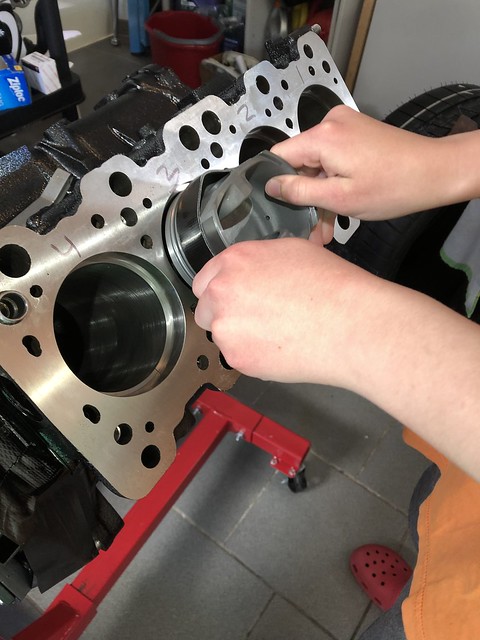
Hanging pistons...took 3 hands:

First piston going in - the ARP ring compressor is expensive, but when you damage a ring using a universal...and spend an extra $100 for another set of rings...:


Finally, temp installed oil pan:
Unfortunately, the supervisor missed a rod cap installed backward resulting in a 'tight' rotating assembly...once discovered the offending rod bearing looked a bit worse for wear...likely putting us on hold until a replacement arrives...
Pivoting to other tasks...completed draining the 7 gallons of 6+ year old fuel - fortunately, no water nor rust flakes came out:

The novelty of the fuel smell wore off...but the persevered with pulling the plugs on both side (saddle tank) - nice to have a drain plug!

Nice comparison between mostly OEM (HKS mushroom filter) to the ATP set up - got to be worth 5 HP?:

Fun shot with the bigger Rival's installed - the refinished calipers add a bit of pop!

Not a bad Father's Day weekend!
TimM
Reader
7/2/21 12:45 p.m.
tremm: Thanks! We like the white, but we may consider a wrap for some temporary fun...down the road decision.
Another task complete...we have brakes!
Took 2.5 containers of RBF600 before the pedal appeared:
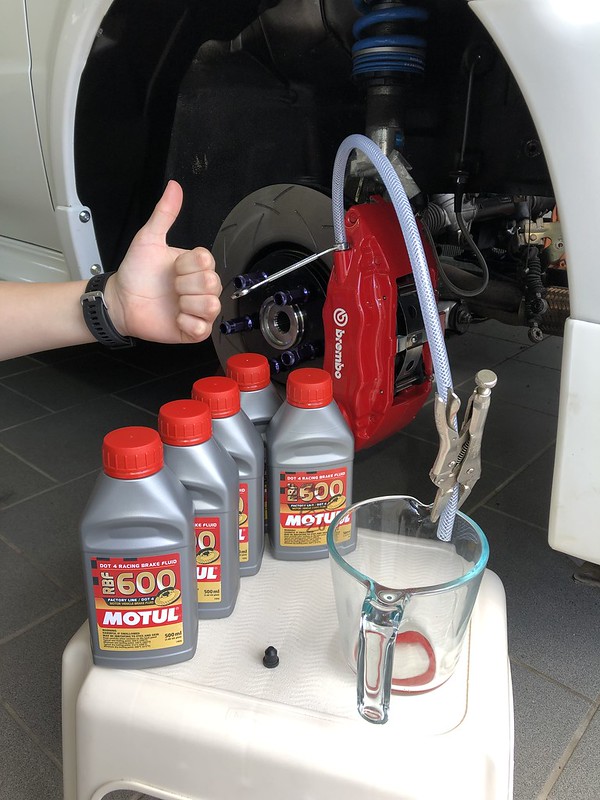
She worked the pedal and I worked the bleeder for this go around:

Also took liberty to fit a portion of the newly acquired strut bar...going to look nice!

And surprisingly the offending rod bearing showed up in the mail...
TimM
Reader
7/3/21 2:24 p.m.
Some real progress! Replacement rod bearing showed up...comparison:

Second time around it went together smoothly and effortlessly - complete bottom end:
and topside:

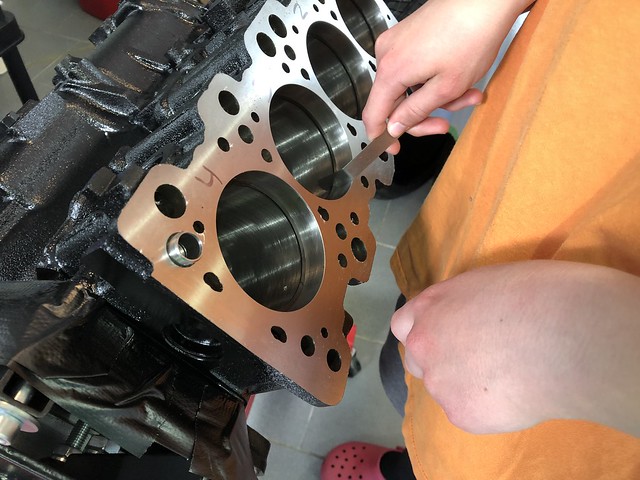
Gasket installation:

Freshly assembled cylinder head:

Long block - starting to look like a real engine!

Happy with the result...
In reply to TimM :
What head gasket are you using?
TimM
Reader
7/4/21 12:11 a.m.
Good question...we bought an Evo 8 gasket kit (OEM Mitsu) and thought it would be backward compatible.
We do see that an EVO 4-7 gasket is also available...wonder what the difference is...or if this is critical...
The head is not fully installed...the ARP head studs washers and the GSC valve springs interfere with each other when sliding the washers in place...so the dremel must come out for the a few scallops on the washers...aftermarket parts. :-)
In reply to TimM :
Oh cool, I hadn't even considered it being OEM. I know there's a couple different FelPro ones the DSM people recommend depending on boost level & it didn't look like one of those, so I was curious if there was a different preferred one in the Evo world.

great build and progress! I cannot wait to do more car things with my daughter, shes almost 3 and already says race car very well.
Notes on the exhaust, its common for Japanese stuff to use 70mm tubing (2.75) and your o2 housing is often going to have small outlet to allow it to bolt onto a stock type connection downpipe. I am not directly in DSM/Mitso circles but I have seen enough to know what to expect.
Your most likely going to have to find a custom matched o2 housing and downpipe combo that is specifically made for 3". I am sure it exists somewhere. I may do some digging for you as well I love this stuff.
Another note...the HKS exhaust you mentioned earlier typically has a built-in inner baffle in the muffler canister that faces against flow and goes down to approximately 2.5". This is done to meet sound reg but have that small muffler look.
Many years ago I was working on an Evo8 and he had brought me some JDM exhaust (for the life of me I cannot remember what it was), had 80mm (3.14") piping, fit and looked great, however I noticed the front resonator went down to approximately 2.25"!!! He later came back and I put in a 3" resonator and he reported much better response. Again I think the choke down was to help meet sound regs of JASMA.