
fanfoy
SuperDork
10/24/19 9:37 p.m.
No idea if anyone is interested in these, but my girlfriend and I decided to make our own little teardrop camper trailer about a year ago and we are seeing the end approaching, so I thought I might make a built thread.
It all started when I chanced on a nice set of used fiberglass 30's style fenders from a commercial teardrop trailer for sale cheap on my local Kijiji. 100$ later, they were ours! (I'll put a photo of my find later)
That got the ball rolling. I wasn't sure if I wanted to build the trailer frame from scratch or build it onto an existing frame. Another chance find on Kijiji made that decision for us when we found a nice camper trailer frame that had been partially restored for sale for 250$. It was the perfect size and I couldn't build a custom frame for that cheap so we bought that.
I took some careful measurements and made a crude design in CAD

With the basic plan hatched, I had some steel and aluminum laser cut to form to start building
Here you see the frame (complete with hooptie temporary fenders) with the aluminum sides when they were delivered.
With this, the real work could begin.
fanfoy
SuperDork
10/24/19 9:41 p.m.
After receiving these parts and using the trailer to go get the 5' x 10' sheet of aluminum that would be needed to complete the roof, I stripped the trailer to begin the steel skeleton that makes this teardrop trailer a little different.


fanfoy
SuperDork
10/24/19 9:52 p.m.
I chose to build a steel skeleton for this trailer after reading about people's experiences living with "normal" teardrop trailers. They all seem to eventually suffer from water leaks because the wooden structure isn't rigid enough and the joints break after a certain time. This seemed logical because you cannot simply build a wooden structure on top of a trailer and expecting it to survive for long. That's the equivalent of submitting a house to a constant earthquake.

At that point, I decided to overcomplicate things my making a sub-frame structure for storage and to bring a solid steel structure to the fenders. I build some sheet metal front storage bins under the frame and build a rear structure to help hold up the rear water tank. You can also notice that I made a center tunnel to let me pass the propane line to the rear kitchen.


I've always wanted one of the "Tag" trailers. I had never considered making one. I've been trying to think up a removable tent/sunshade for my car trailer for a track weekend.
Following.
fanfoy
SuperDork
10/24/19 10:09 p.m.
Because I suck at taking pictures when I am building something, I didn't take a picture of the structure I added to the rear to house the stabilizer feet. But I am happy that they are nicely tucked and hidden at the rear of the trailer. While I was at it, I also added a rear receiver tube to bring accessories.
Once I had finished the steel skeleton, I painted with two different treatments. Since we would be touching the inside steel skeleton when inside, I decided to paint it with a cold-galvanizing paint from Walter. I really like that stuff because it is very resistant and it is NSF certified for food application so we can lick it if we want. I painted the bottom part with normal rustoleum on the inside and gravel-guard on the outside to give me a little more protection from stone chips.

With the steel skeleton complete, I could start closing up the underside of the trailer. For this, I used some Coroplast plastic sheets. I love the impact resistance of that stuff and it is very light. To make sure not to get any little critters inside, I taped off all the edges.

And with that done, I could start the wiring. I kept it pretty basic with a simple 12V system to power everything. There are interior lights, an inside power outlet, a roof fan and the rear water pump. I passed the wiring all in the floor and made it terminate at a boat terminal block. I really like how that keeps everything nice and clear and clean.

Terrible picture I know. But that's the only one I have.
I'm in for just about any build thread. This looks cool, carry on!
fanfoy
SuperDork
10/24/19 10:16 p.m.
Next part was to complete the floor of the trailer. It started with 2" thick foam insulation under the sleeping area. You can see the water tank in the back.

With that in place, I could install the wooden floor. I took a sheet of deck plywood for this because of the really nice smooth surface it gives and because of the oversized dimension of the trailer. It it 56" wide inside. Complete with little access door for the electrical terminal block in the front.

fanfoy
SuperDork
10/24/19 10:28 p.m.
In the previous picture, you could see the many wooden cross-braces that I installed between the two main "hoops". These are to hold the roof's inner and outer panels. I had to install these before the walls because they are screwed and glued to the steel "hoops" and I needed the access.
I used the laser-cut aluminum panels to mark out the inner plywood walls. From the inside, the wall are made like this: steel skeleton > 1/2" thick complete plywood > 3/4" thick plywood contour > aluminum sheet. The pre-cut panels allowed me to make the walls calmly on a flat surface.


It was then simple to screw them onto the steel skeleton.

More to come later...

Hasbro
SuperDork
10/24/19 11:40 p.m.
Very very cool. What is the total length and what is the length inside the sleeping area?
fanfoy
SuperDork
10/25/19 7:14 a.m.
With an audience of 2, I'll keep going. 
In reply to Hasbro :
The overall lenght is 12'-6" and the sleeping area in 80" long by 56" wide. The larger sleeping area was a must for this build. The classic teardrop trailers built on a 4x8 trailer simply don't have enough room inside for my taste.

johndej
HalfDork
10/25/19 7:30 a.m.
Haha, glad you didn't wait for a reply before moving forward...watching also!
Outstanding. I love the idea of tear drops, but the spousal unit requests something larger with a potty when it comes time to replace our pop up. Please keep showing as much detail as you can.
fanfoy
SuperDork
10/25/19 7:48 a.m.
So with the walls up, I finished passing the wiring thru the walls.

At that point, I realized the the roof curvature was too great to be able to install the roof fan. So I made a wooden box to provide a flat plane for it's installation.

And installed it to the roof crossbars


Ian F
MegaDork
10/25/19 7:55 a.m.
Cool. Interesting construction choices. I've pondered building a tear-drop style trailer. Something light enough that I could tow behind my TDI, but as a "mini toy-hauler" for hauling my mtn bikes to bike parks. Now you have me thinking about designing one again since technology and ideas have changed since I last sketched one out...
fanfoy
SuperDork
10/25/19 7:55 a.m.
Glad people are enjoying it. Sorry for the bad pictures. I suck at taking pictures while I build something.
Im in! I knew there was a reason I never sold a little utility trailer I inherited.
Definitely interested! Love DIY teardrop builds.
I have contemplated building one to tow behind the G35 for track events. Cool build, I'll be following with interest.
Love it ,
There are a lot of plans on the net from old Popular Mechanic magazines to give you ideas ,
How much do you think it will weigh ?
And where are you hiding the spare tire ?
Cheers
Looks great, and interested to see how it all comes together. I helped my uncle build one (normal wood construction). He towed it with his Forester, and just sold it last year after 4 or 5 years of problem free use. (My aunt wanted a bigger trailer with a bathroom, very high falutin')
fanfoy
SuperDork
10/25/19 2:11 p.m.
In reply to californiamilleghia :
I'm expecting somewhere around 1750-2000 pounds total. A lot depends on the accessories I'll put in.
And I'm not sure about the spare tire. I've towed quite a bit and I've never needed one. And the spare tire is usually just as cracked as the other two. If I change my mind, I would have room under the tongue.
But I plan on fitting bigger wheels than what you see in the pictures, so I don't know.
fanfoy
SuperDork
10/25/19 2:17 p.m.
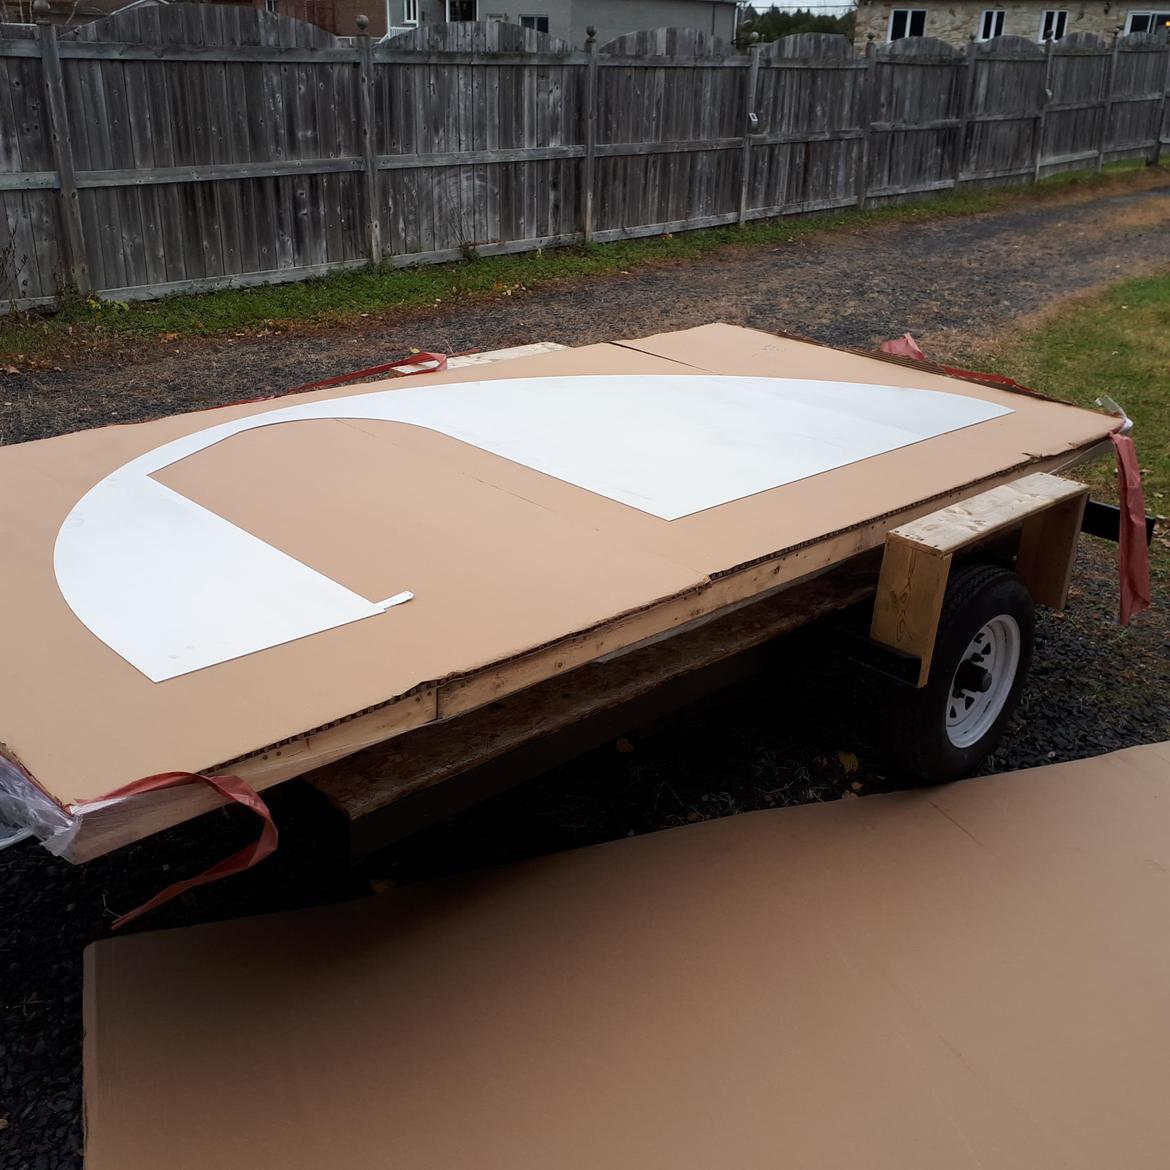
The next part of the build caused a lot of problems and didn't go according to plan. Usually, the roof interior panel is made from Lauan plywood. I tried that and failed. The first sheet simply cracked and the second refused to bend tight enough to go inside. I was at a lost for a while until my girlfriend saw some leftover Coroplast in the garage.

It didn't have the look we were looking for initially, but with a bit of vintage wallpaper looking vinyl, I'm happy how it turned out.

That's an up to date picture from this morning.
fanfoy
SuperDork
10/25/19 2:23 p.m.
After this, we finished the wall and roof insulation. They are all insulated with 3/4" foam.

With that in place, we glued the first aluminum skin onto the wall. We used Gorilla Glue. for that. That decision was made after reading a very good thread on a knife-making website where they tested a bunch of adhesive for join metal to wood. And it was a very strong performer, especially for the price. But I still decided to add a few screws to hold the panels in place.

First side above and second side below


SVreX
MegaDork
10/25/19 3:56 p.m.
I used to have a teardrop.
Mine was stainless steel skinned, and looked gorgeous. But it was polished, and highly reflective.
I pulled mine behind my 1960 El Camino- long hauler in the Power Tour.
It was always causing strong glare to people behind me. It was a hazard.
Dont use a highly reflective surface on the exterior of the roof skin.
Looking great! Carry on...


