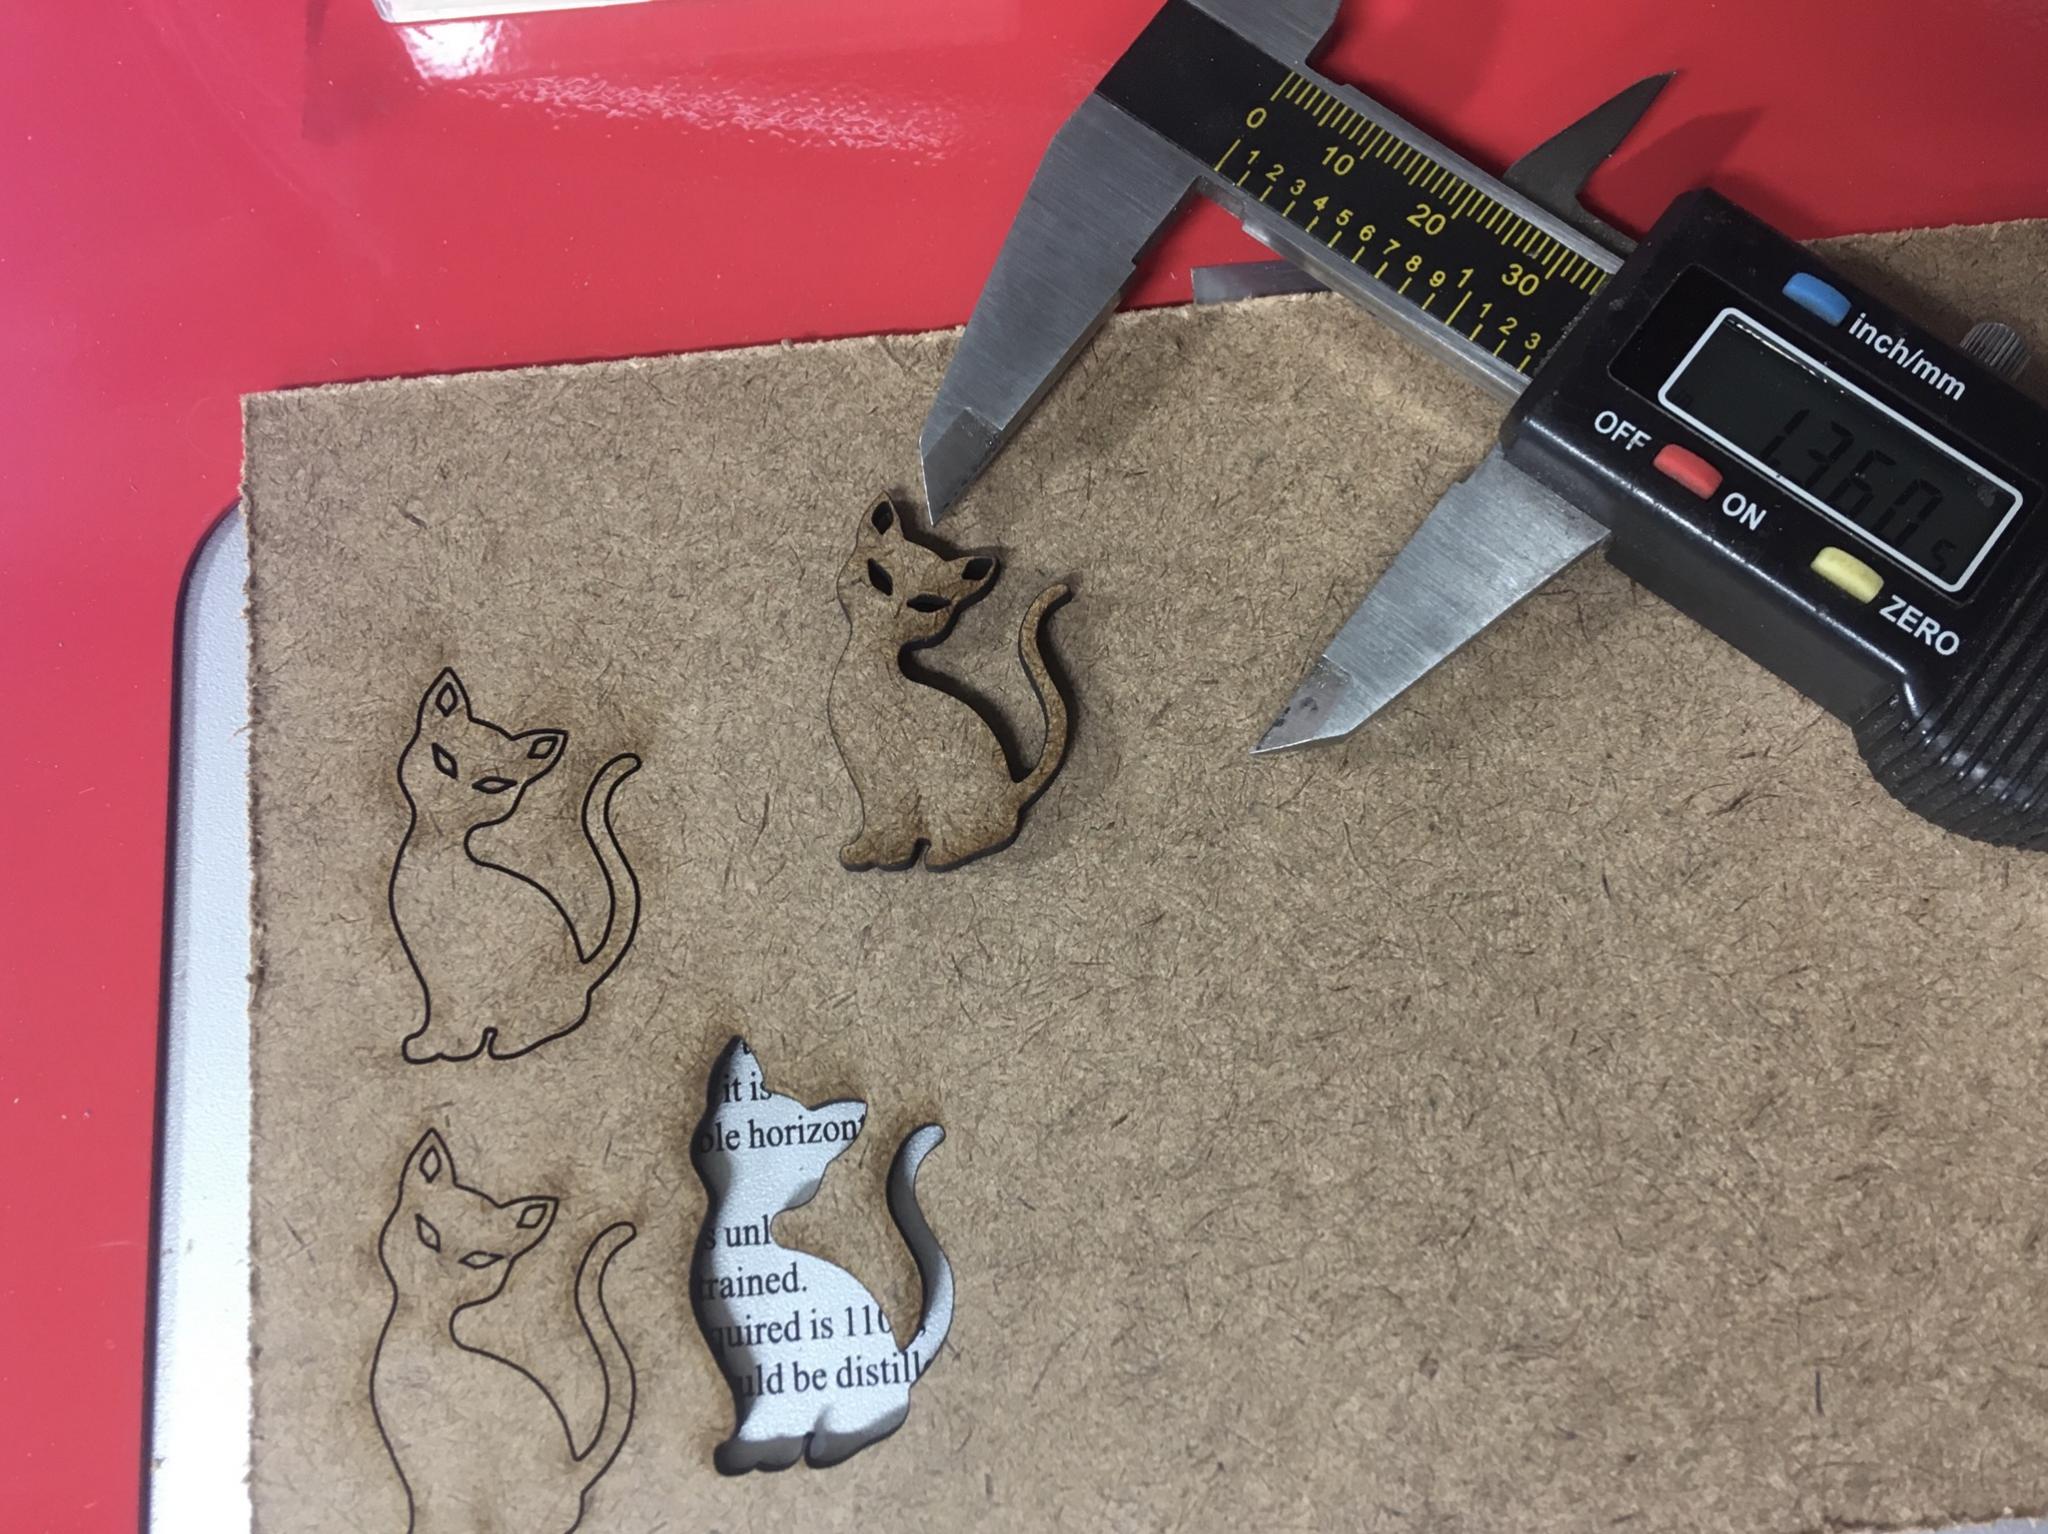
Earlier this year I picked up a little desktop laser engraver and proceeded to play with it. It was interesting and fun, but it had limitations. Mostly power - the little diode laser it uses can only pew pew so hard, and because it's in the visible spectrum it doesn't like to mess with translucent or transparent things. Still, it was enough to whet my appetite. I learned the sort of thing
A friend has a Glowforge which is a nicely integrated CO2 unit, but they're spendy. But there's a cheap Chinese engraver called a K40 that's available in a bunch of almost-identical variations. You can pick one up for under $400 shipped. A 40W invisible laser that's made to the lowest possible price point, what could go wrong?
I got a royalty check in the mail for some books I wrote nearly a decade ago, and I decided that if the publisher had sent me a laser cutter I would have been overjoyed. So I finally decided to pull the trigger. This is my story of learning this tool. I may talk like I know what I'm doing, but really I'm making this up as I go.
There are two ways I can proceed here. First option is to buy the cheapest option and learn a bunch of lessons. Second option is to buy one with the plan to upgrade it right from the start. I went for the second option because the weak points are pretty well known, and it minimizes the potential for fire/death/accidental holes/asphyxiation/etc.
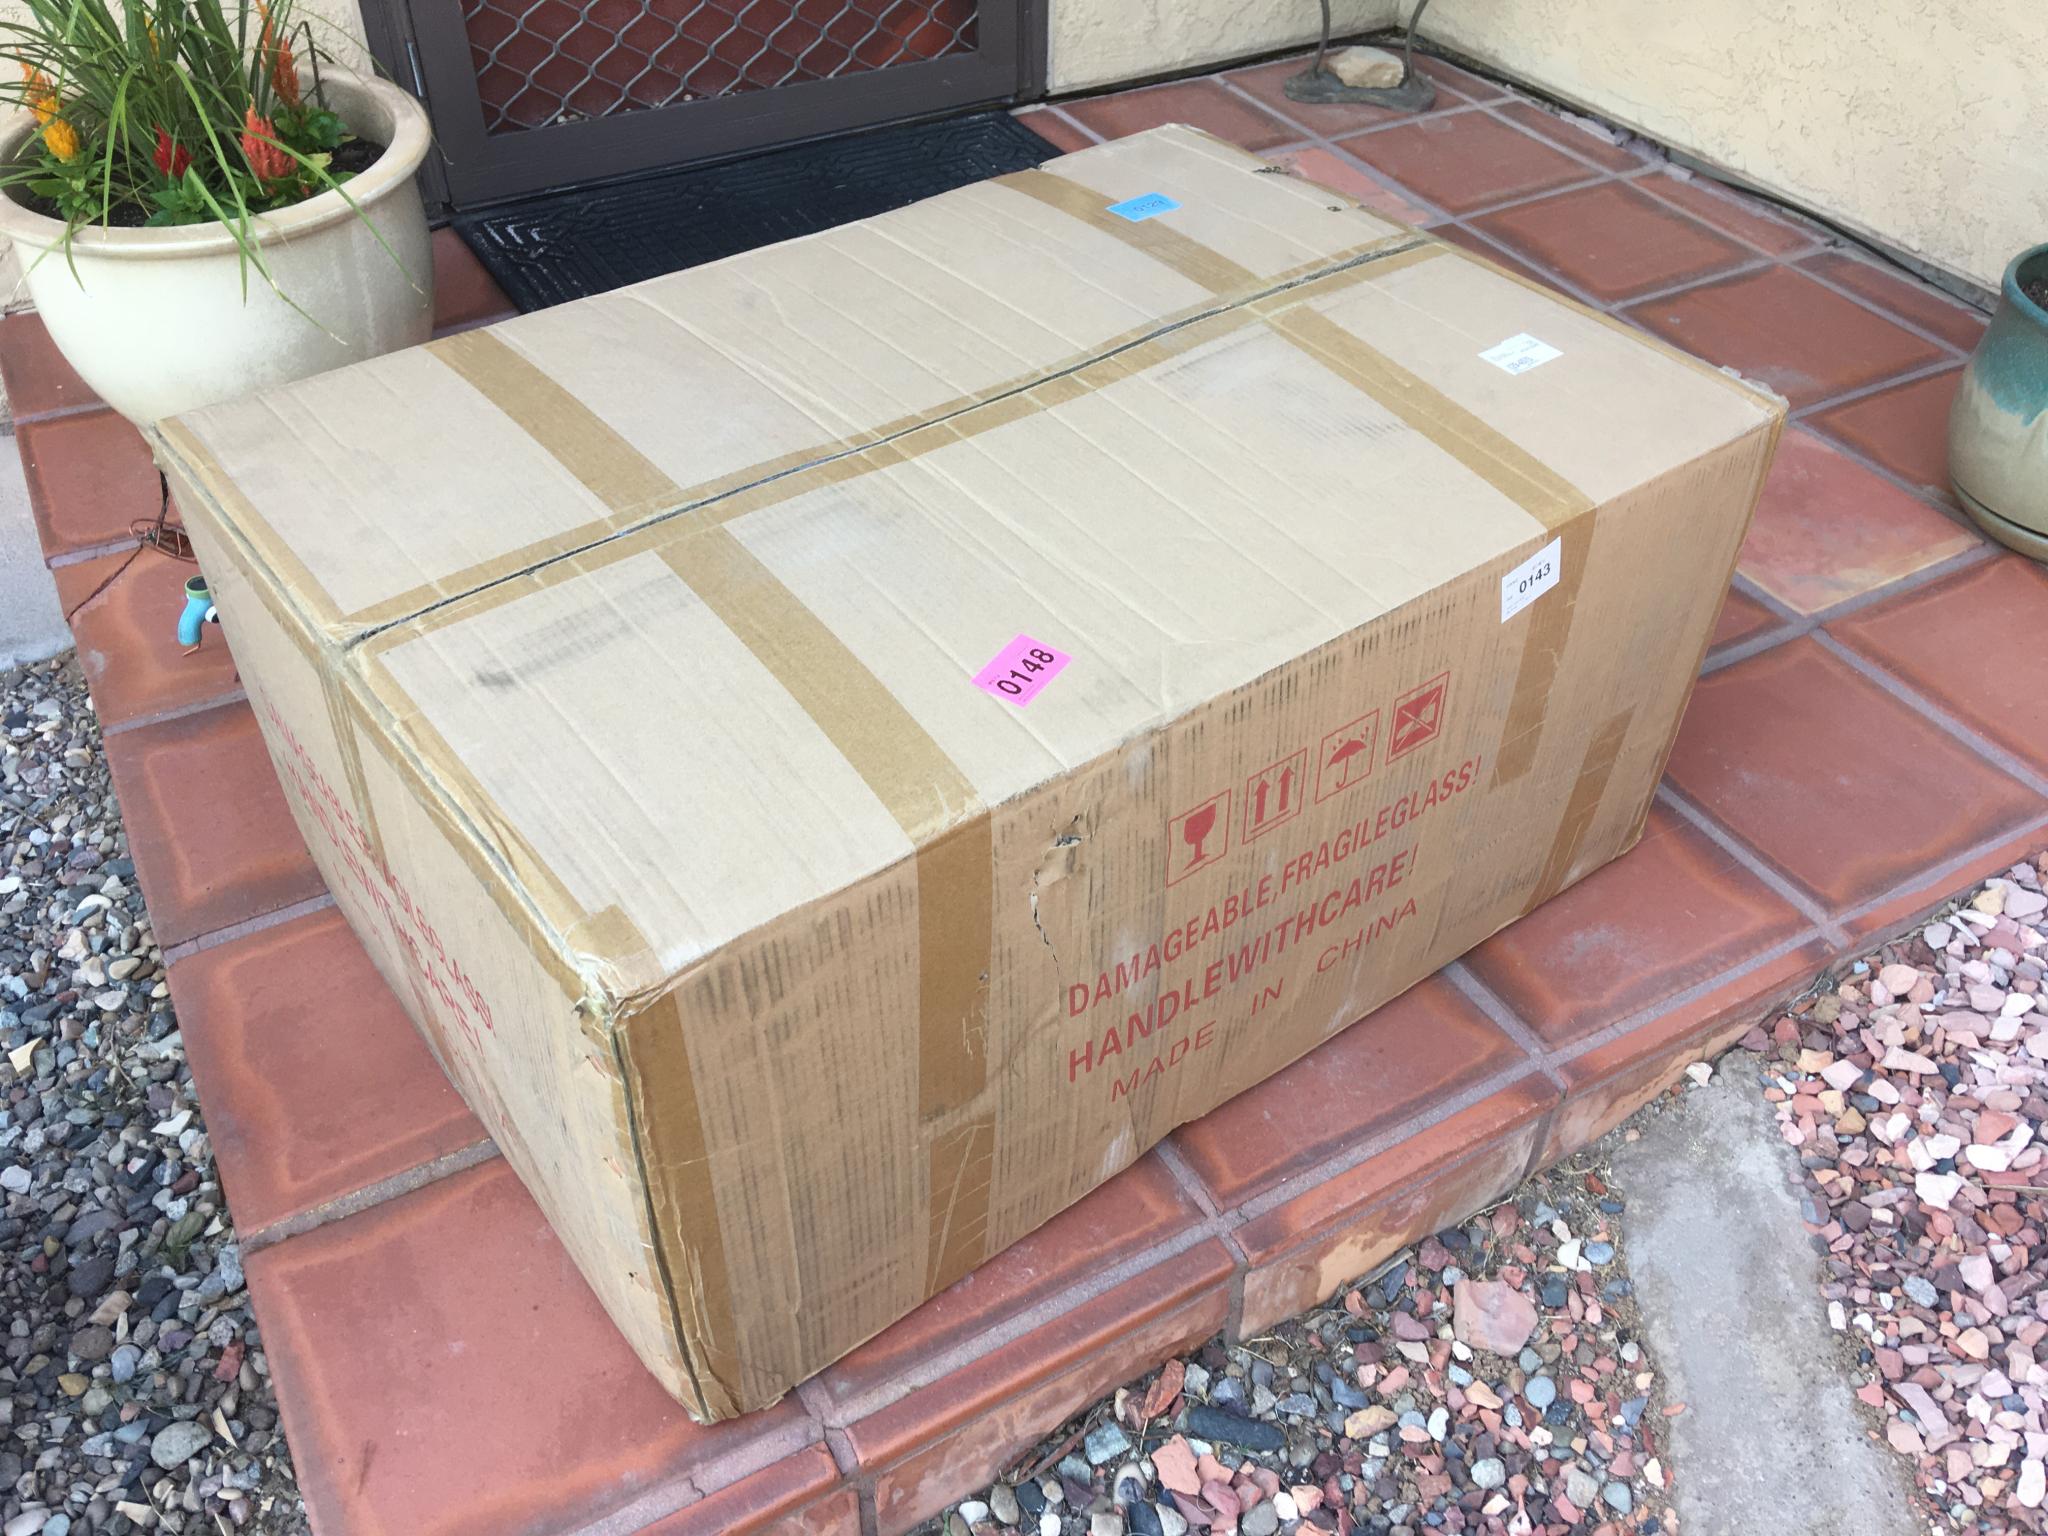
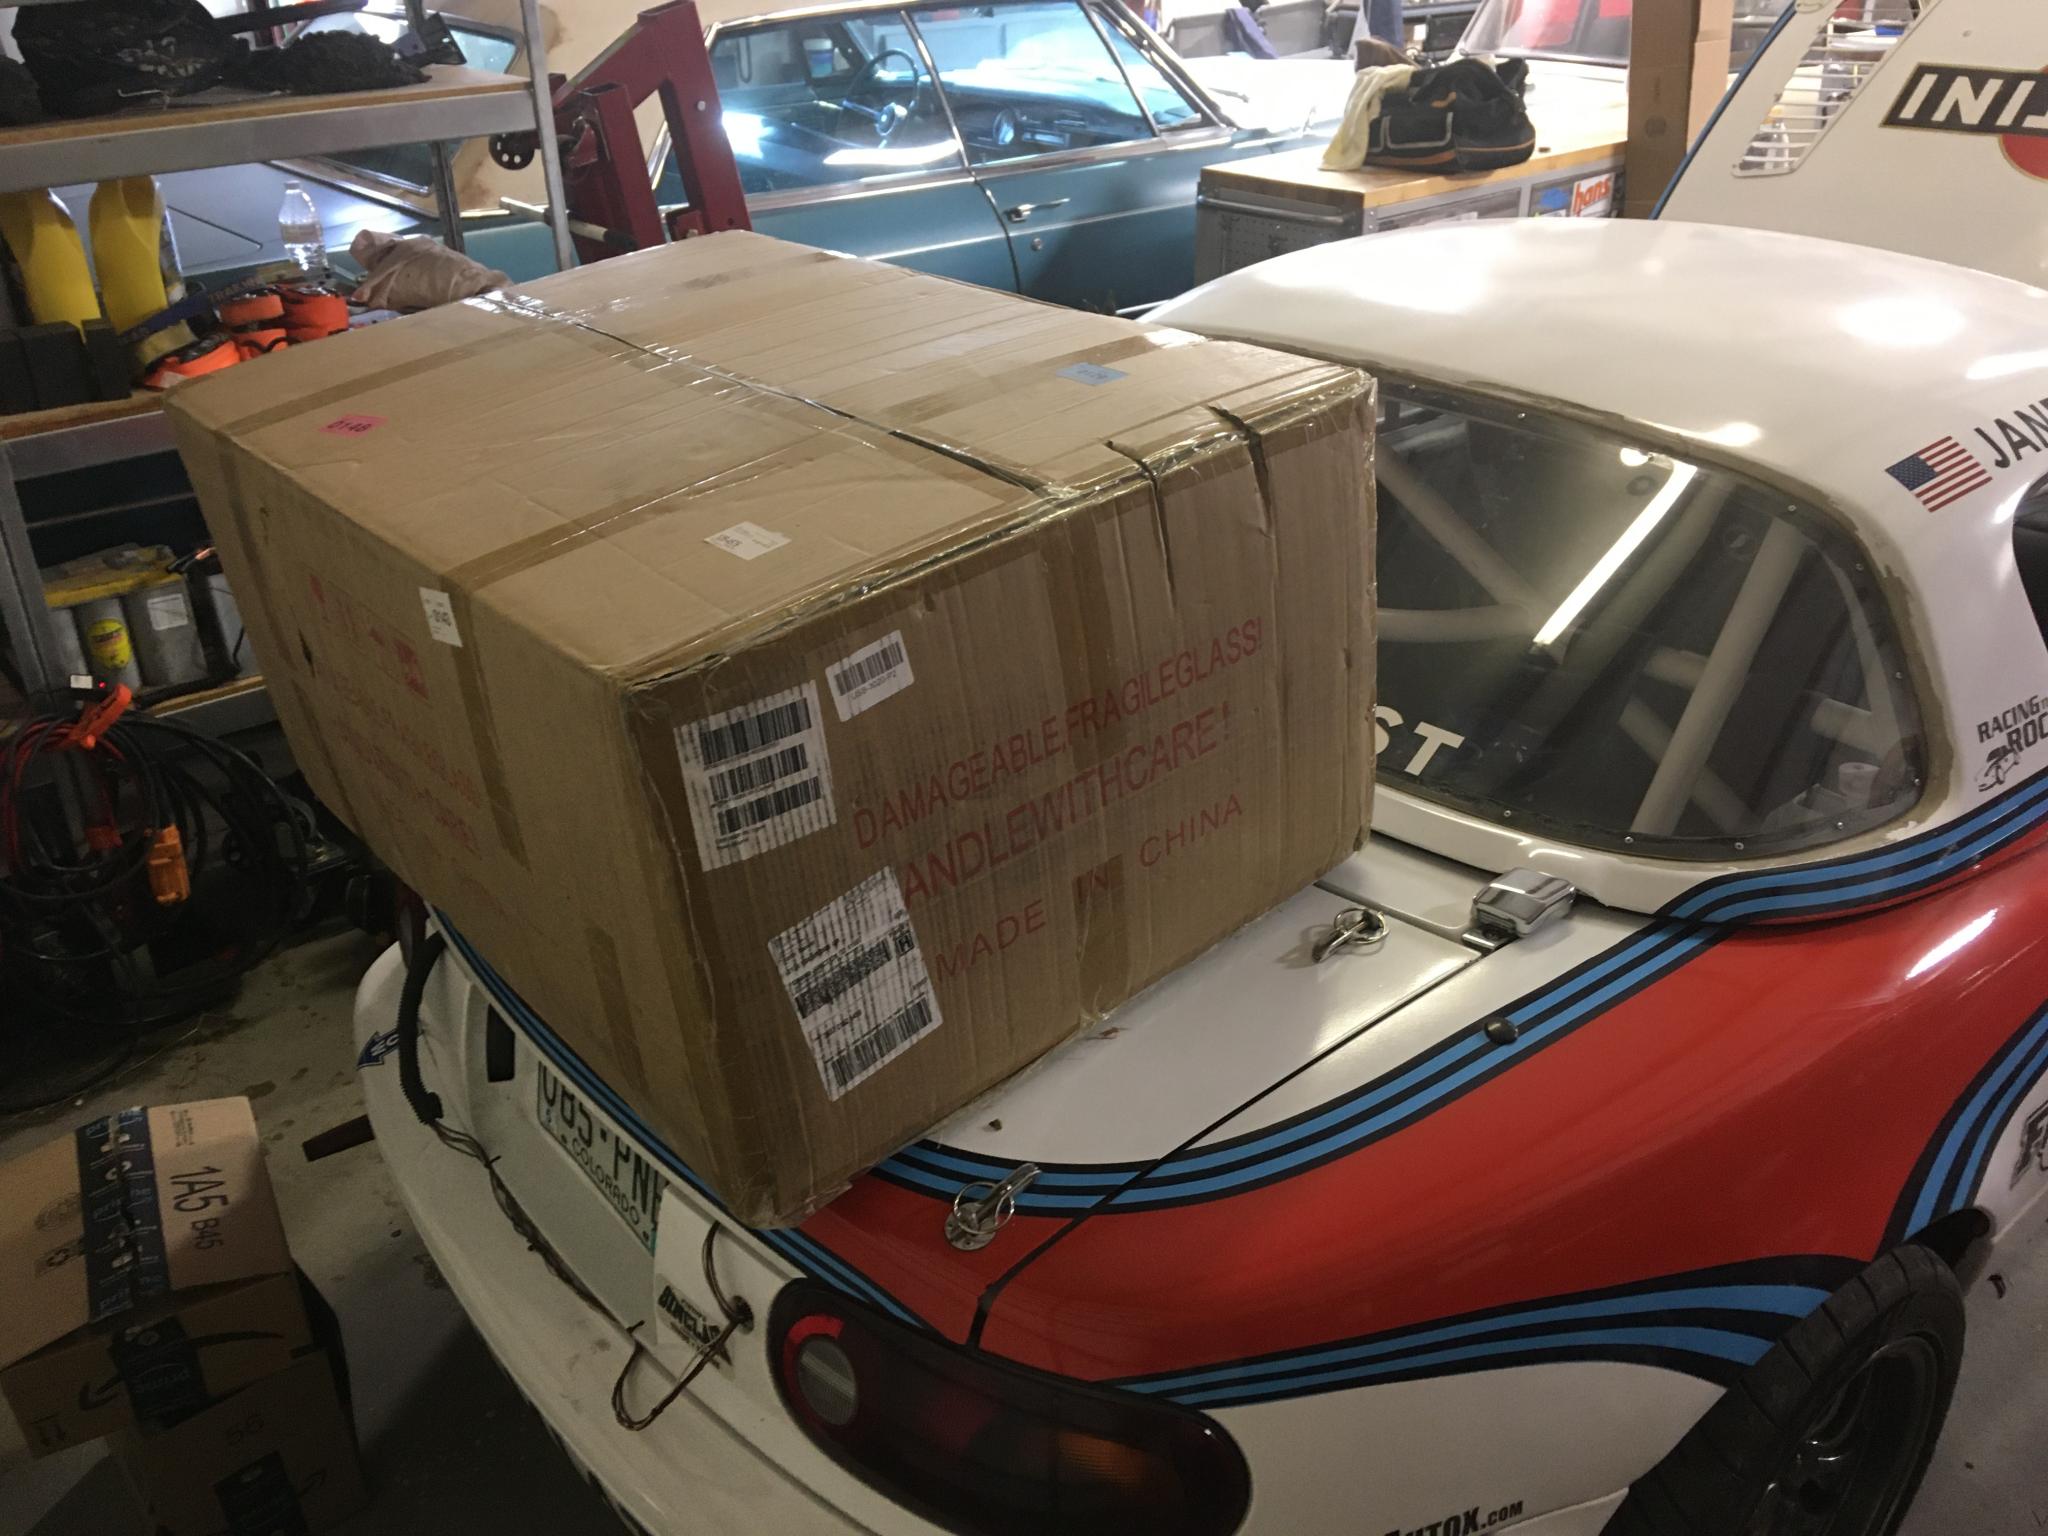
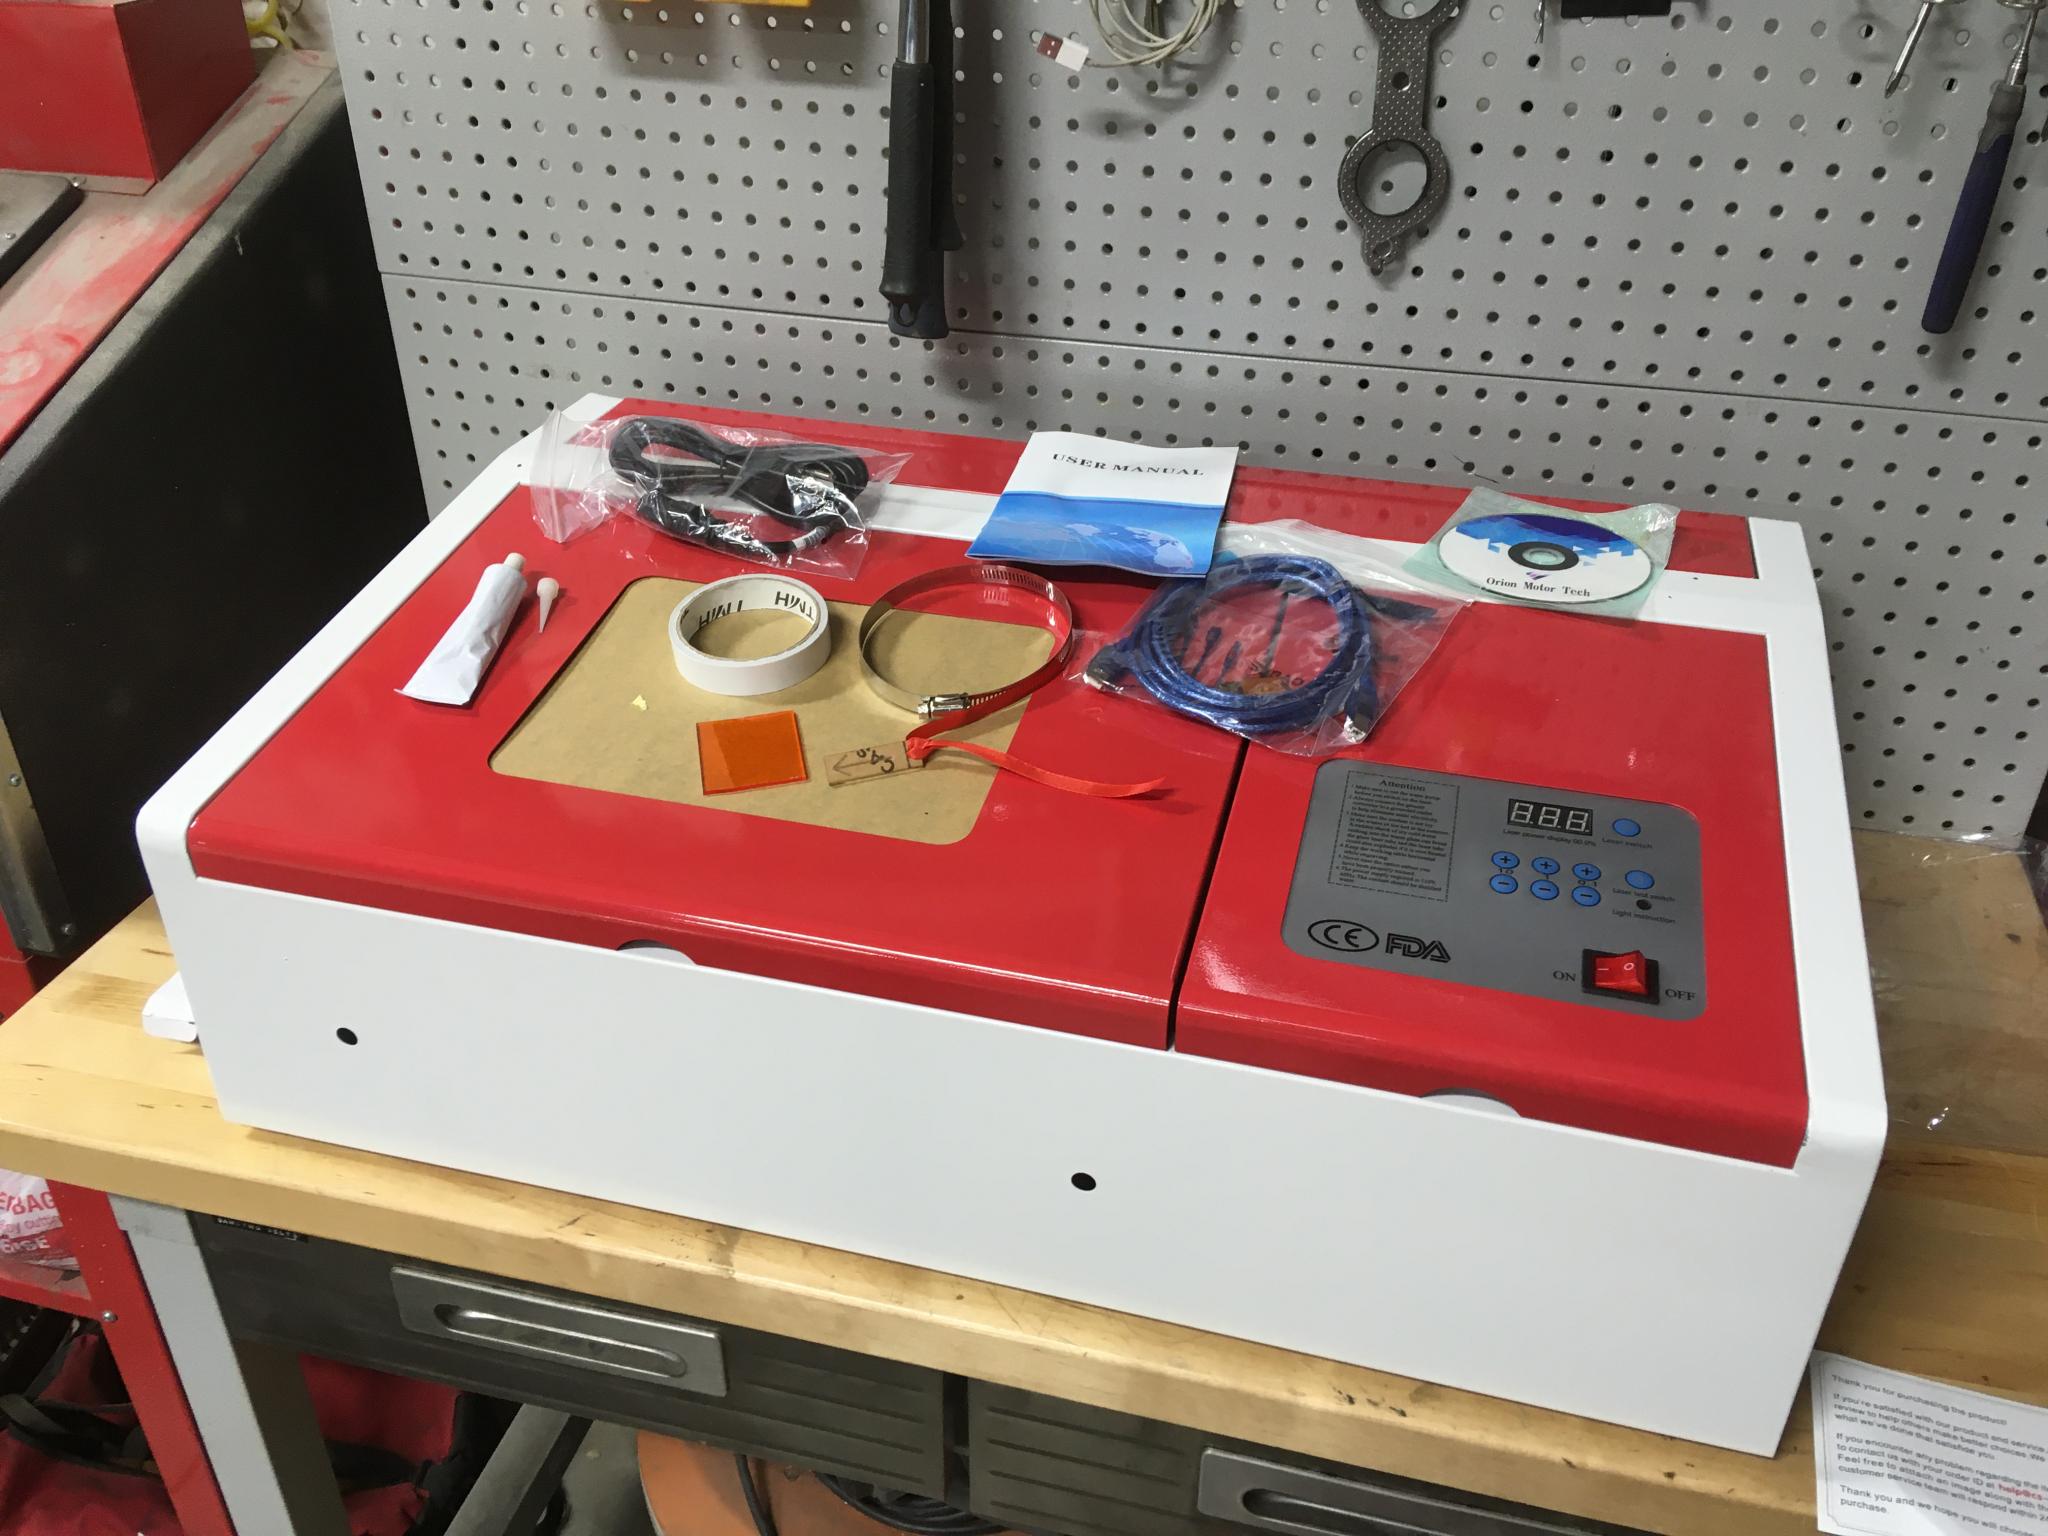
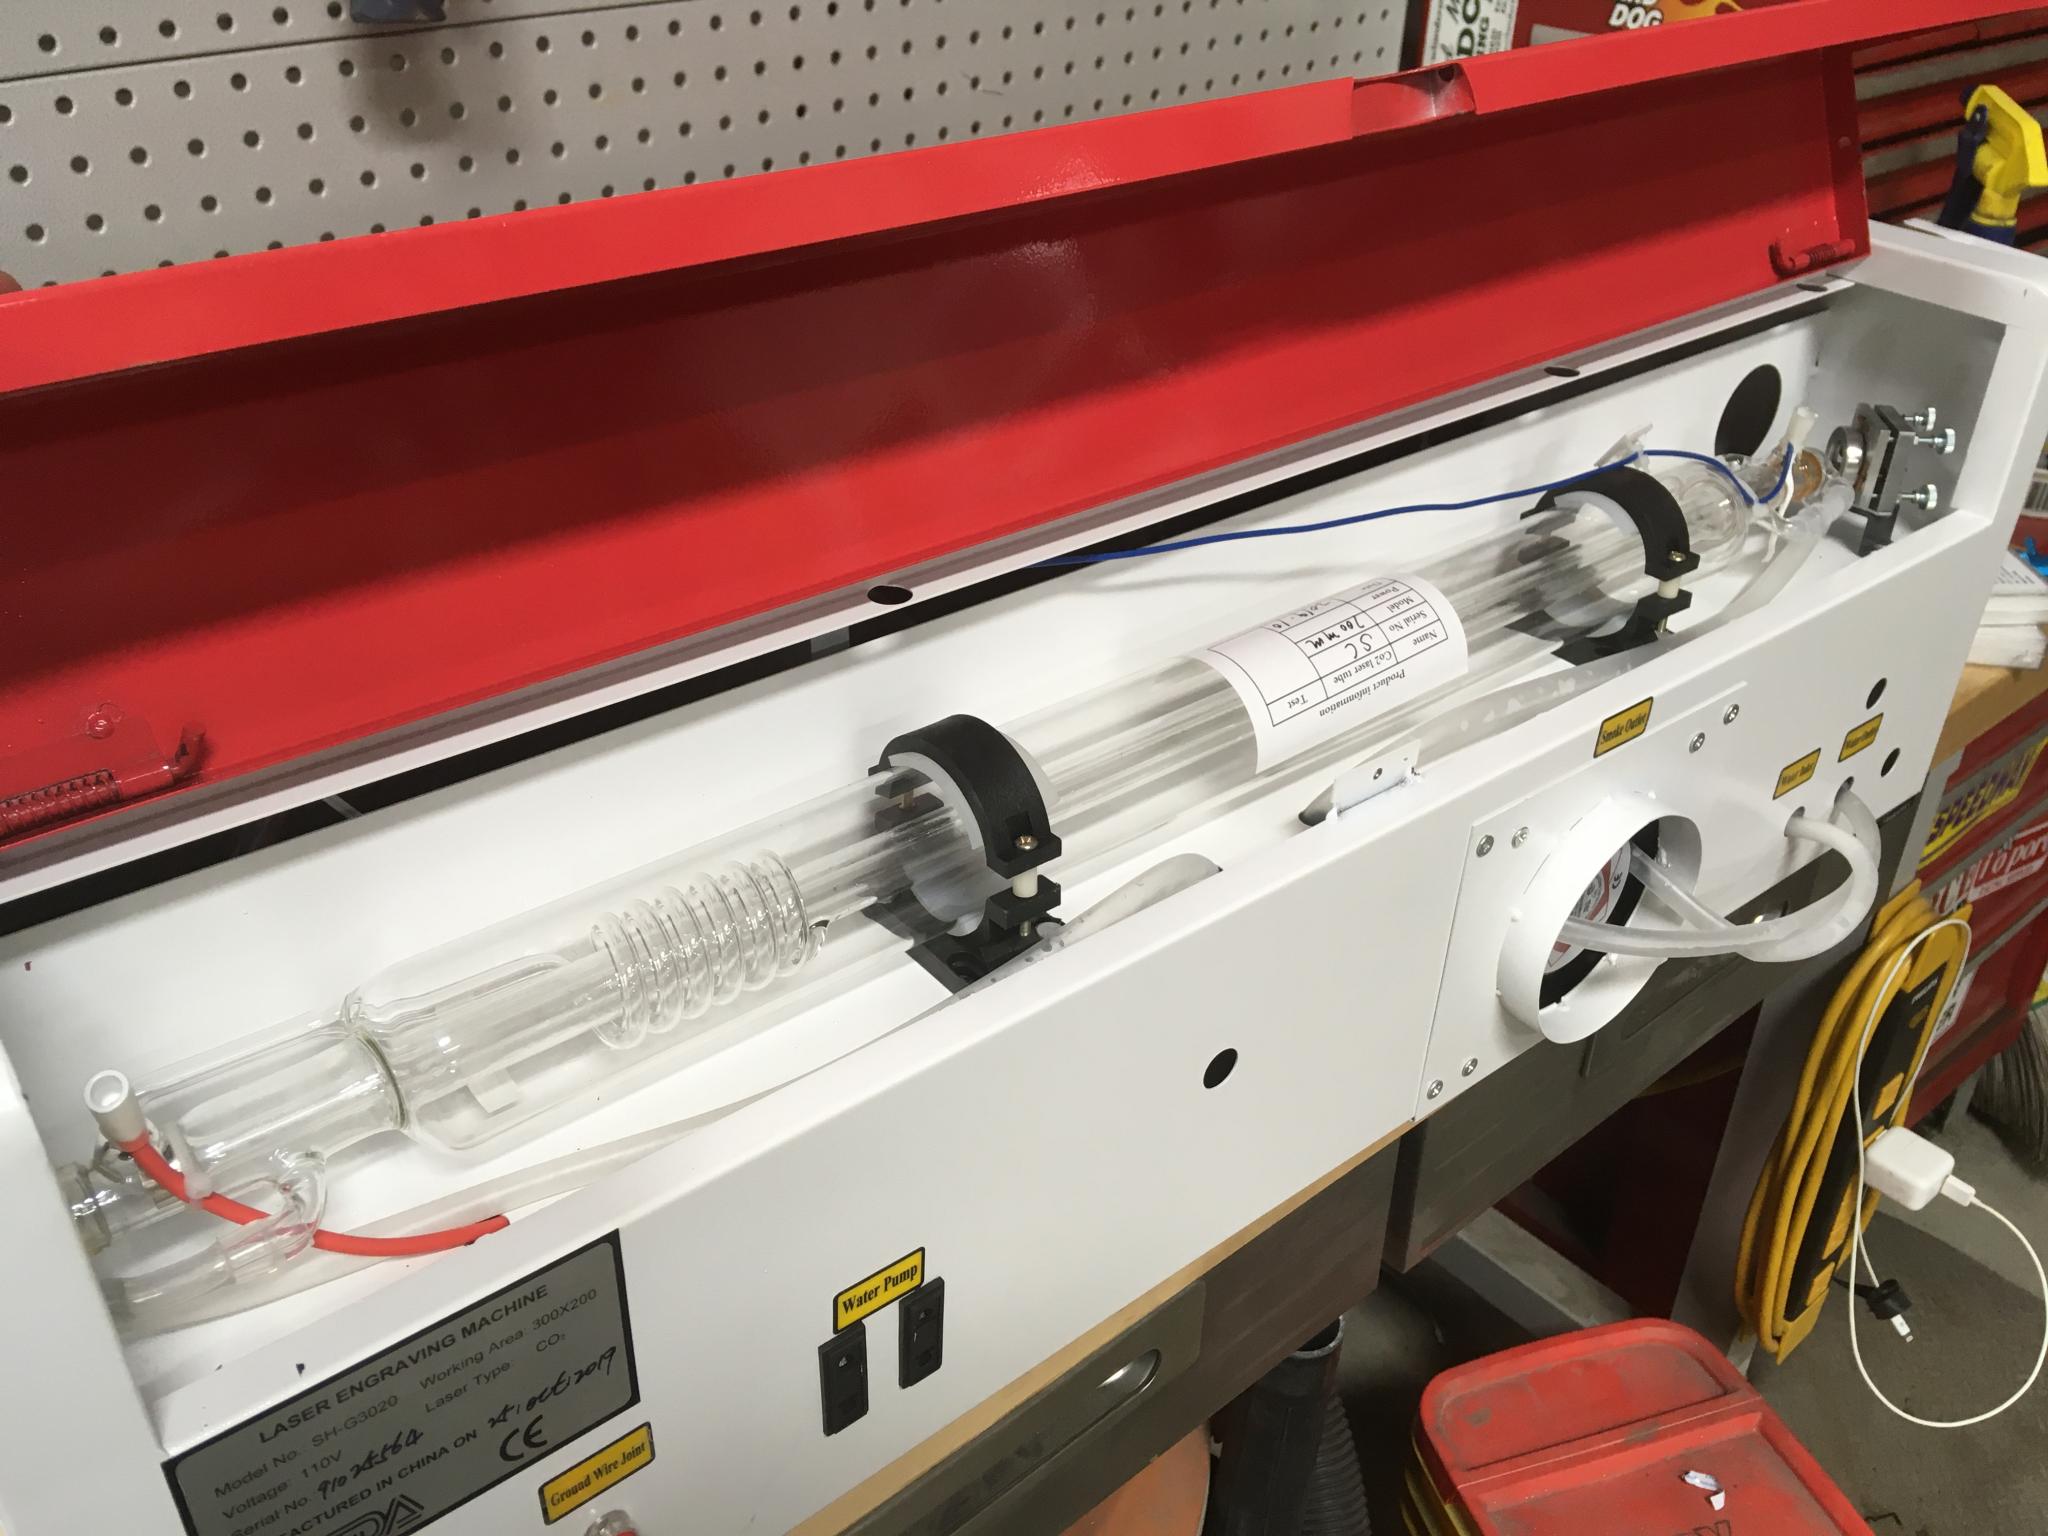
First, the K40 itself. I went to Amazon because the parts ship from the US (shipping costs from China directly make Alibaba the expensive option) and because I could rely on a certain level of confidence thanks to reviews. I did choose to not go with "LATEST 2020 VERSION! NEW!" because of my planned upgrade path.
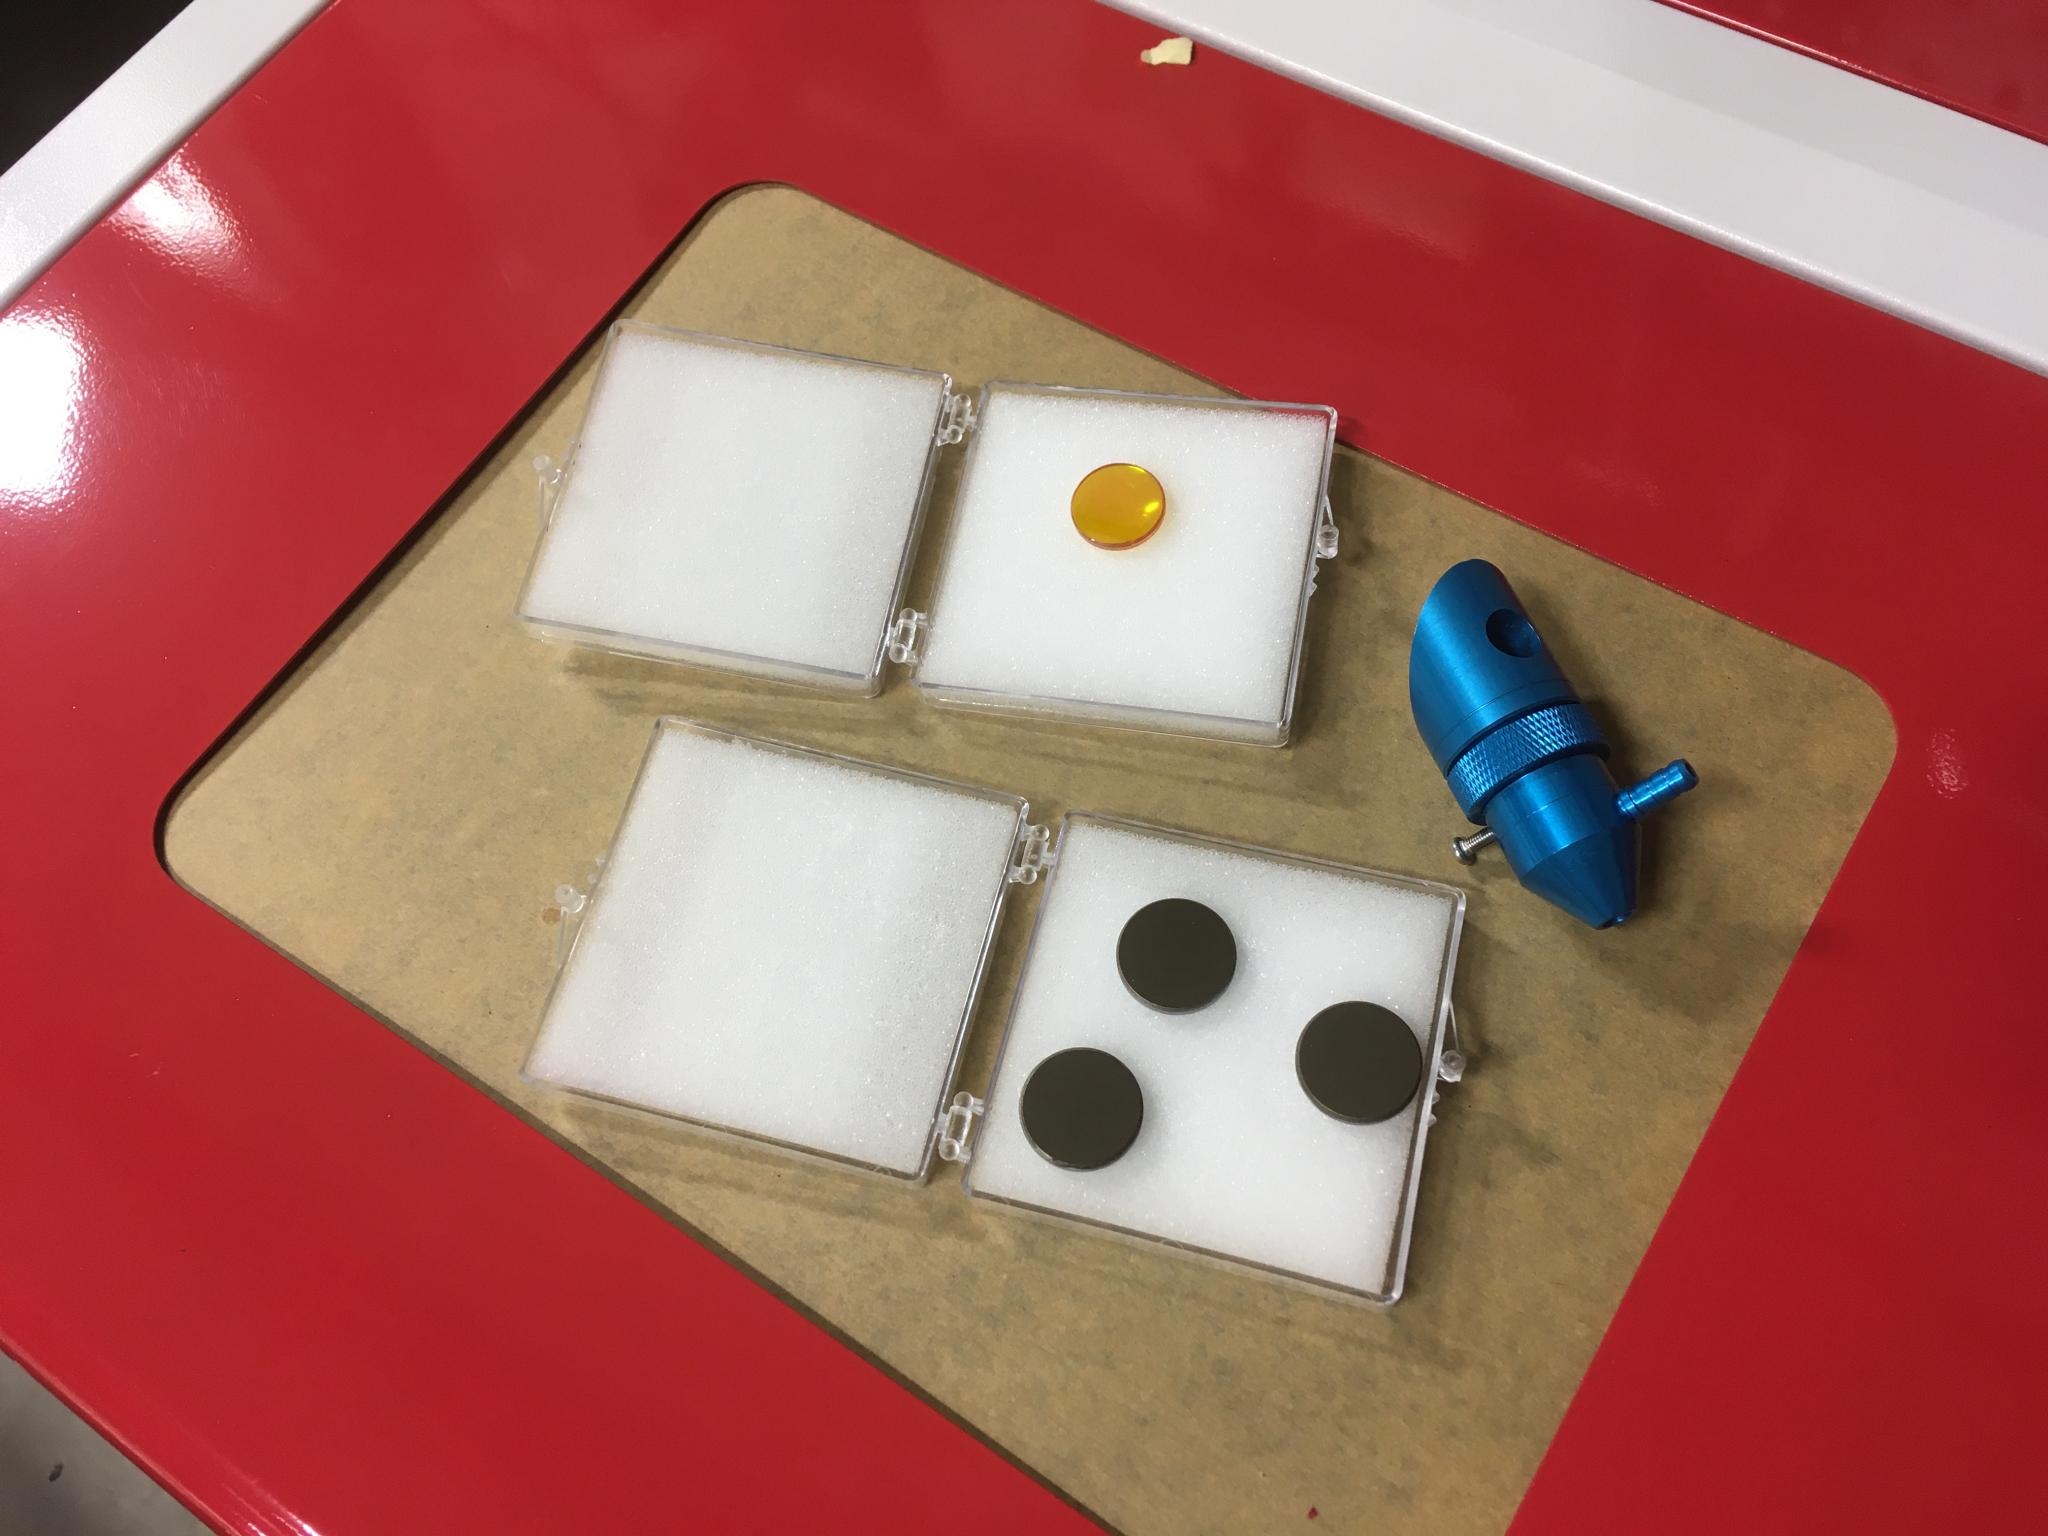
I also picked up the following upgrade parts:
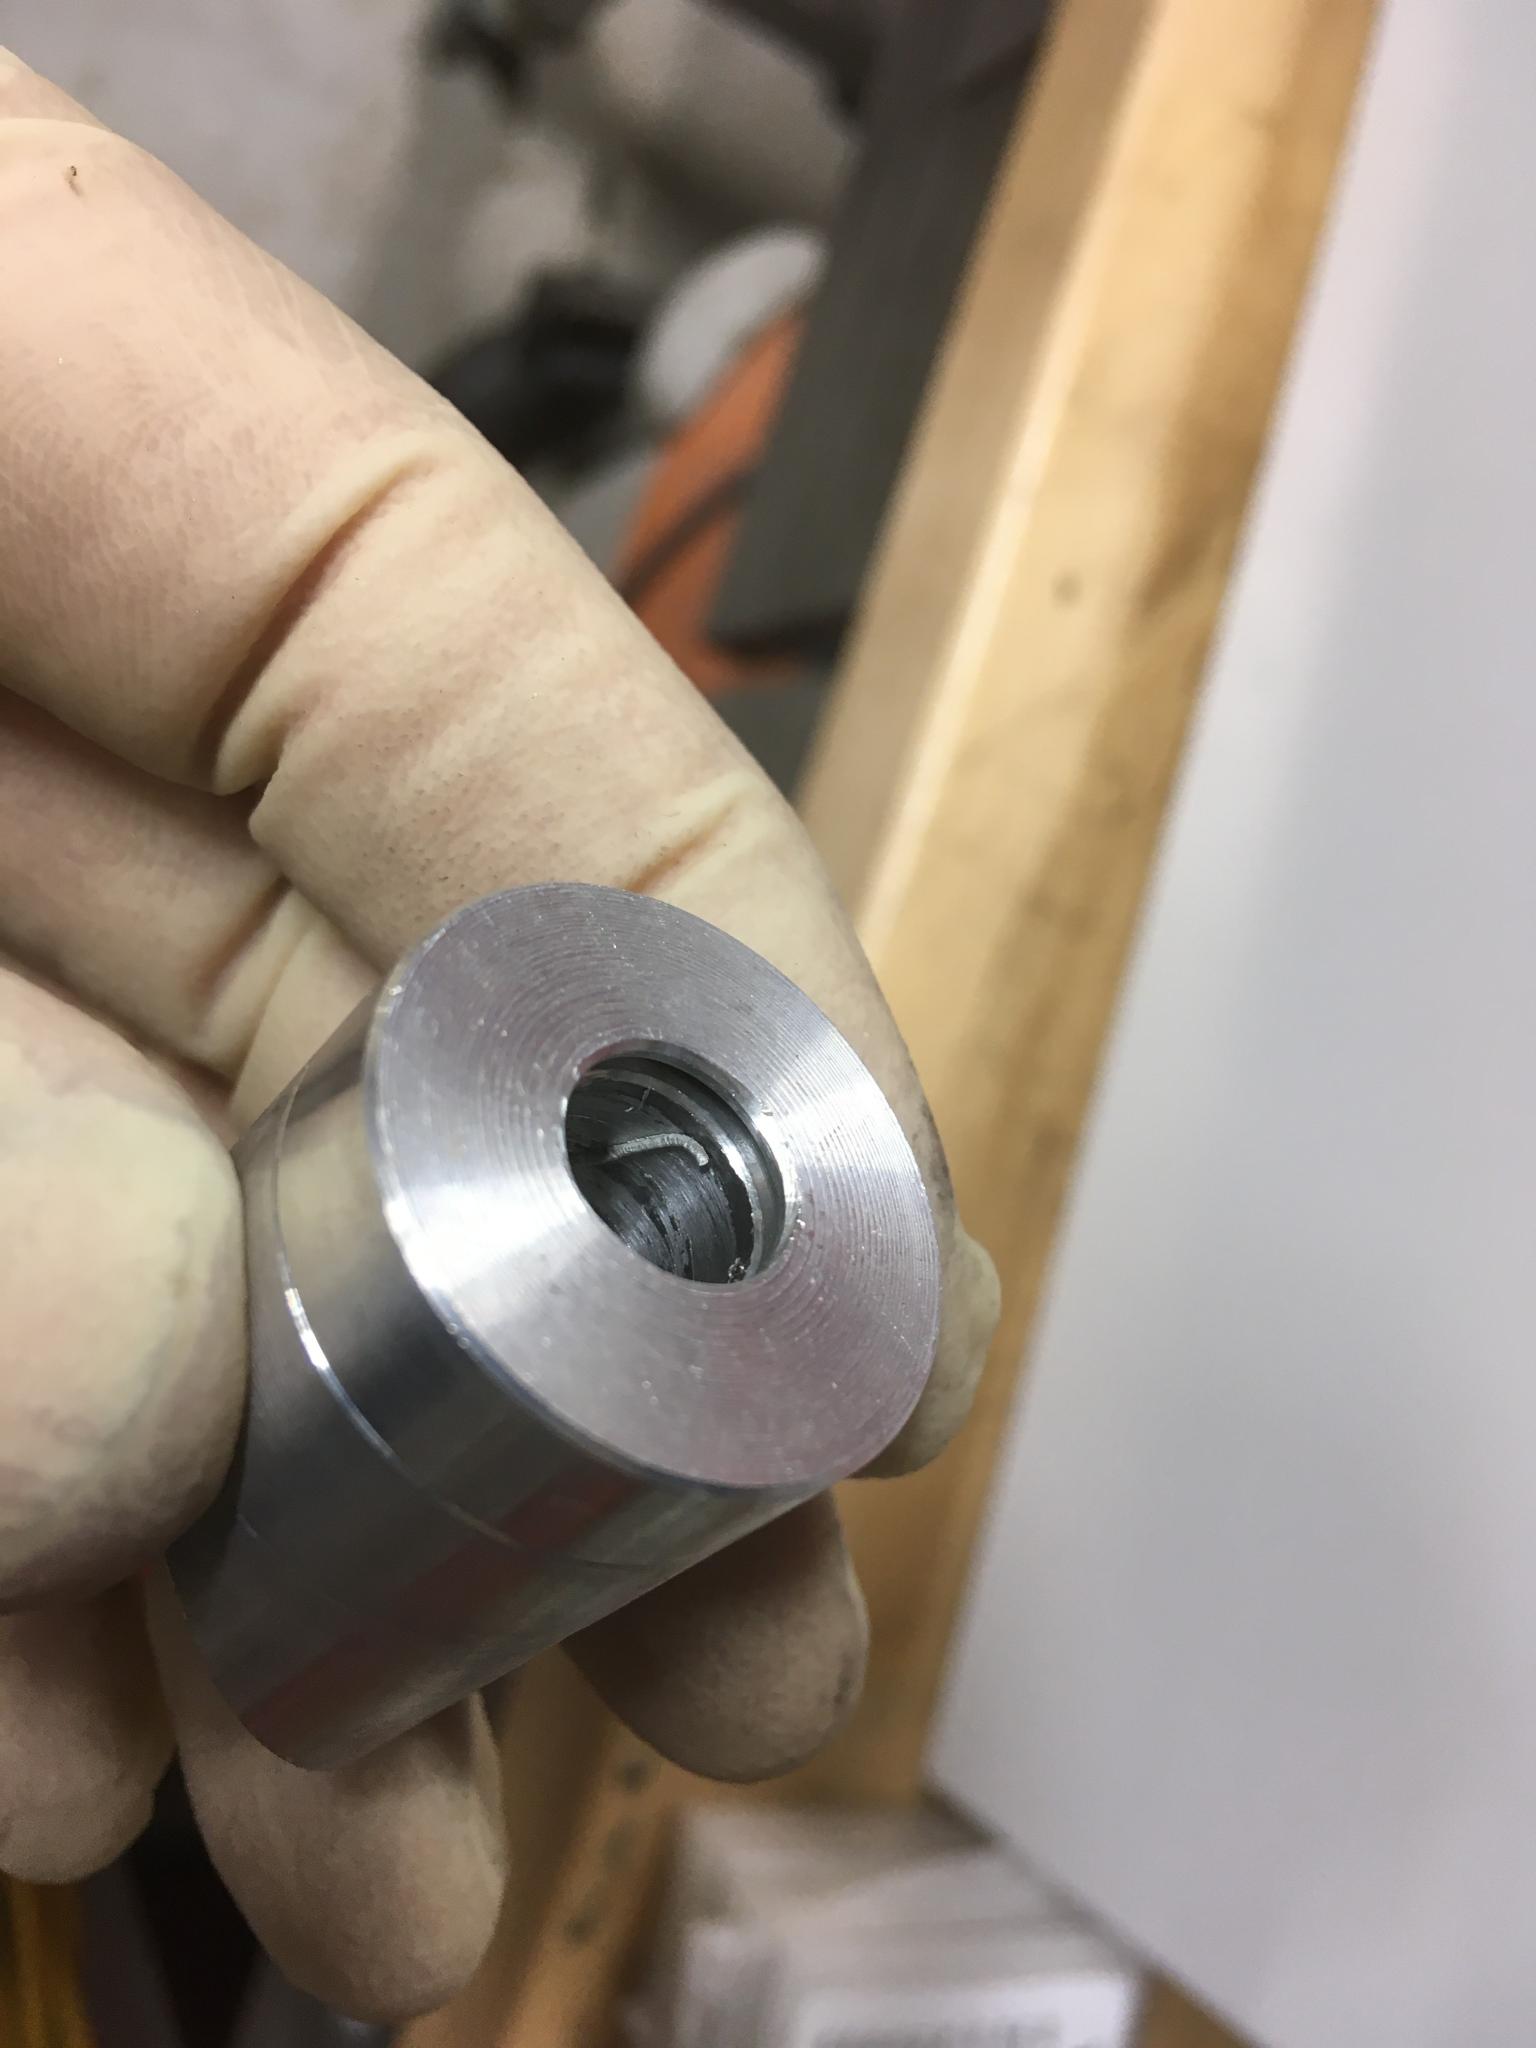
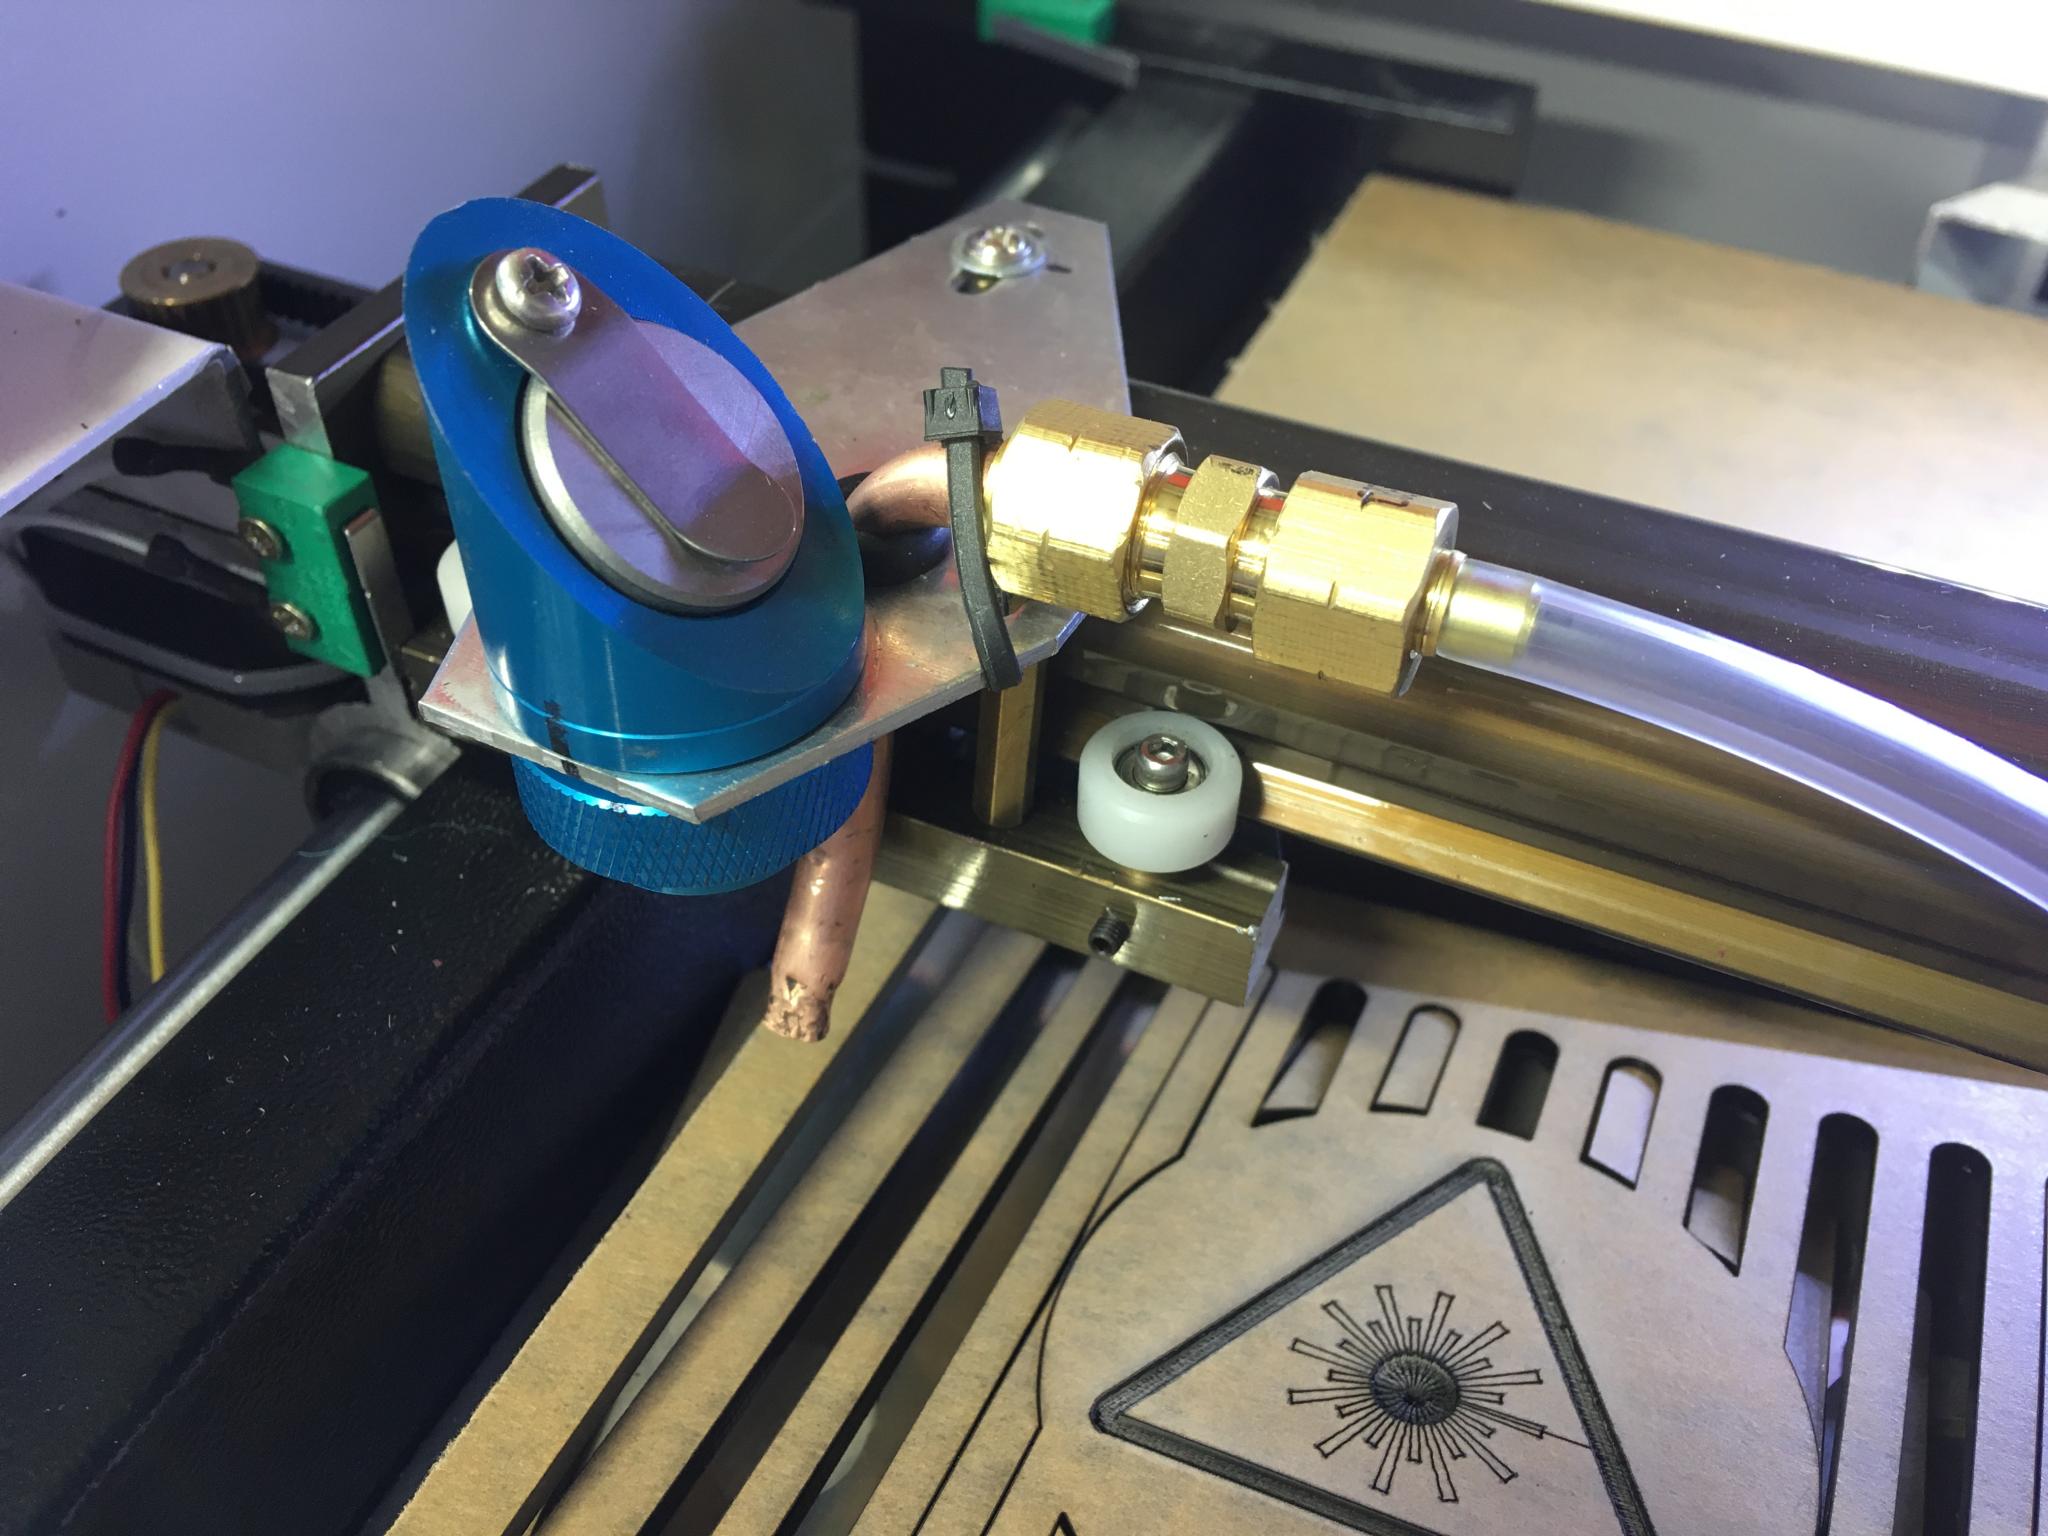
- new laser head
- new lens
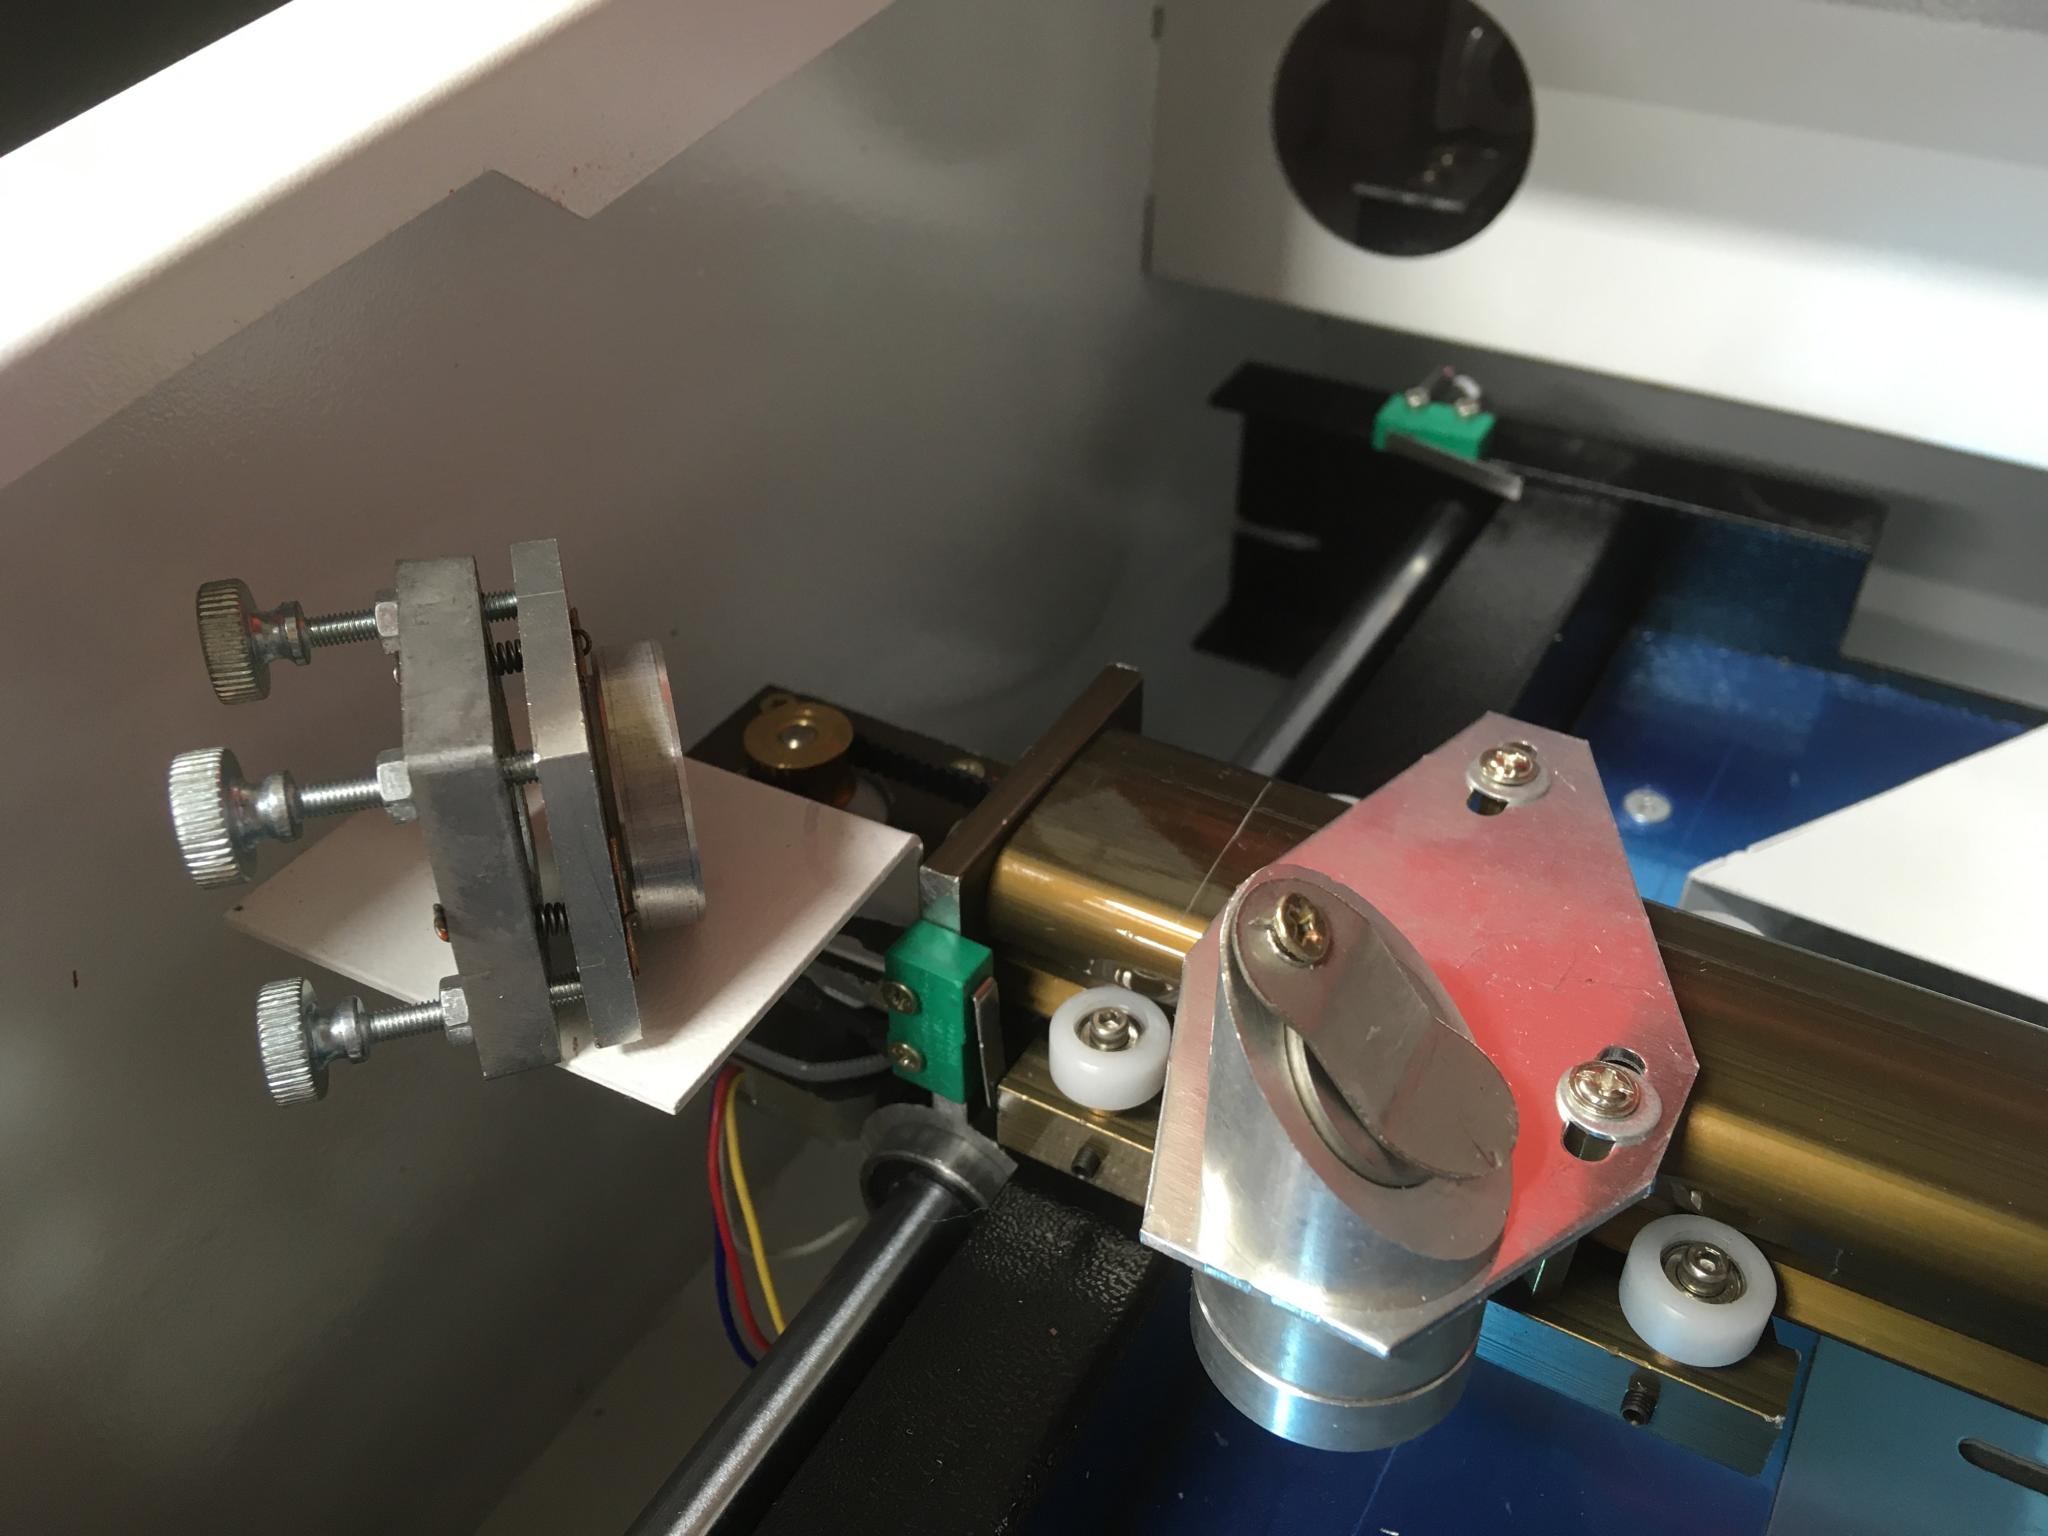
- new mirrors
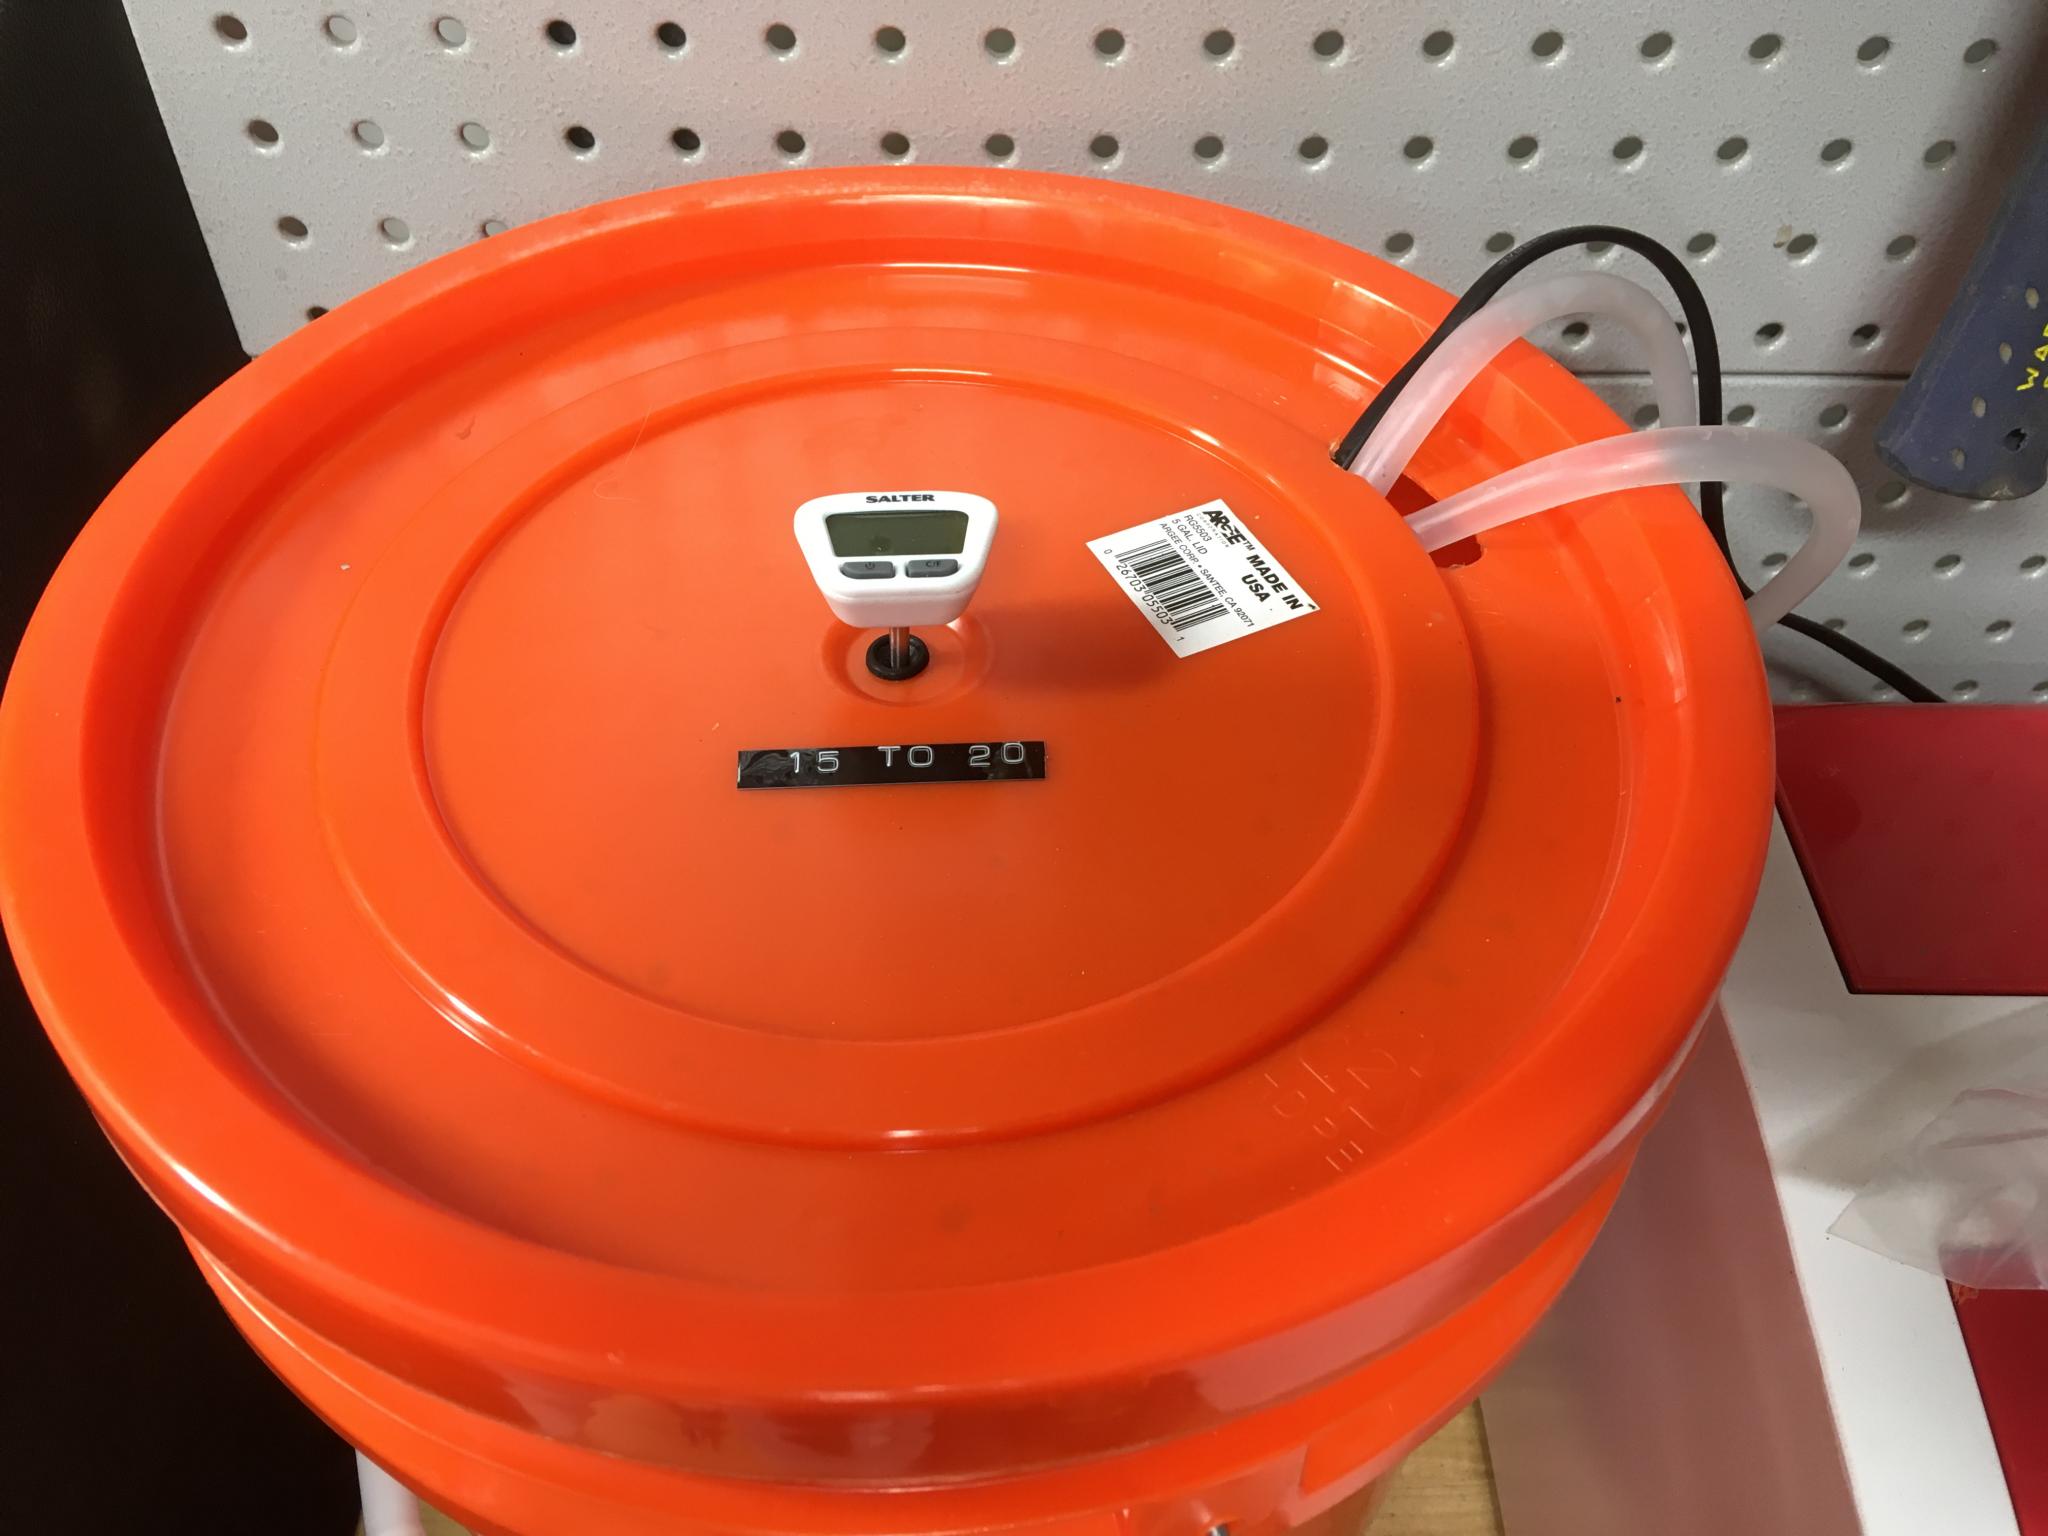
- 6" exhaust fan and some plumbing
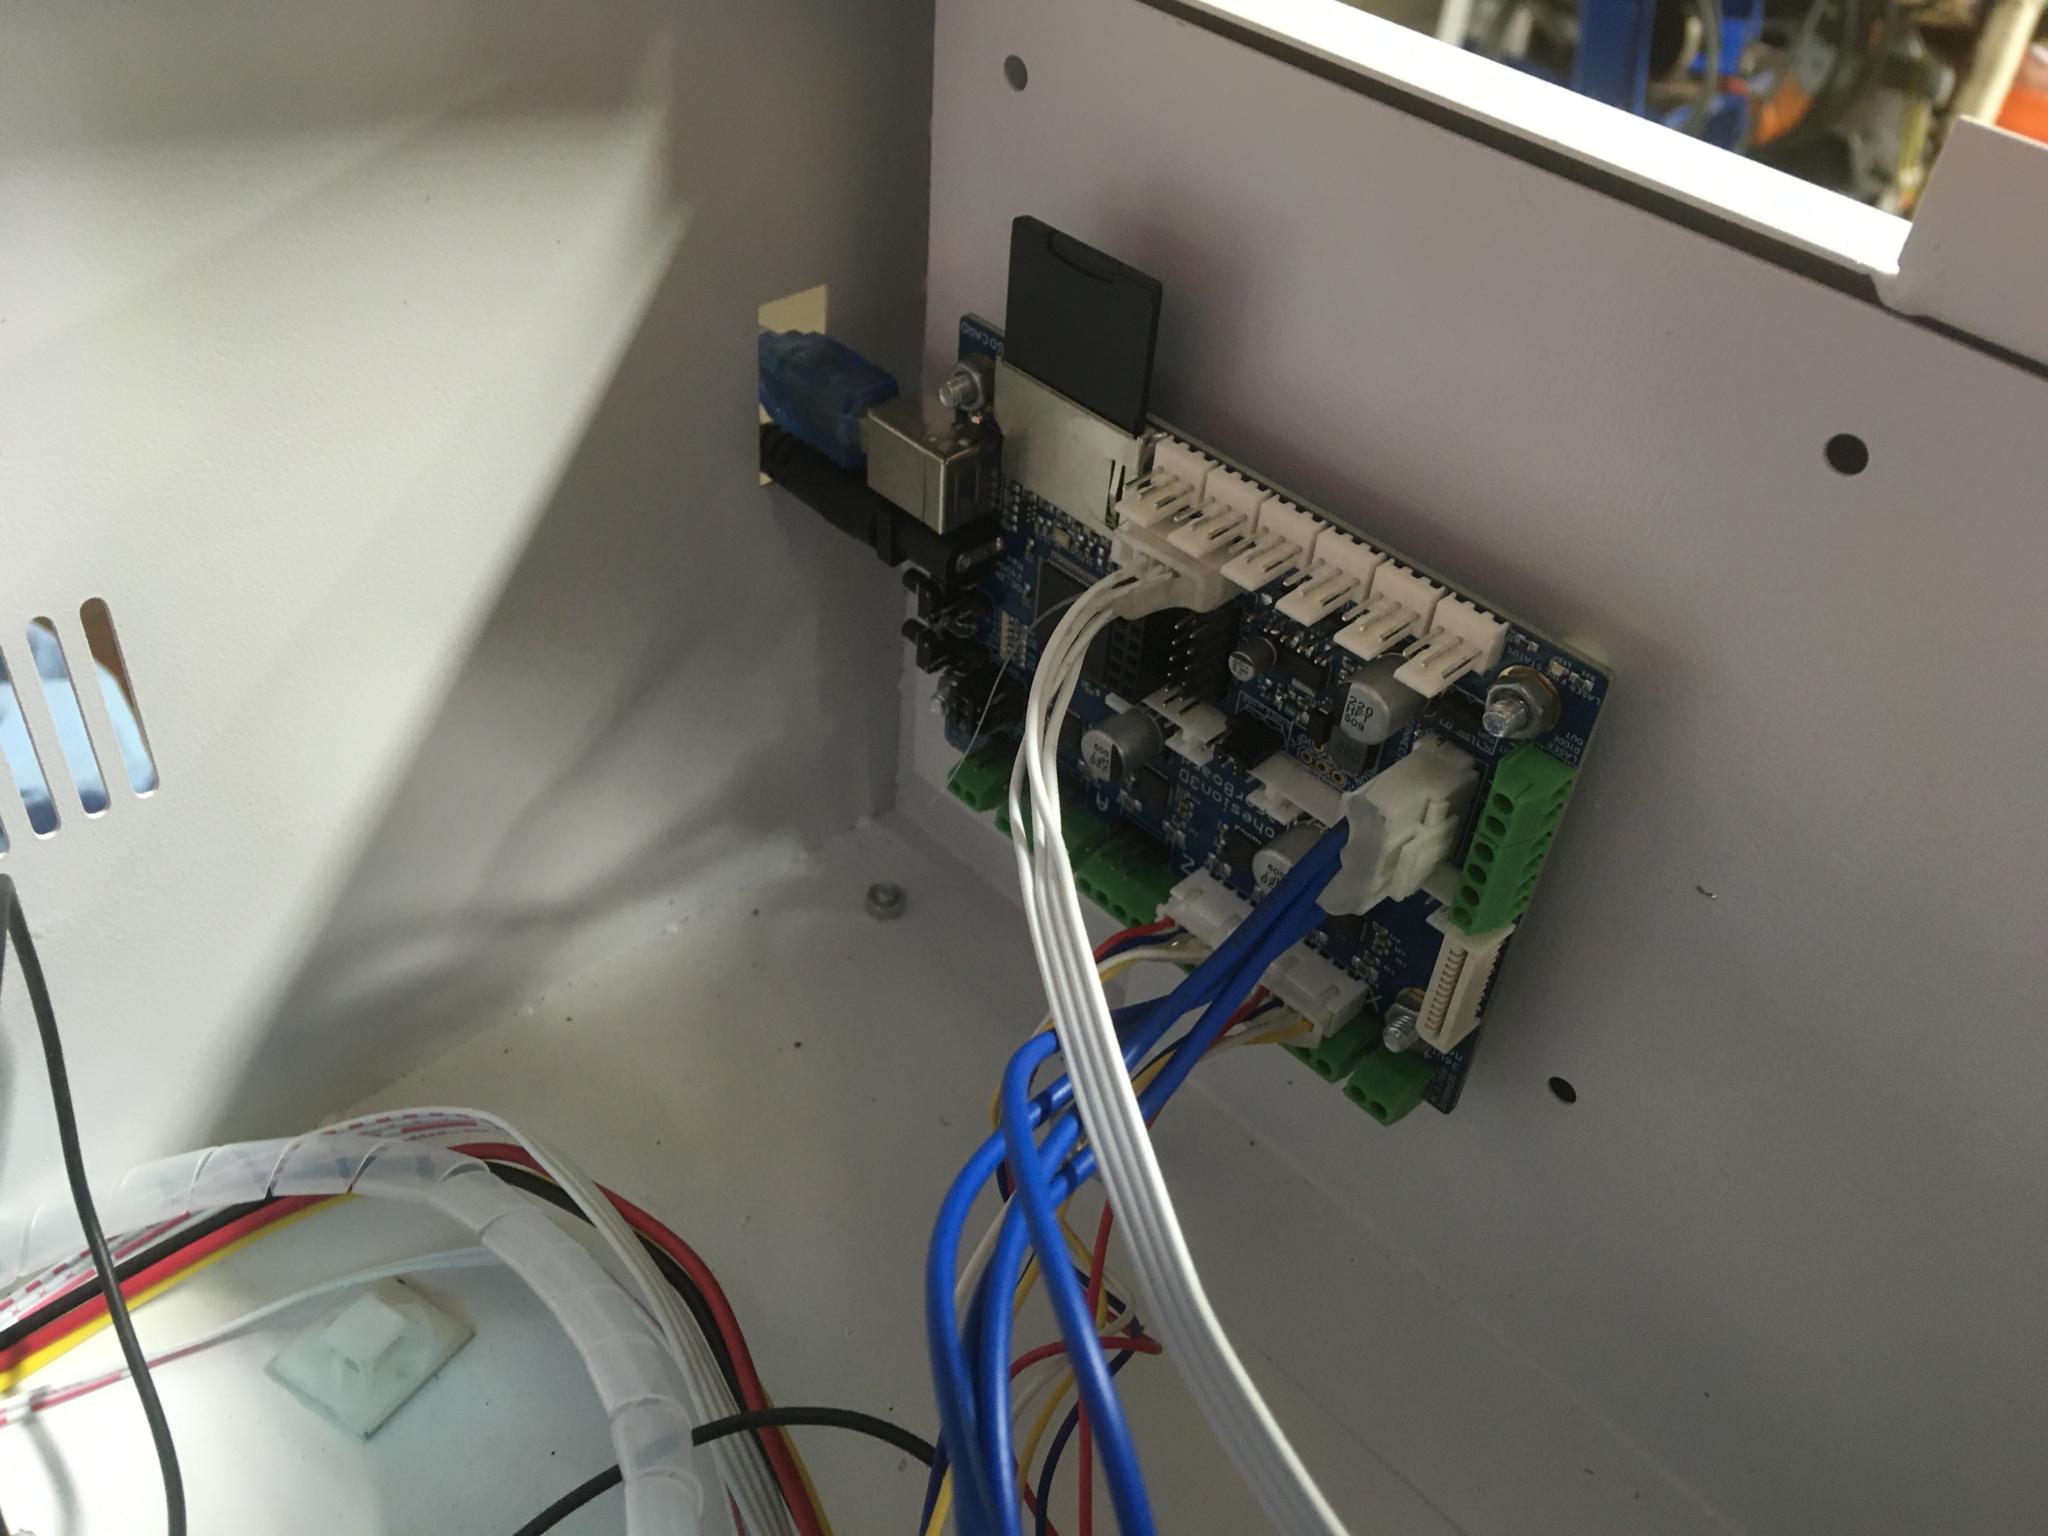
- new controller board and camera
- a set of real goggles from lasersafety.com
I'll go over the reasoning for each of those as I go.