
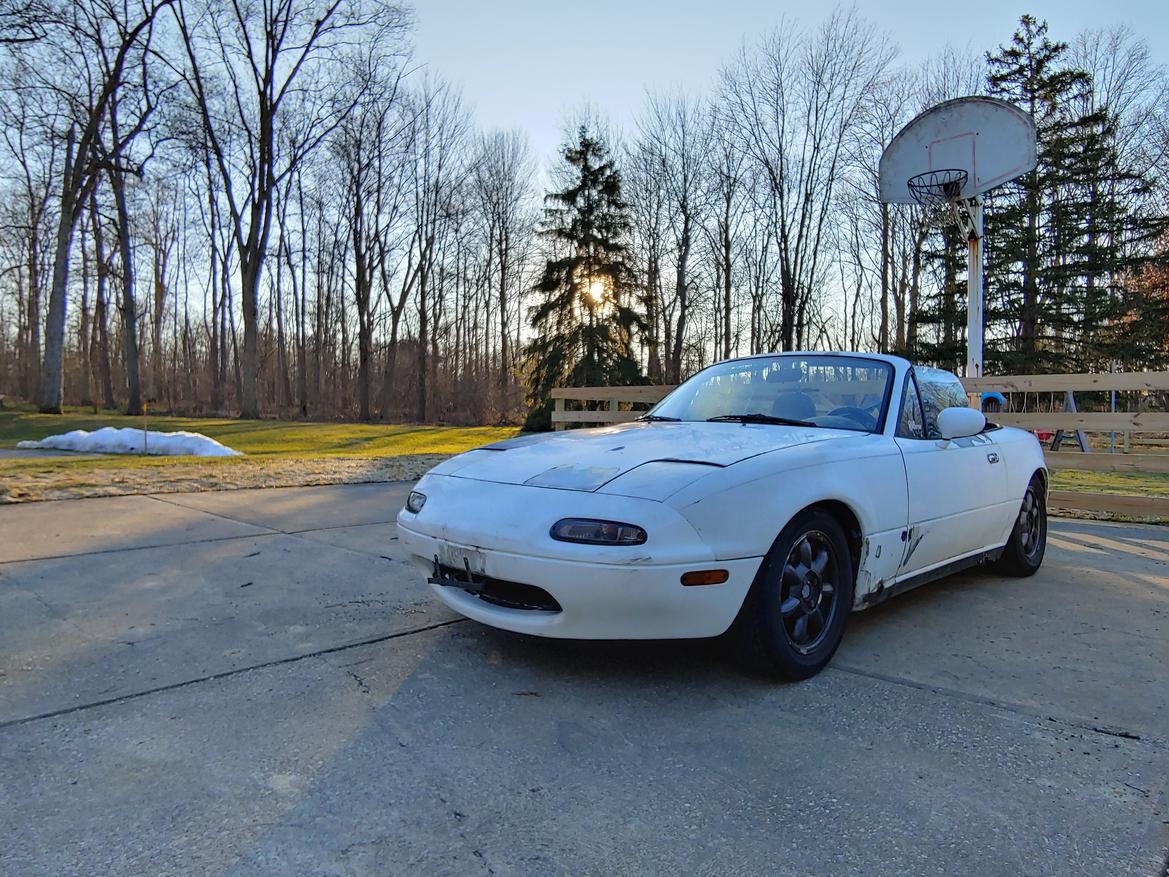
Dropped in a photo of the starting point pre-purchase. Just need a frame of reference as it changes.
After much deliberation, I have decided that Olaf will go down a different path. I originally purchased him with thoughts of taking him to the 2022 Challenge but after diving in and understanding more of his strengths and weaknesses, I just don’t feel like it makes sense to invest as much time in the sheet metal and body work as what I would need to do to make him look good for the Challenge. He has over 200k miles and thus the resale value will never be much so I might as well create what I may want to keep longer term. I already have an NC Miata and making Olaf autocross or track day as well as it does would be challenging and redundant.
So in light of that, the modifications have begun to lift Olaf up. I certainly don’t expect this to be everyone’s cup of tea, but I think it will be a fun toy that can be used for light off roading (dirt lanes and gravel roads) as well as teaching by 3 nephews (ages 12-14) how to drive a manual transmission safely on my parents farm property. It might even be fun in the snow to a limited degree. It certainly would not be competitive but with a borrowed hard top it might see a day or two of rally cross but due to the cut fenders would end up in unlimited.
After looking for a used paco lift kit (which is very inexpensive to begin with) I decided to kill two birds with one stone and fabricate a set of custom shock top -hats instead. This allows me to get the lift amount that I desire and at the same time I am adjusting the spring pre-load to reduce the sag of the current springs. As it sat when received about 65% of the shock travel was consumed with sag leaving a meager 35% for travel to the bump-stops. I hope to roughly reverse that with the new pre-load dimensions.
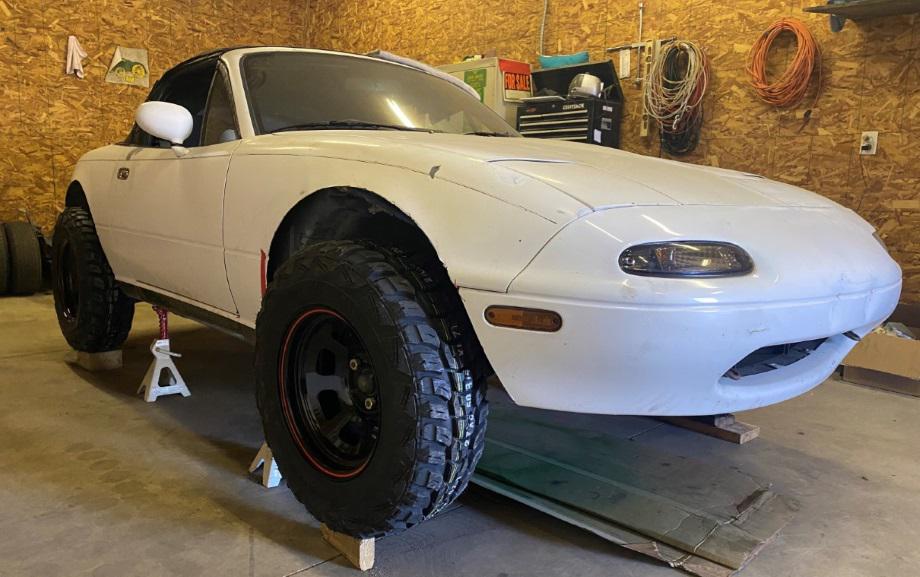
Progress to date has been purchasing Bassett 14x7 wheels and Kumho 27x8.5x14 off road tires. These require a decent amount of fender trimming which happens to align with cutting away about 50% of Olaf’s rust. They also require some persuasion of the bulkhead near the footwell area to allow for full lock to lock turning throughout the full suspension travel. I am still working on that part.
Fender trimming is mostly complete and it will get small flares to cover the topside path of the tires to reduce mud flinging. Here is how he looks currently with the wheel position roughed in (no shocks installed).
I approve of your rust elimination method
Sag...someone's a motorcyclist :)
Note that rock crawlers are far more interested in droop travel than bump, which is not the case for performance road use. Might be some interesting experiments ahead.
In reply to Keith Tanner :
Fair comment and likely some experimenting ahead indeed. I think my use case is more likely to be higher speeds (20 mph-50 mph) on lightly rough terrain versus anything approaching rock crawling here in northern Indiana. I would not rule out something like a southern Indiana Gambler 500 in the future which could be a bit rougher but still not rock crawling type activity. Pre-load will be adjustable to a degree but shock length will be fixed unless I want to make new top-hats or apply a small amount of shimming (say up to 1/4").
Don't call it preload. Call it shock range of motion :) Preload is not the thing you're actually using for tuning, it's a side effect. But there's a lot of really bad info out there from people who don't understand the relationship.
For your case (momentum off-roading, is that what we should call it?) I agree that you'll want more bump. Check a gravel WRC car for relative bump/droop ratios as a sanity check, maybe.
In reply to Keith Tanner :
Fair points. I am not using the shock range of motion to do any tuning. My tuning options are pretty limited. I will have non adjustable shocks so no damping tuning and Eibach springs with front rate of 228 lb/in and rear rate of 137 lb/in. If I like the off road version of a Miata, I may "upgrade" to some take off Bilsteins for durability but will be using take off NB standard shocks to start with. This means I also have a set of stock NB springs to play with if desired but so far all of my calculations have been based on the Eibach spring rates.
I can make small changes to ride height by altering the droop to bump ratio but plan to start at about 40/60 and see what that is like.
This could be a miserable failure but with no real point of reference for what "good" is I like my odds of calling it "acceptable" at the end :)
I did find and review this from past discussions - Bump vs Droop Balancing Act| Your Tech Tips forum | (grassrootsmotorsports.com)
locked rear differential?
In reply to onemanarmy :
I have only given this minimal thought so far. I would likely try to find a replacement one to weld up if I go that route unless there is a cheap locked solution already out there. The current diff might not be long for this world as it is a little noisy (expected at 200k miles) and only had 12 ounces of gear lube when I drained it (but no metal flakes). Likely I will see how it does as is and then cobble something up if needed.
In reply to fusion66 :
Looks like a fun project and good use of the car. I'm on my third Gambler 500 car now. Taking a car that is fully depreciated and modifying it in whatever way inspiration leads has become my favorite hobby. It's freedom, engineering, and art. It was hard to let go of the first one when it wore out beyond what I wanted to repair - the neglected beater becomes a treasure and then suddenly all the reasons it was a beater catch up with it again. Enjoy the process and have fun with the car.
In reply to AAZCD (Forum Supporter) :
I have followed your Gambler build threads starting with the original Dung-Beetle and they are the reason I have some level of interest in potentially participating in the future. The process of improvement and re-purposing appeals to me while keeping a relatively modest budget.
Making slow but steady progress. Bought a set of used NB shocks to replace the ones that came on the car. After re-doing all of my calculations, I have decided to run with the stock NB springs instead of the Eibach lowering springs that came on the car. With the Eibachs, I was making more compromises then I wanted.
First order of business was cutting apart the NA and NB tophats. The NA tophats gave up their spring perch so that it could be adjustable with shimming and the NB tophats make up most of the new design which lengthens the shock 1.5".

Unfortunately my niece who welds tractor straight pipes for my fathers business was ill this weekend which means I picked up the MIG gun after 35 years of not welding. Where she would have produced A to A+ welds in both strength and aesthetics I have some nice B welds for strength and C- for aesthetics. To be fair, I have more welding to do on the body patch panels in the future that I would not want to bother her with so it is good to get back at it.
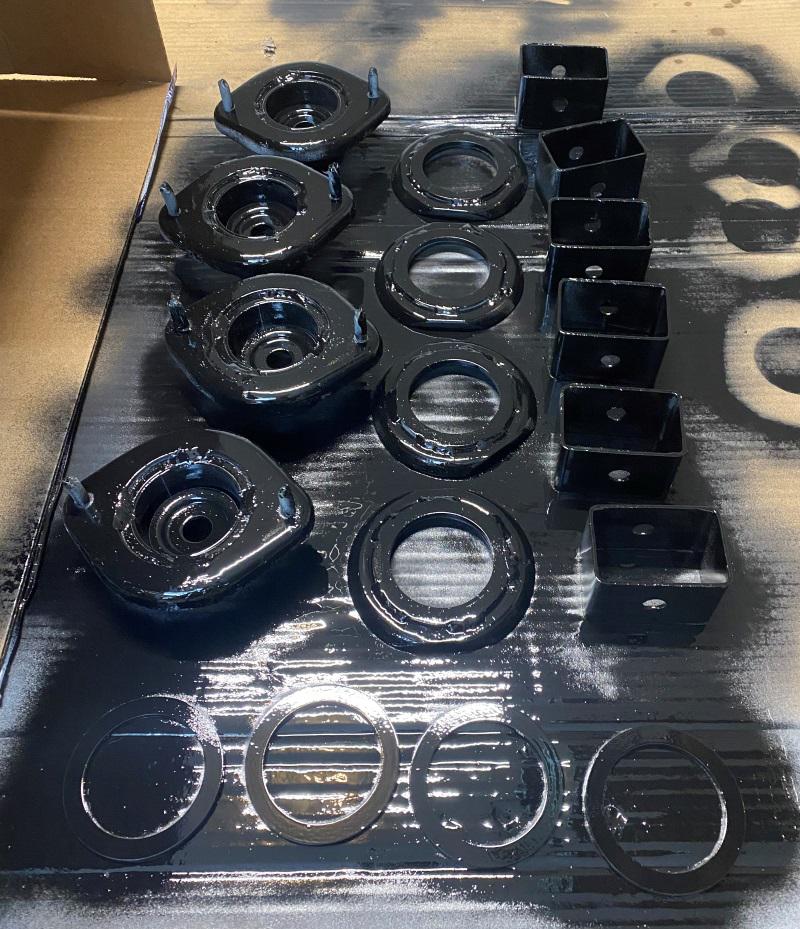
Left side is the new top hats, center is the upper spring perches that can be shimmed as needed with the shims shown at the bottom and the right side are the spacers to lower the rear sub-frame. Lowering the rear sub-frame should put the axle angles back near stock and hopefully promote some level of longevity. I need to beef up the spacers which I have figured out for the two bolted locations but not sure yet what I will do at the locations with the 4 stud locations.
Body lift! You could do that on the front as well. It'll be interesting to see how much the shifter sinks down into the tunnel.
In reply to Keith Tanner :
I think the front is a little more challenging due to the steering shaft/rack. Based on a rough guesstimate from a side-view cut-away image of the NA, I expect the shifter to drop 3/4"-7/8" which of course I don't know at this point if that will create a problem or not.
You may have to extend the steering shaft, but that's just more welding :) I don't think you'll run into limitations on the angles for the U joints.
I don't think a drop of 3/4" will be an issue, you can always get one of those weird dildo shaped shift knobs.
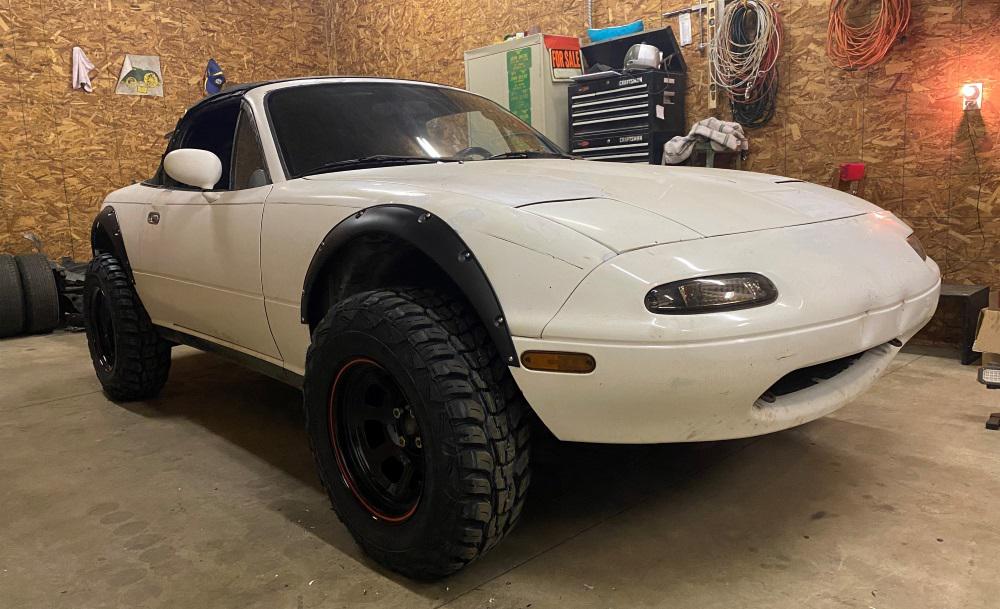
Olaf is now sitting on stock NB shocks with modified top hats. I lost my initial point of reference for fender gap when I cut the fenders but have moved to pinch welds as a point of reference. As it sits in the photo, it is 10.5" at the front of the pinch weld and 10.75" at the rear. I started at 5.25" front and 5.5" rear so I gained a total of about 5.25" in ground clearance through a combination of larger tires and modified top hats plus changing droop/bump ratio.
The 2" rear sub-frame spacers made rear shock installation a breeze while up front I ended up dropping the sub-frame temporarily to get the longer shocks installed. I may add some spacers to the front sub-frame as full droop and maximum lower ball joint angle are right at the same point right now. I can either add a little positive camber to eliminate this or more likely I will drop the front sub-frame 1/4" or so to move away from ball joint bind a bit. I am pretty happy with the rear cv axles working angles and I do not expect significant issues with them.
The shifter dropped almost an inch but it still works fine. Kinda looks like it is a bit chilly in the barn 
Installed modest flares to ultimately cover up the cut edges and provide a little better tire coverage for mud flinging. I think I could have gone with a wider flare but this will work for now.
I did a quick alignment (was over 1" toe in per side as I put camber back to spec with this much lift) and took it for a short spin. Overall it drove decent up to 60 mph. Can definitely feel the effective ratio change with the taller tires and the clutch is going to work a bit harder. I did install the sway bars for now and body roll seemed reasonable.
Paint stripping is in it's future but I think that will wait until spring. My masking tape and duct tape used to position the fender flares was taking paint off to the primer.
Next up is some reinforcement for the "frame rails". They are a bit bent up and corroded. Started the process by splitting a piece of 2"x3" rectangular tubing to end up with 1"x3" c-channel. This will get some 1"x1" angle iron welded as flanges on both sides and then bolted through the floor pan after I replace some rusted away material on the drivers side.
It was time to start cutting away some of the rot today. It is roughly as bad as I thought it was and rather then make 6-7 little patches it made more sense to make one big and one little patch. I know it is generally poor form to overlap and weld but that seems like the better option for a clapped out Miata. Add some seam sealer and it will probably last long enough. The passenger side is much better and a single 4"x4" patch should take care of it. The ECU cover was rusted out at the bottom which makes me think relocating the ECU up higher would be a good idea for off road adventures. Anyone moved their ECU to a place that they liked and was easy to do?
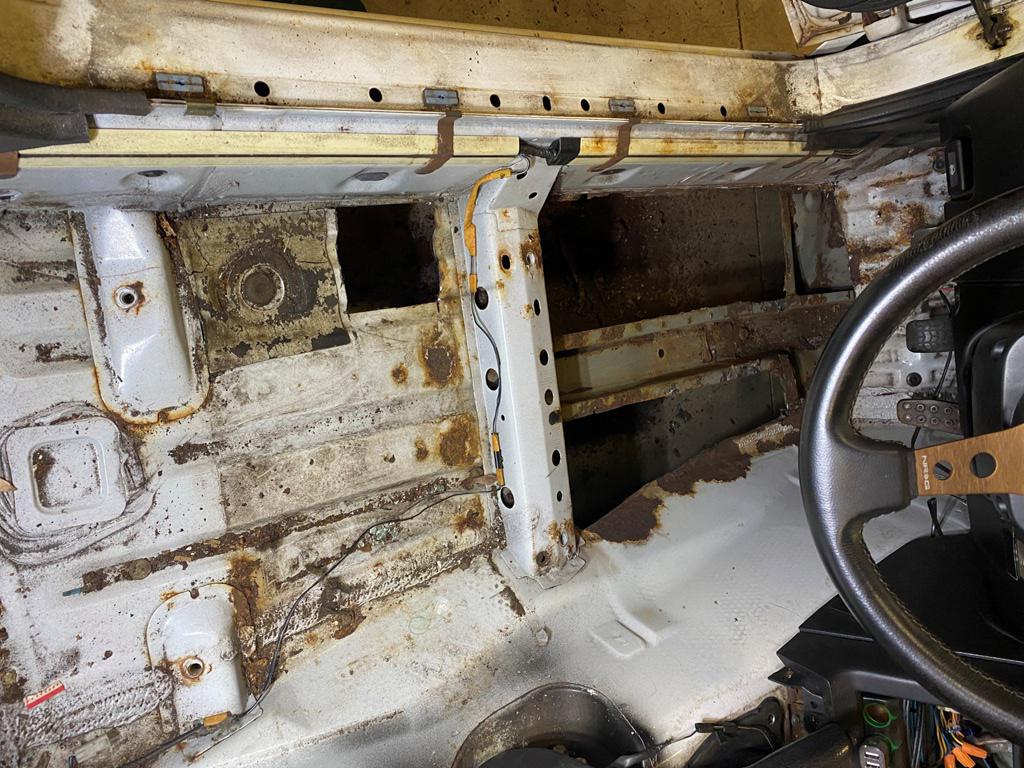
Olaf is a 1.6? The rust on the ECU cover is typical. The later NAs had the ECU halfway up the rear bulkhead behind the passenger seat, and there MAY be an extension harness used for this. I can't remember for sure. The NB put it up under the dash which is probably easier for you to do.
In reply to Keith Tanner :
Yes, Olaf is a 1.6 car. I think getting it up under the dash is likely the best path forward to keep it high and dry.
My assumption is that the ECU is grounded to the chassis through the standard mounting tabs. If grounding to the chassis isn't required then it might get wire tied up into place under the dash.
It is not grounded to the chassis through the case, all of the grounds are in the harness. There are about 4-5 of them, all black. Zip tie away!
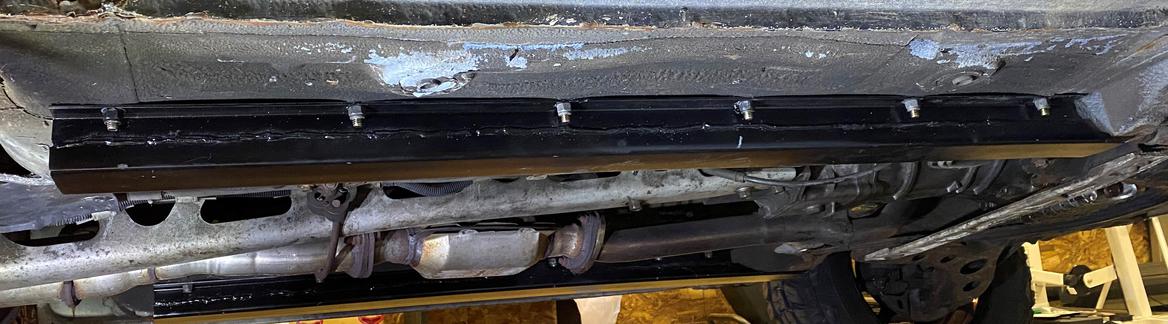
This weekends project was "frame rail" fabrication and installation.
The parts were made by splitting a piece of 11 gauge 2"x3" tubing on a vertical bandsaw lengthwise to end up with two pieces of 1"x 3" "C" channel. This yielded enough material for both frame rails. I then welded a piece of 1" x 1/8" angle iron along it's length after first drilling a series of (12) 3/8" mounting holes per frame rail. I already had the 2"x 3" tubing and a 20' length of angle iron was $12.20 at the local steel supplier so it was a relatively cheap improvement.
They are a bit heavy relative to commercially available "frame rails" but very sturdy relative to the OEM rails which had seen better days.
Worked on a bash bar for Olaf over the xmas break. Mostly 2"x 3" rectangular tubing and 2" tubing. Lowest bar is angle iron and will allow a skid plate to be bolted up securely. Hella lights will be mounted on the top bar and the lower round bar can be used for recovery as needed (tied into the original tie down/tow mounts). Undecided on adding brush guards (U-bend 1.5" diameter 16 gauge tubing) on both sides. Might be warranted if the nephews are driving it in the woods. 
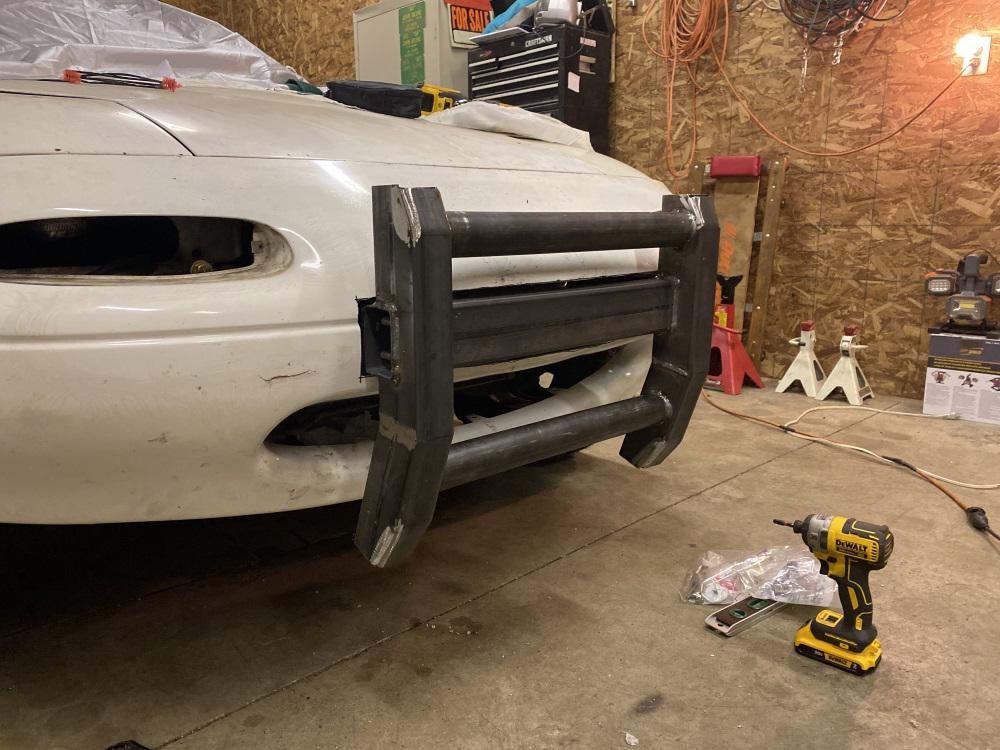
Also installed a new cheap ($105) E-bay top onto the convertible frame yesterday. Don't buy a cheap E-bay top. It will work, but I would spend more for a reputable top if the base vehicle was a bit nicer.
That pushbar is way more sturdy than anything on a police car. Also cheap tops are such a pain.
In reply to Professor_Brap (Forum Supporter) :
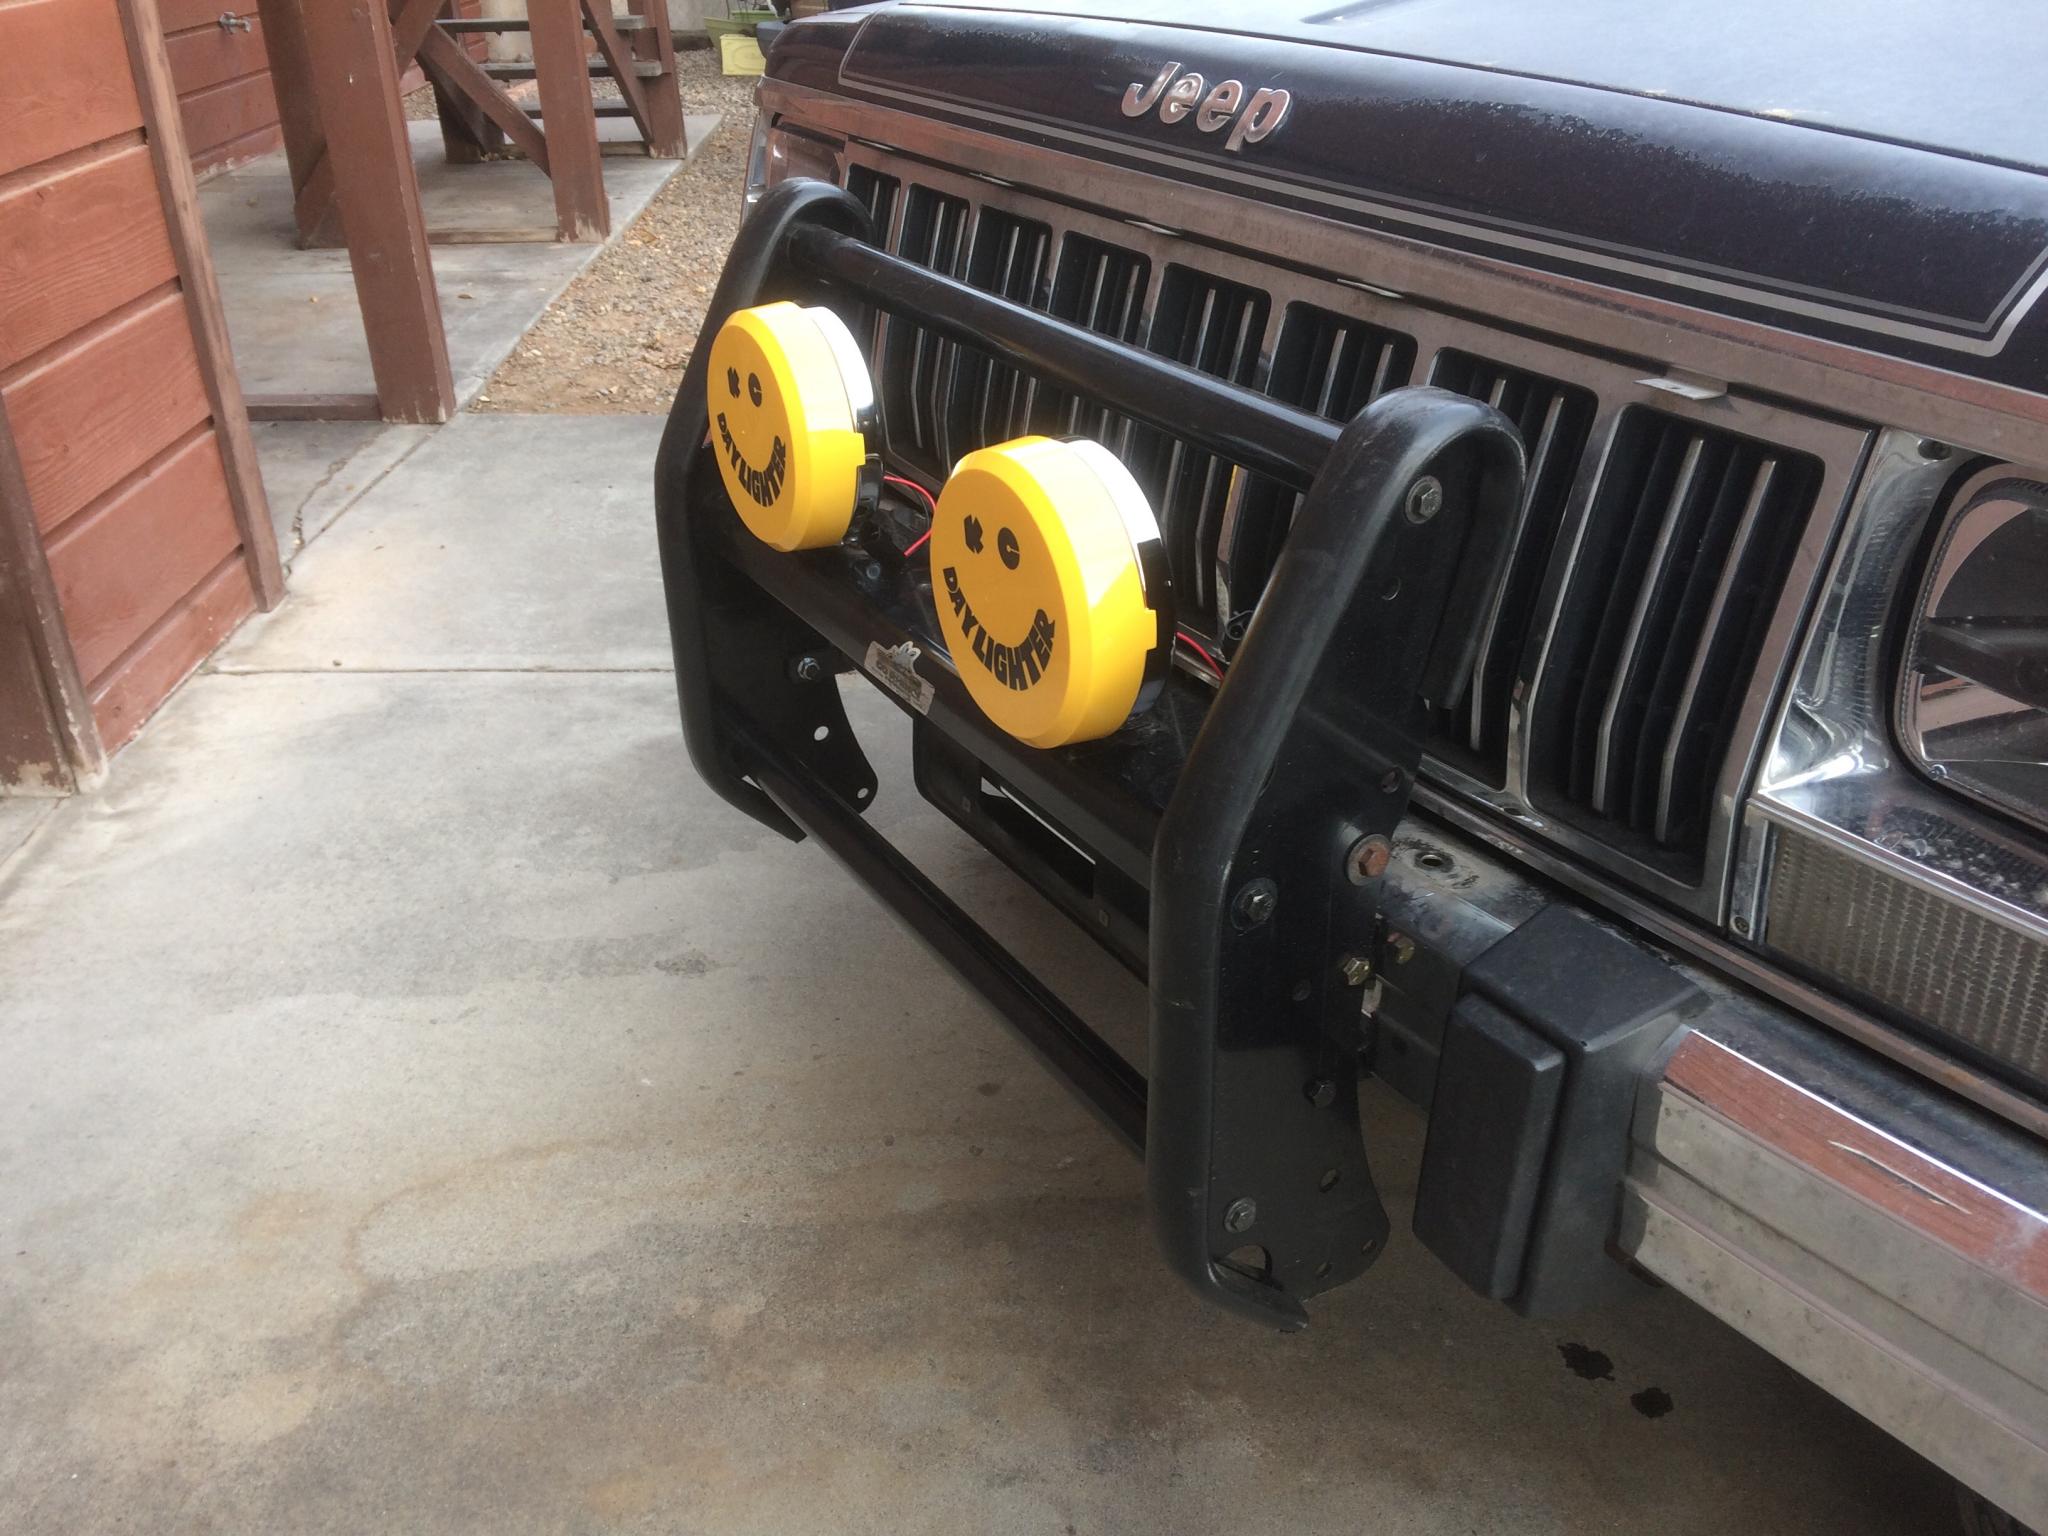
No kidding, that thing is a beast. Here's what a police surplus unit is like - stronger than the pretty bars sold for Jeeps, but nothing like this monster. The two end plates are relatively beefy with an I beam shape and the center pieces are two pipes and a piece of C channel.
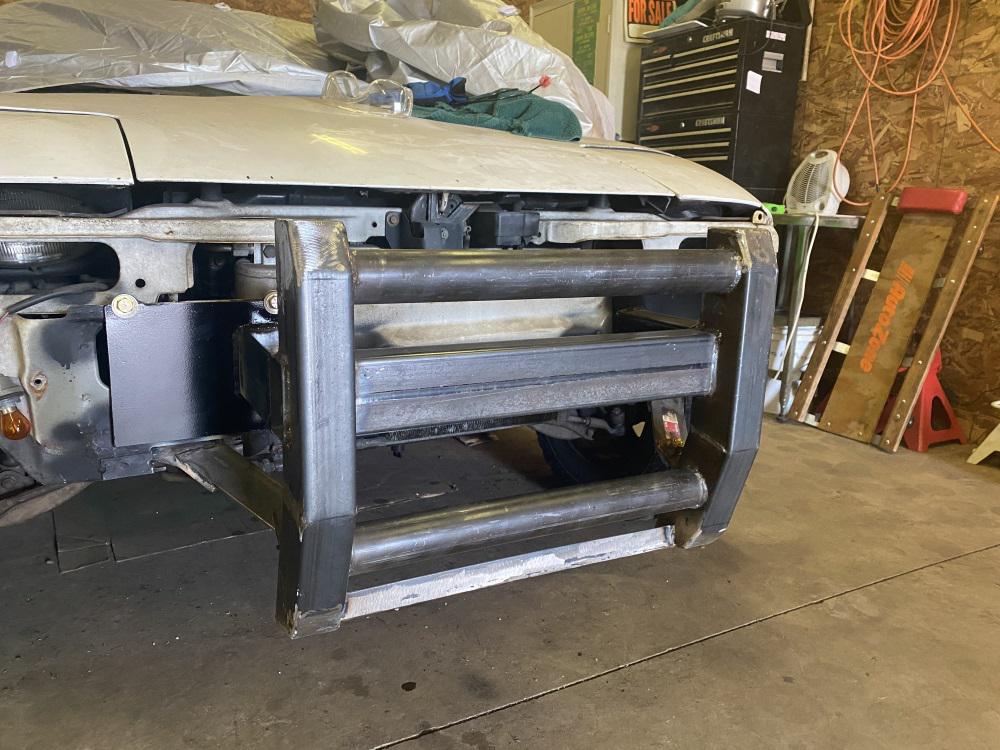
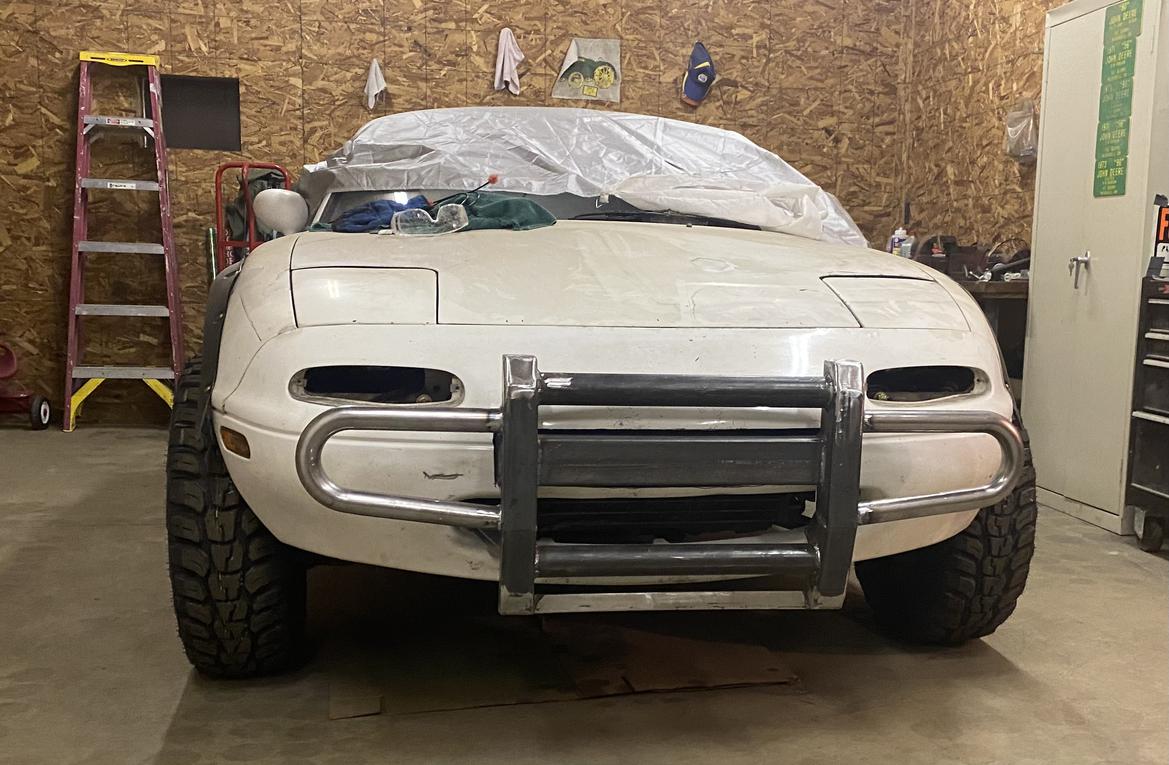
Finished the front bar this past weekend aside from primer and paint. Decided to stop short of a winch mount for now as I feel like I have already added plenty of ballast up front - might need a trunk mount spare tire carrier to balance it back out
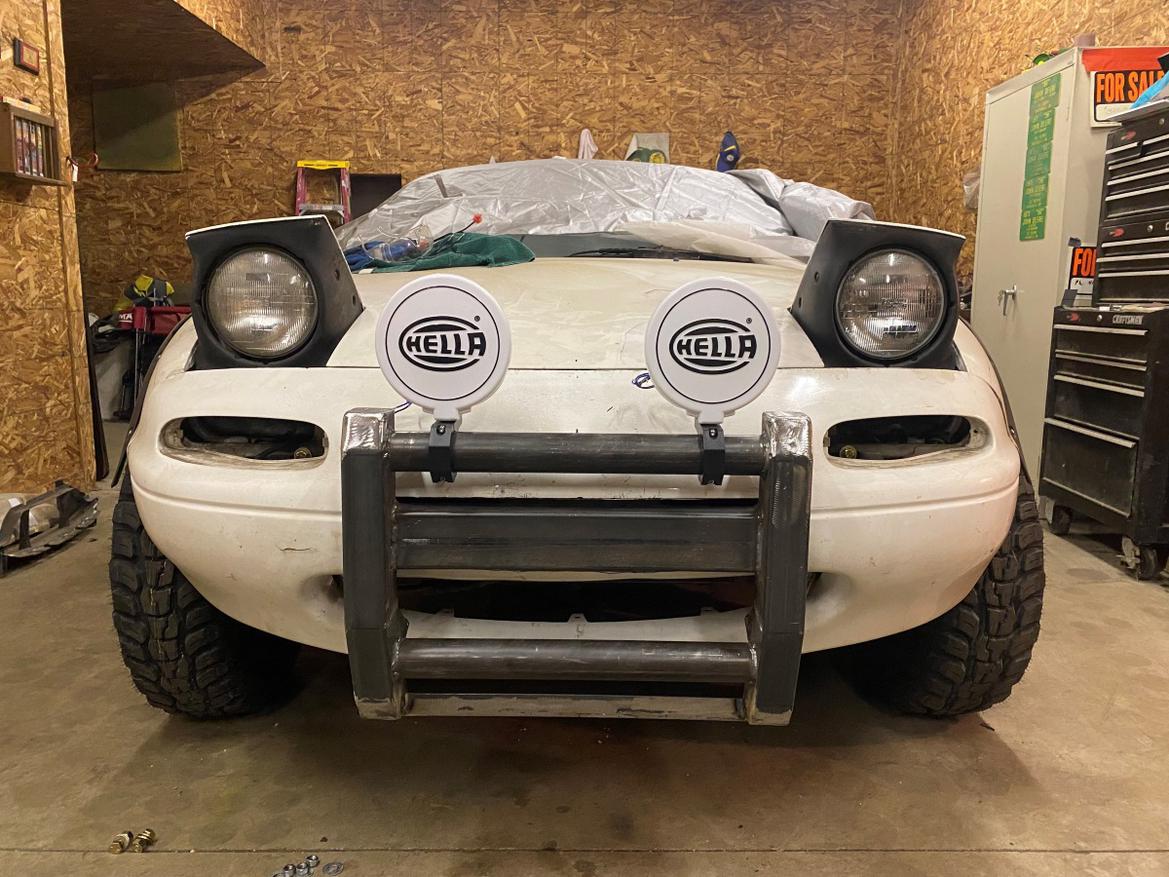
Lights trial mounted where I think they will end up.
Where's my old buddy Olaf?


