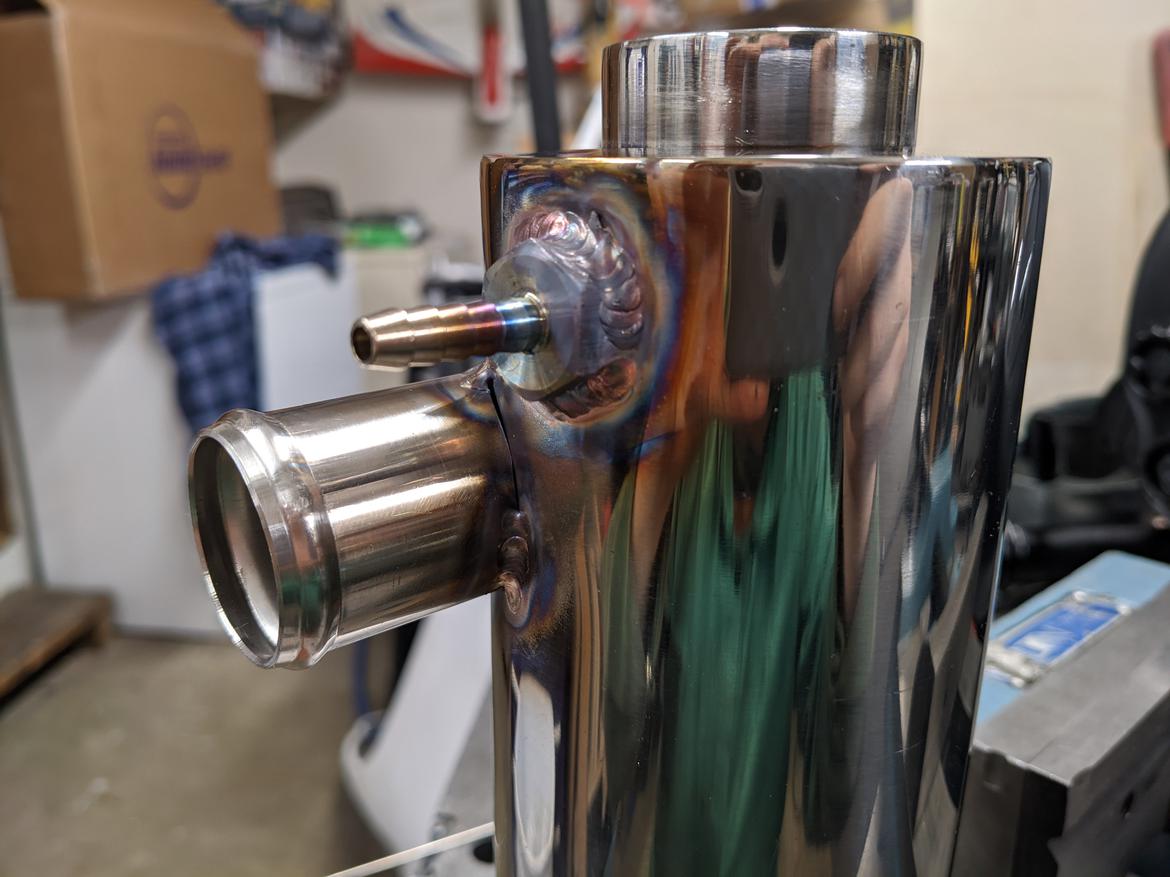
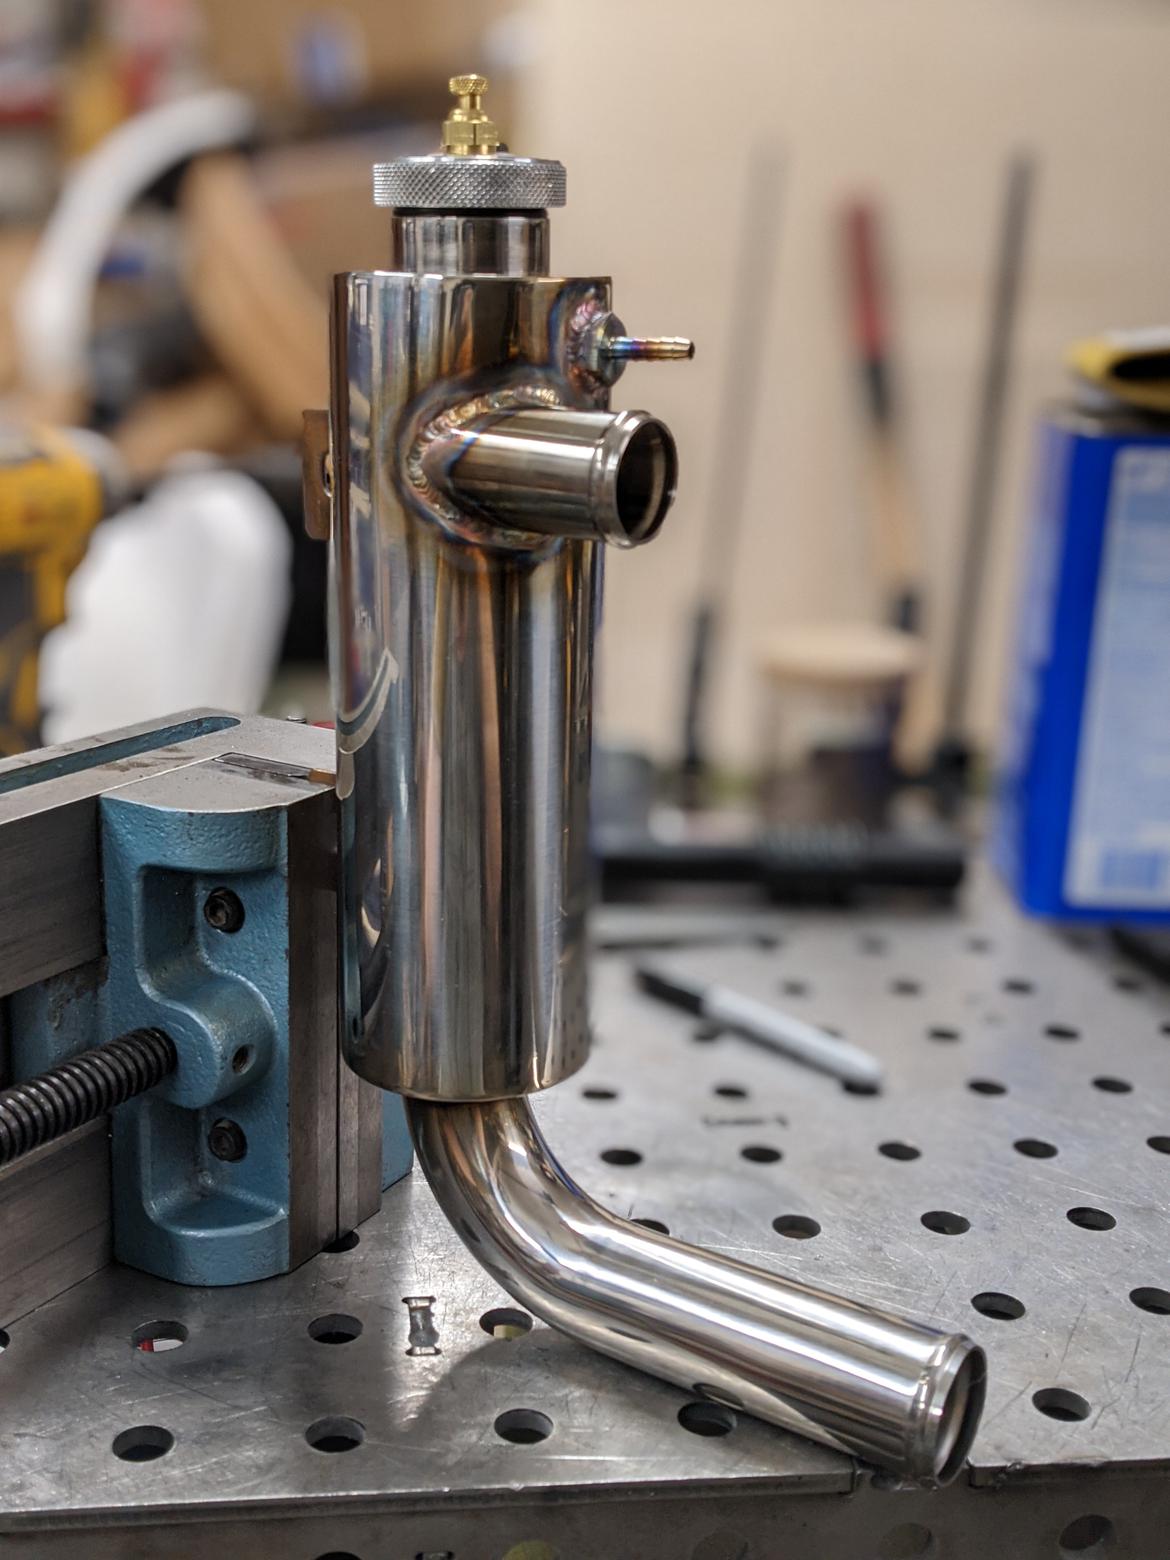
I started making a little swirl pot thing this evening. This is basically the spot for bleeding the air from the front of the coolant system, and also a spot to tie the steam vent into the system.
I started with a speedway stainless overflow tank, specifically because I didn't want something with a radiator cap, stainless tube sections with bead rolled ends and a hose nipple fitting.
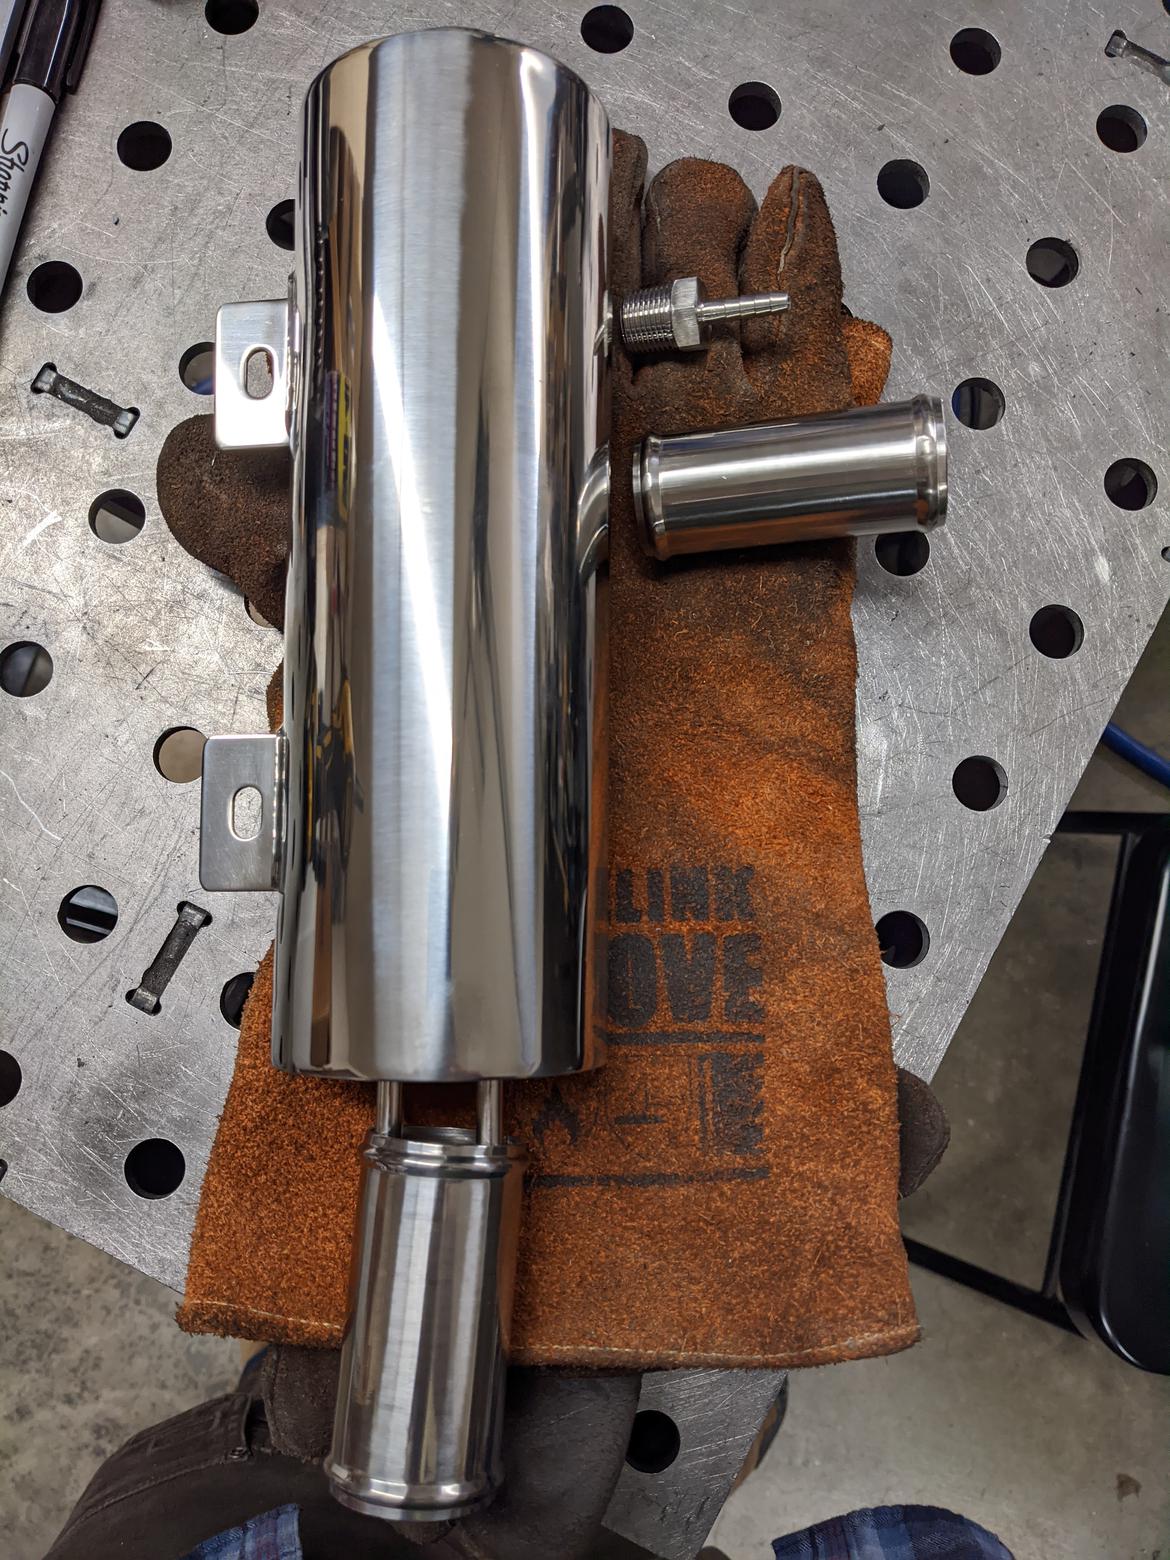
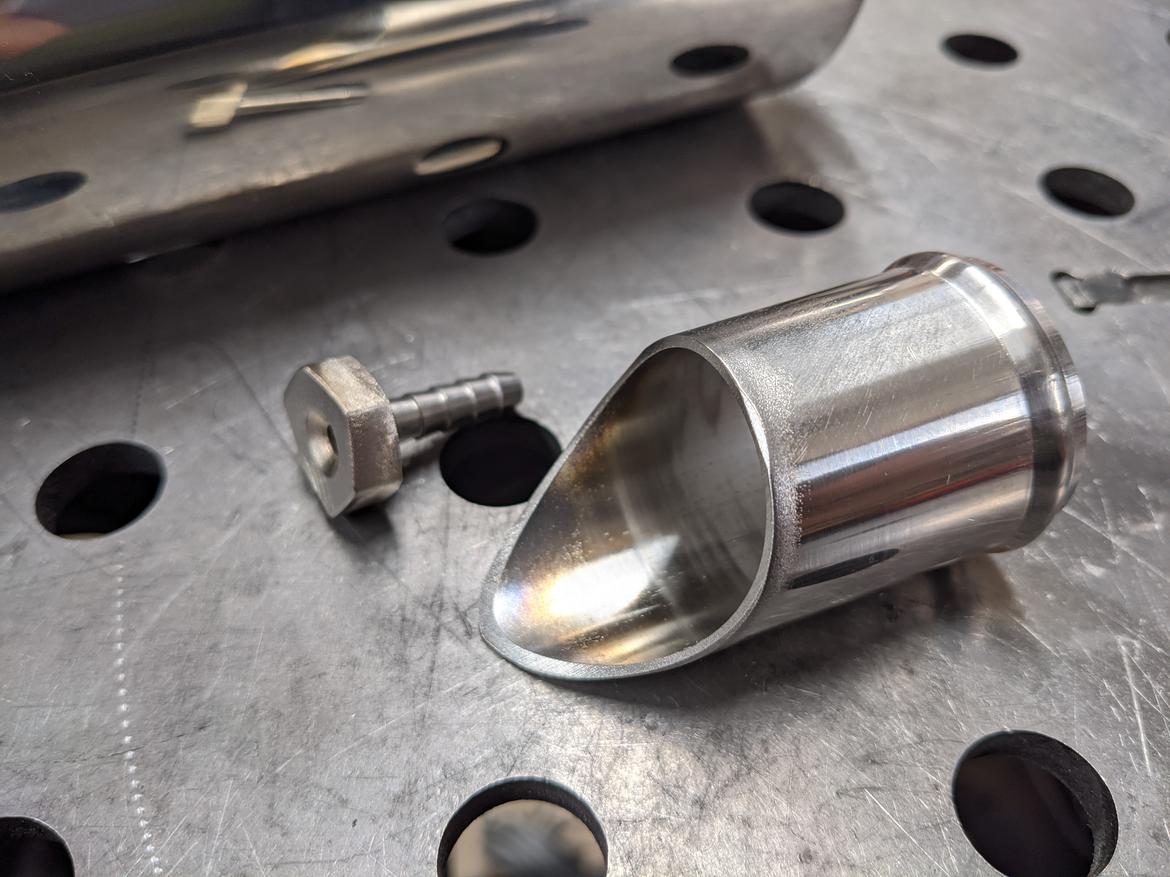
I cut down the tube to fit the curve of the reservoir, and also ground the threads off the hose nipple.
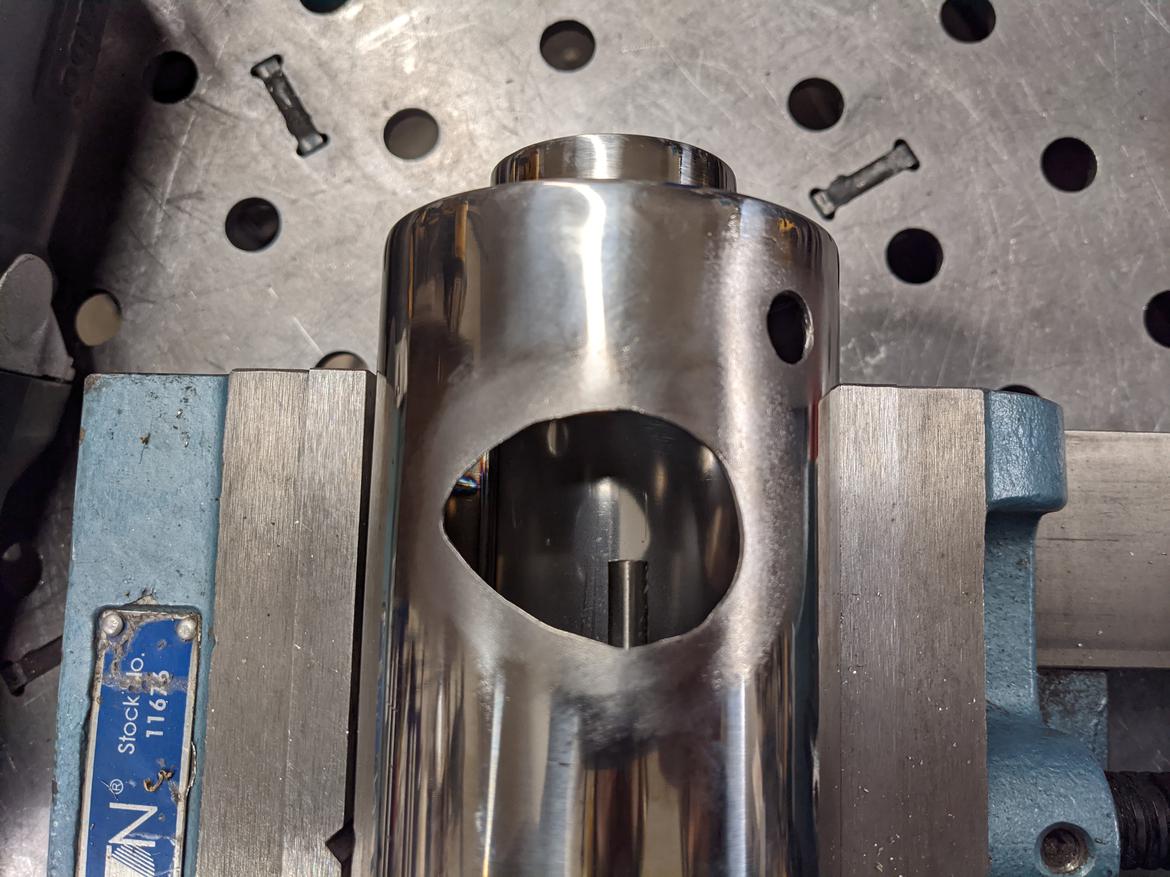
Then I cut matching holes in the tank.
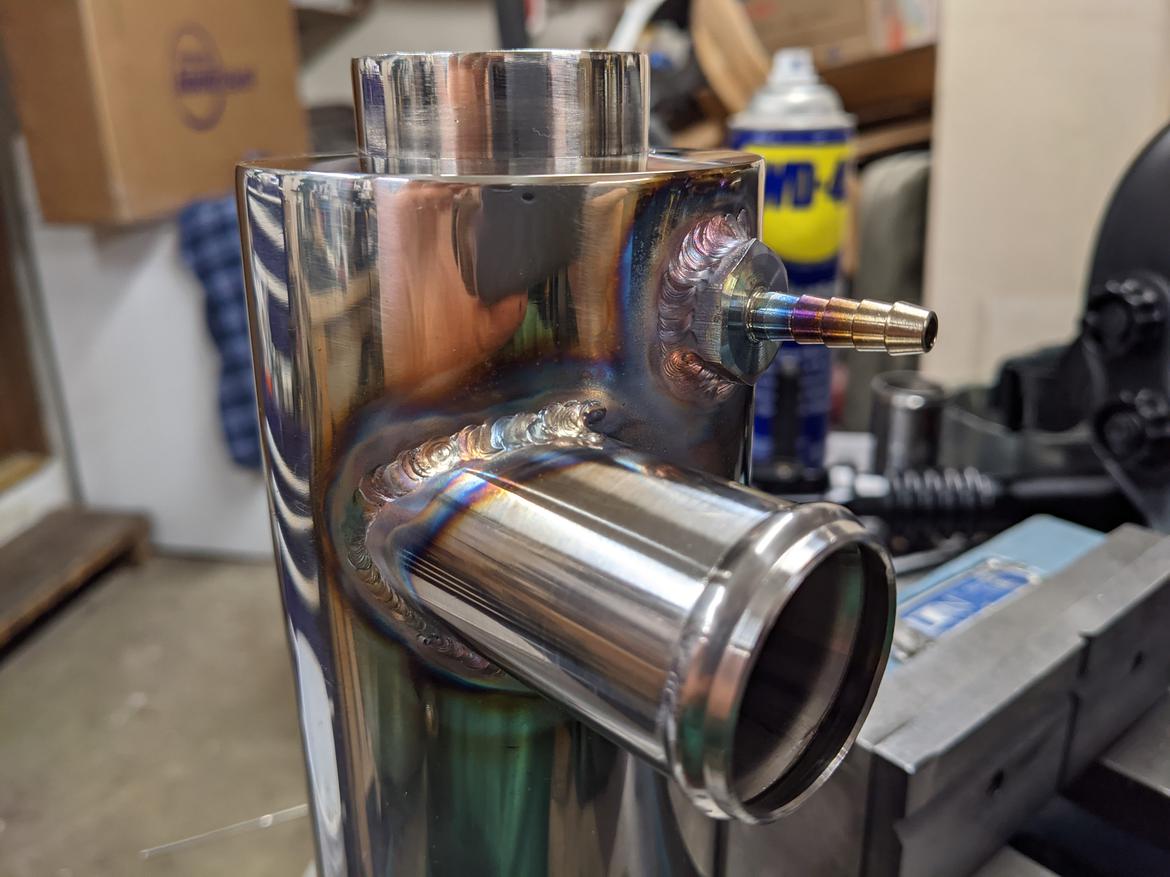
I started welding these on, but ran out of argon before I could finish.
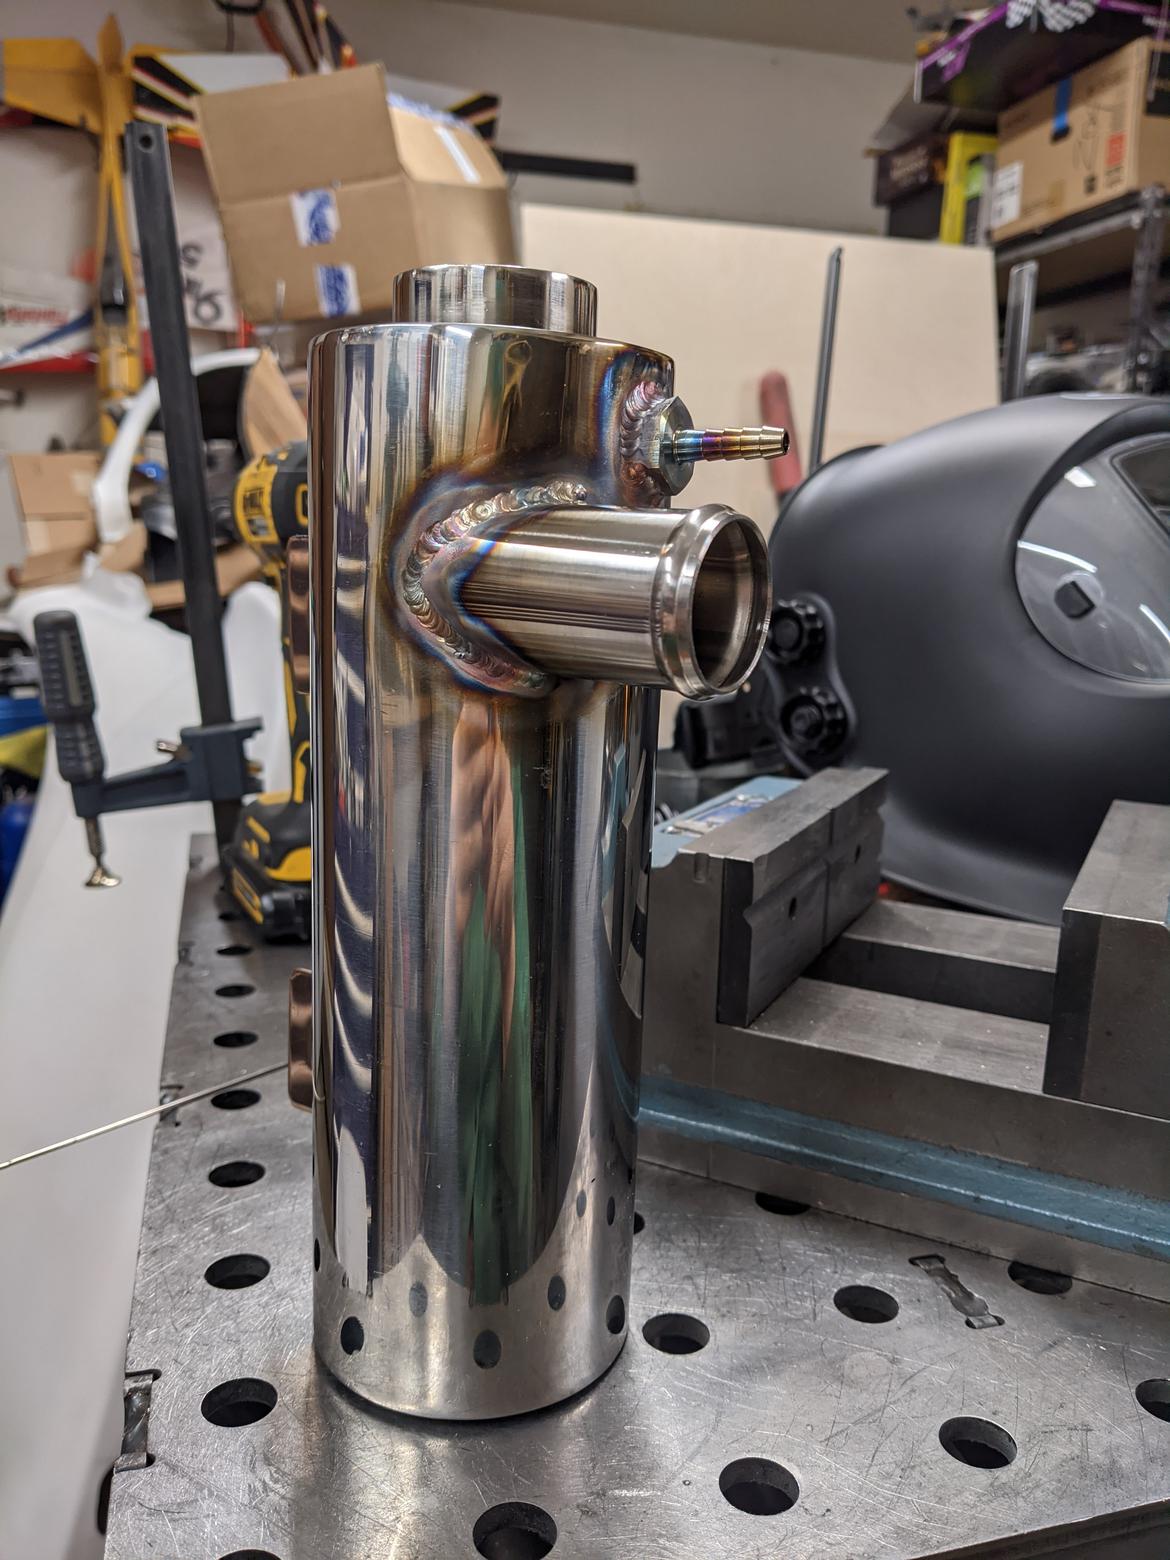
I also haven't quite decided if the bottom outlet is going to be a straight fitting or a 90 bend yet, and will have to get the engine back in the truck to decide.
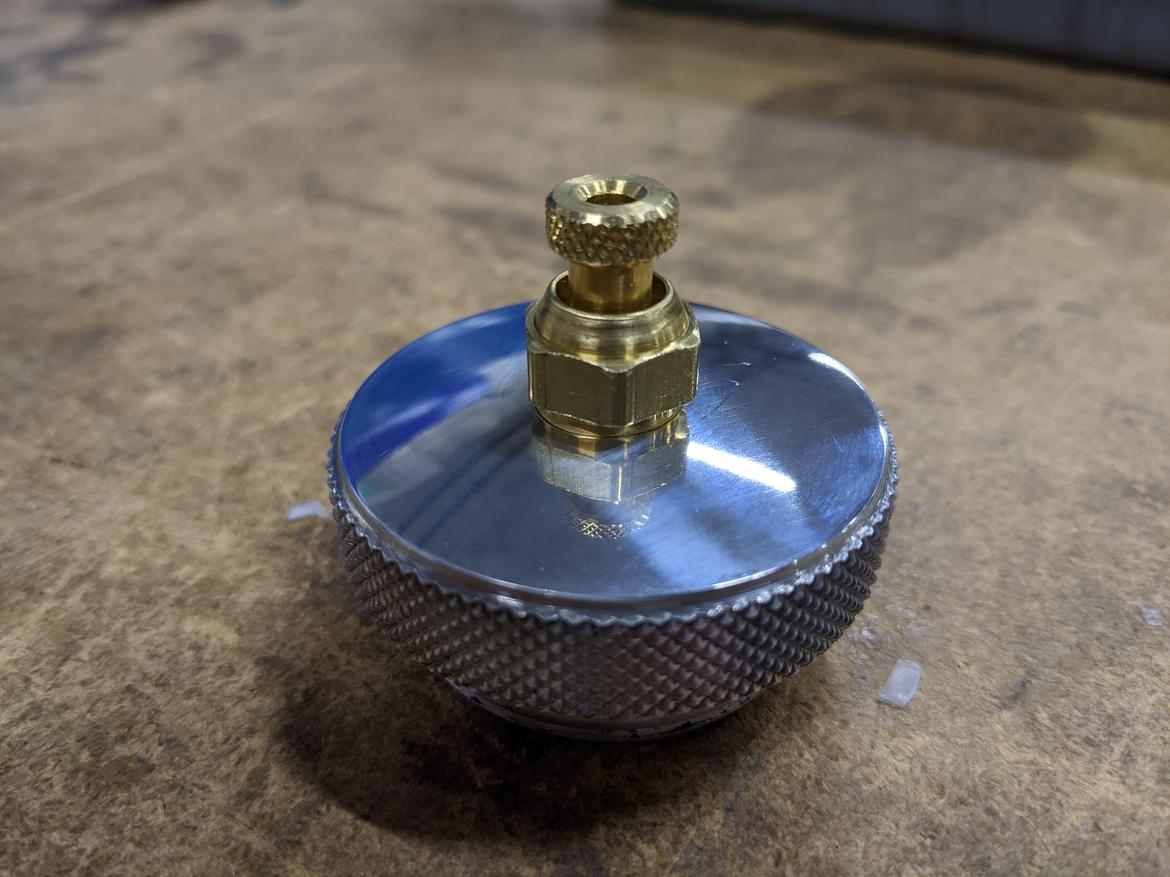
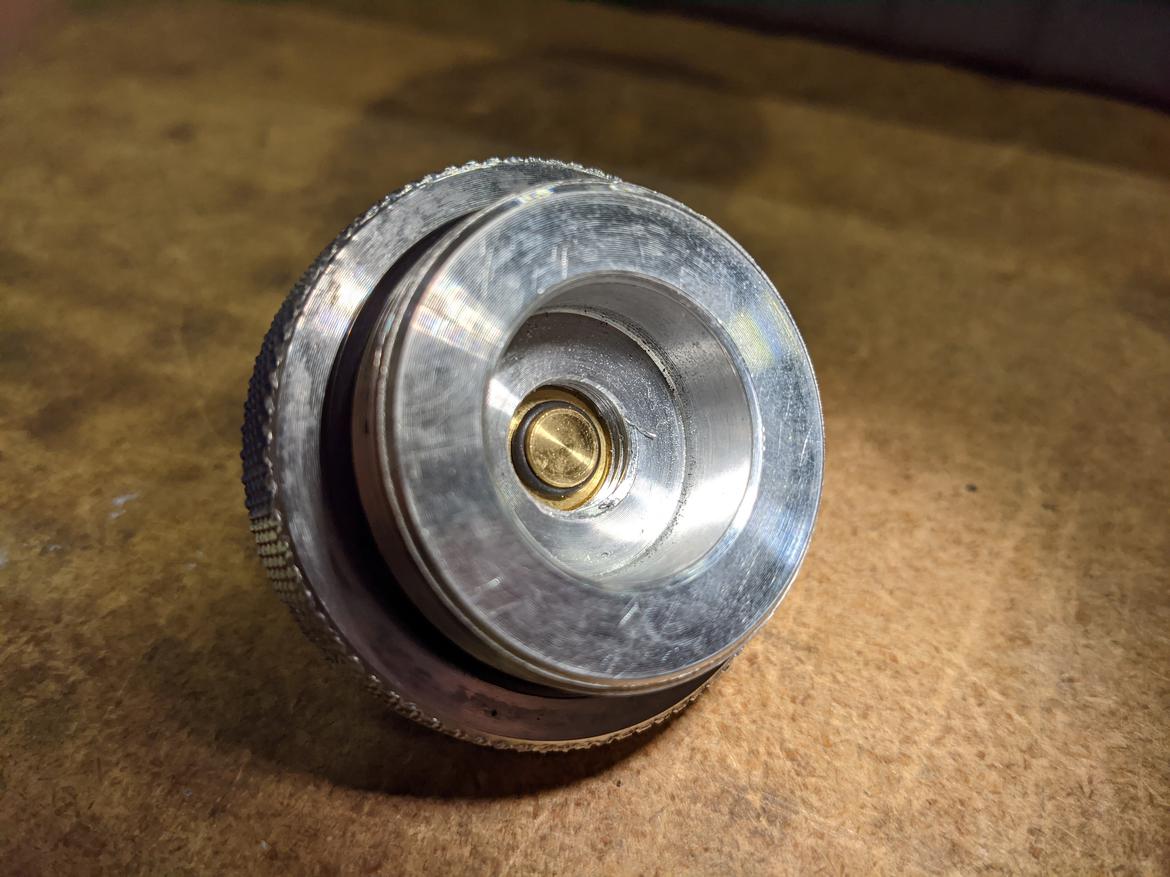
The cap I'm going to drill and tap for this neat little o-ring sealed banjo bolt type vent fitting for burping air.
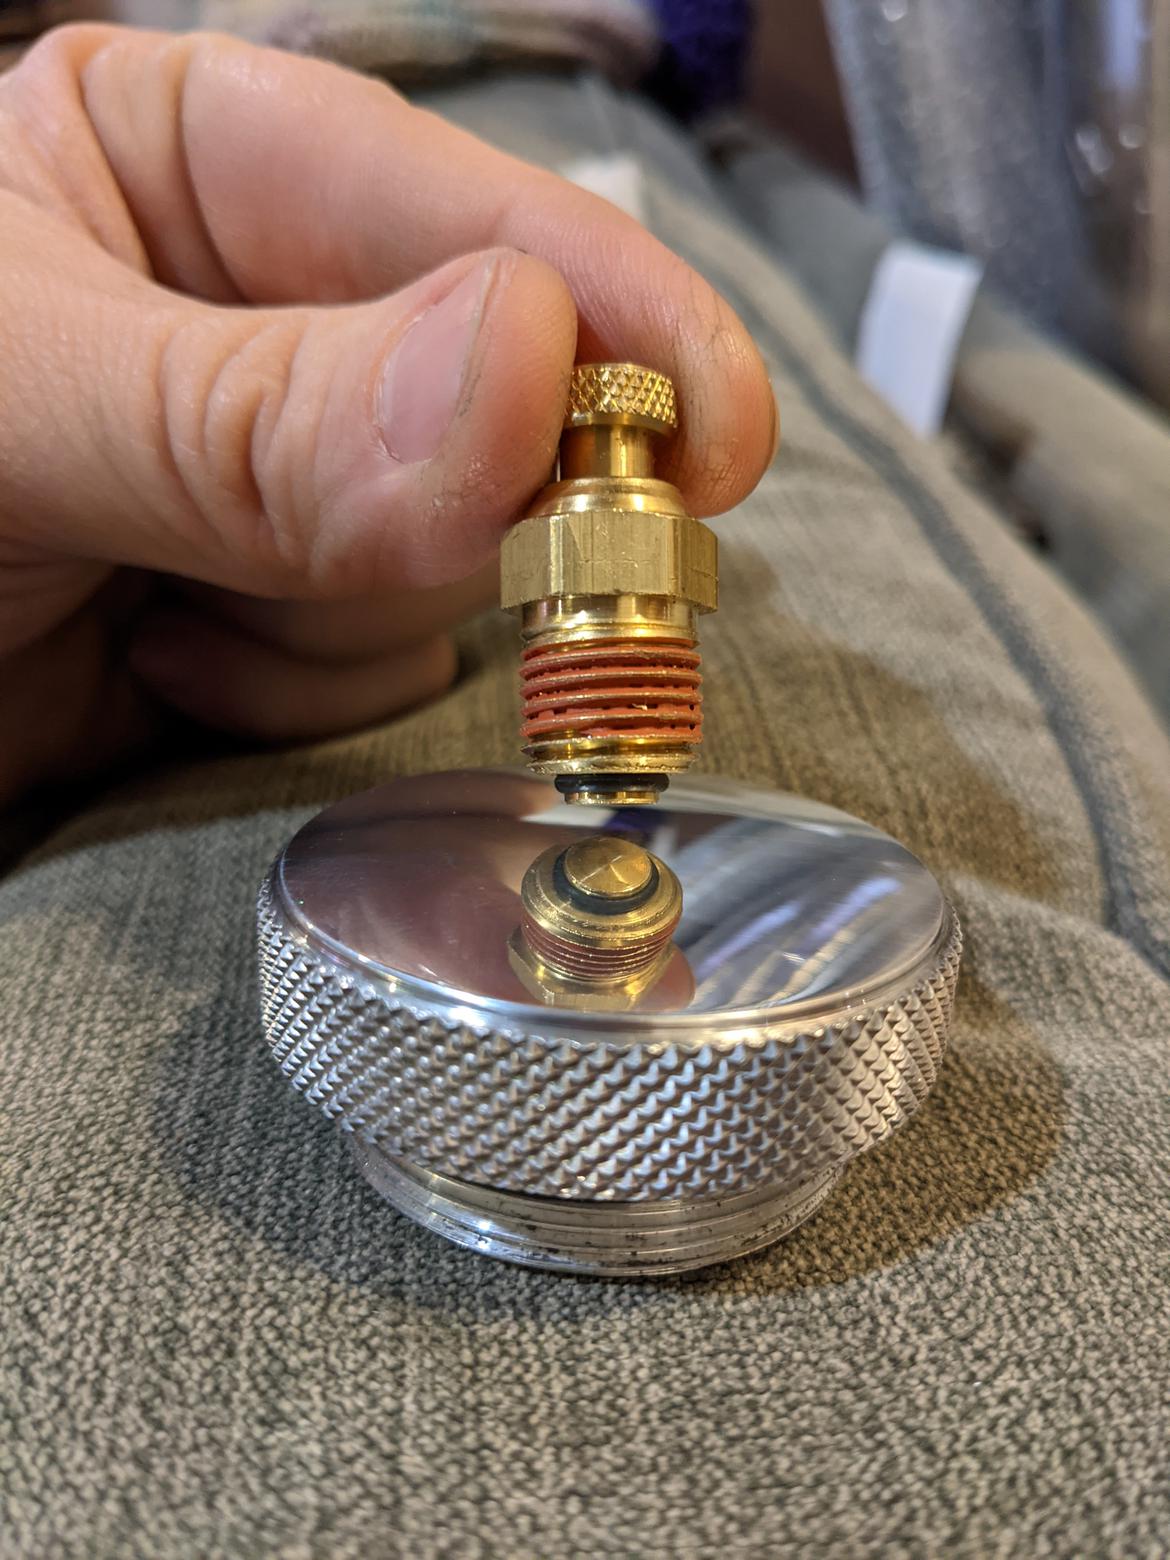
I tapped the cap for the bleeder this morning. Looks almost intentional.
Sealed:
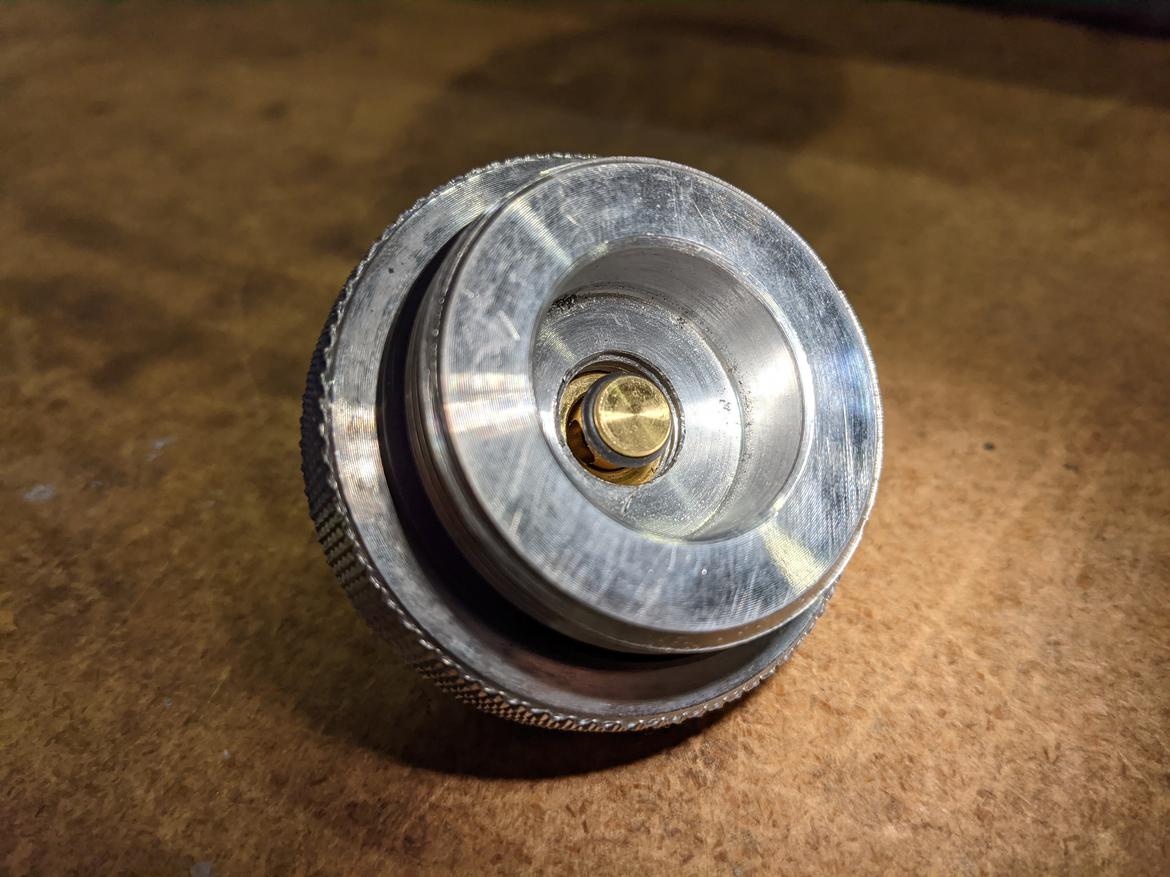
Open:
In reply to Rattmandu :
Link to where you got little burping fitting?
In reply to Professor_Brap (Forum Supporter) :
It isn't actually rated for water but I don't see any reason it won't work. Also it's just a 1/4 npt hole if I need to change.
It's from mcmaster: https://www.mcmaster.com/4921K31/
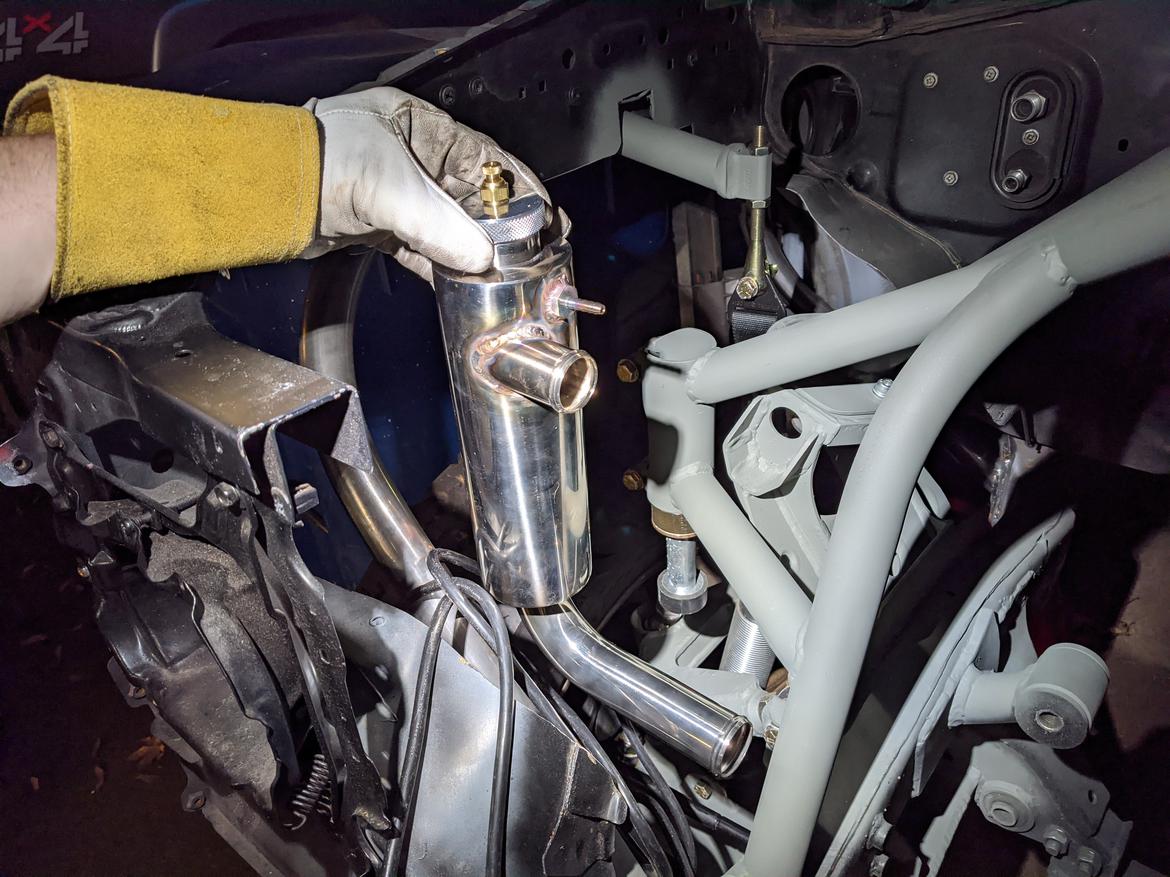
90 degree fitting was the right choice for the bottom of this thing, so all that's left on this guy is leak checking.

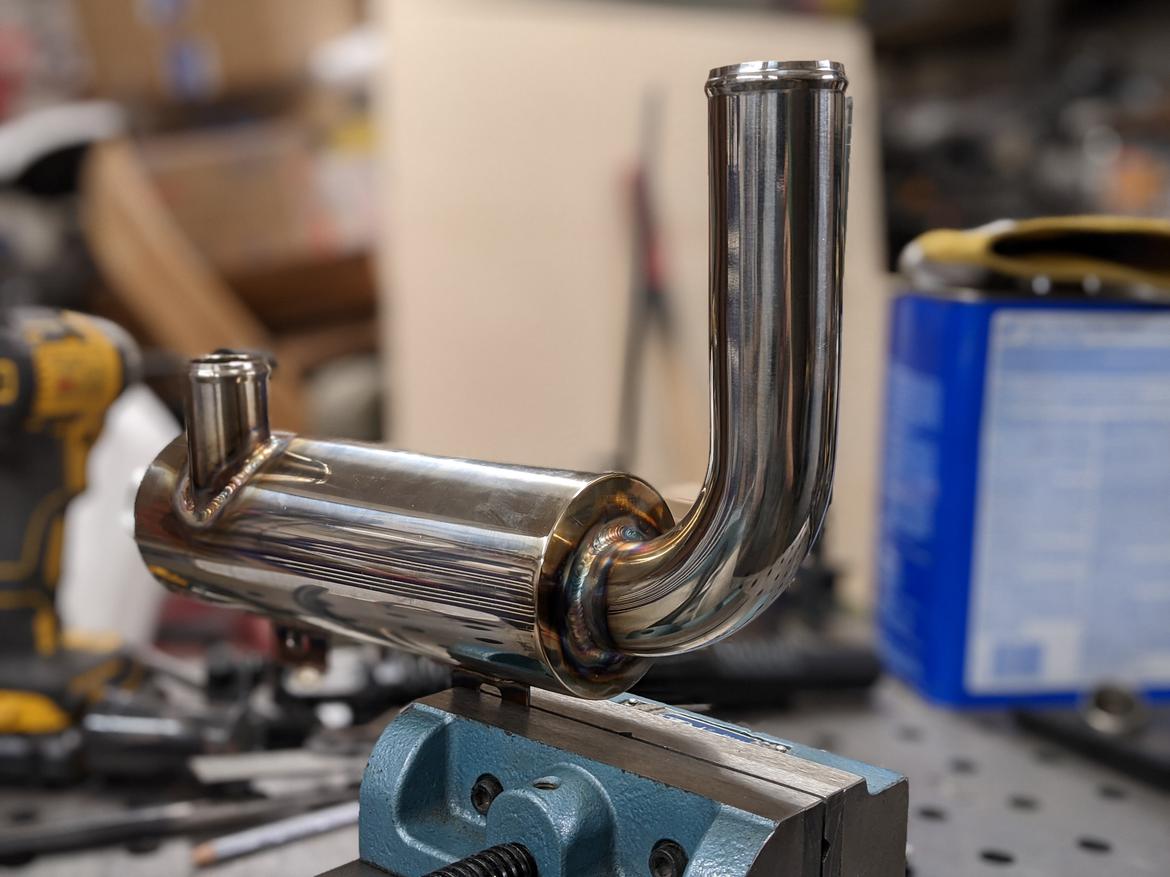
This is approximately where it sits in the engine bay.
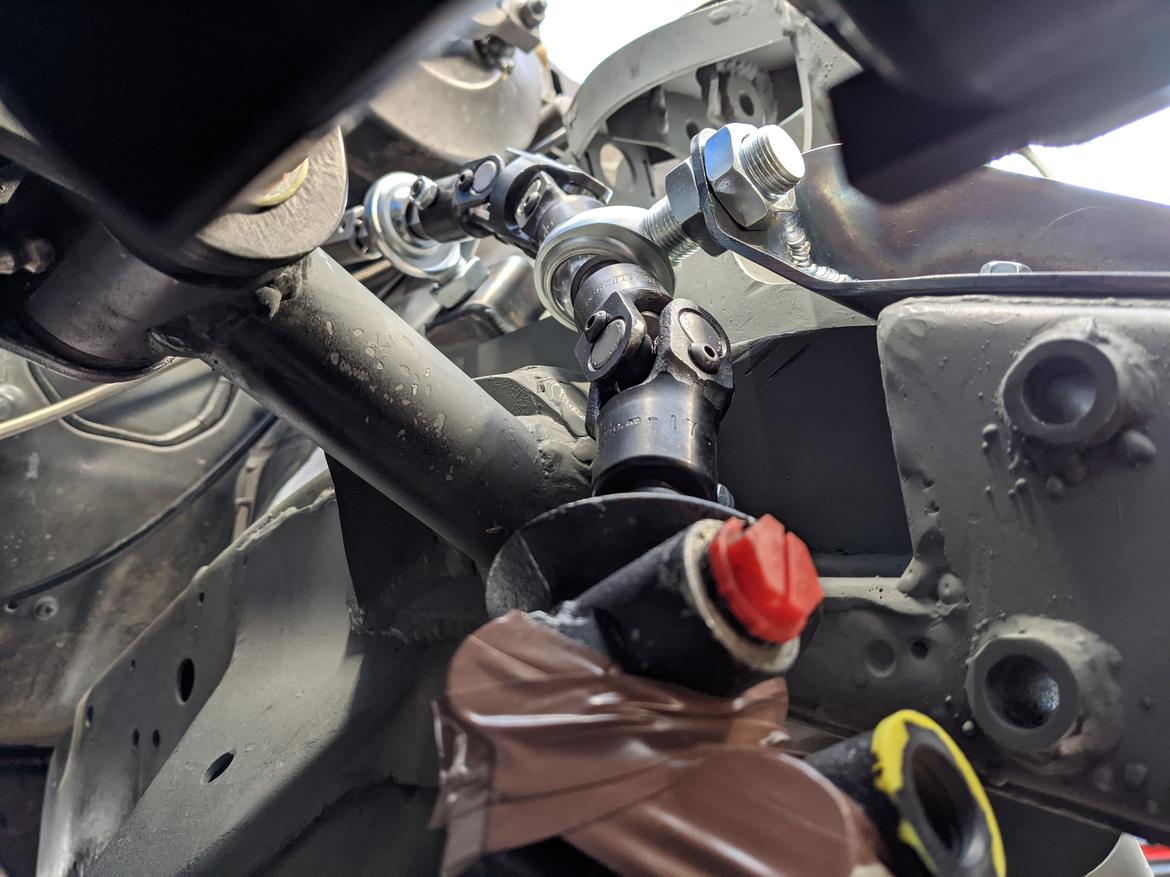
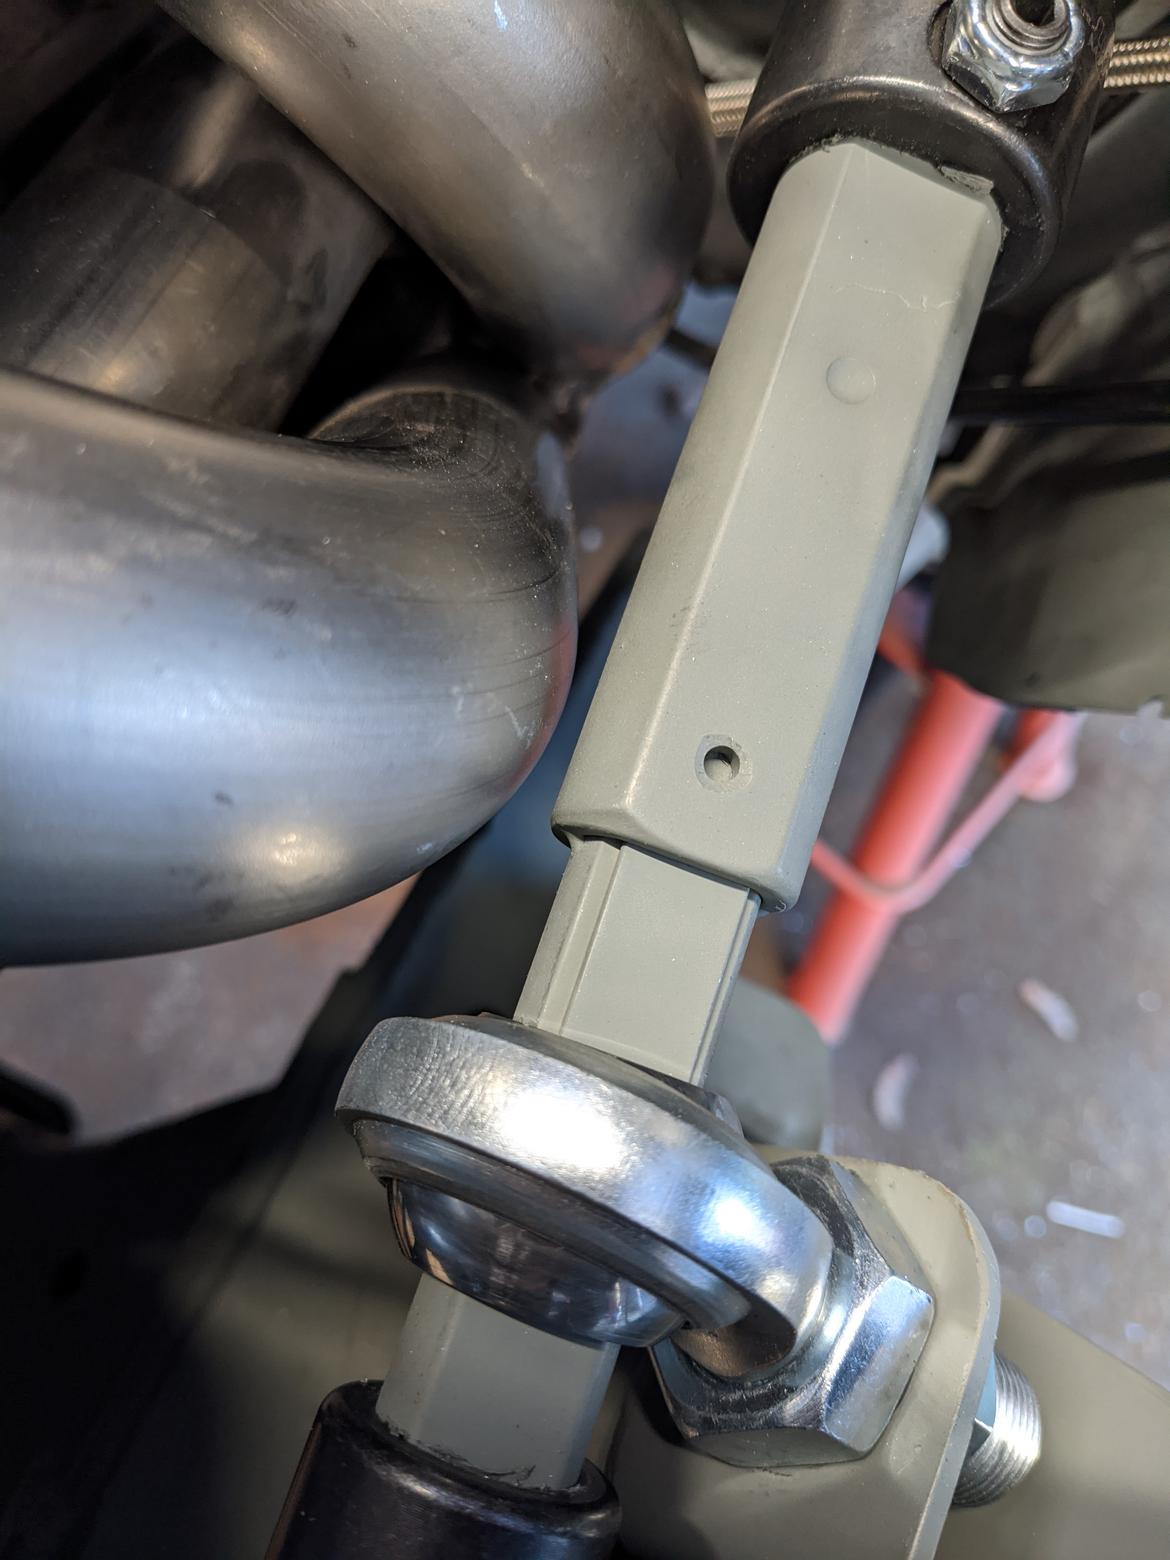
Saturdays are for steering linkages. I started out by welding a 3/4DD shaft into the tube of the steering column.

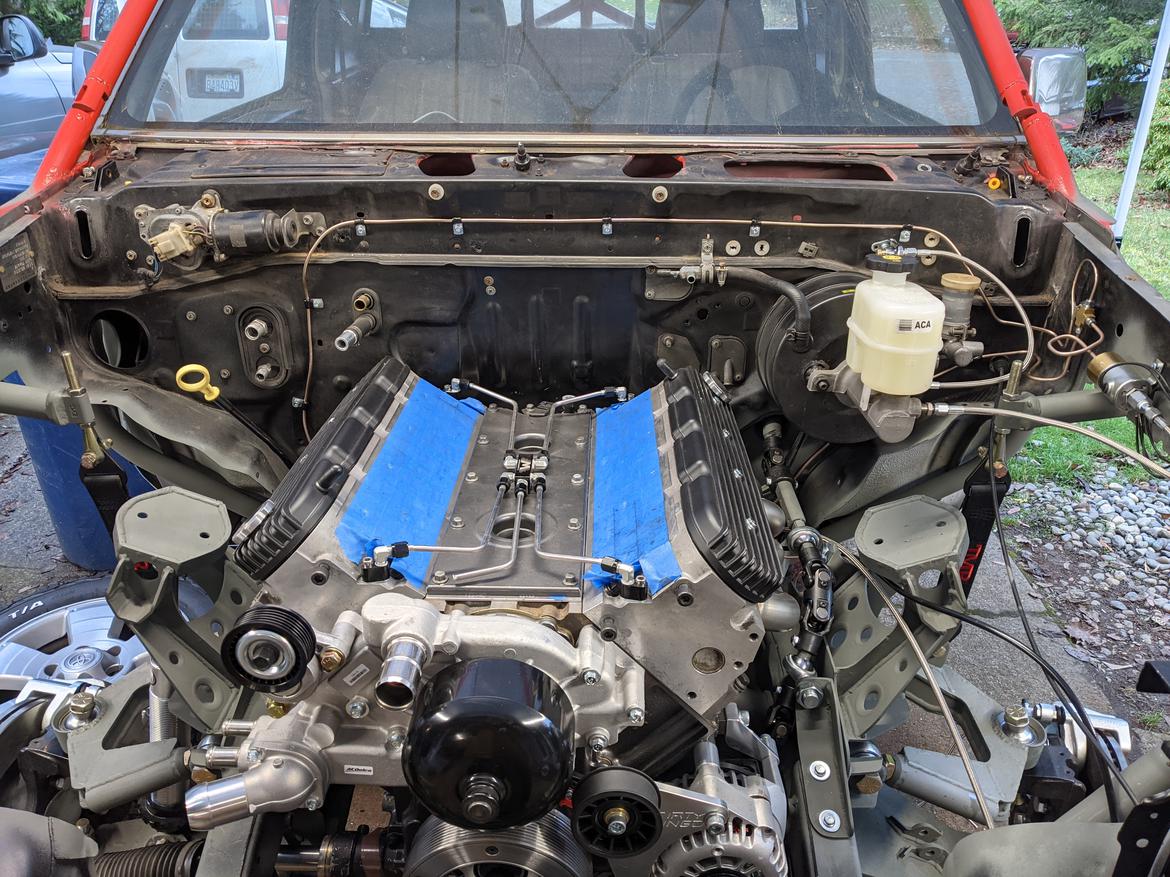
Engine went back in to make sure I'm clearing the headers. I think I'll need some wrap or a heat shield.
It ended up that I don't actually have much length of collapsing shaft anymore.
Now I need to make a bracket to hold the support bearings.
It also looks like I could have just used a length of straight shaft from the rack to the double U joint, but I don't know of anyone that makes a 17mm asymmetric DD coupler I could use for that.
(Edit: turns out Borgeson does make a straight 17mm to 3/4 adapter if I want to get rid of that lower joint)
Can you lengthen the column shaft and shorten the rack shaft to get a more shallow angle on the lower joint? it looks pretty steep from the pictures.

solfly
Dork
11/15/20 10:10 a.m.
Can you explain why you went with so many joints instead of a couple longer, straighter sections?
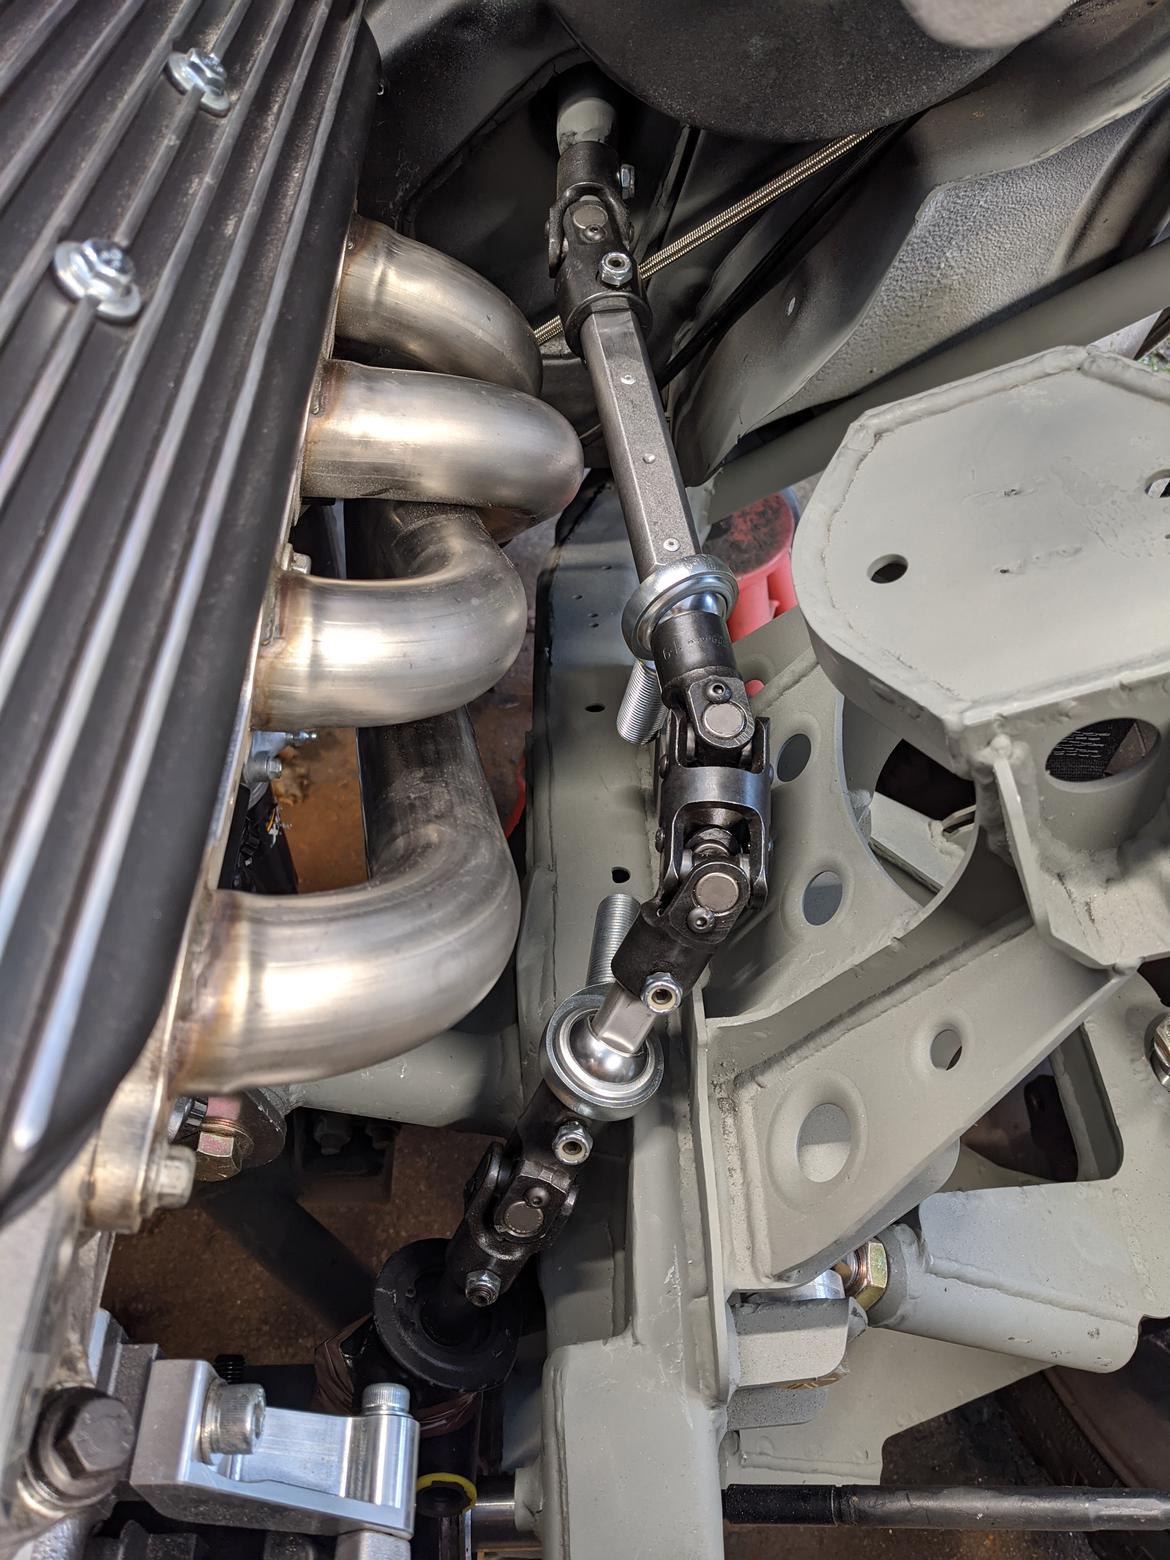
I think I could probably could have done it with one less joint. I shortened the upper mid shaft about 3/4" this morning and have much improved the angles, and also the shaft can collapse about 2" now.
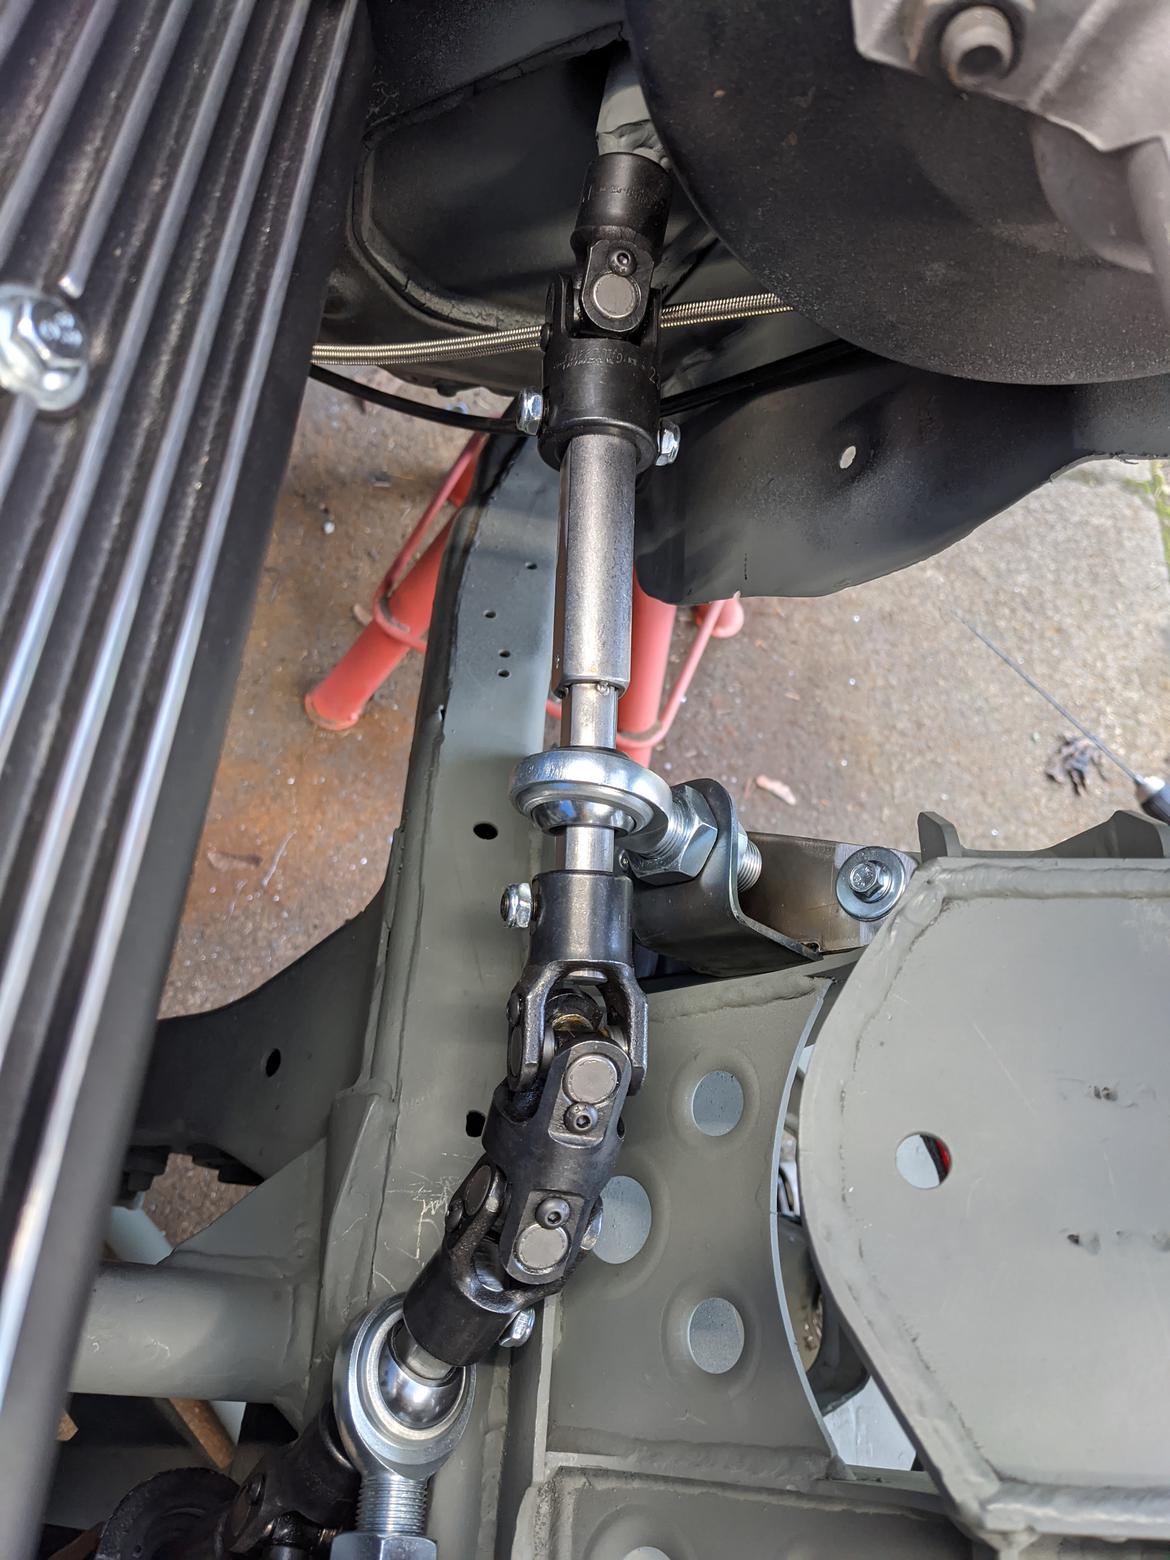
The upper joint is around 6 degrees, the double joint is like 46, and the bottom joint is 10ish degrees.
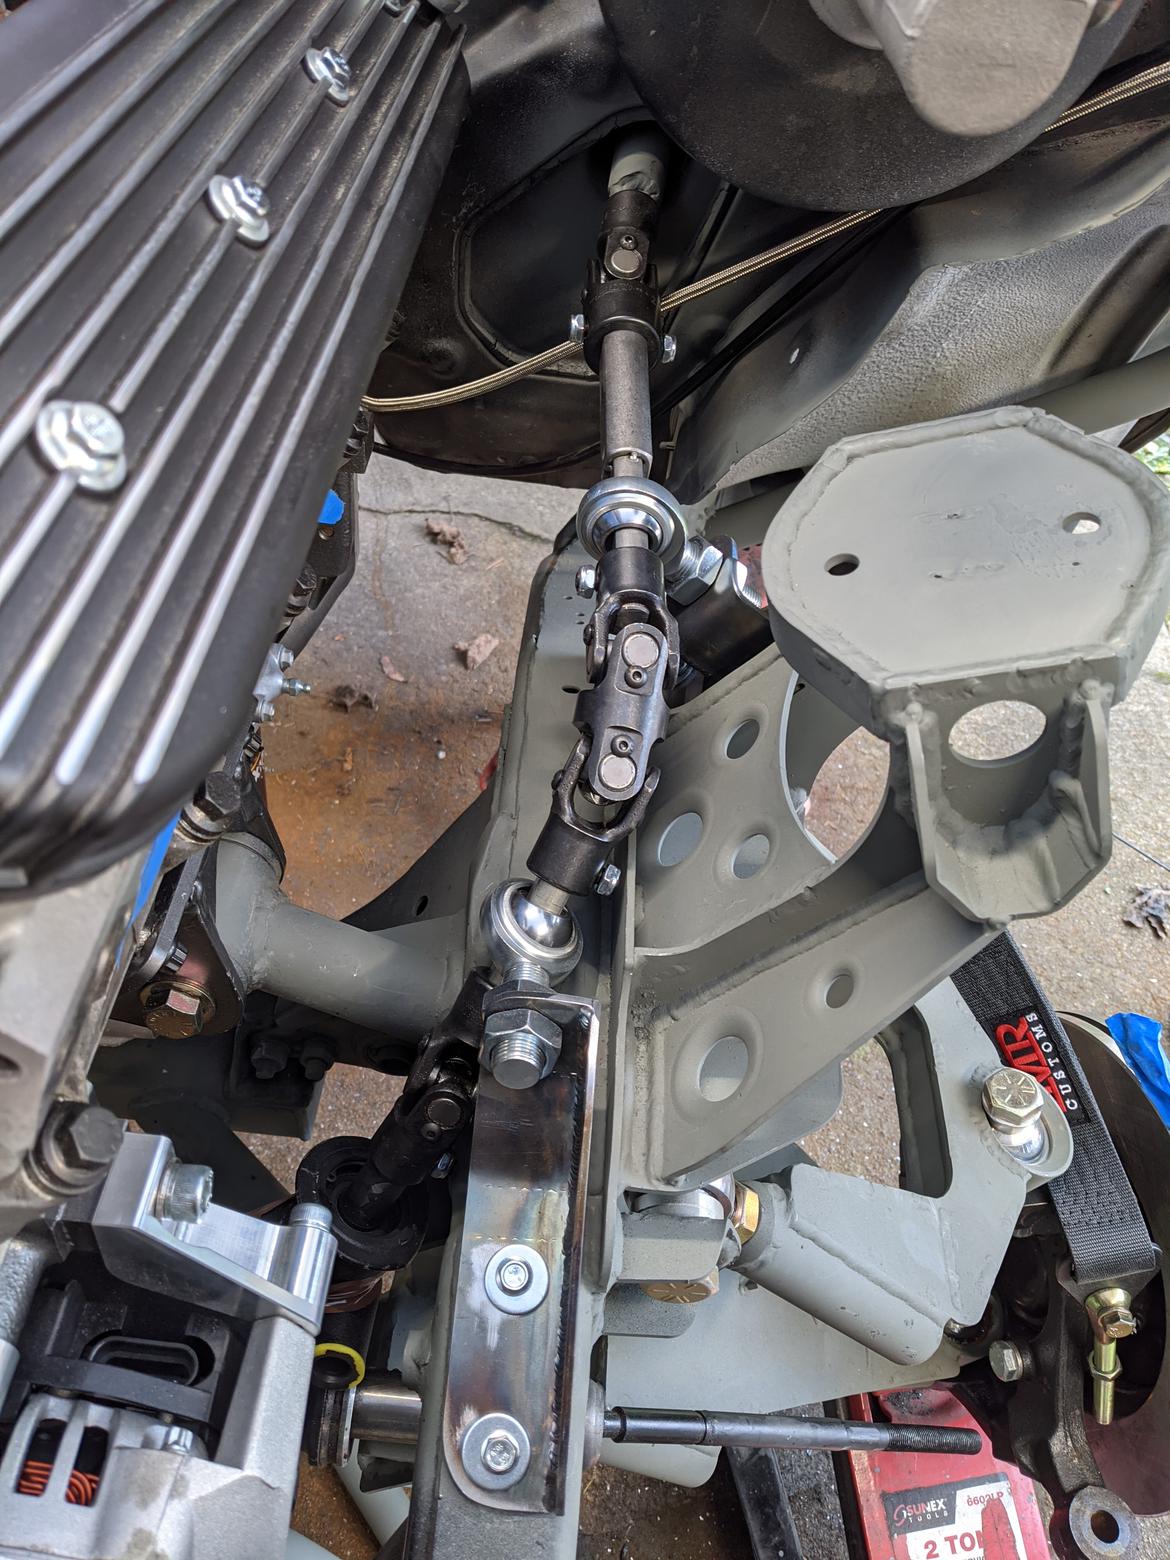
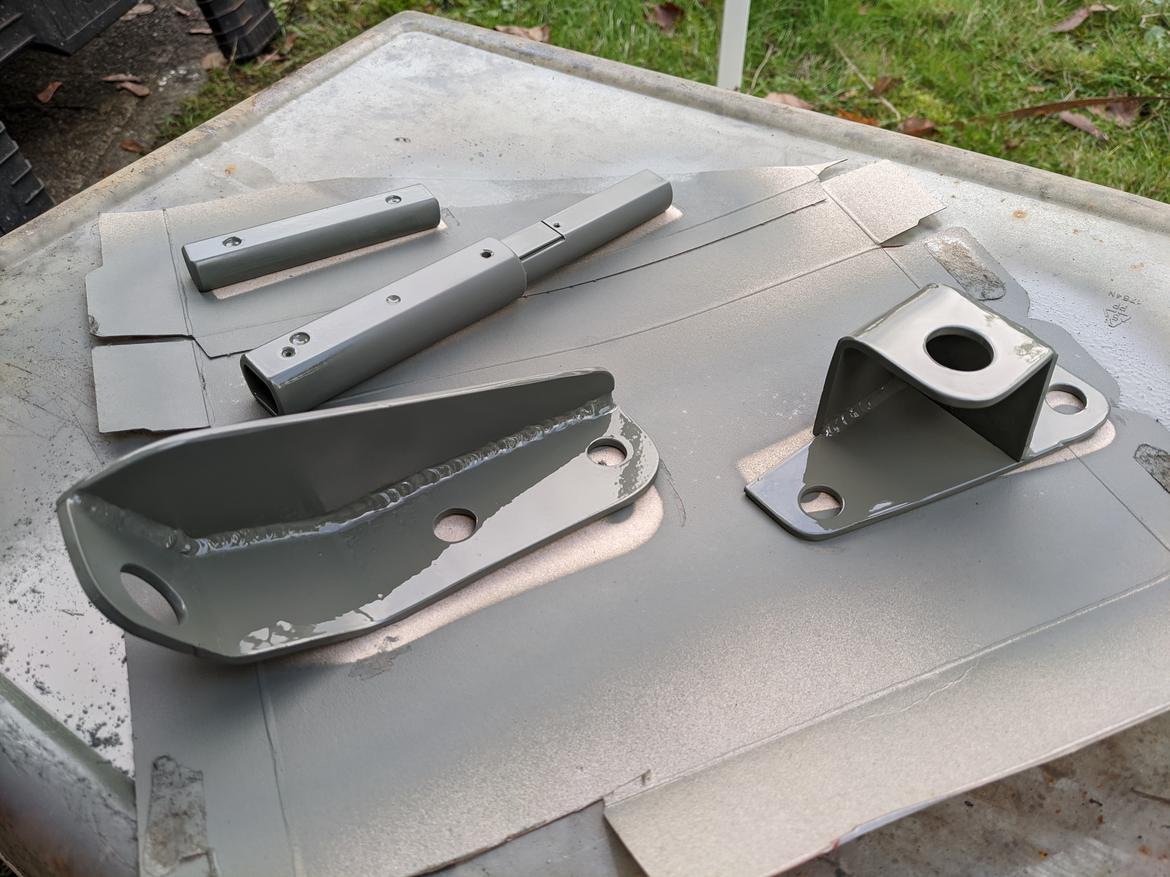
Here's the brackets for holding the heim joints.
solfly
Dork
11/15/20 4:44 p.m.
How's the smoothness through the rotation?
In reply to solfly :
Seems fine I think. I don't have a steering wheel attached so I was just turning it by grabbing the shaft.
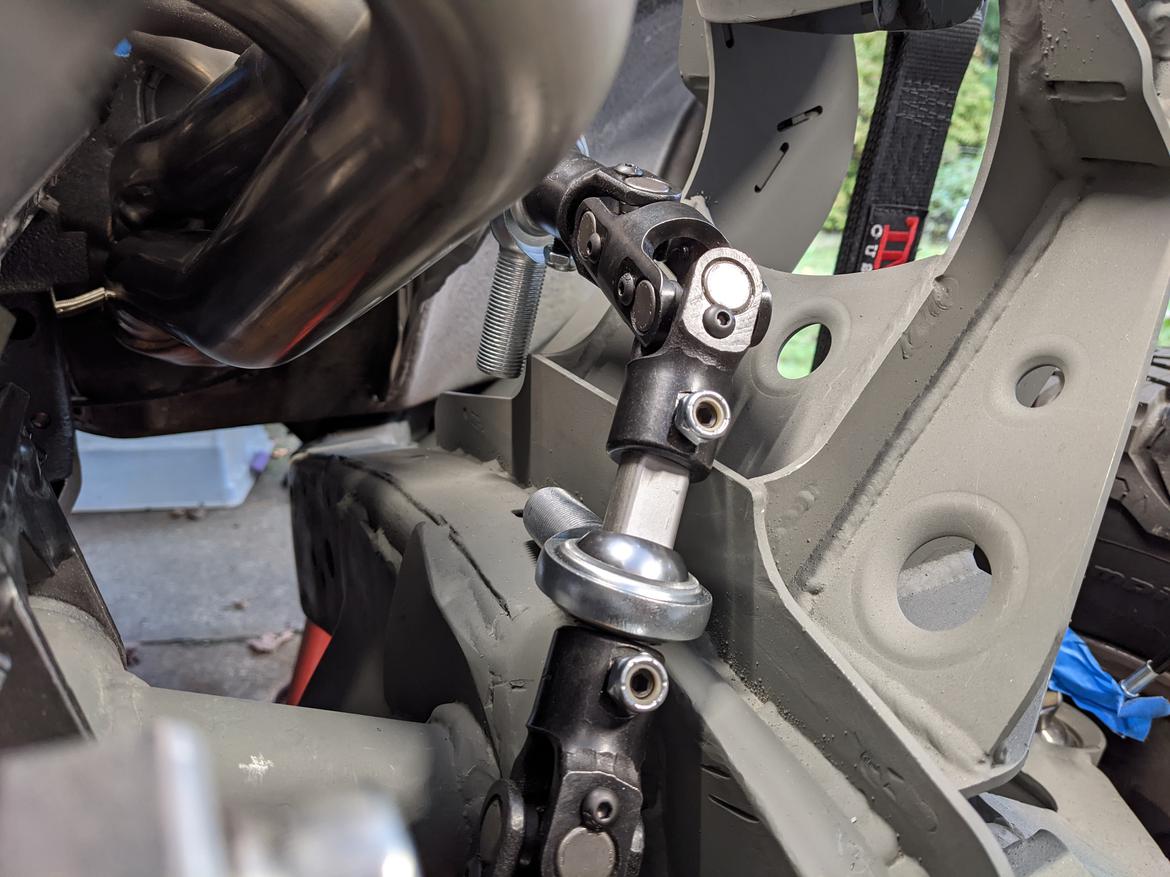
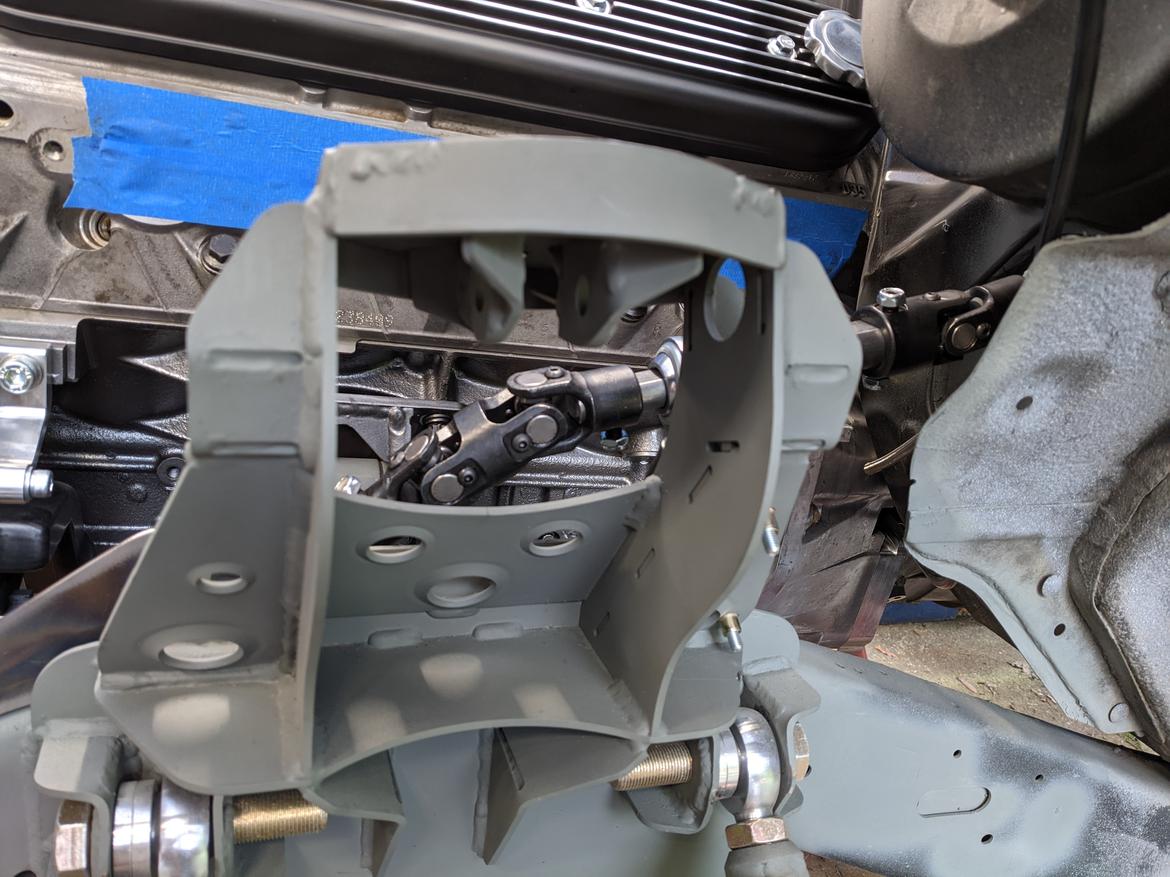
Somehow it feels like it got even closer to the header after taking it apart to paint. There's about an 1/8 - 3/16 in there.
The lock to lock situation looks decent.
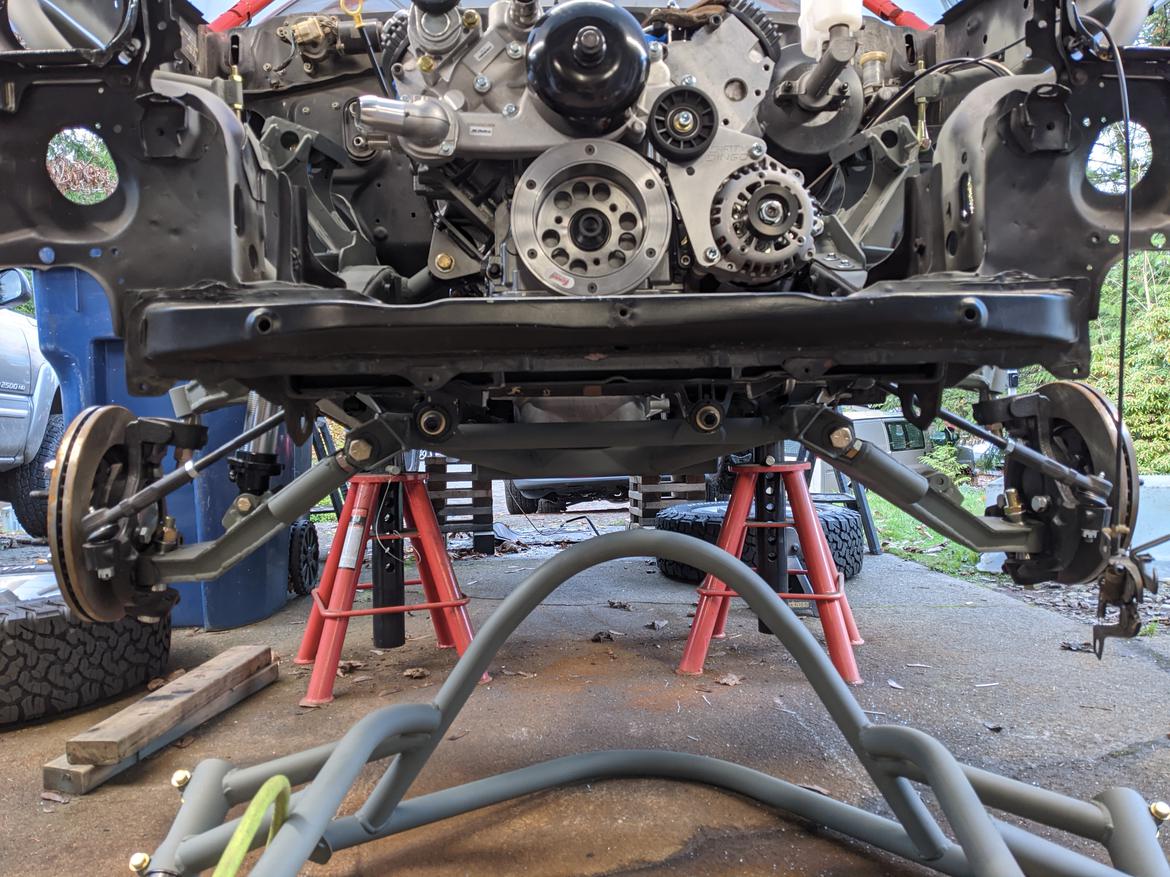
Getting close to being able to roll this thing around again.
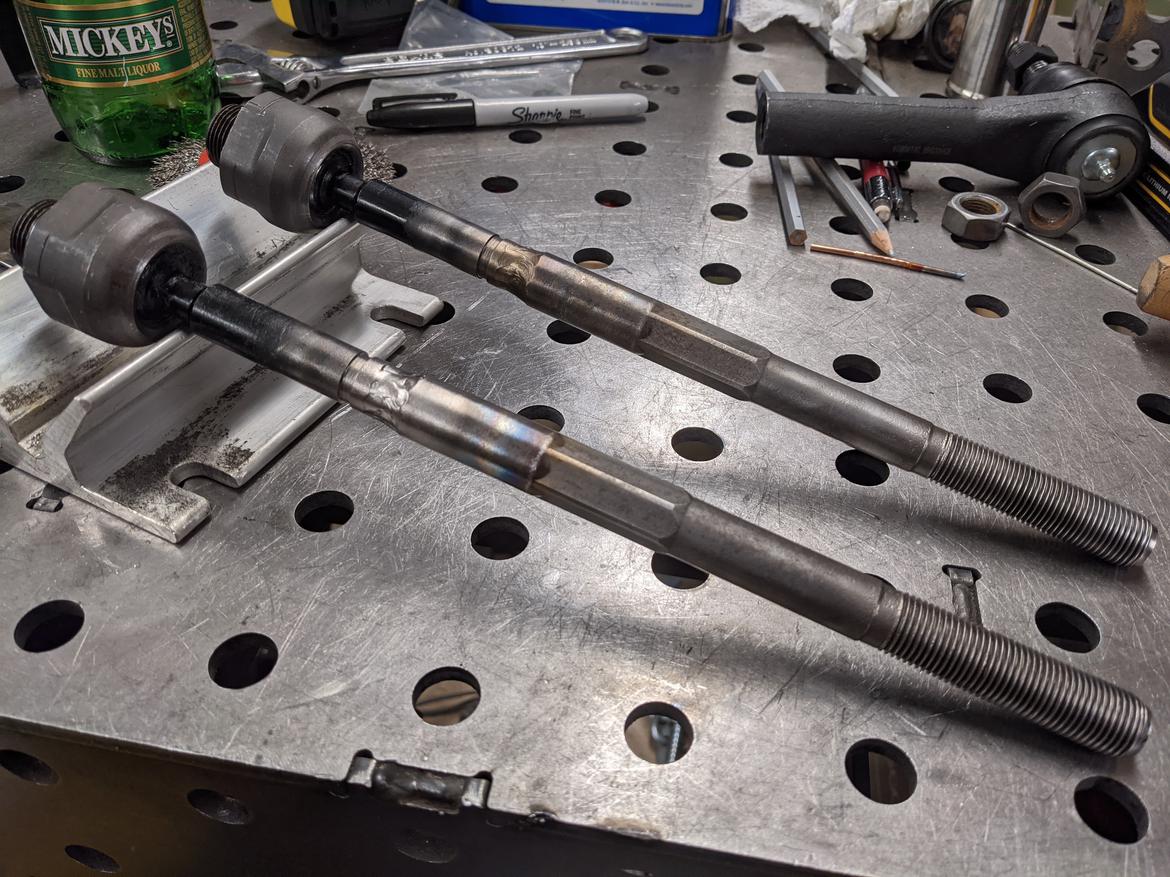
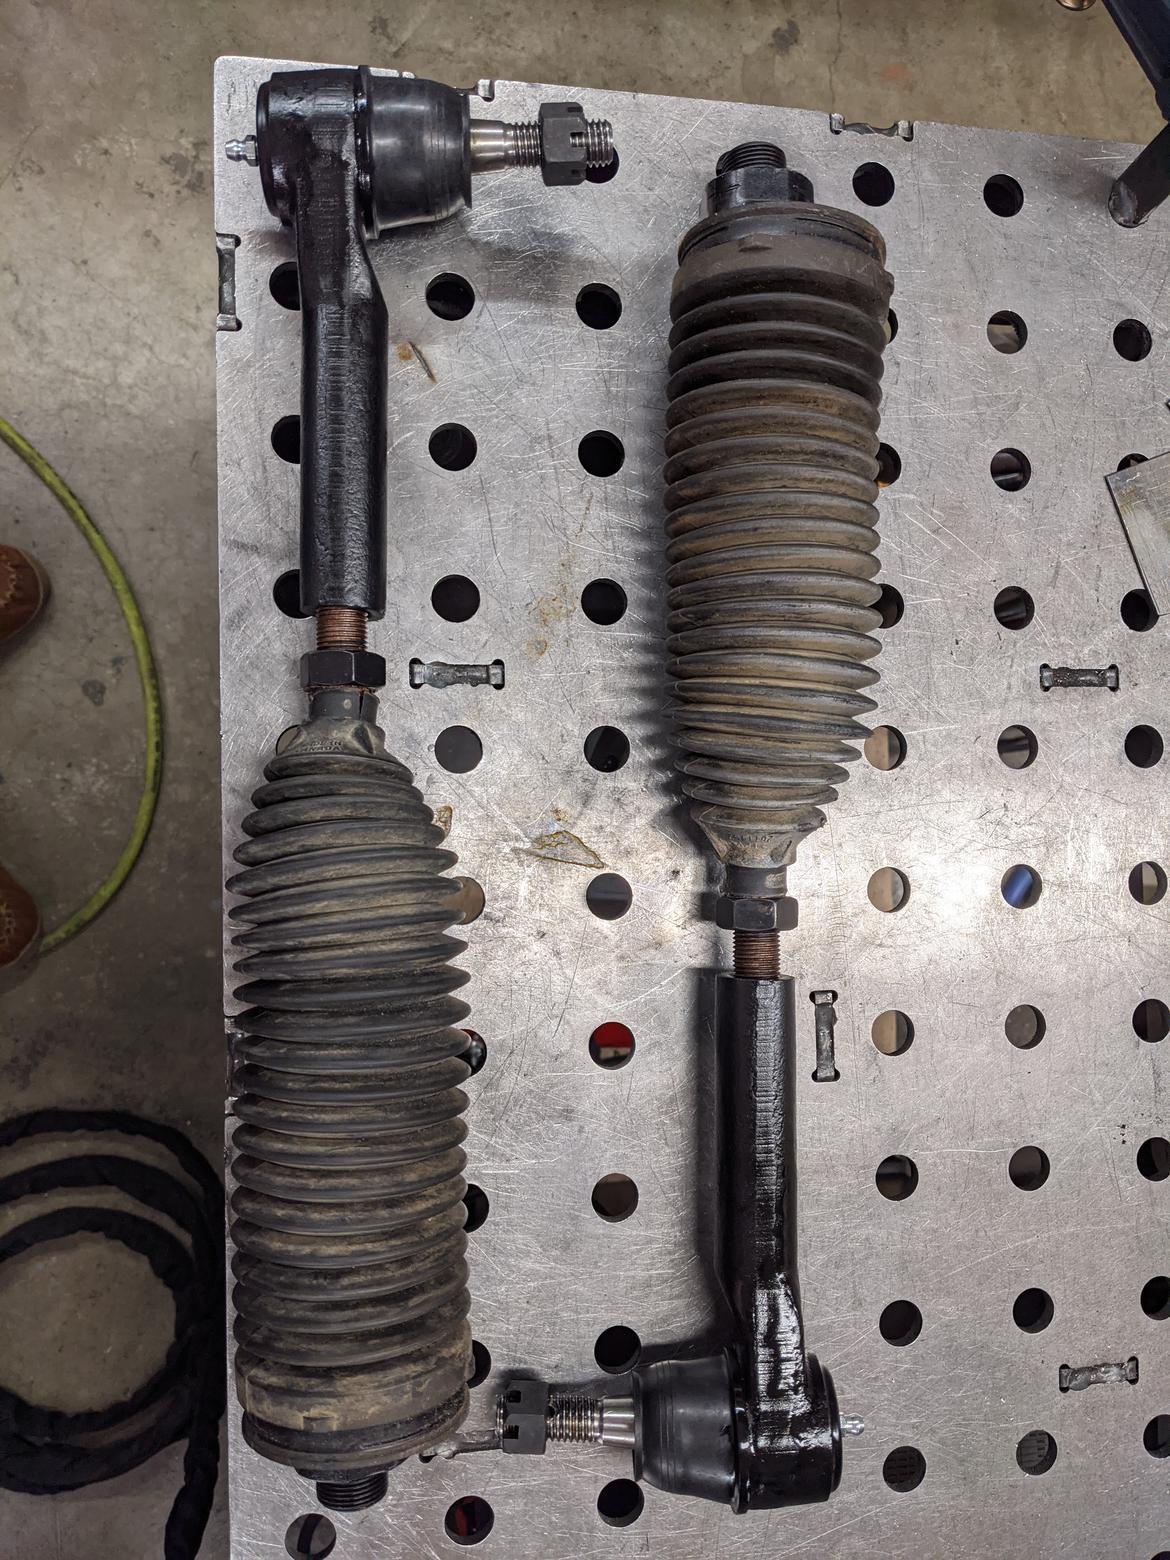
My steering knuckles and steering rack are different generations of chevy truck, with the knuckles being a 2018 and the rack being about a 2000, and in the change they significantly increased the taper size for the outer tie rod ball joint.
Here's the two inner tie rods side by side.
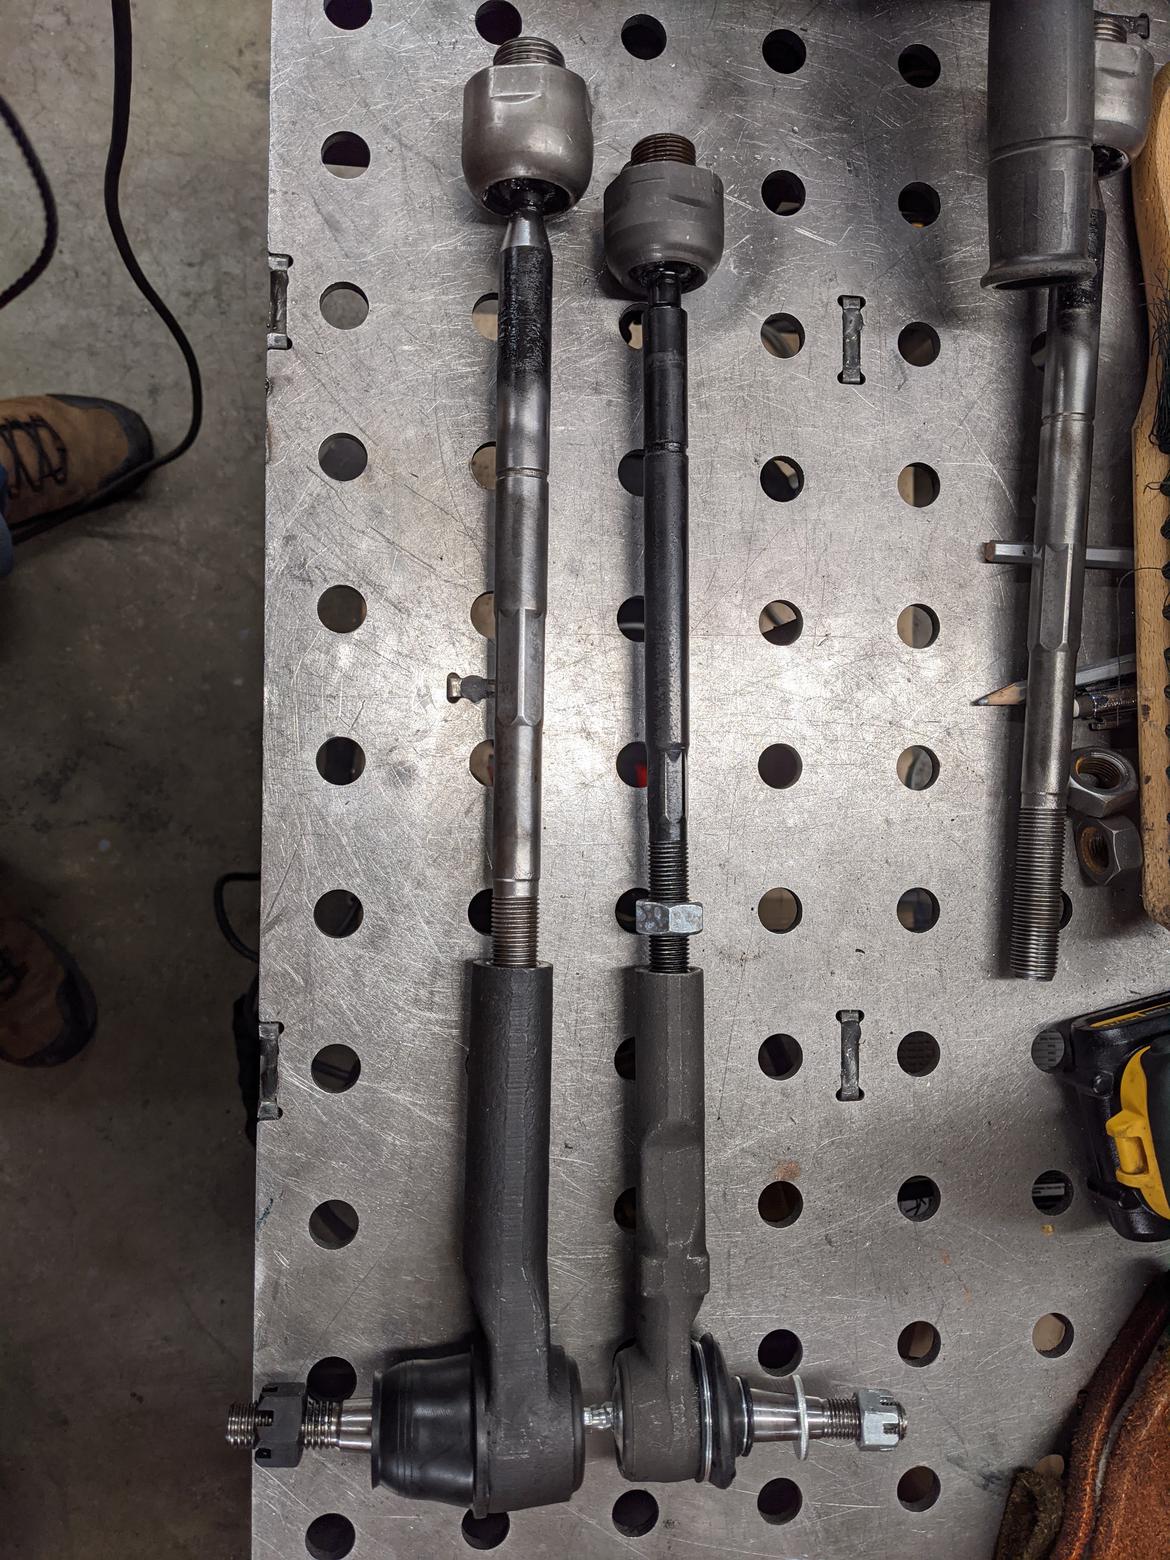
To adapt the new outer tie rod to the new inner tie rod I'm chopping them apart to make a hybrid the same length as the older tie rod.
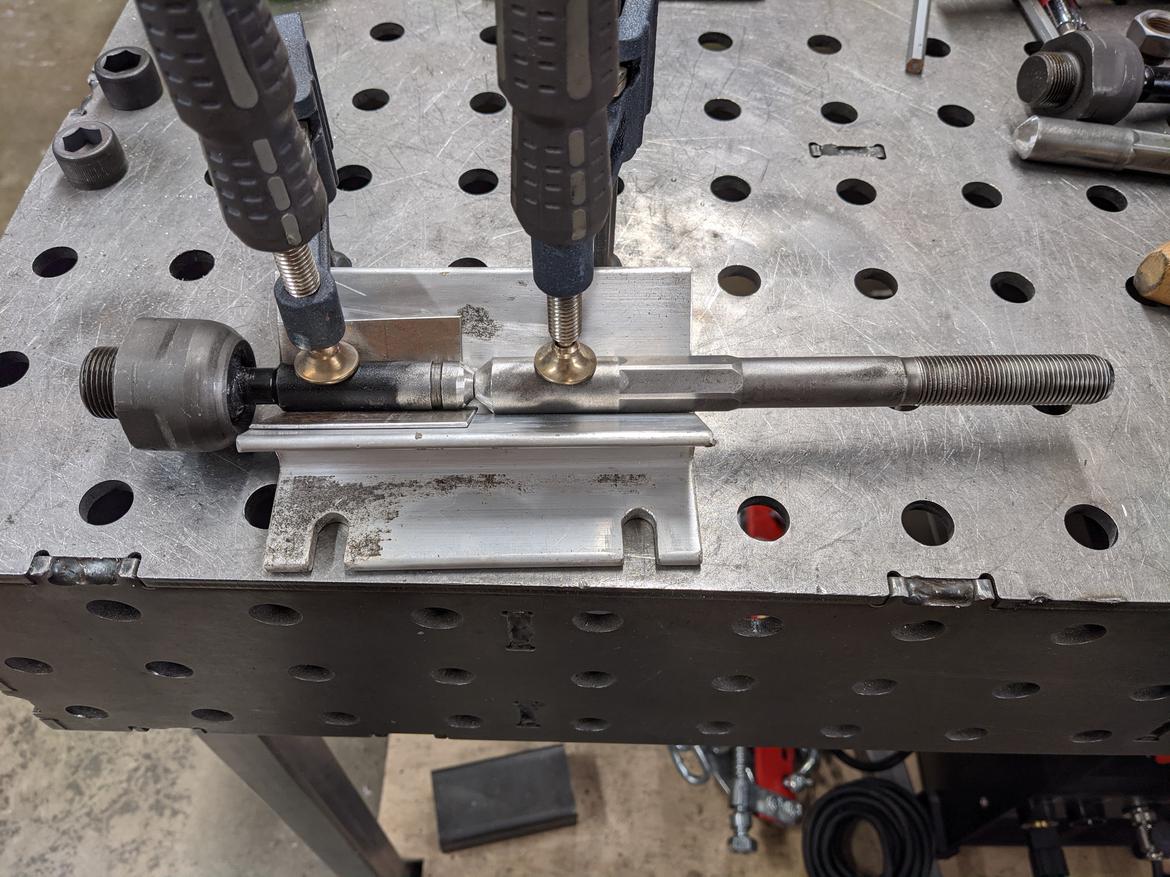
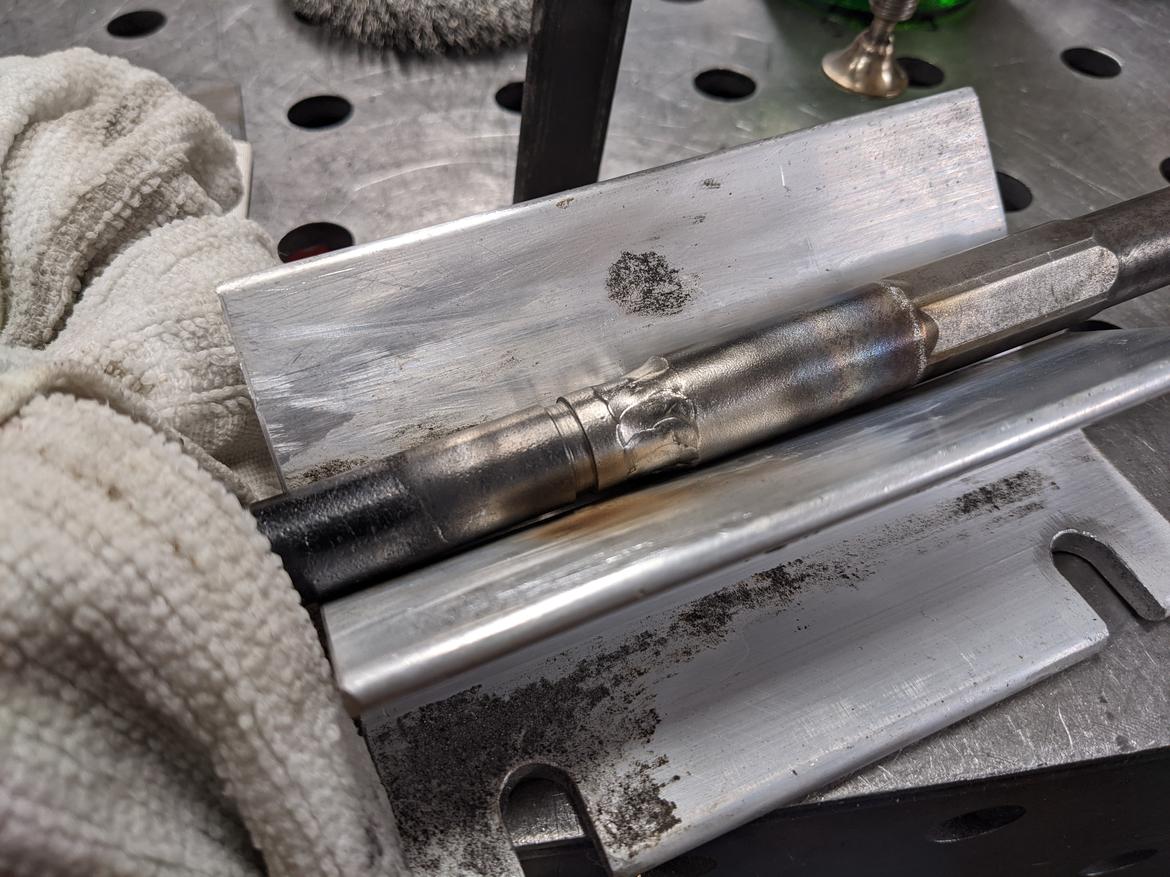
I put a nice healthy bevel on both ends and did a root pass with no filler.
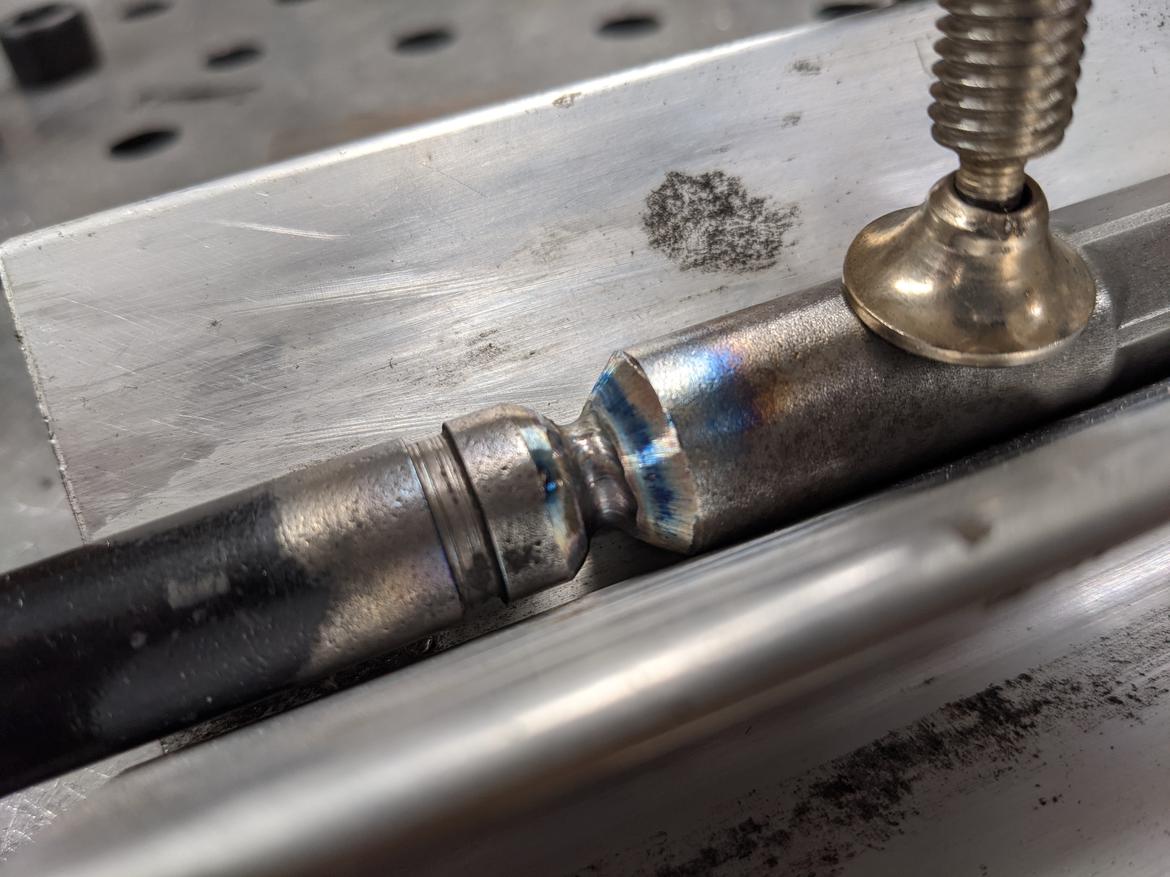
Here's the second pass with some filler this time. The inner ball joint is wrapped in a wet rag to keep it cool.
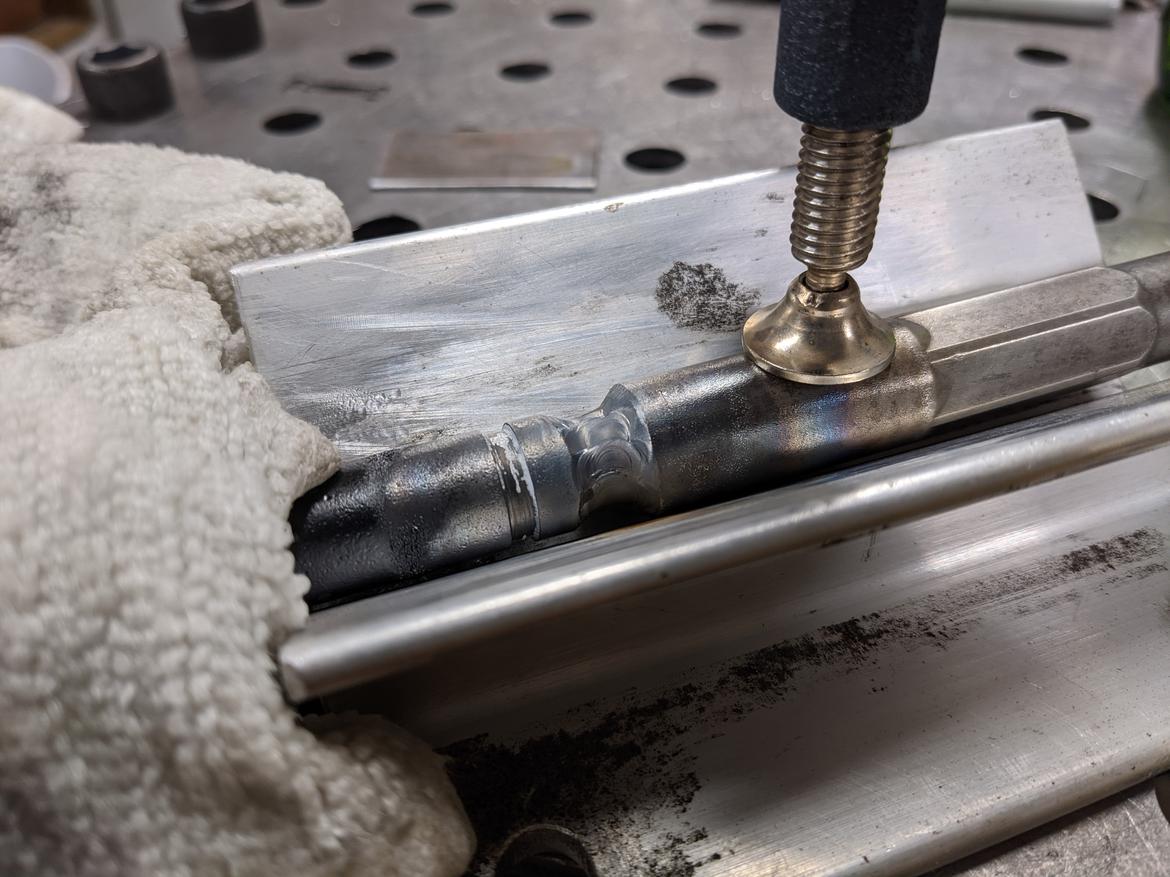
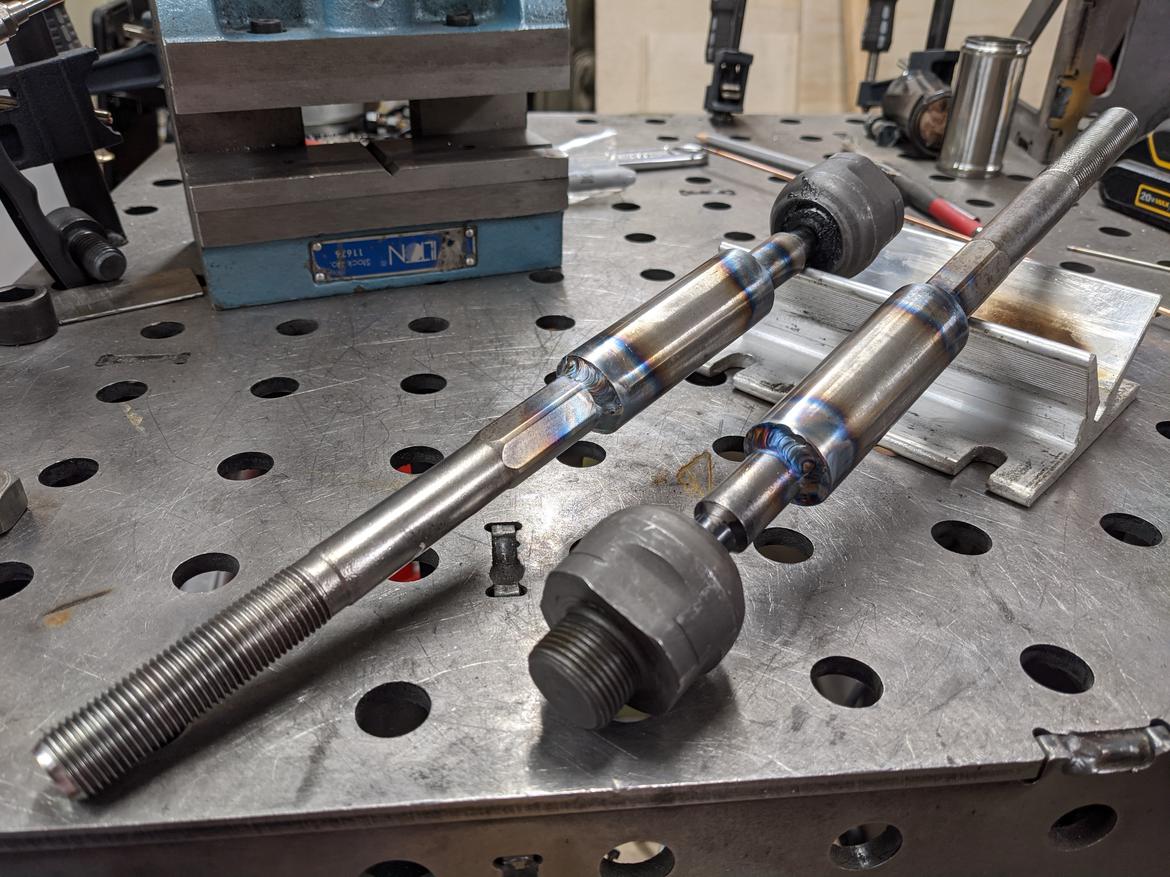
And the final pass is stitched across the surface.
The two tie rods are both adapted. I am planning on sleeving this joint, just need to find some appropriate sized tube first.

java230
UberDork
11/19/20 9:10 a.m.
That is some beautiful weld work
I drilled out some 1" rod to make the sleeves, and welded those on.
Hit them with some spray paint.
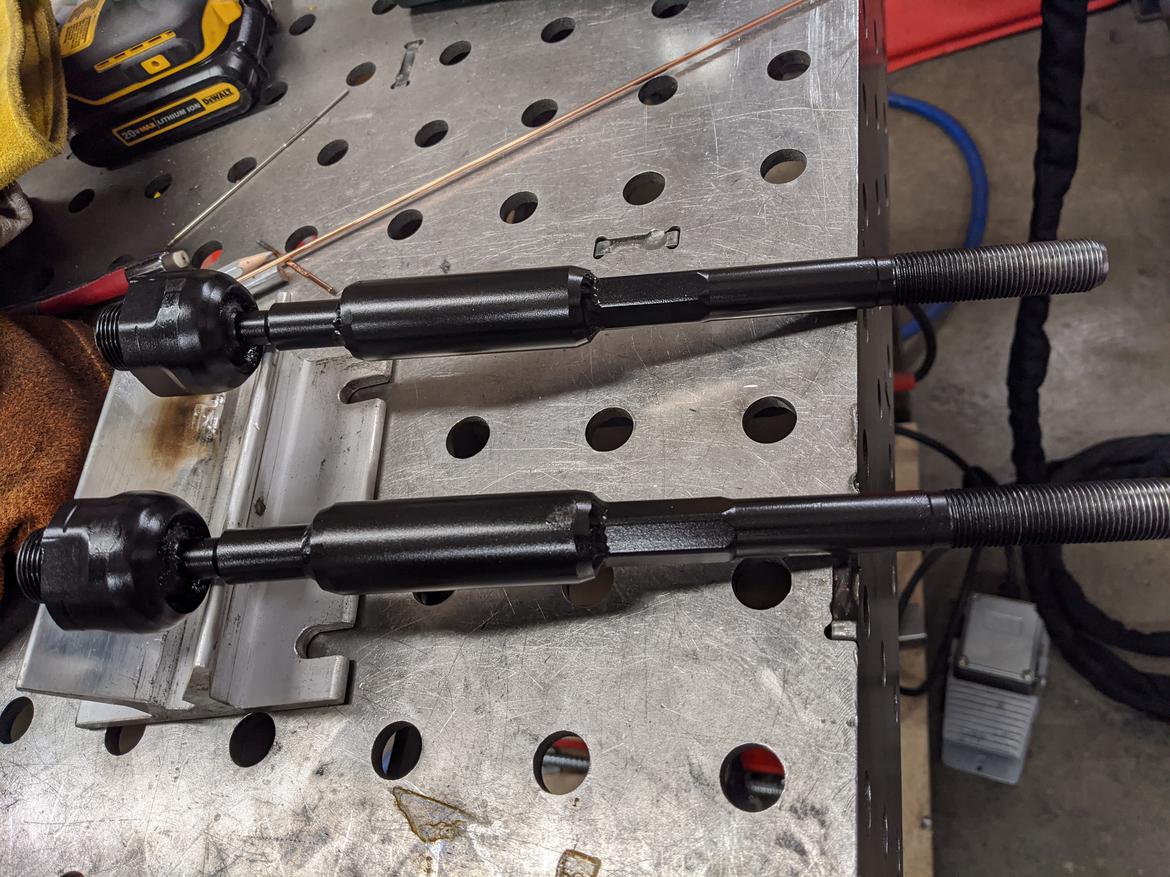
And now they're ready to go back on the truck this weekend.
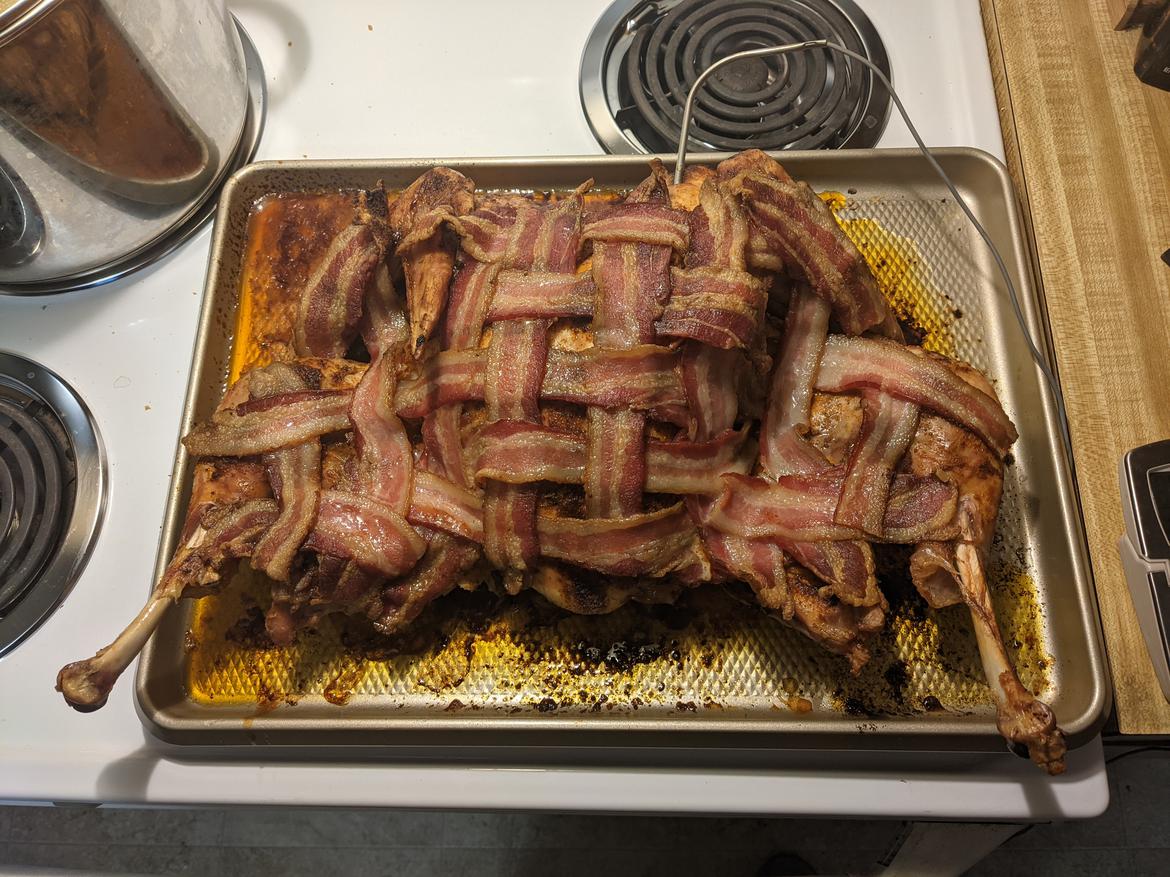
Made some progress over Thanksgiving, started out with spatchcocking and bacon wrapping a turkey.
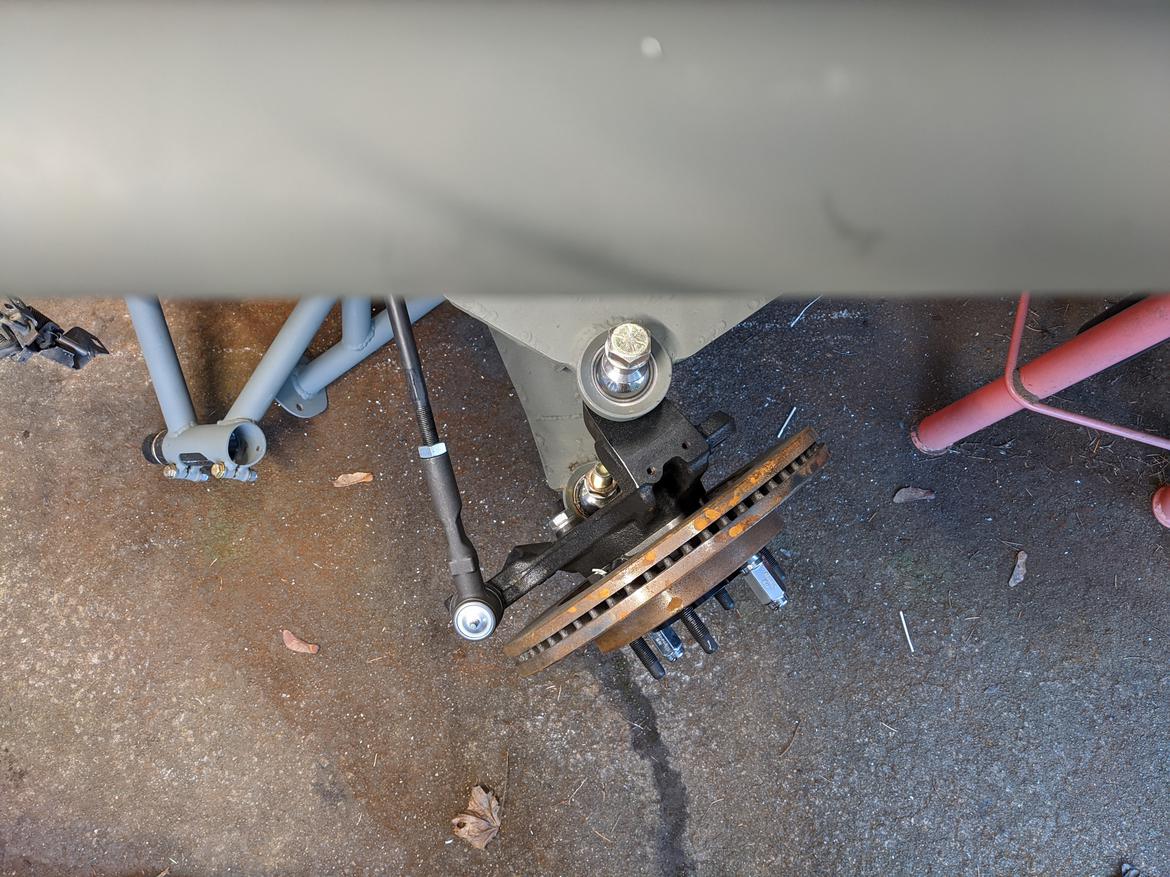
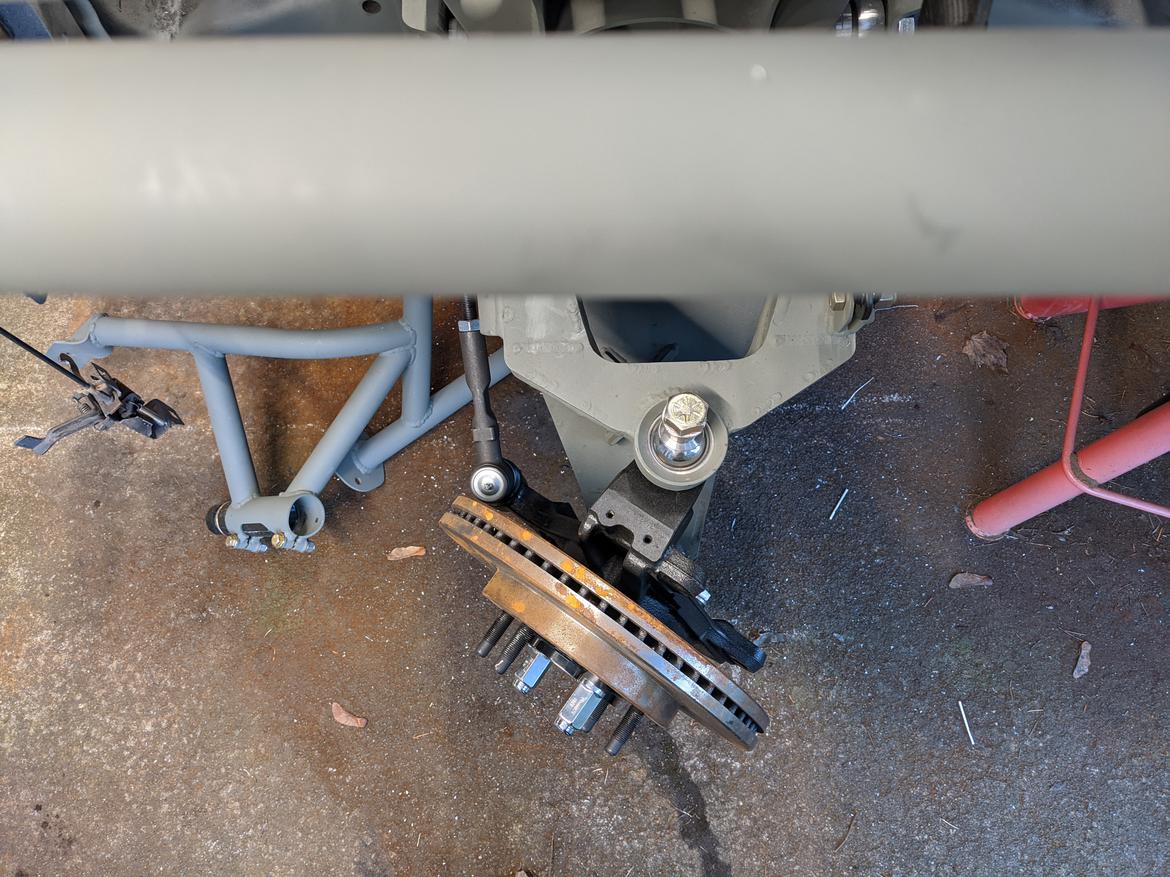
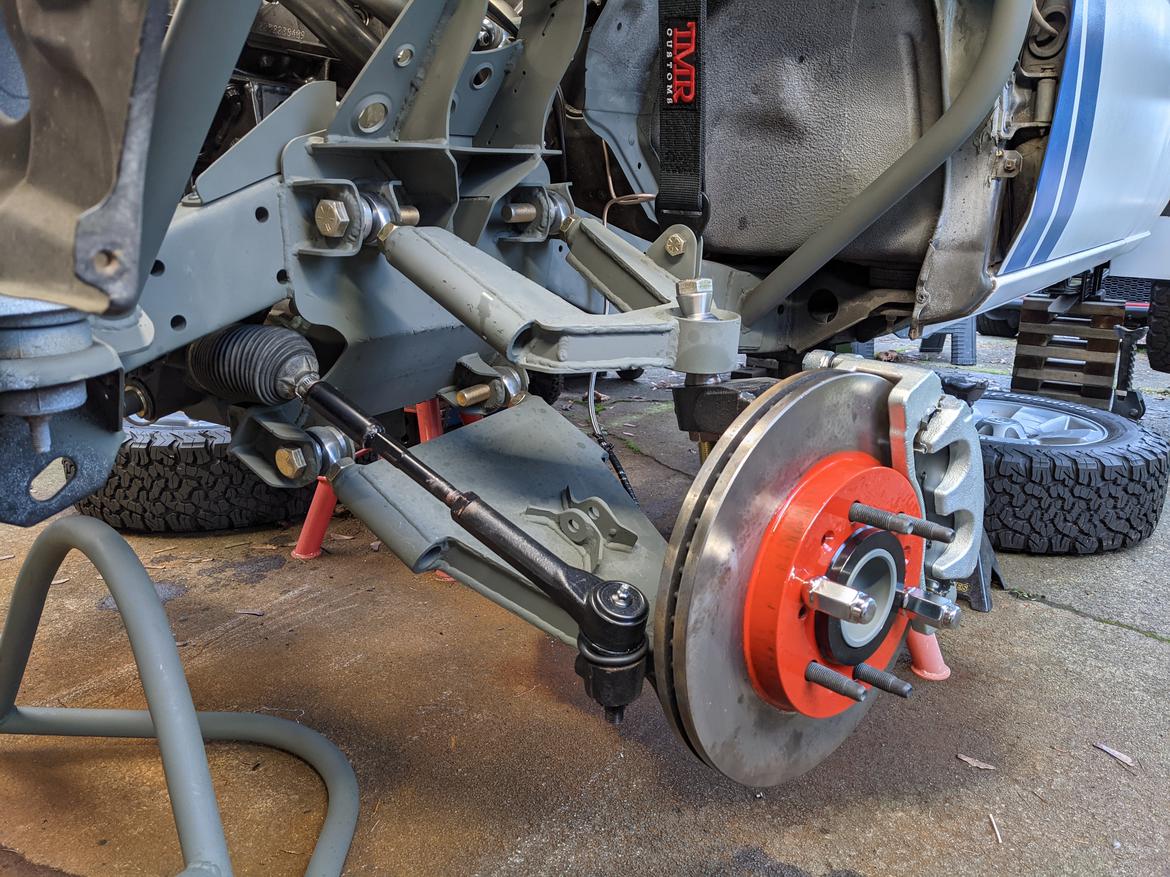
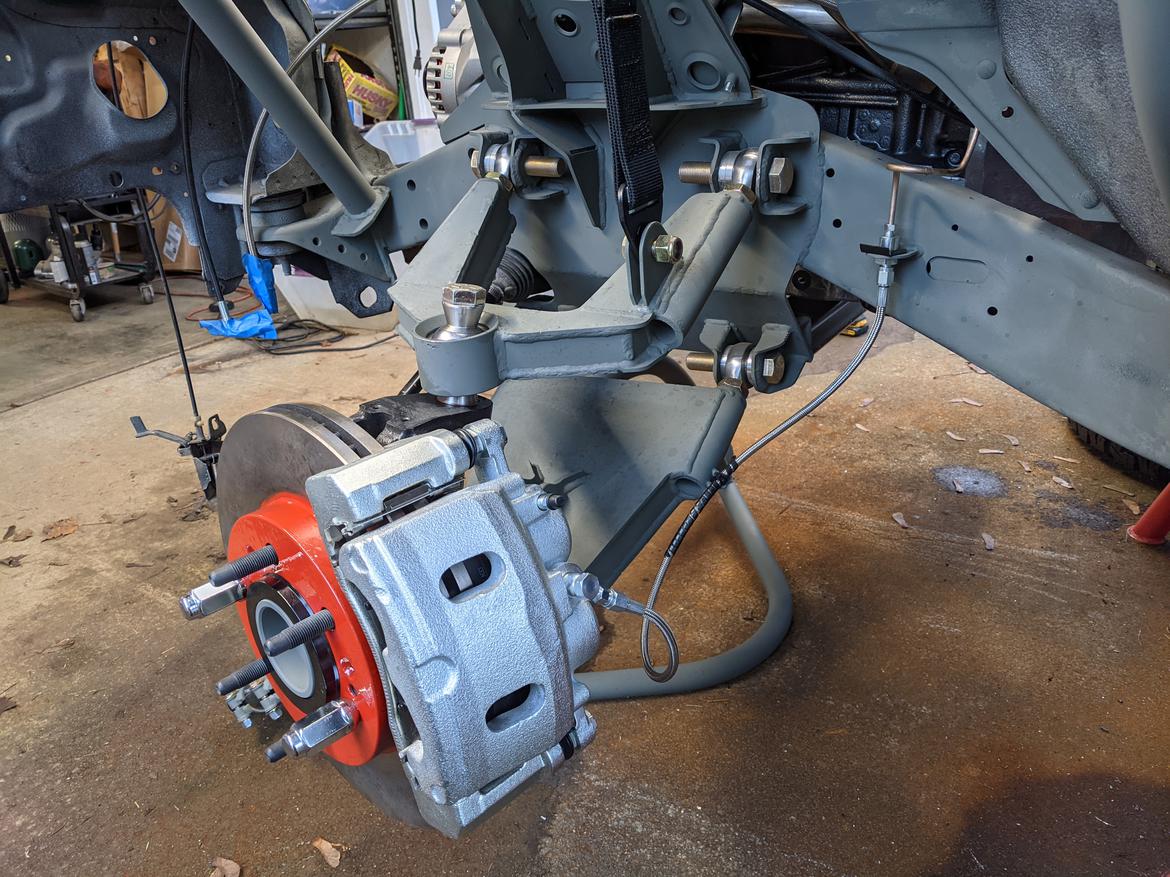
And I got the steering tie rods and brake calipers mounted.
I put the line lock solenoid and the tee fitting on the apron with riv nuts.
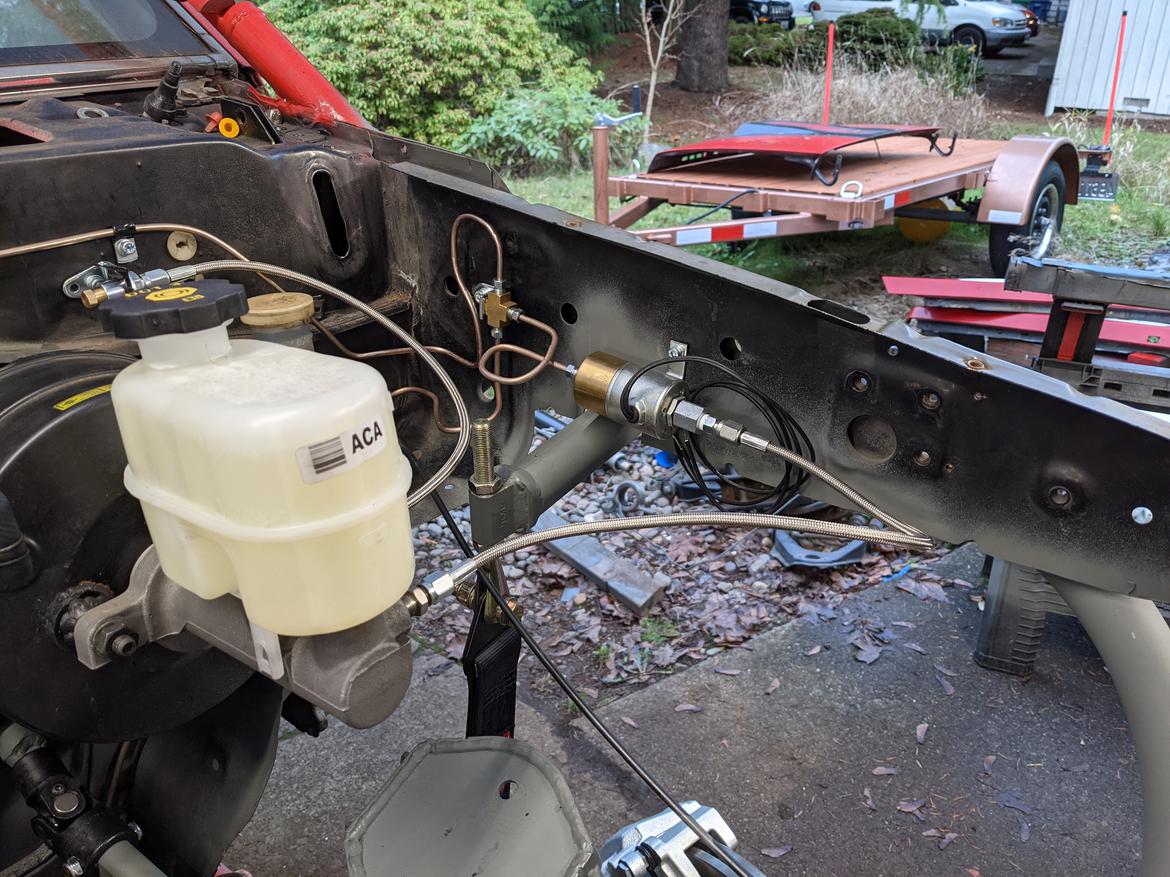
I'm pretty bad at making brake lines, but they work. The rear line is just capped off for now.
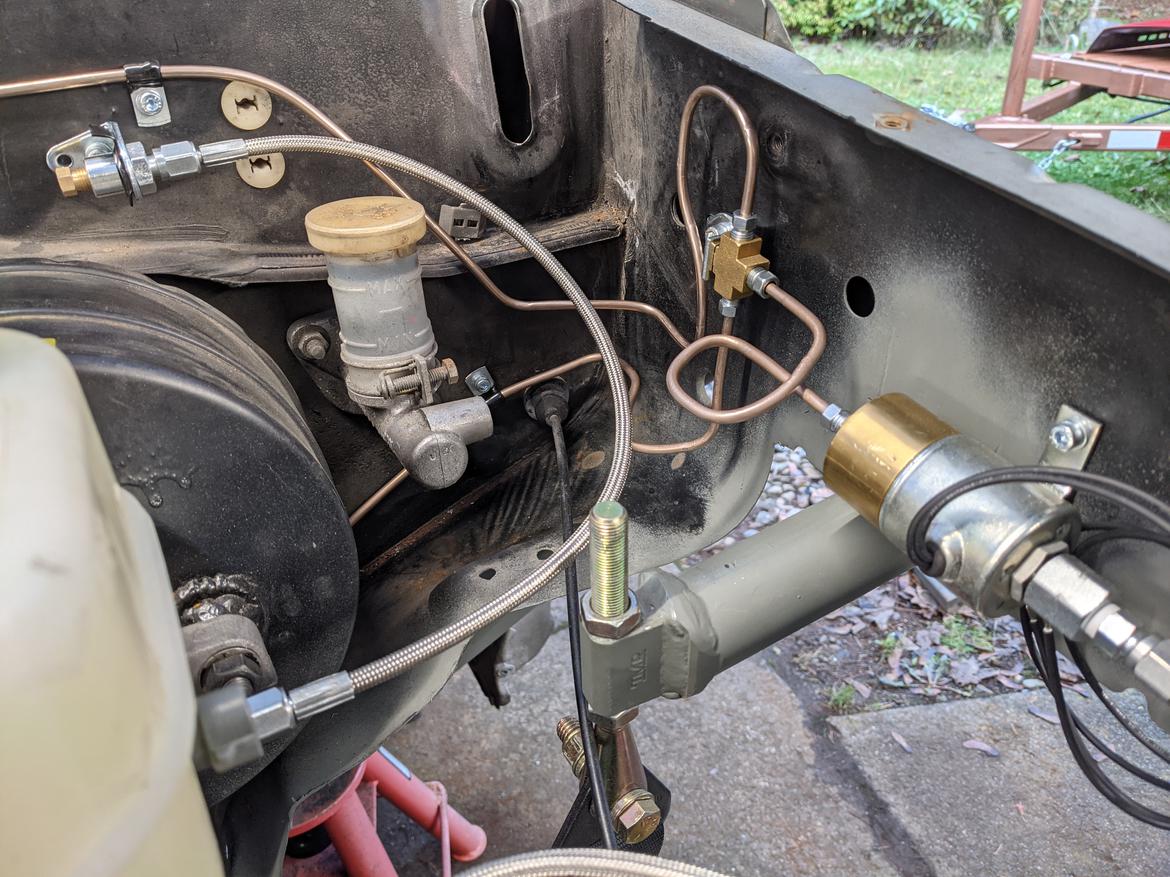
More riv nuts across the firewall.
I welded a zip tie bracket to the lower A arm and a bracket to the frame rail. I need to get some stronger zip ties and a split piece of hose or something to wrap around the brake line.
So far it looks like everything works and I don't have any leaks.
I also had to limit the down travel some more because of the tie rod ball joints, so if I want to get that inch or so back in the future I'll have to do heim steering.
java230
UberDork
11/28/20 2:08 p.m.
In reply to Rattmandu :
Stainless steel zip ties are pretty incredible and cheap on Amazon these days.
I got distracted this week messing around with a new welding cart. My Tig welder has just been sitting under a table since I got it a few months ago and I needed it mobile to do exhaust work.
I got the large harbor freight cabinet, but wasn't happy with it's cable management.
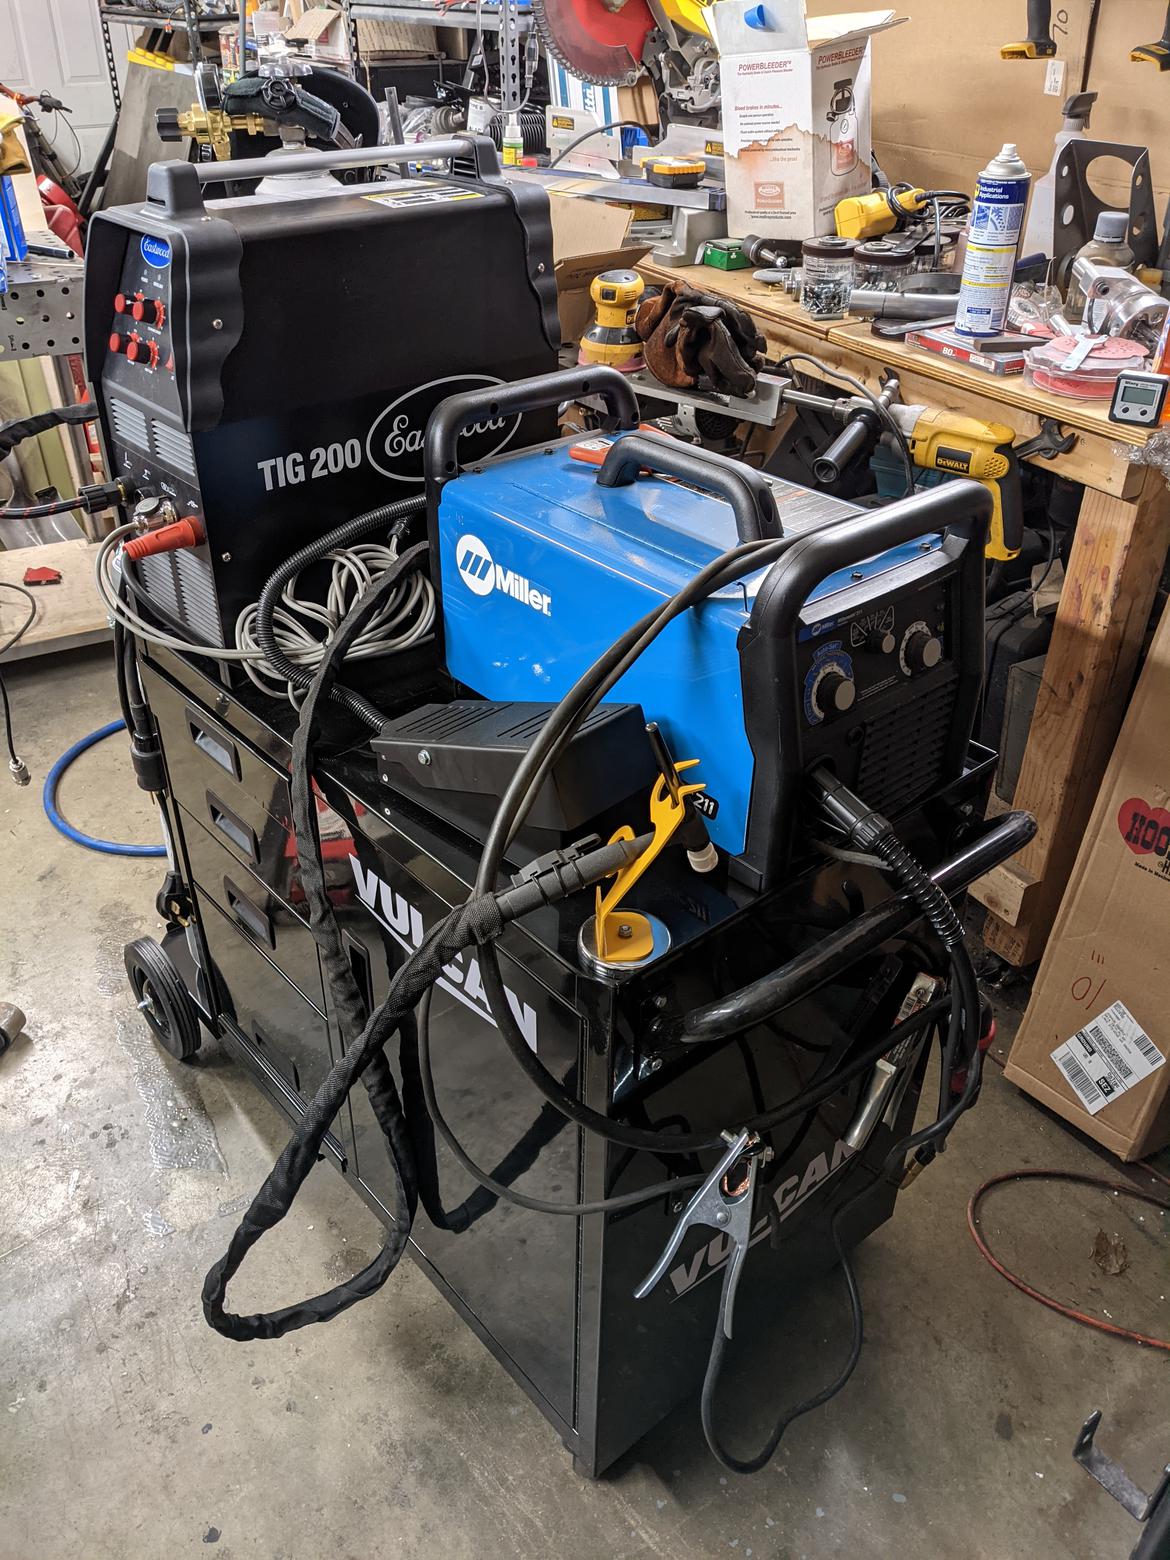
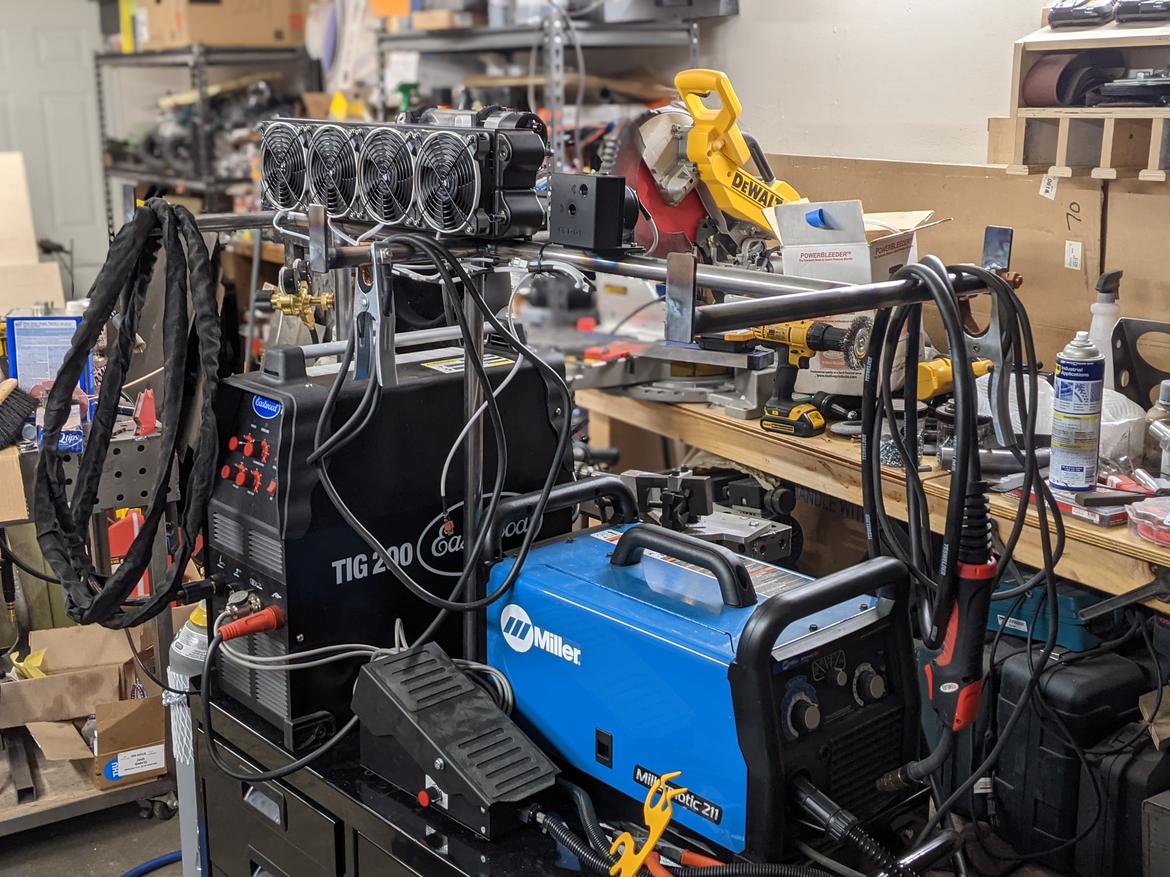
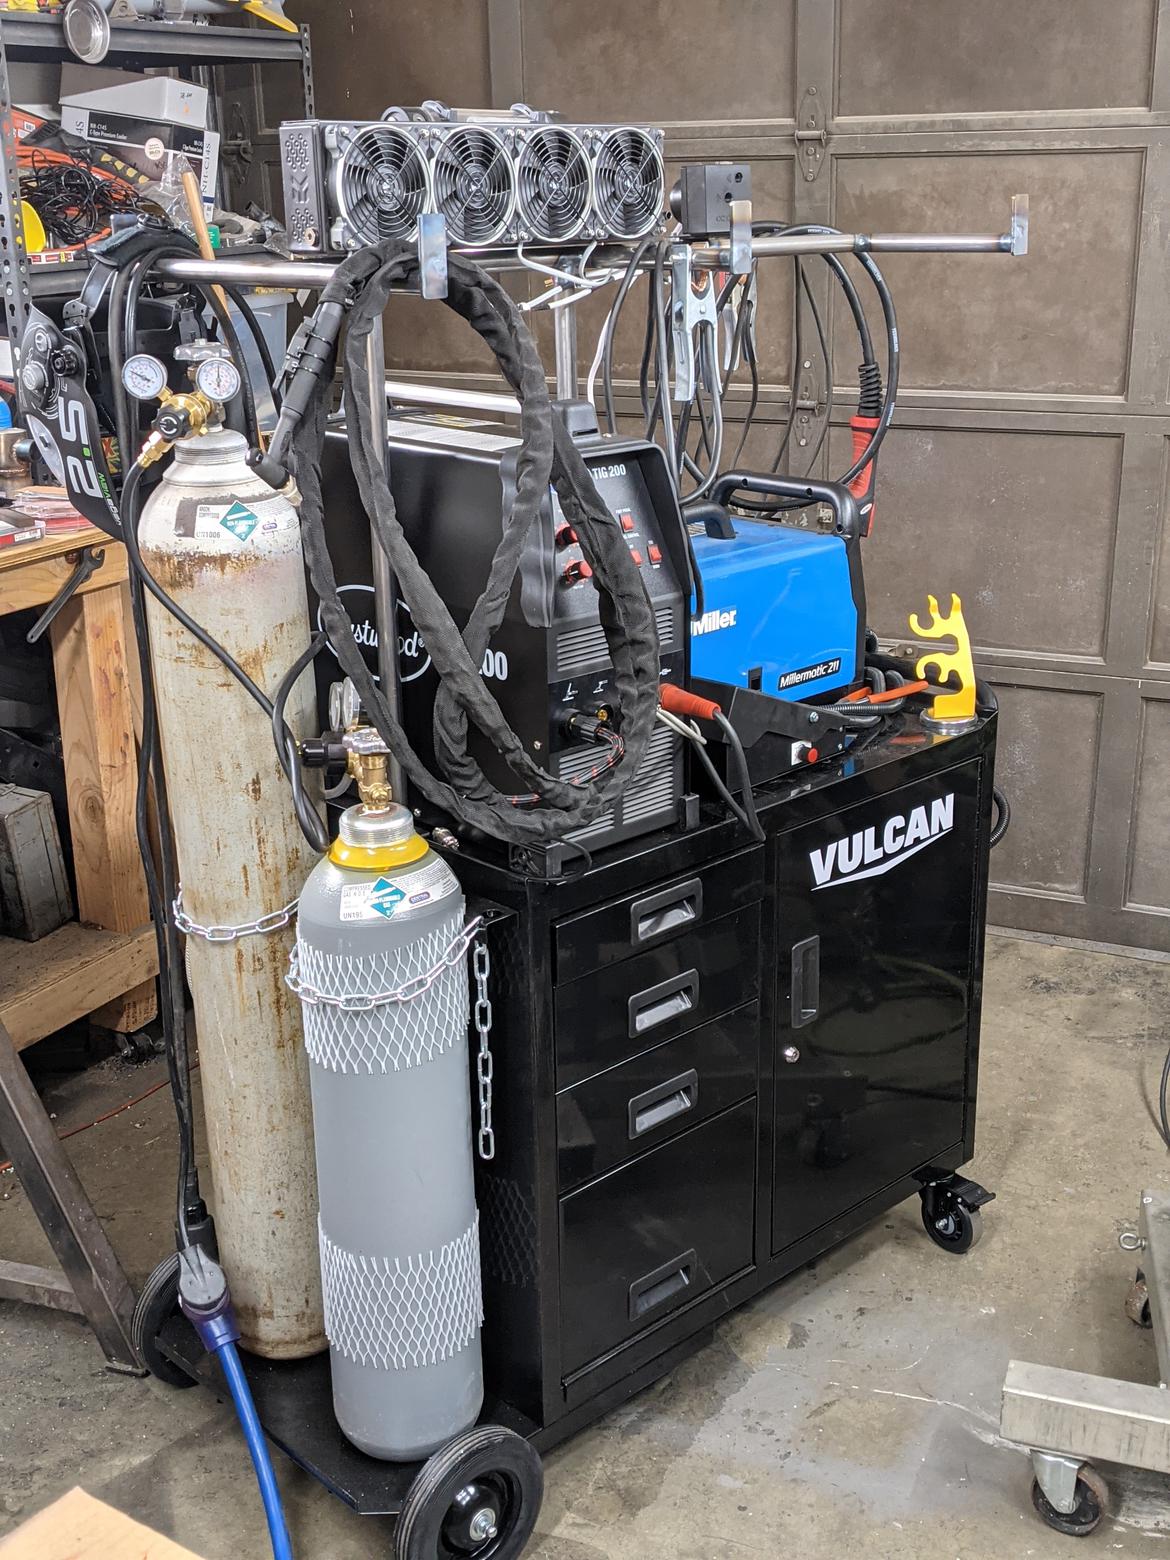
So I did the reasonable thing and made a tube frame roof rack type thing to hang the cables on.
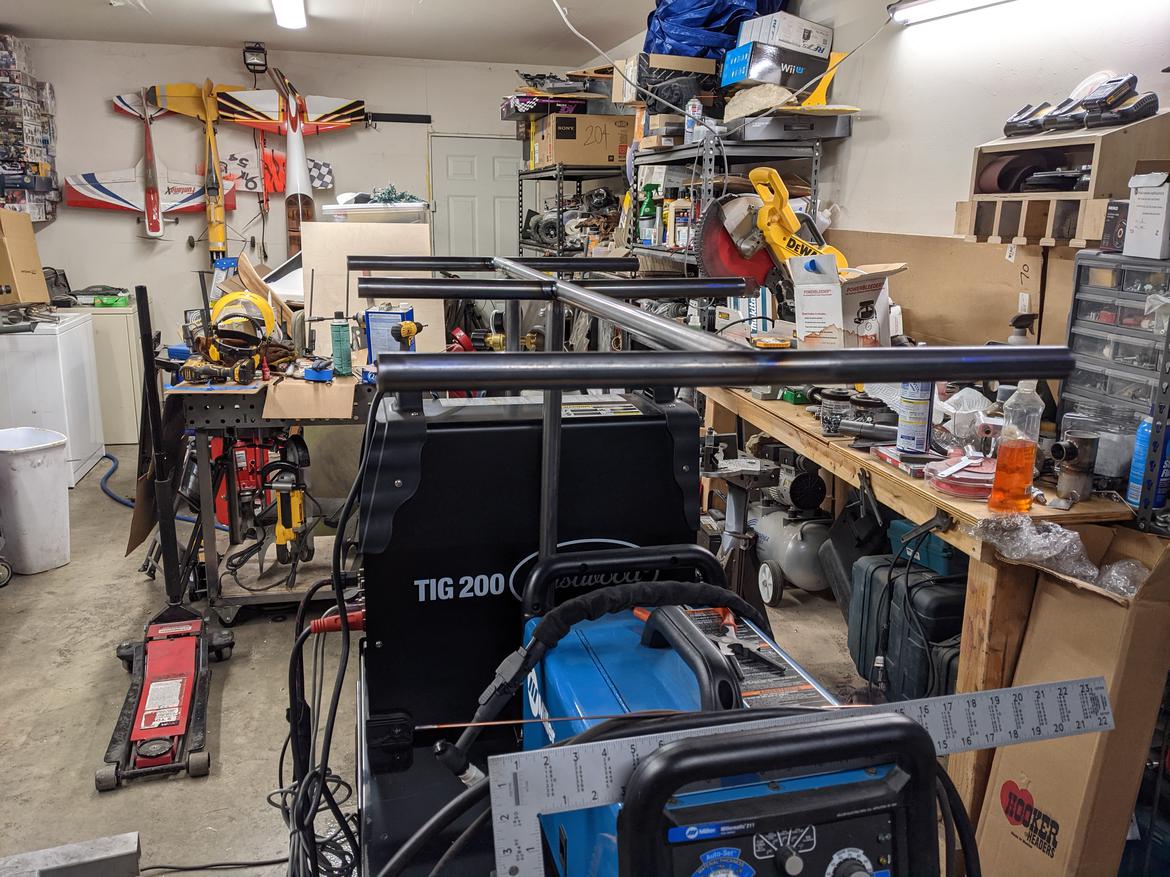
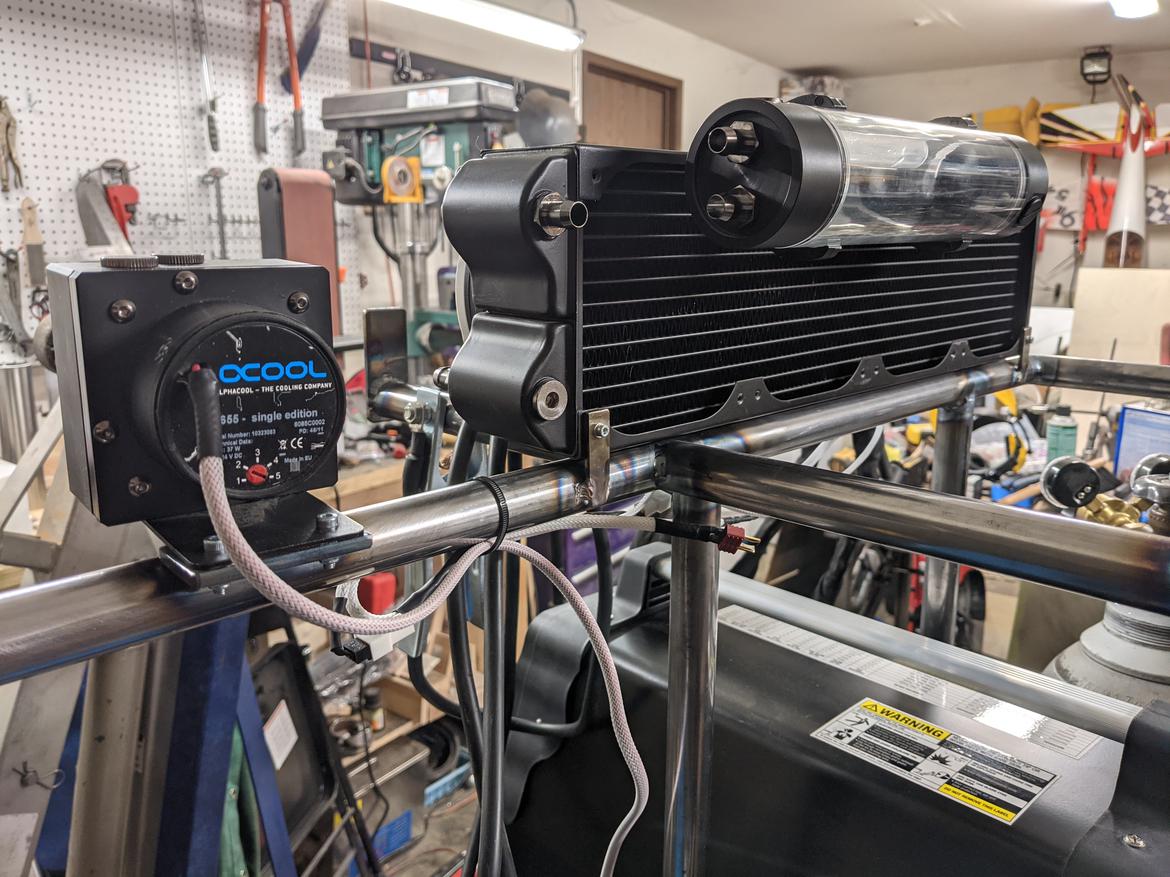
I also had some old PC water cooling equipment that I'm going to try and adapt to a water cooled torch someday. I welded tabs to the tubes to hold the radiator and pump, and then the reservoir hangs off the side of the rad.
I got to work on extending the driver side header collector today. The three bolt flange these headers came with didn't really clear the firewall very well.
I cut down the 2.5" collector and hammered it out to more of a square, and then slit and expanded a piece of 3" tube to mate.
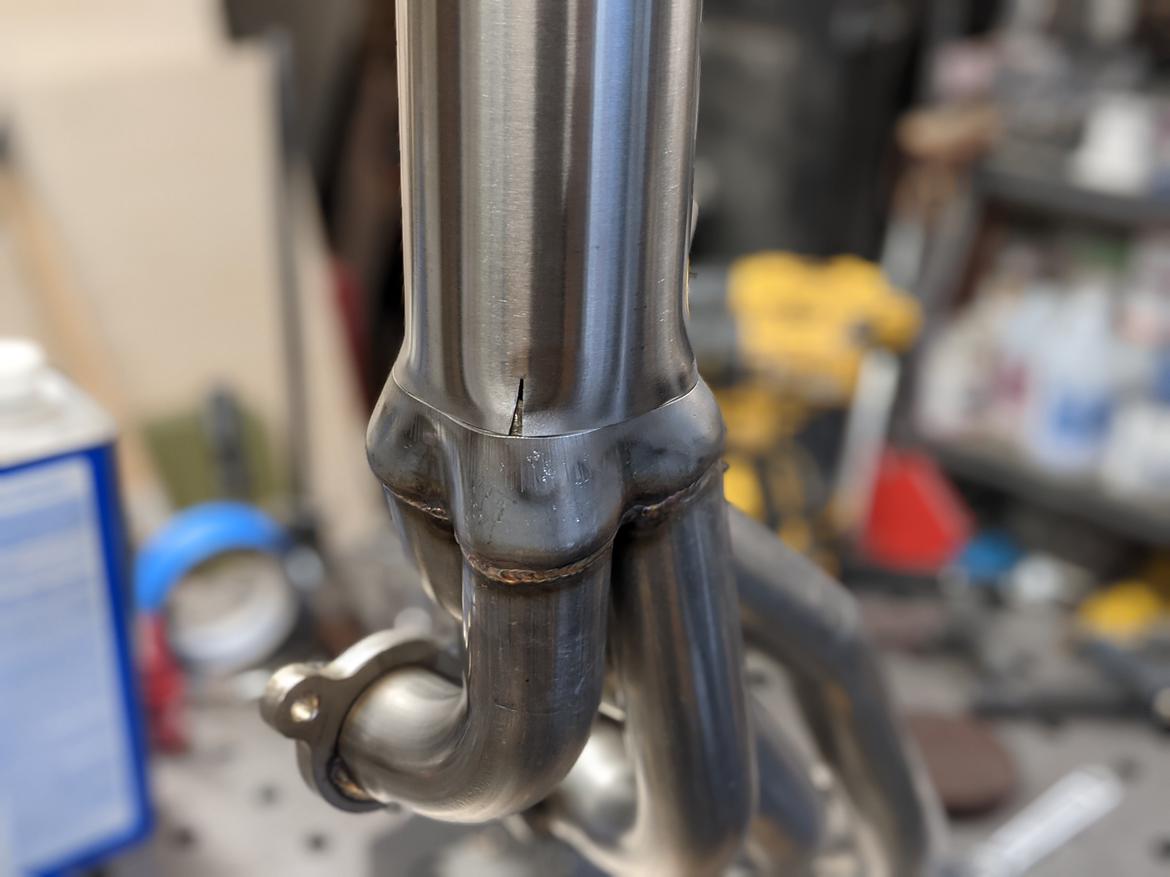
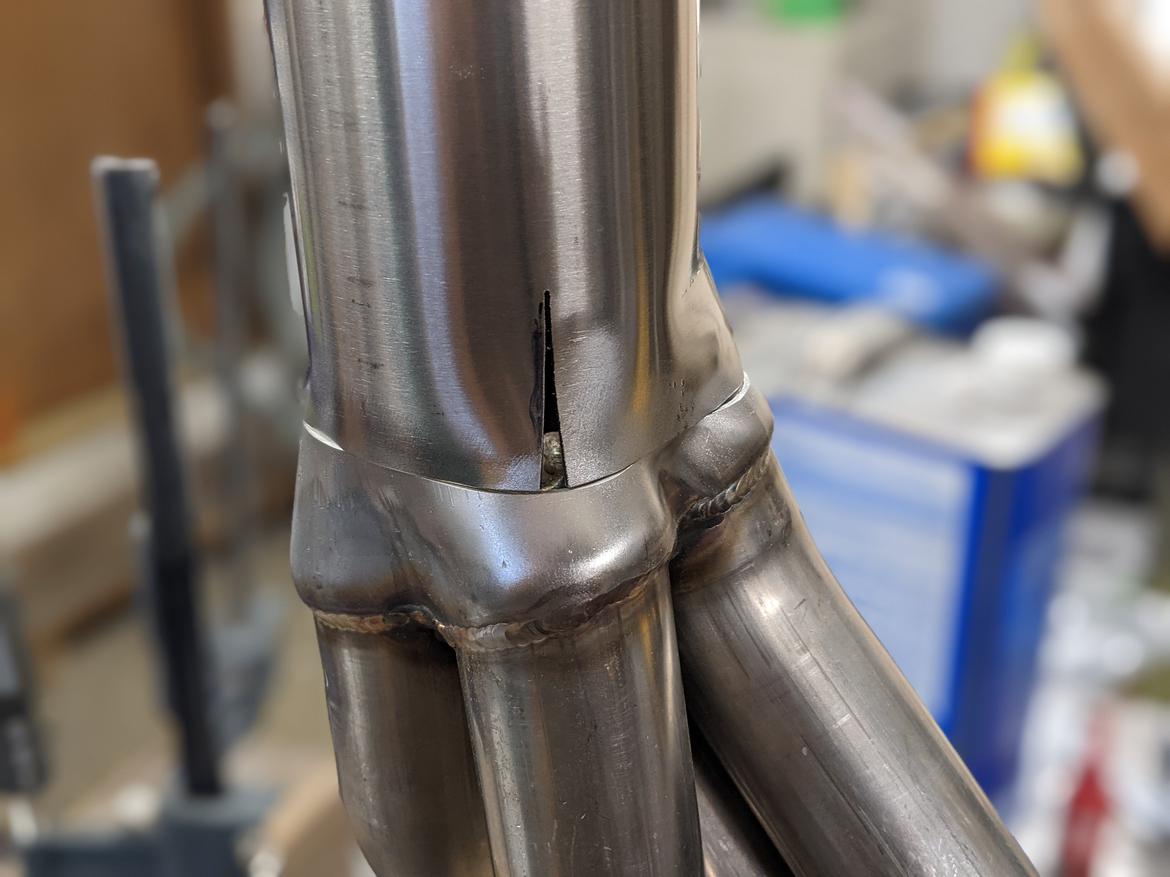
After tacking that up and another test fit on the truck that joint got fully welded.
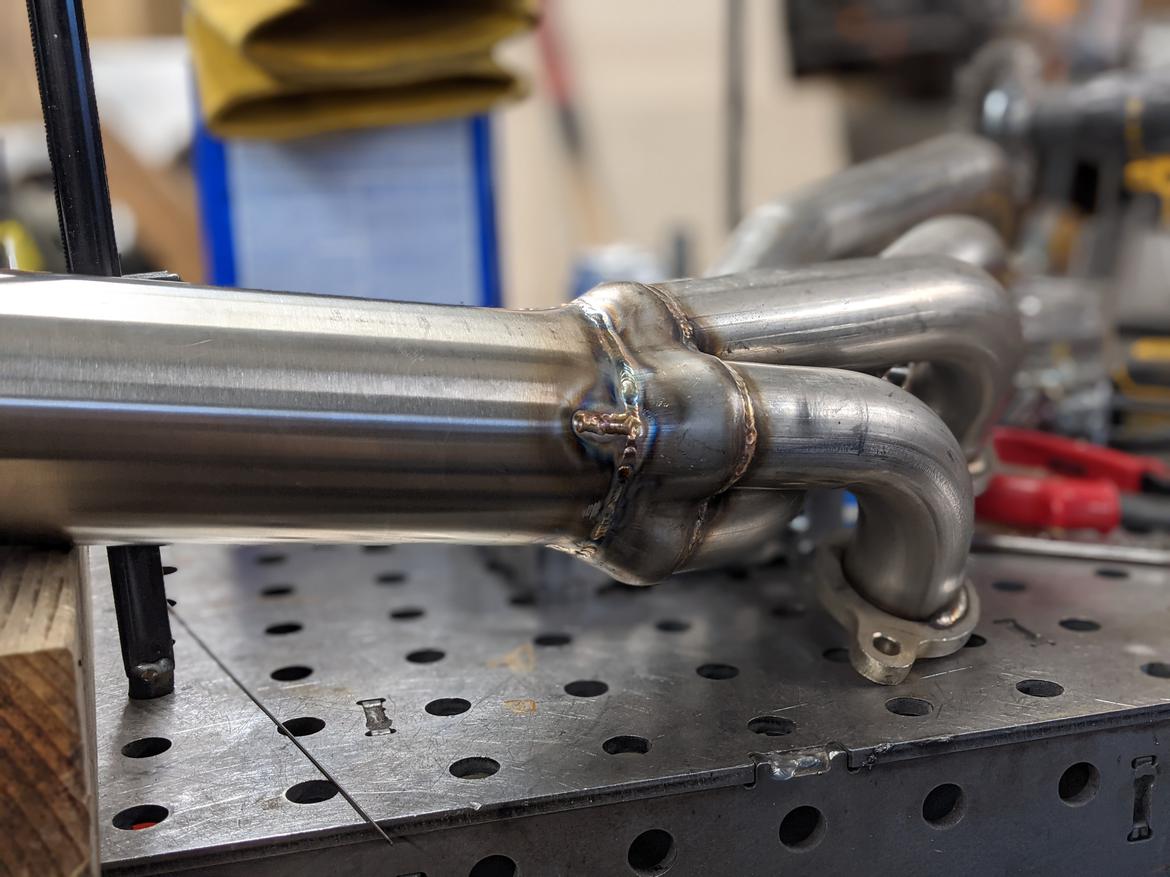
After the three inch tube this guy got 50 ish degrees of mandrel bend and a v band clamp.
I welded the v band first.
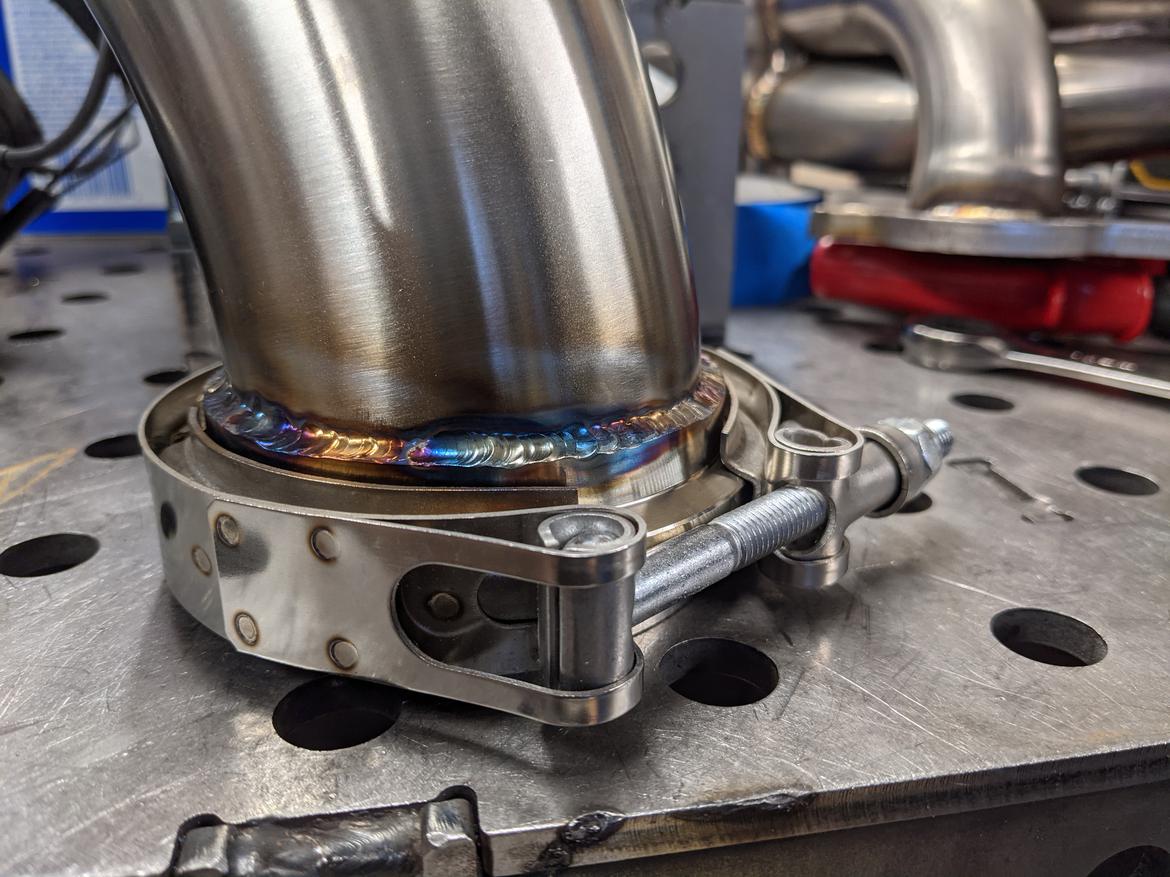
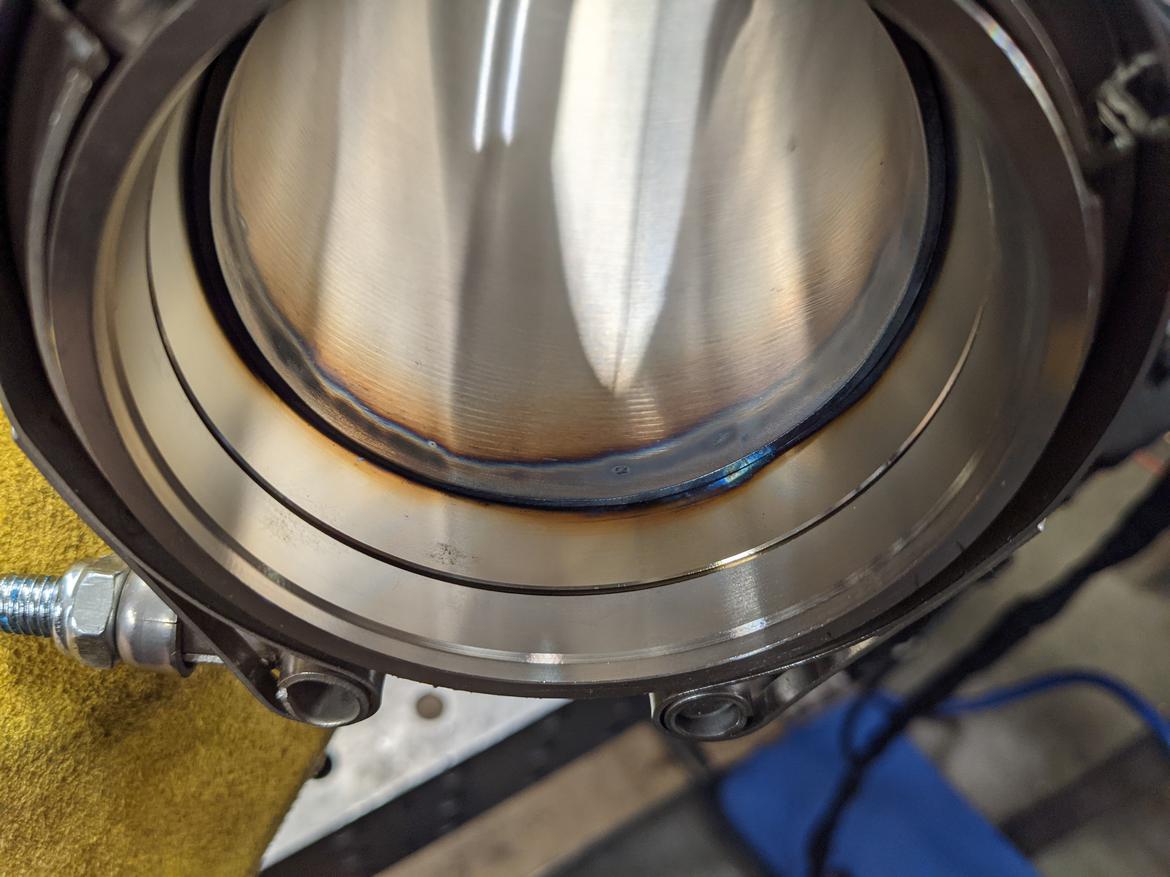
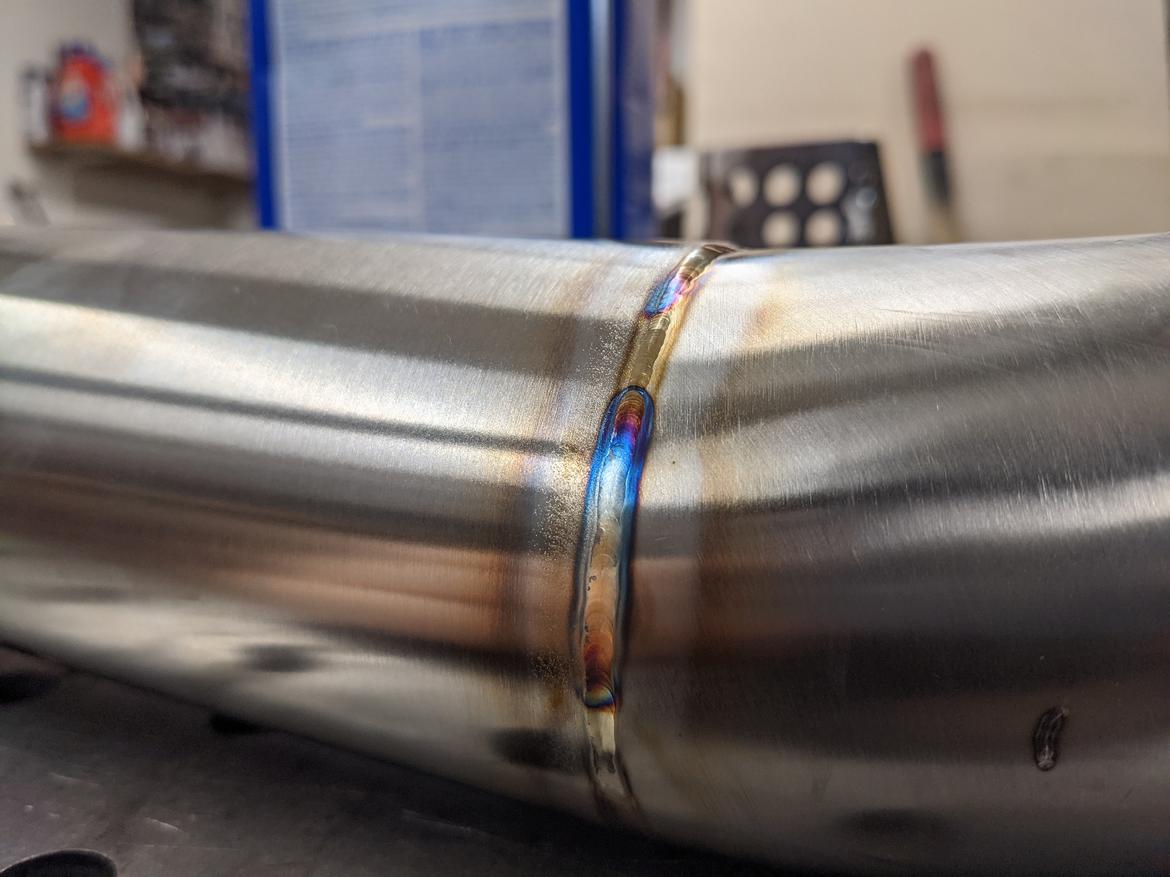
And then fusion welded the mandrel bend to the straight three inch.
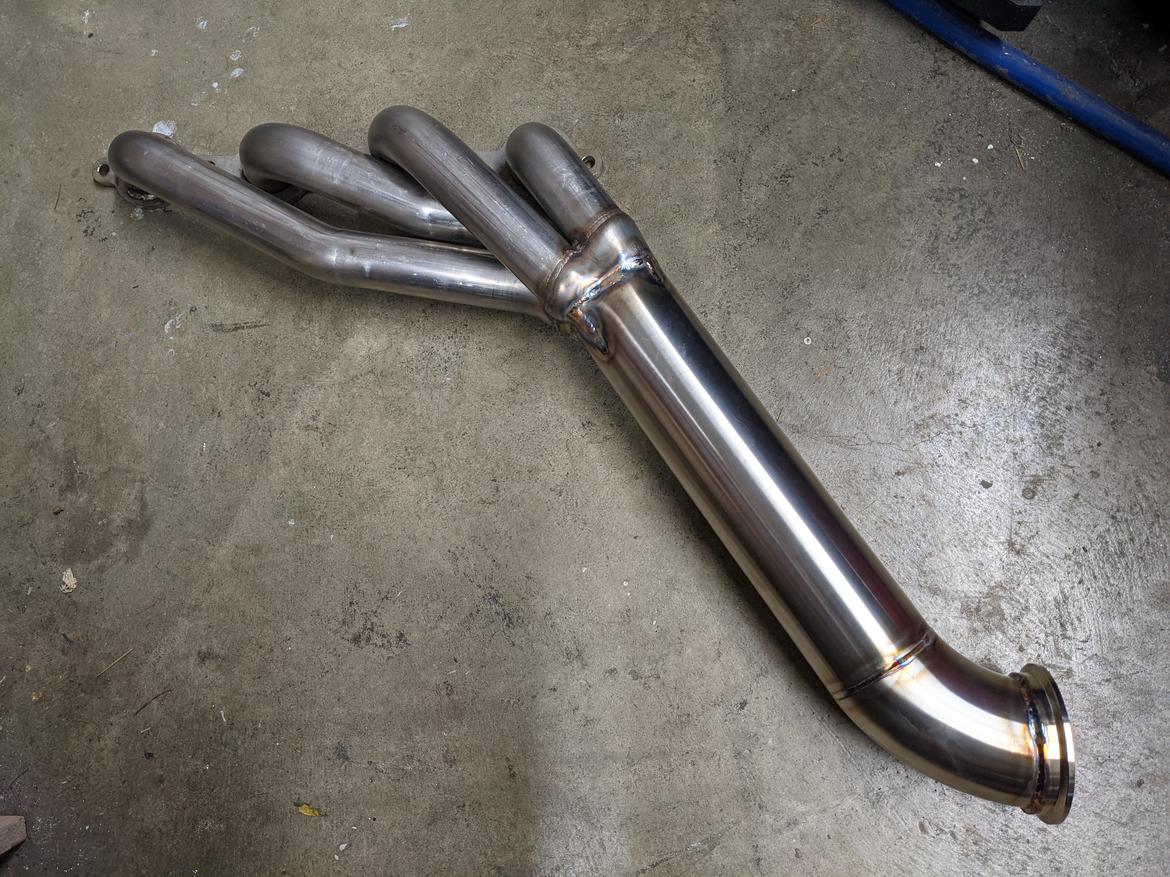
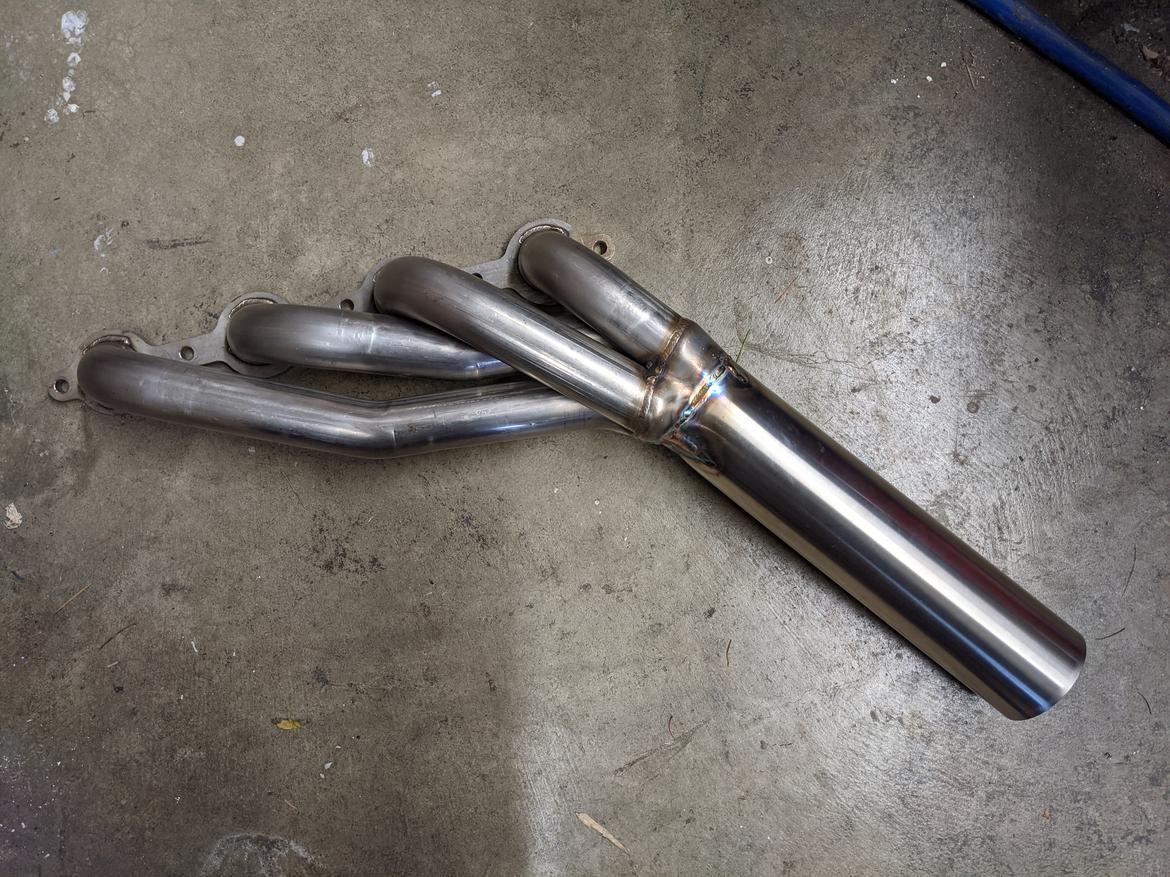
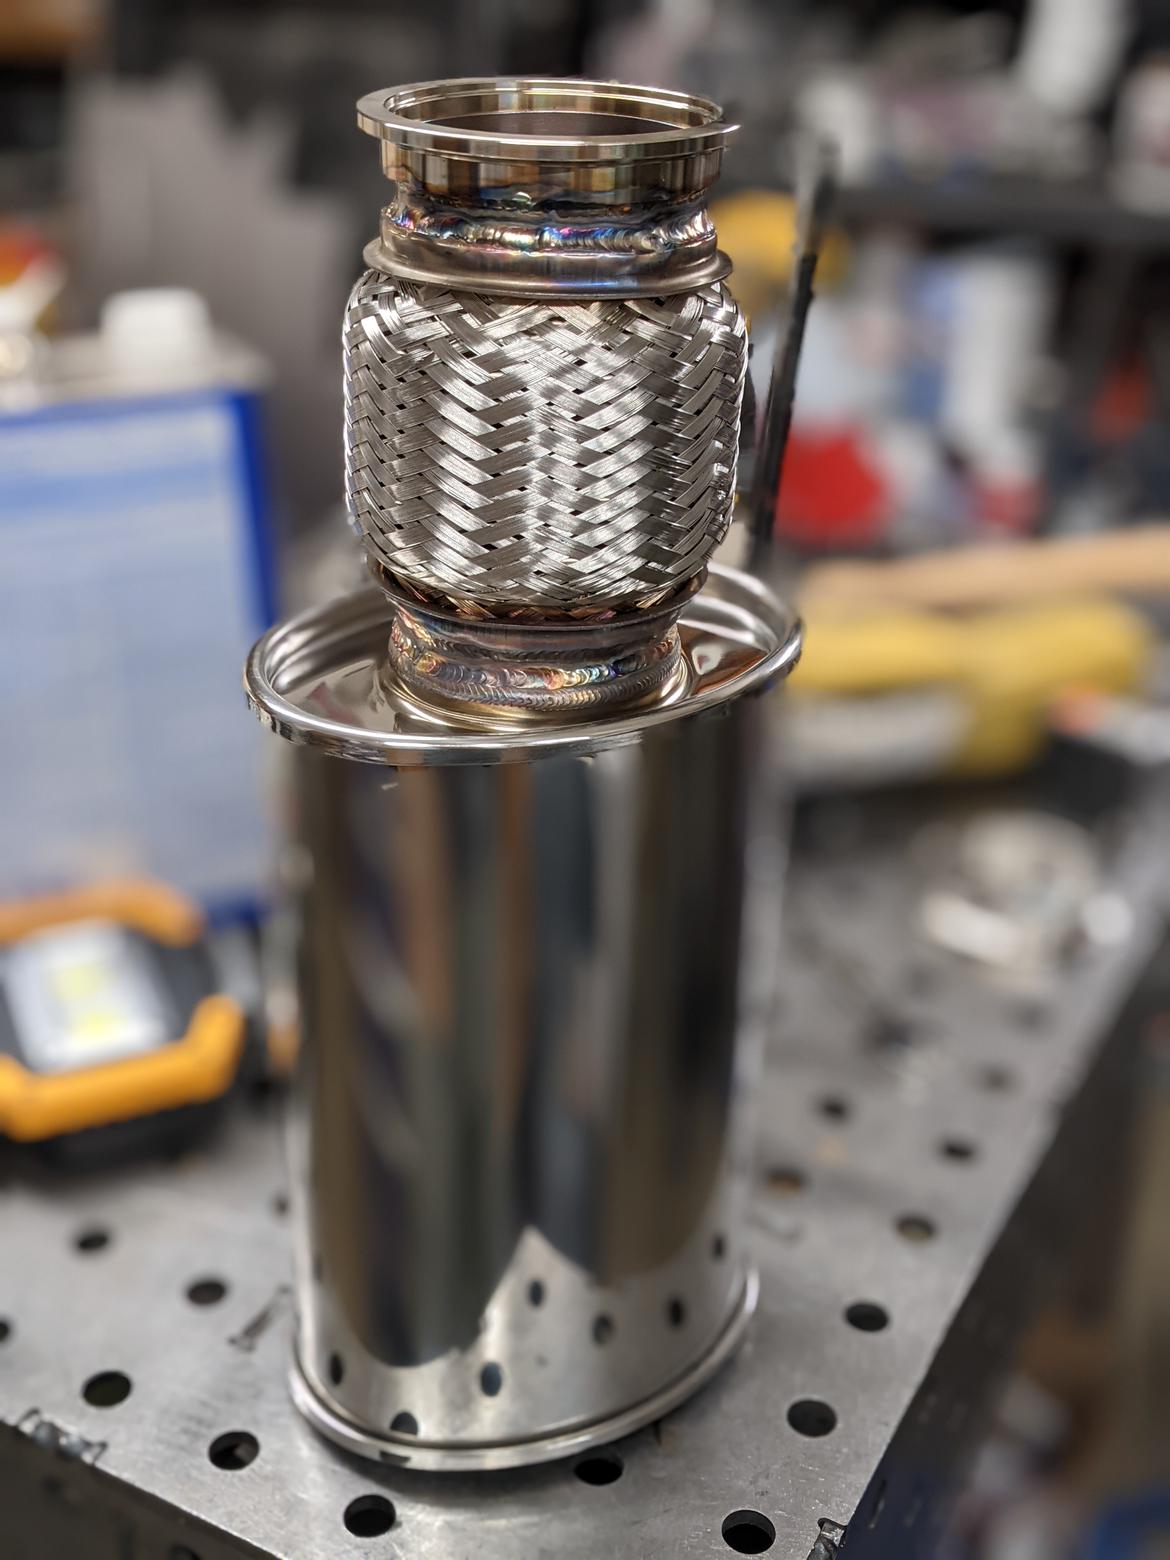
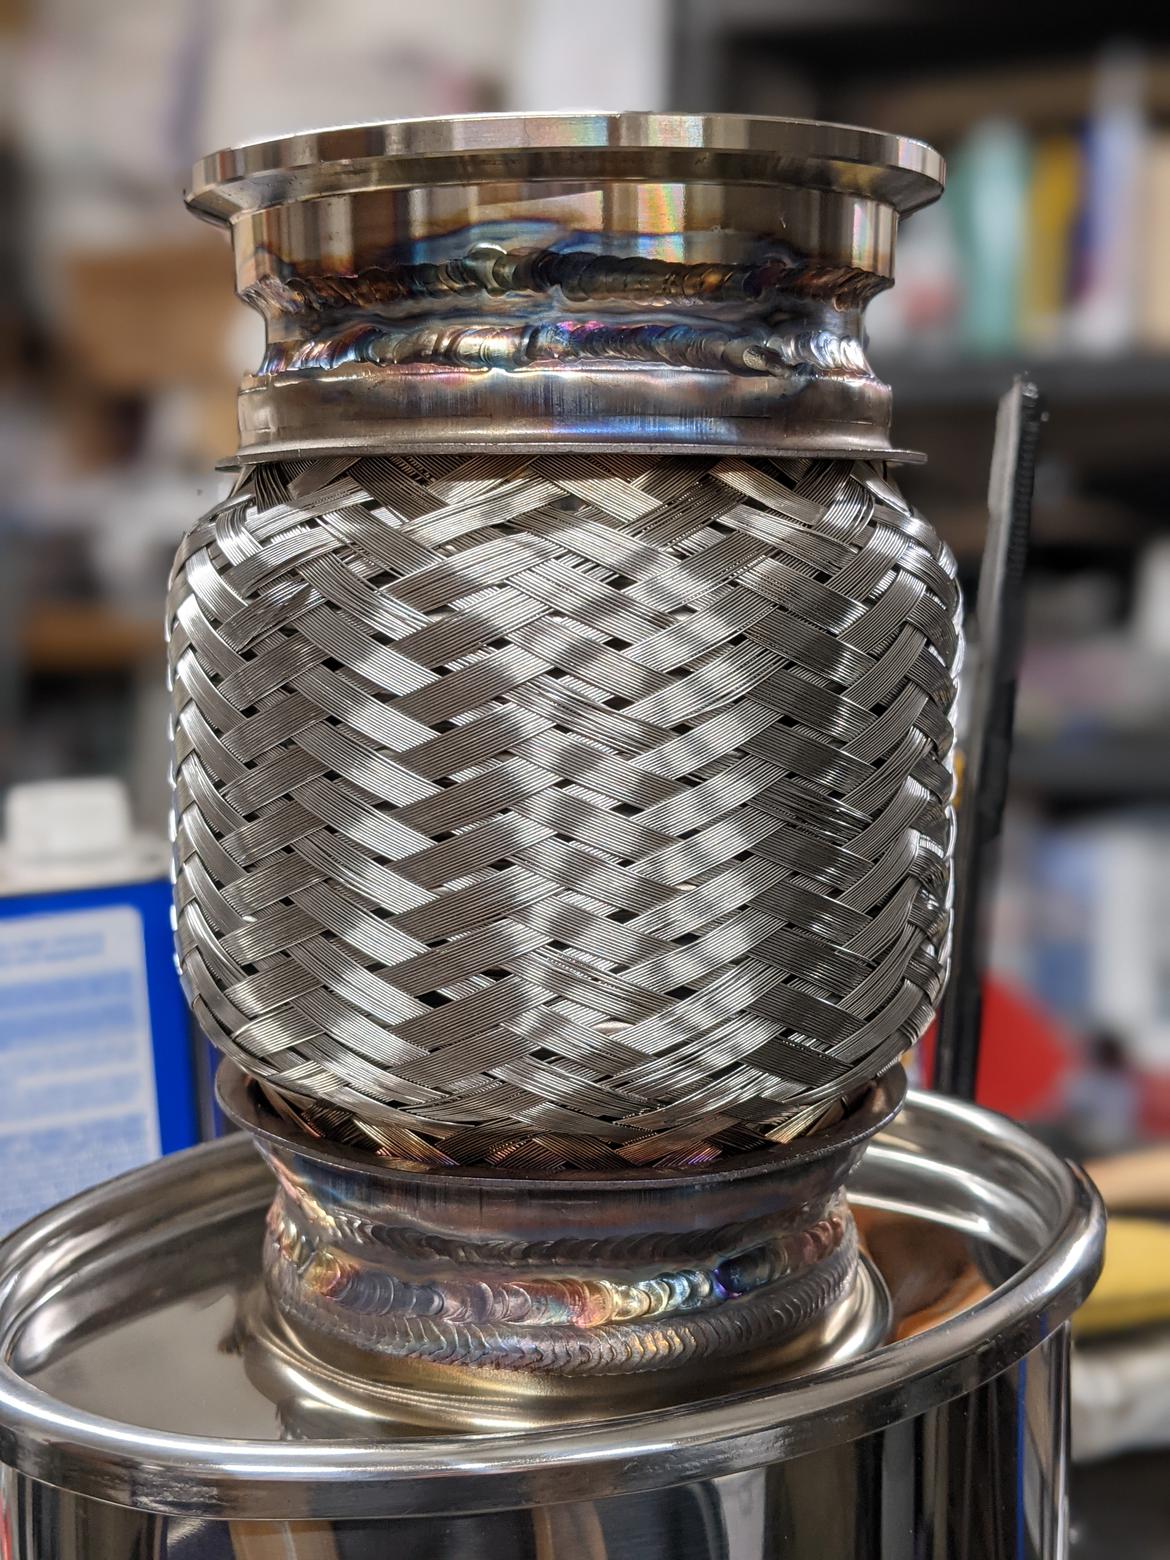
Here it is hanging in the truck. Behind this it needs a flex coupler and the resonator before it makes a turn for the side pipe.
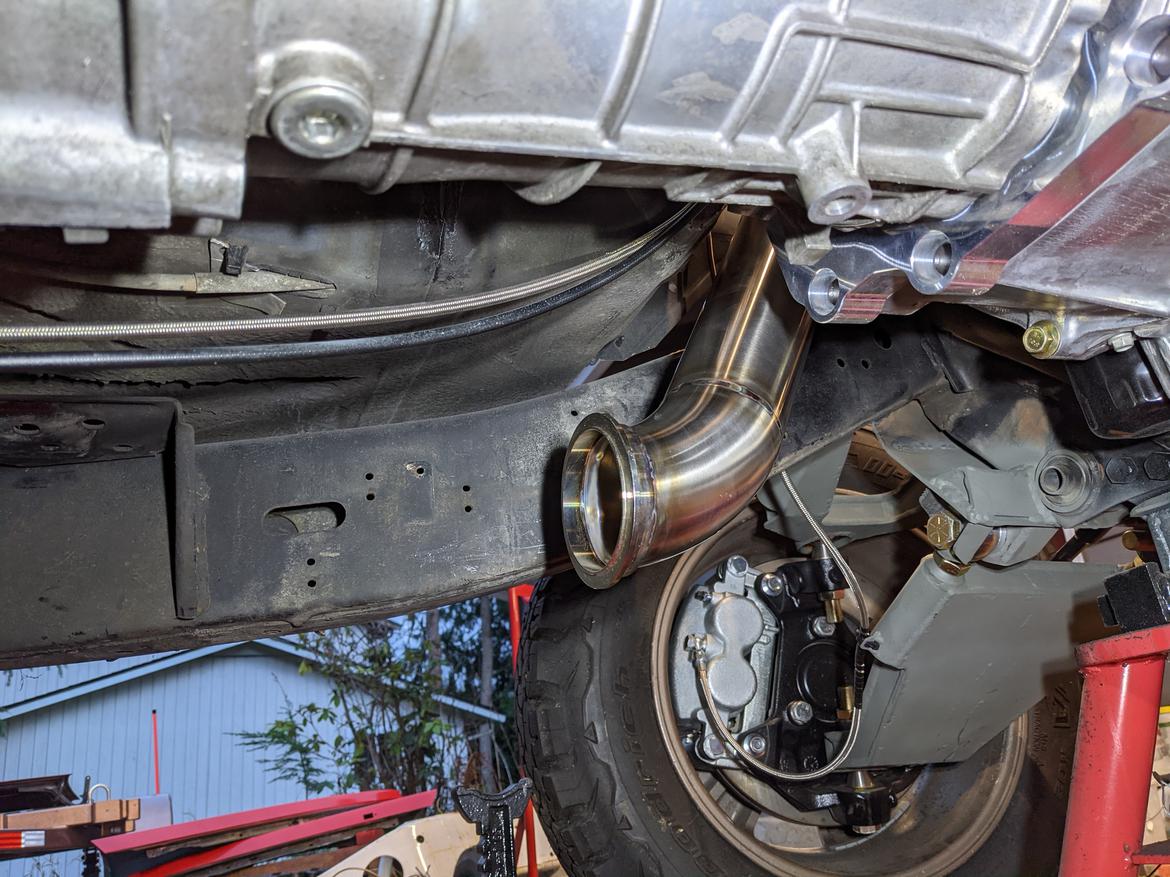
Other than an O2 bung this header is done.
Using PC cooling parts is a great idea for a tig torch cooler! I built mine years ago before water cooled PCs were really mainstream, and I used the typical carbonation pump setup that most commercial torch coolers use. For a heat exchanger, I found a very small aluminum radiator with a fan made by Honeywell for who-knows-what. The gear you've got set up so far will have way more cooling capacity than you'll ever need, which is just the way you want to be.
I love the overhead coil rack on the weld cart...any chance to keep the potential rat's nest of welding leads sorted is worth the effort.
In reply to Mezzanine :
Yeah, this won't be the prettiest looking cable management, but I can grab whatever cable I need at the moment without interfering with any others. What the cart came with is just four hooks, two under the handle and two on the back side. Basically nothing you can do but wrap cables around each-other.
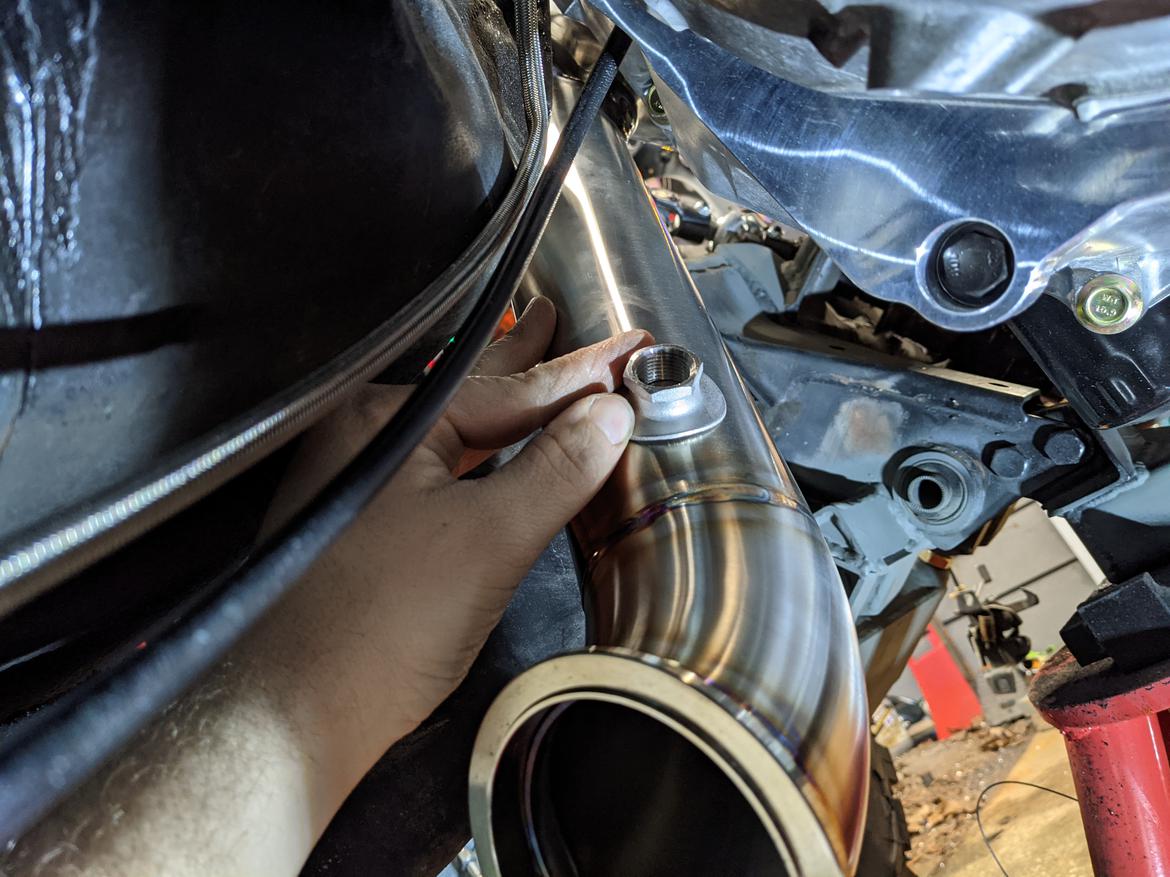
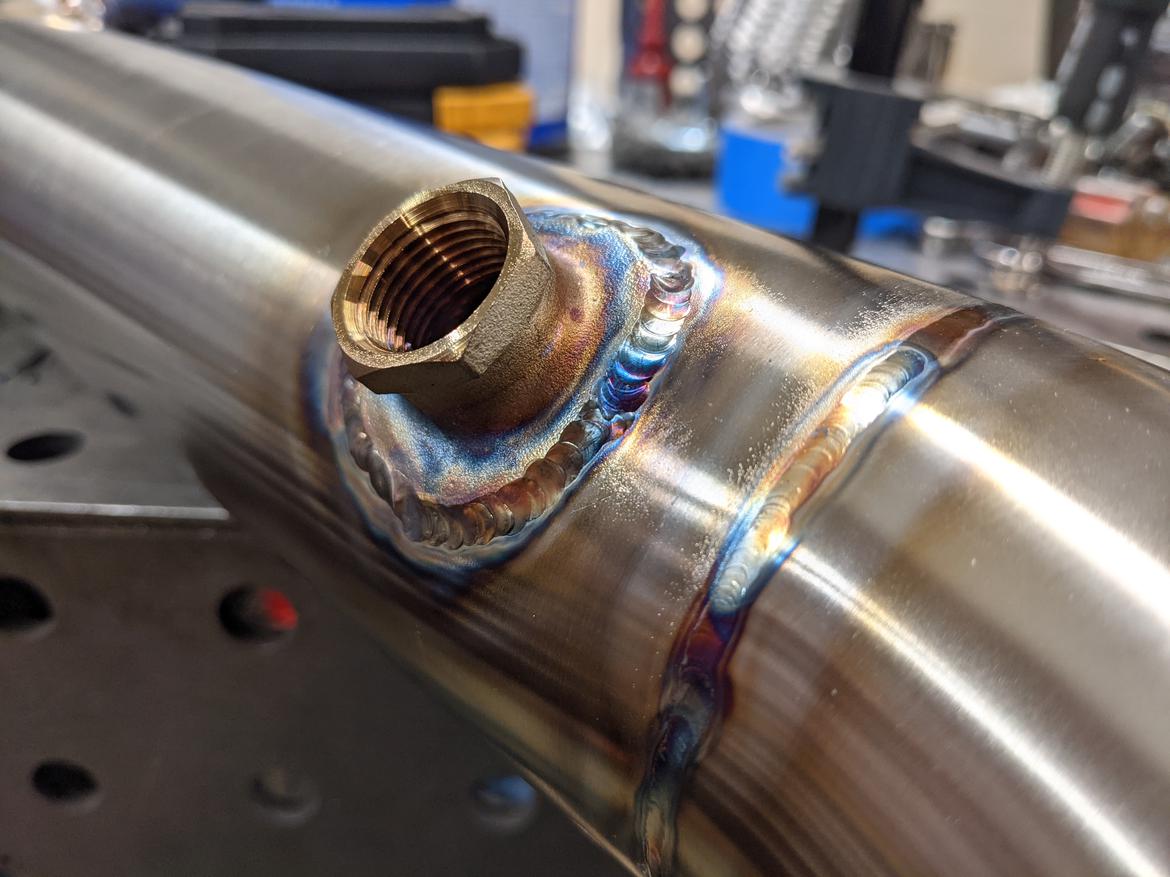
Started the evening with the O2 bung, this cast unit welded up nice.
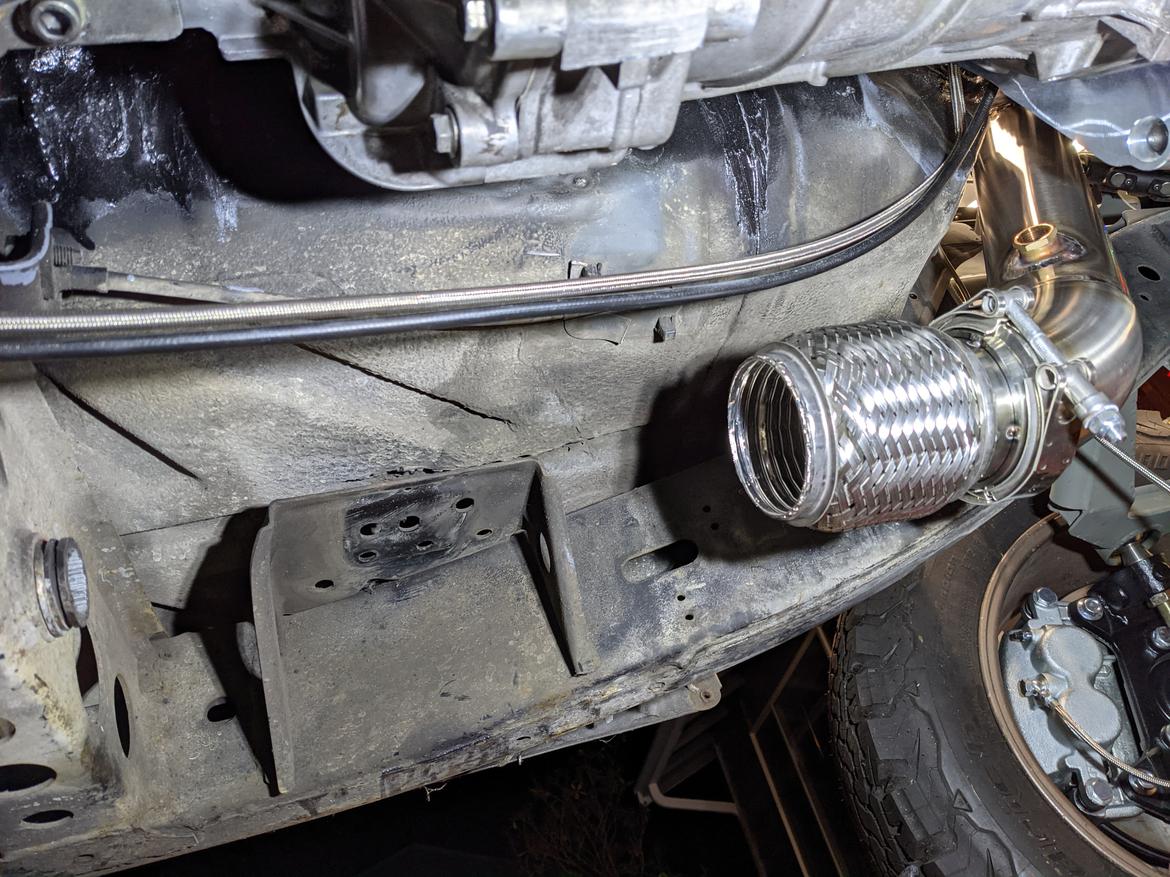
Then I tacked the other half of the V band to one inch of straight tube and the flex coupler.
I'll have to make the resonator as short as possible to clear the transmission cross member, but I'm still going to have to notch the area the torsion bars used to go to.
I cut the ends of the resonator down as far as possible and joined it with another 1" section of tube.
It was a whole lot of welding in a small space.
you're in incredible craftsman. i'd almost.....almost.....hate to see this thing get dirty.
Where is the O2 bung from? I like the hex head on it...after this thing gets used a while, nothing like shearing the whole bung off because the sensor seized up.
In reply to Mezzanine :
I got them from Furick, the guy who makes the fancy ceramic tig cups. I'm not sure if other people sell them as well.
https://furickcup.com/product/saddle-cast-o2-bung-stainless-steel-1-piece/


