1 2 3 4 5 ... 36
AxeHealey
AxeHealey GRM+ Memberand Reader
12/7/17 8:54 a.m.

I took a little trip down to Florida last week/end to visit some friends and catch the HSR Sebring Class 12. Awesome event and it was great to be back at Sebring with my Florida racing friends.

Home for the weekend with my friend's E21.

Not a bad view Saturday morning...

I had never seen someone run an alternator off a CV before...pretty creative.

One of the best looking cars of the weekend in my opinion.

I have a few videos I want to share but haven't been able to make them work so...back to business. The rear upright panel for the Healey FINALLY arrived yesterday so I took it right over to the shop after work and put it in.

Mocked up:

Final resting place with the rear floors laid in place.

I spent some time last week removing the bits of undercoating the the sandblaster didn't get and I'm picking up the repaired shrouds this Saturday. We're really coming to the end of chassis work!

NOHOME
NOHOME UltimaDork
12/7/17 9:11 a.m.

You have put a lot of fresh tin into that tub. We are lucky in the Brit car hobby to have reasonable panels for doing this kind of work. We can complain about the price, but wait till you have to have a quarter panel built from $cratch.

AxeHealey
AxeHealey GRM+ Memberand Reader
12/7/17 12:49 p.m.

In reply to NOHOME :

Yes probably too much, to be honest. I think this thing was on the border line between saving and not. But family connection, lunacy etc...

If all of these replacement panels had to be custom made, there would be no project that's for sure!

AxeHealey
AxeHealey GRM+ Memberand Reader
12/18/17 3:08 p.m.

I may have gone deep into the wormhole that is Craiglist and found what I see as the perfect towing/track/camping rig in Charlotte. I also may have bought said rig. A good friend and I flew into Charlotte early Saturday morning, inspected the truck (aka found it's issues and stressed about them all the way home) and cannonballed it straight back to Cleveland. We stopped every ~130 miles to refuel the truck, check fluids and empty our bladders. By the way, the big block going about 65 mph the whole way with a barn on the back averaged about 9.5 mpg.

We left Charlotte after finalizing the deal at 11AM and pulled into my driveway in Cleveland at ~9:30PM. It was way too easy. It needs brakes, front end bushings and miscellaneous other things but it's a really solid truck. The worst thing that happened was the headlights shutting off on me when I bumped the high beam switch in a section with ZERO street lights no traffic around. Scary.

Some stats:

  • 460 big block out of a '71 Thunderbird
    • "Tow cam" says the PO
  • T6 out of the same vehicle
    • w/ cooler
  • D70 rear end with 3.55 gears (I believe). It cruised at 65mph right around 2500 rpm
    • DUALLY
  • Power steering 
    • w/ cooler
  • Heater
  • Utility bed 
    • All boxes lock with same key
  • Gigantic custom-made (by PO) cap
    • Top roof section cranks up with threaded rod another 3ft
      • I'm hoping to take this off and store it to use only at track weekends and/or camping trips. It's 9ft tall with the cap on. The PO says it weighs about 800lbs...

I present to all of you, Elmore.

Now back to the Healey tonight. The guy was late again finishing the shrouds but I finally had them brought to the shop last week. Tonight will be the test fit as I didn't have any time when he dropped them off. Fingers crossed!

AxeHealey
AxeHealey GRM+ Memberand Reader
12/19/17 9:44 a.m.

Test fitting was, generally, a huge success. The front shroud fits quite well. Definitely within fudging range. I threw the wings on with the hood and spent a few minutes looking at our Healey. I haven't seen our Healey in a looooong time. The rear shroud repair makes it too thin and it will need to be adjusted.

To continue forward momentum, I did some CAD work to figure out my new rear "seat" panel. We'll see after I get it made and bent whether it needs to be reinforced.


AxeHealey
AxeHealey GRM+ Memberand Reader
12/27/17 1:31 p.m.

It hasn't gotten above 20 degrees outside the past two days, but I drug myself to the shop for a couple hours this morning/afternoon so I figured I'd give a quick update. 

First things first though, the cap on Elmore... The previous owner, who built the cap, told me it weighed about 840 lbs. I didn't really believe him. I had my three brothers-in-law, a close friend and my father-in-law come over to help remove the cap. I promise, it's every bit of 840 lbs. Maybe more. Once we finally got it off, I realized there is no getting it back on unfortunately. I am going to disassemble strategically; removing the crank up roof first (it's probably 100 lbs or so), then the attic that goes over the cab. I'm hoping that removing that amount of weight will make it manageable but it probably won't. Worst case scenario, I keep all the locks and latches and remake something like it in aluminum at a later date. In any event, all the measuring done before purchase was correct and the truck fits in our tiny garage at home. It's hard to tell, but the bumper clears the inside of the garage door by about 0.5". Yes, we need a new garage door.

Healey. I used my CAD template to cut out the new rear "seat" panel and marked the bend lines. I then needed to figure out how to make the long bend across the front edge.  

I didn't get a picture of it, but I initially tried the two door hinges with 2x4s and a metal handle screwed into the top 2x4. It was working until the wood gave way and splintered at one of the hinges. I went to Home Depot, bought some angle iron, welded the two pieces together with the hinges, welded on the handle and got it done. It's nowhere near perfect and was really hard work, but it produced an acceptable bend in my eyes.

What the picture doesn't show is that I actually had a 2x4 sandwiched between the piece and the folding angle iron to distribute the load across the whole piece rather than just where the handle contacted it.

Mock up was fairly easy earlier this week and then my couple hours today finished up the job! I'm very happy with it.

Tomorrow I should have time to get the rear shroud modified to fit so I can get measurements to the TIG guy so he can be prepared and come out to the shop and fix it once and for all. Once the shroud is fit in place, I can also finish off the trunk area! 

NOHOME
NOHOME UltimaDork
12/27/17 5:45 p.m.

You found a traveling TIG guy?

AxeHealey
AxeHealey GRM+ Memberand Reader
12/27/17 9:25 p.m.

In reply to NOHOME :

Well, kind of, yes. The guy I took the shrouds to has mobile TIG ability and is going to come to me this time rather than me drag them out to him again. 

Nitroracer
Nitroracer UltraDork
12/28/17 8:19 p.m.

You're going to need to update the title of this thread because that truck is awesome.

AxeHealey
AxeHealey GRM+ Memberand Reader
12/30/17 1:40 p.m.

In reply to Nitroracer :

Hah, thanks! Let's see if I can figure out how...

AxeHealey
AxeHealey GRM+ Memberand Reader
1/16/18 8:34 a.m.

Well I can't figure out how to change the title. From searching it seems that I need to request a change from the GRM powers that be(?). In due time. Now for a pretty big update. Healey and Elmore content.

Healey

The rear shroud repairs are now repaired. There are a couple areas that aren't perfect and I'm going to have to fudge a little bit, but it's workable and I can finally move on with finishing the trunk area, getting the shut pillars put in place and finishing the chassis work up. The shroud support is now all tacked into place.

The engine mounts on the Healey are a known weak point and essentially have to be strengthened if the car is going to see any kind of strenuous duty. Instead of buying off the shelf units, I decided to make my own supports. As I was getting into the process, I noticed that this issue is no joke. The passenger side mount was bent and the top of the frame rail was slightly torn. The thing that looks like a 1/8" in hole on the right-hand side of the tear wasn't really that big, that's kind of an illusion from the angle the picture was taken.


Bent back into shape and welded up. 

My initial design for the supports was pretty large. I was going to move forward with these and make a copy for the front side until I realized that the control arm bolt may be difficult to remove with such a large support. After I whipped up a smaller pair for the front, I decided I liked that better and trimmed the rear supports to match.

I ran out of gas so I have a few spots to finish up, but it's just about done. Things left to do on the chassis:

  • Finish the engine mount supports
  • Figure out control arm mount supports - also needed for racing
  • Locate and mount the shut pillars
  • Finish weld the rear shroud support
  • Install rear floor panels
  • Install new rocker panels

I received most of the repair panels for the wings/fenders and will be tackling that next. I need the shut pillars in place first, however. I've also got all of the POR-15 sitting ready to go once we get a few days of "warmth". I'm getting really excited to see this thing all one color.

Elmore

Ever since the 6 of us wrestled the cap off the old beast, just about every day the temp has been in the teens or it's been a blizzard. Since I had the day off yesterday, was out of welding gas and we had a day above 20 degrees, I spent the entire afternoon trimming the cap to both see if I could lighten it enough to keep it and cut the pieces I won't be using up for the scrappers / trash guys. Good news, I removed the insanely heavy telescoping roof all alone without killing myself. More good news, I removed the front overhang rather easily. Not-so-good news, the telescoping roof is a steel skeleton with INCH THICK sheathing on top with sheet metal on top of that. As you all know, a cut off wheel is great for metal but is nearly worthless with wood. I wasn't able to get it cut up. I'll either need 5" cutting wheels or maybe a sawzall purchase is in my future...

In any event, I'm a little closer to being able to move the cap behind the garage and getting the Acura in a place where I don't have to constantly shuffle cars around in the drive.

Since I can now lift the front of the cap well off the ground by myself, I'm fairly confident that once I make a lifting point on the rear side, it will be a two MAYBE three man job to get it on and off. If that's the case, I'll have two yearly parties. The first party will be to put the cap on the truck for the summer and the second will be to take it off for storage in the winter.

I'll obviously close off the front end with some sheet metal and I'll either get a big piece of aluminum to make into a new roof or I'm also considering getting a big canvas top made that I could snap on and off. I will also be keeping the threaded rod in place to be able to make a new, lighter, telescoping roof in the future. 

AxeHealey
AxeHealey GRM+ Memberand Reader
2/8/18 10:11 a.m.

Sawzalls are amazing. I rented one from Home Depot and cutting up the old roof section was a breeze. I've decided that for the time being, the roof will be a very heavy duty (probably canvas) tarp. I'll weld eyelets around the cap and will buy a bunch of those short bungees. I think it'll work well and I'll be able to open the sides without removing it. 

Big progress on the Healey as of late. The trunk is all done, The rear floors are in and the shut pillars are located. I put the front shroud and wings on and held up the doors. It really seems like they're going to fit. My fingers are still crossed. I need to get the threaded plate out of the old doors and into the new so I can hang them. The doors are a huge question mark for this project. The ones that have been on the car since my dad purchsed the car are from a BJ8. These are "convertible" style doors, not "roadster". The roadster doors have never been on the car and with the lack of manufacturing attention-to-detail used back then, I've been seriously worried about the roadster doors fitting. I'll find out this weekend. 

I got a little carried away with POR-15 last week. I intended to just coat the section of frame that is now covered by the rear floors but I ended up coating the entire front shroud support, my engine mount gussets and much of the driver side frame rail. The only chassis work remaining are the supports for the control arm mounts.

In other news, the E21 still runs which is always a good thing. The heater core has started to leak though...


Mezzanine
Mezzanine Dork
2/8/18 11:50 a.m.

Love Elmore and the Healey progress - a sawzall is definitely the right tool for the job you describe. Glad to hear the rental worked out - you should be able to pick one up second hand for under $50 pretty much anywhere.


AxeHealey
AxeHealey GRM+ Memberand Reader
2/8/18 4:15 p.m.

In reply to Mezzanine :

Thanks!

Yeah, I think I will. The number of times it would have and will come in handy is higher than I can count.

AxeHealey
AxeHealey GRM+ Memberand Reader
2/11/18 2:40 p.m.

This is going to be a bear...

Front gap looks great, rear gap is way too tight. The passenger side front gap is almost nill and the rear of the door overhangs by about 1/4". Everyone that I have spoken to who has restored a big Healey has said that fitting the doors is the hardest part. I'm starting to believe it. It doesn't help that these doors have never been on this car!

AxeHealey
AxeHealey GRM+ Memberand Reader
2/16/18 8:25 a.m.

Great people of GRM - I need your help. If you're a body guy (gal) I badly need your help. If you're a Healey guy (gal) I REALLY badly need your help. I've posed this question to some Healey racers I know, but I'm hoping to cast a wide net and see what I end up with. This is also an extremely creative bunch here, so I figure you might have some interesting work-around ideas.

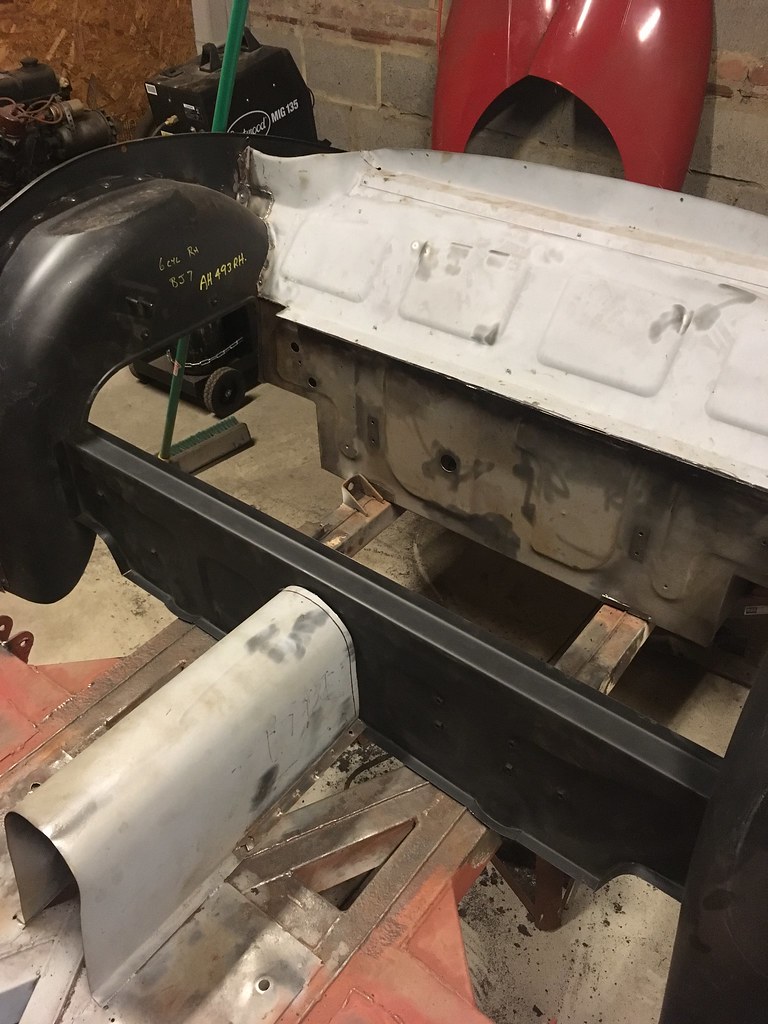
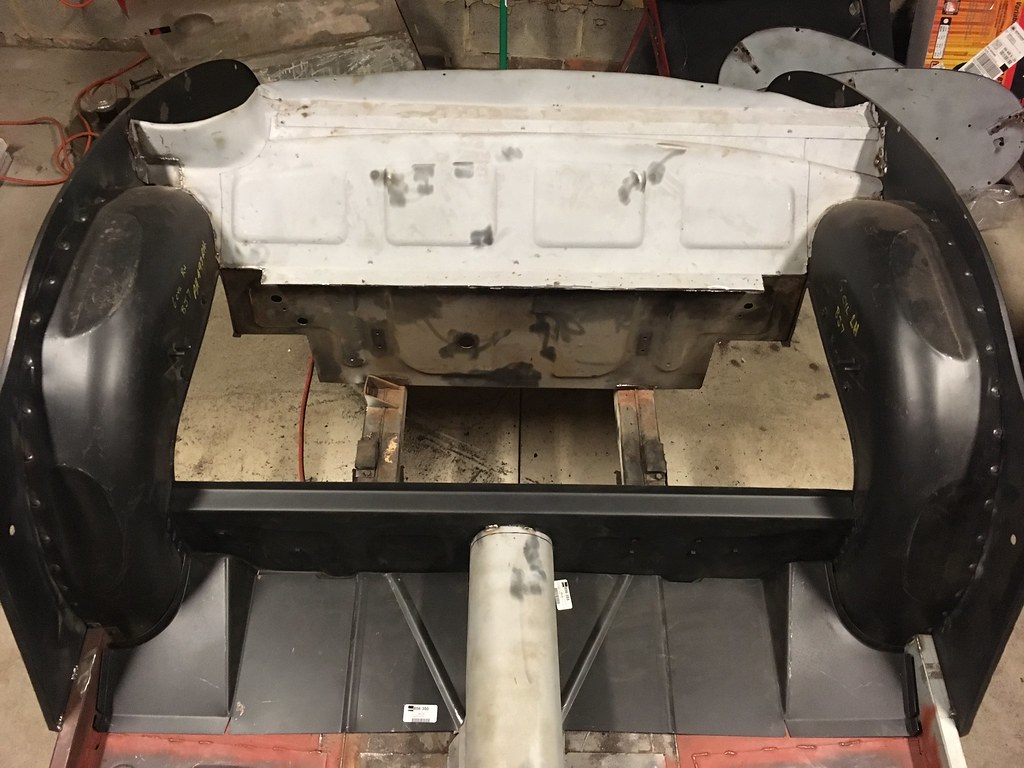
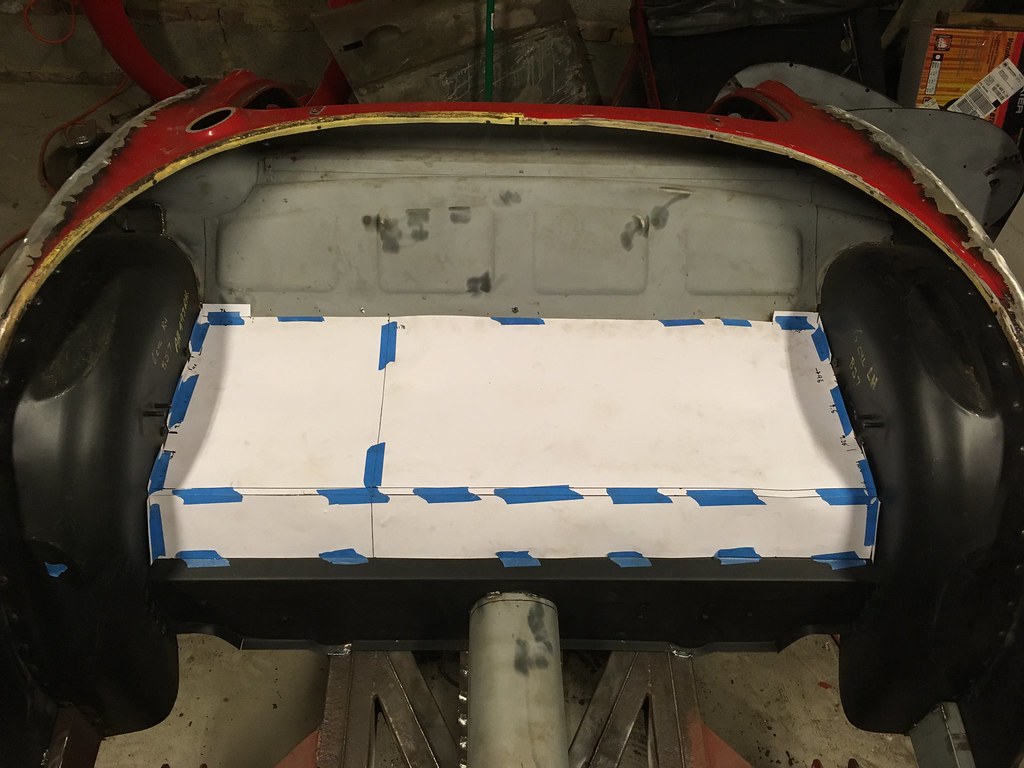
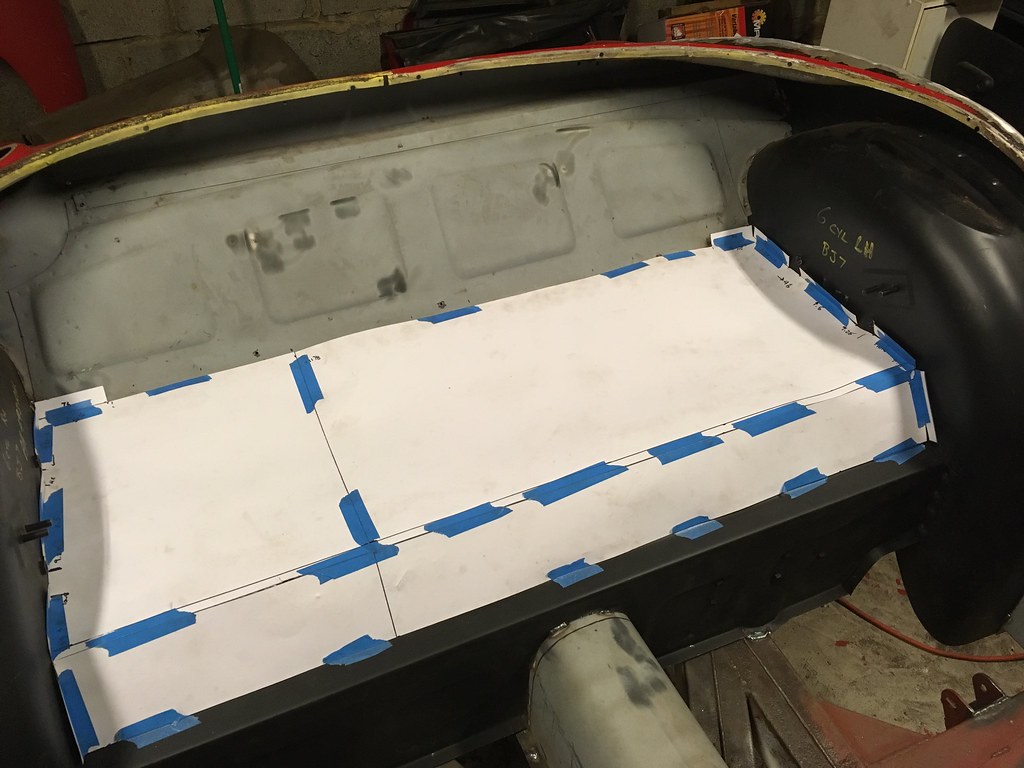
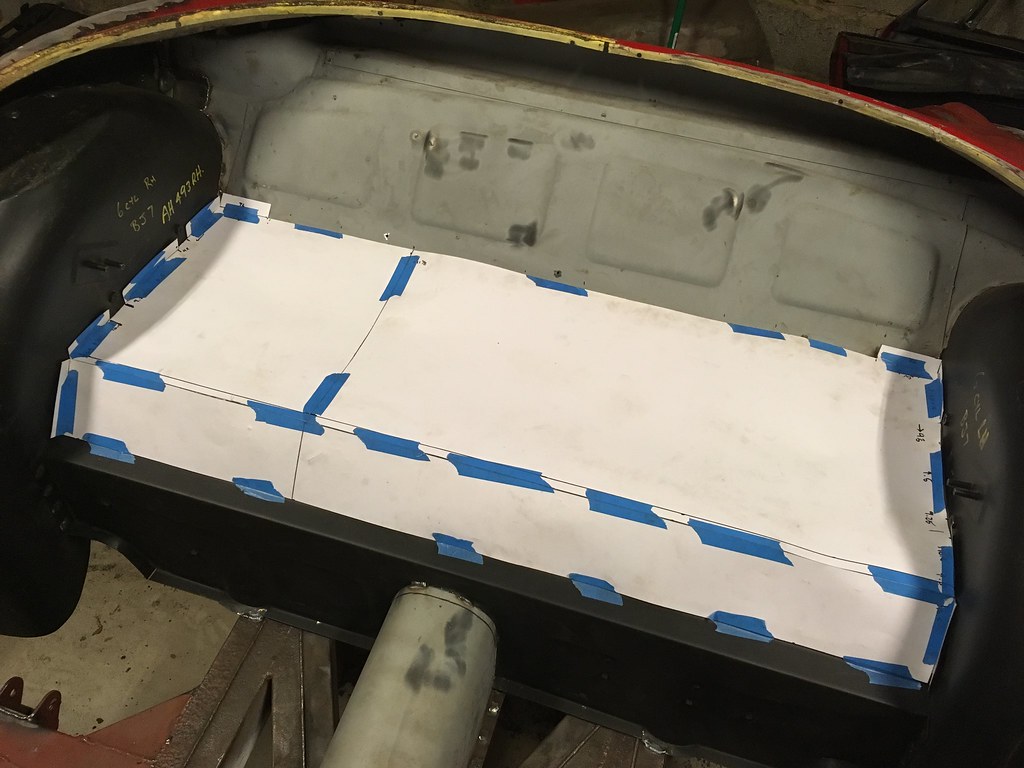
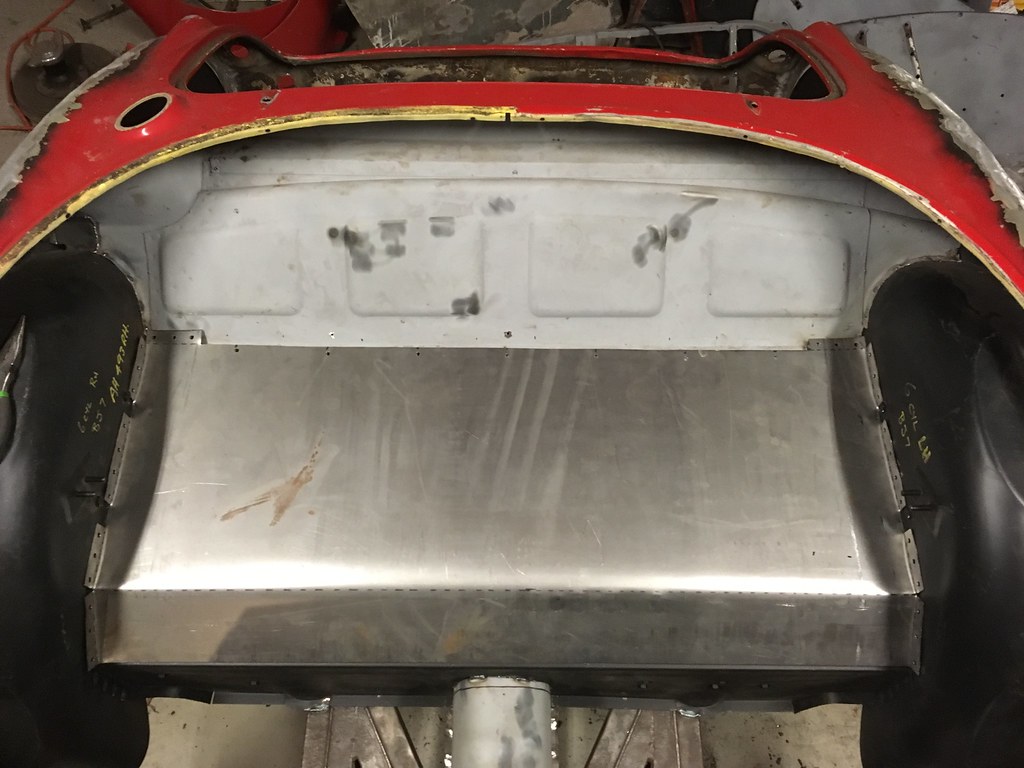
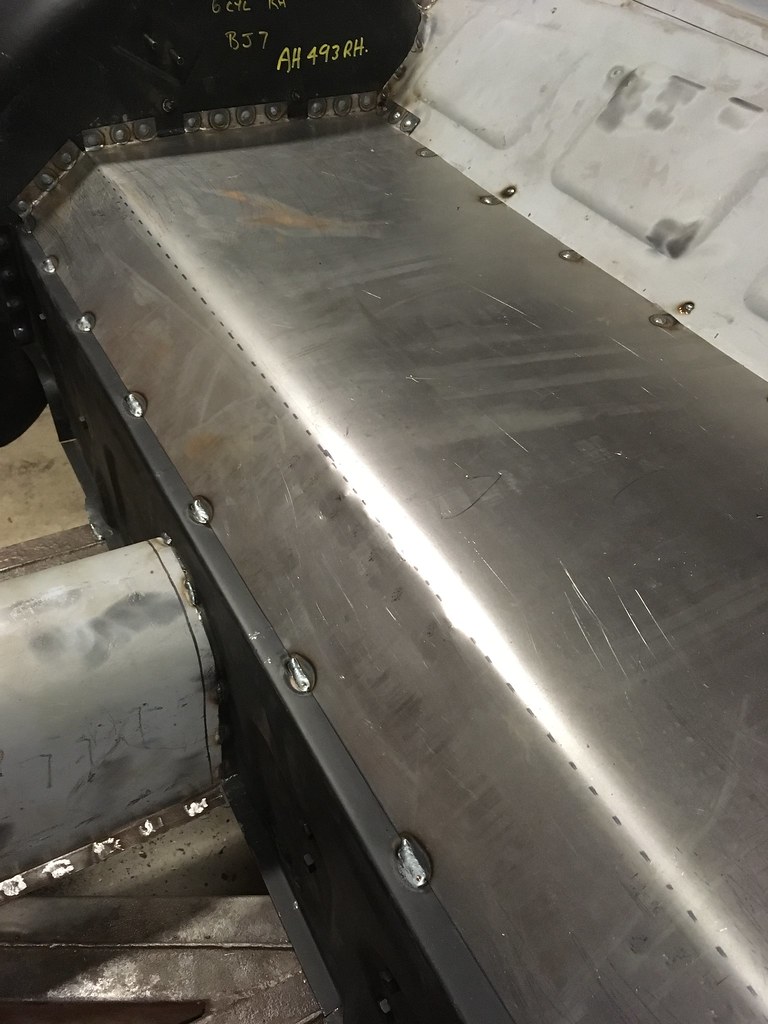
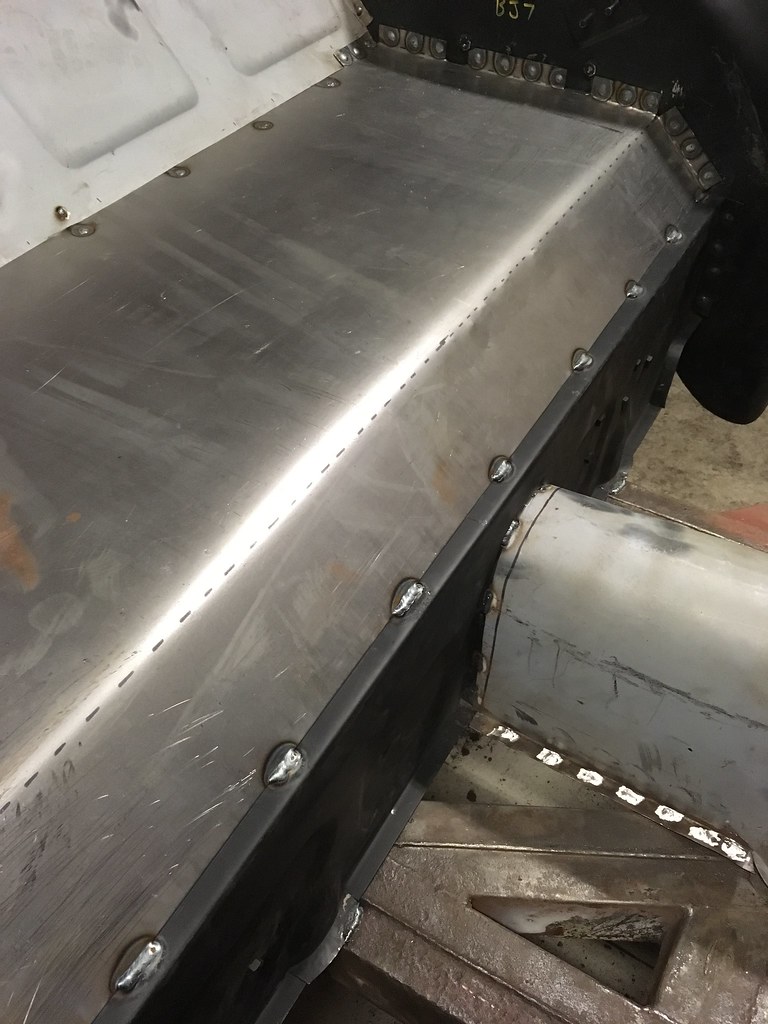
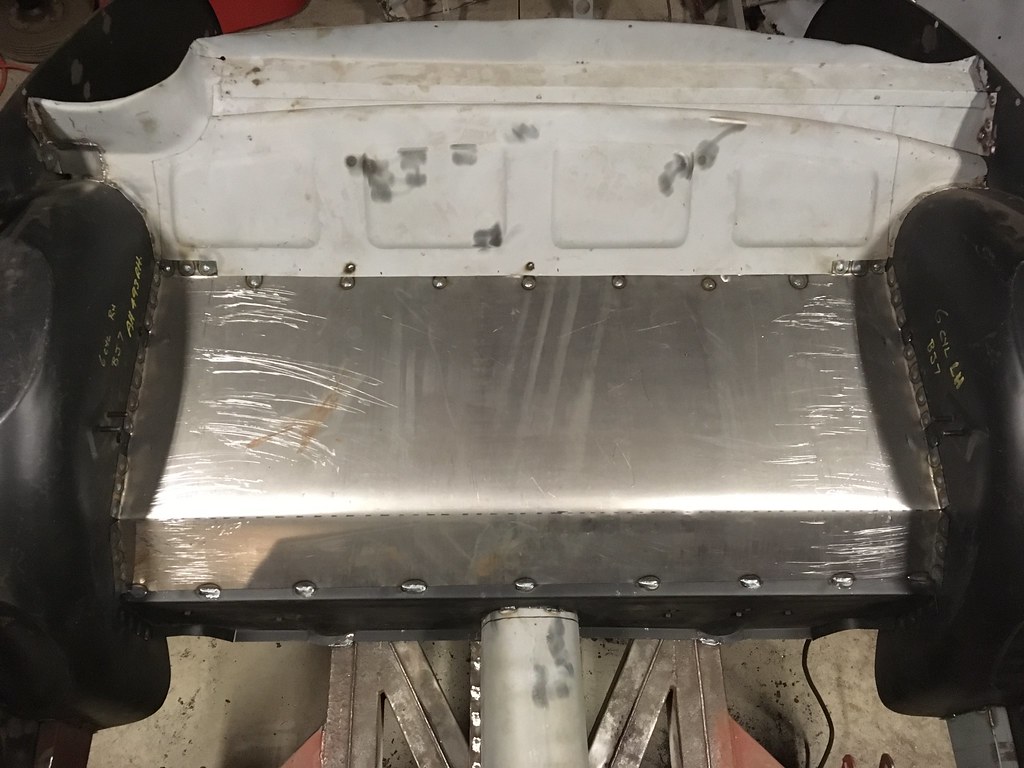
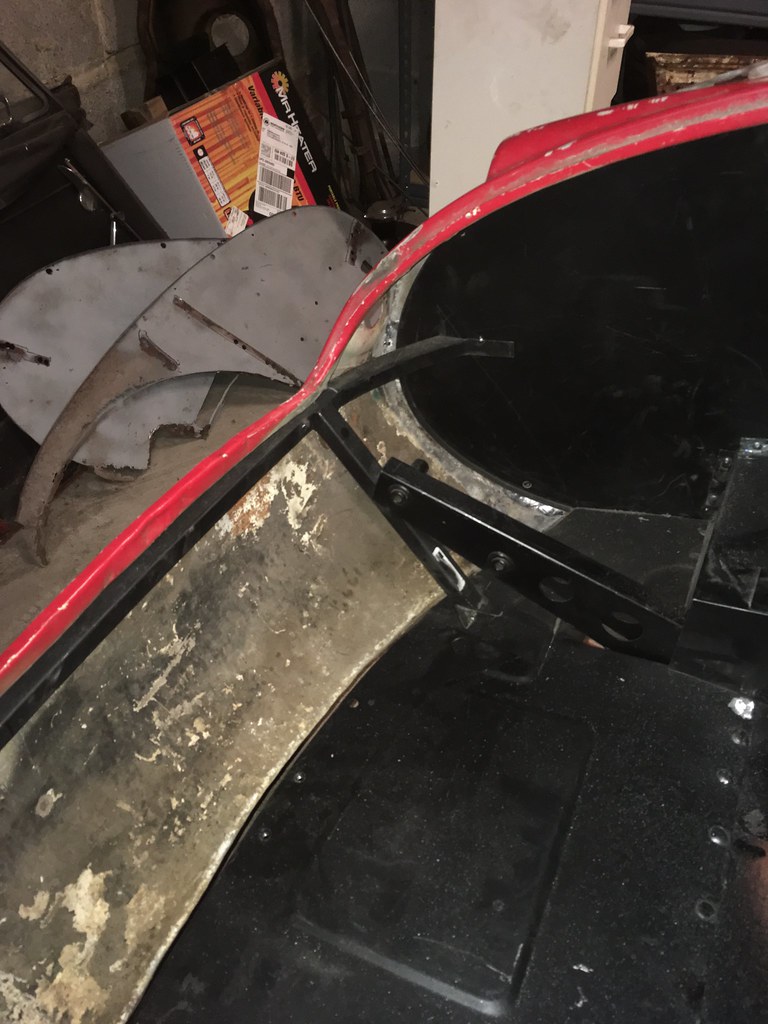
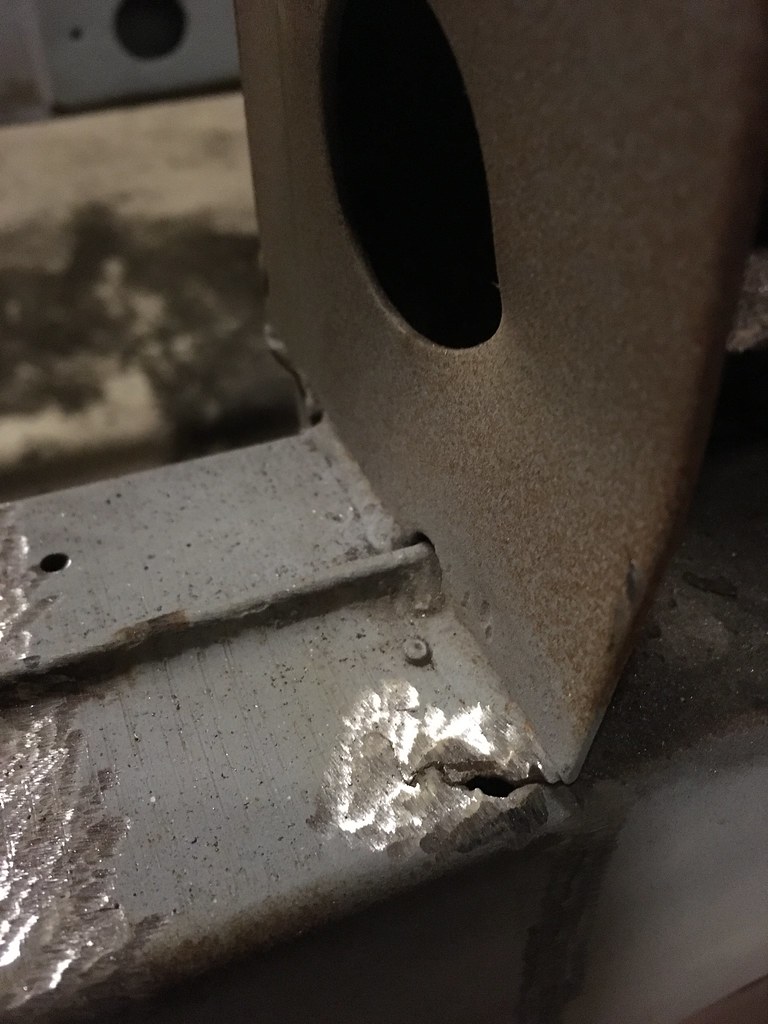
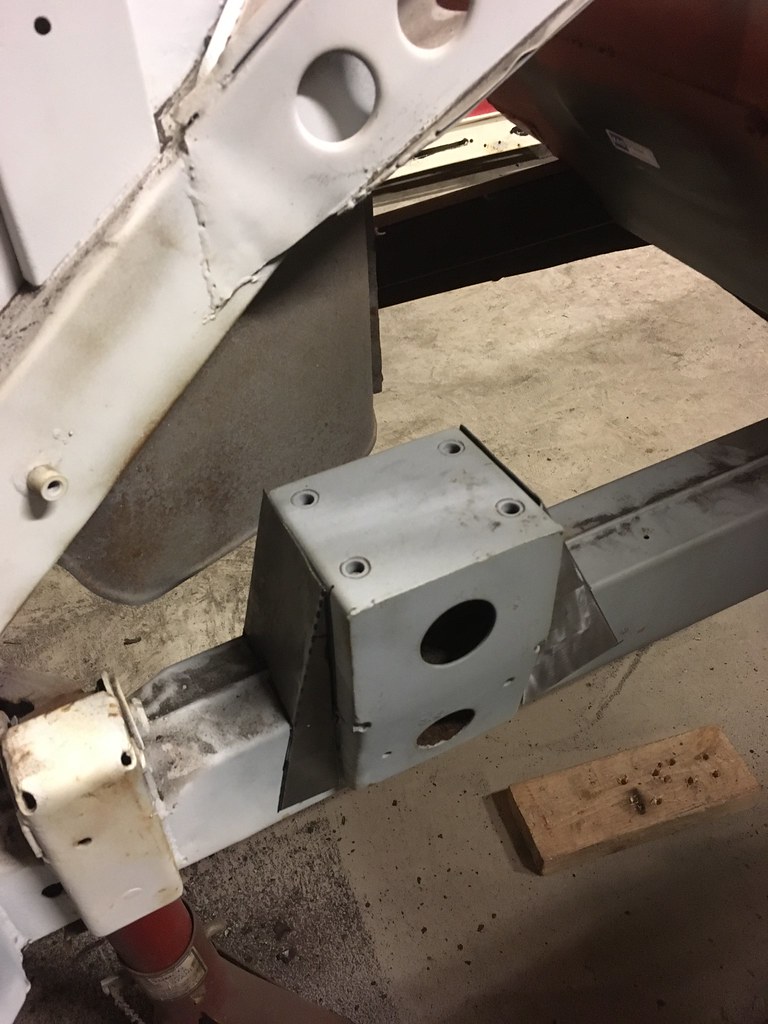
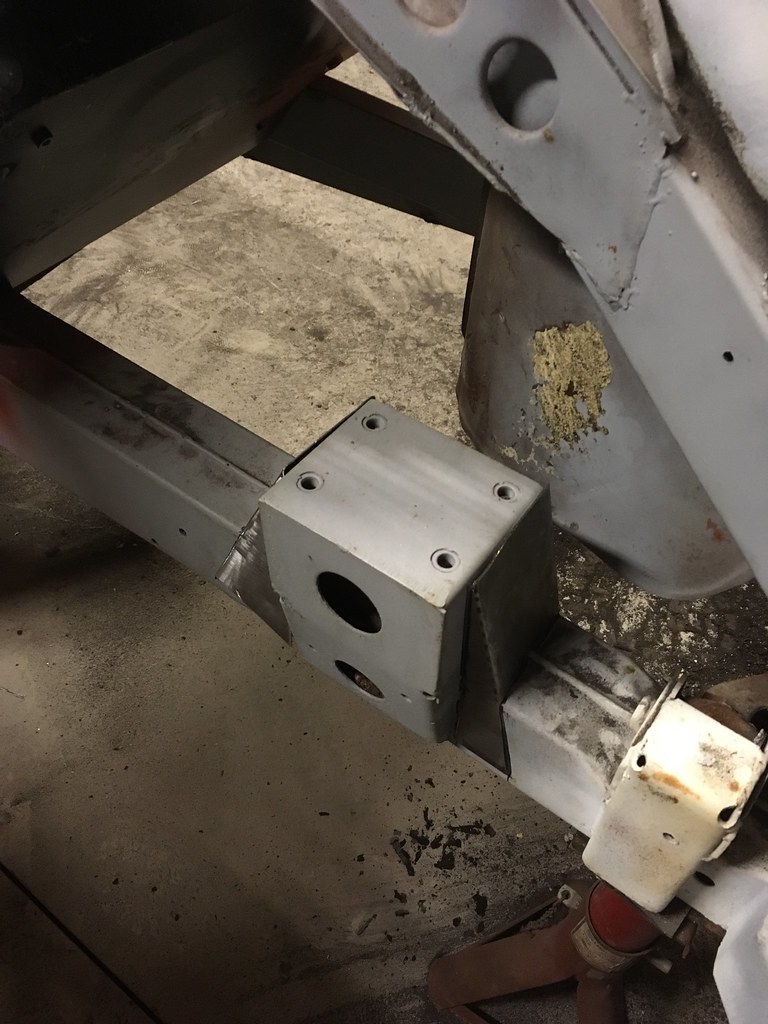
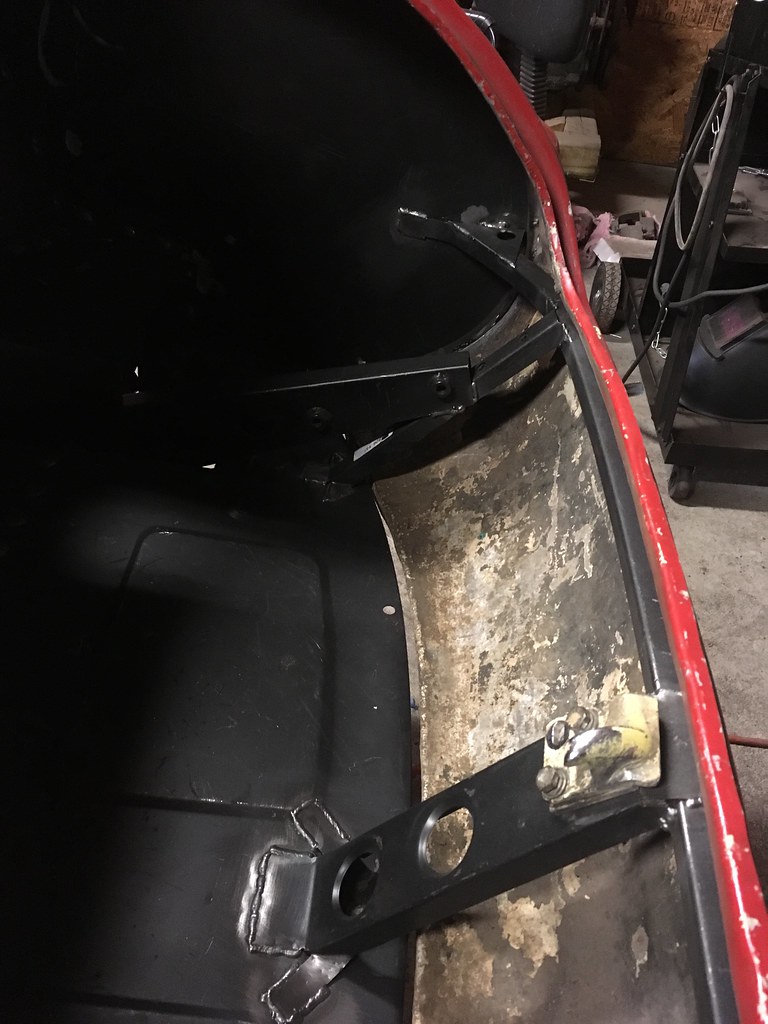
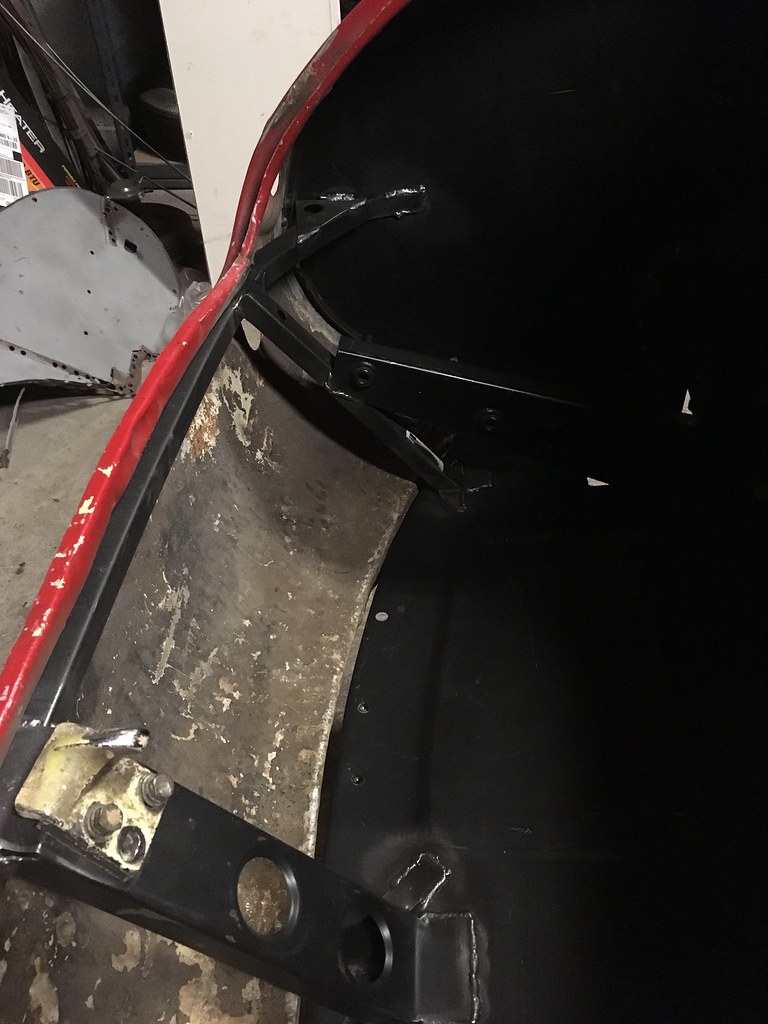
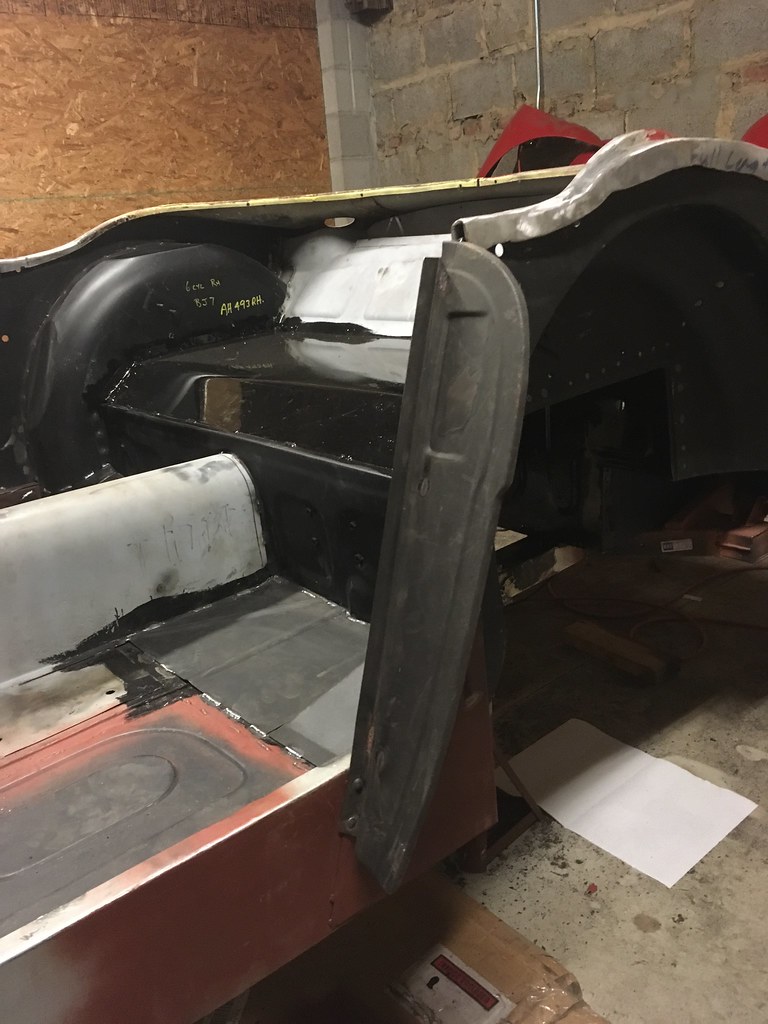
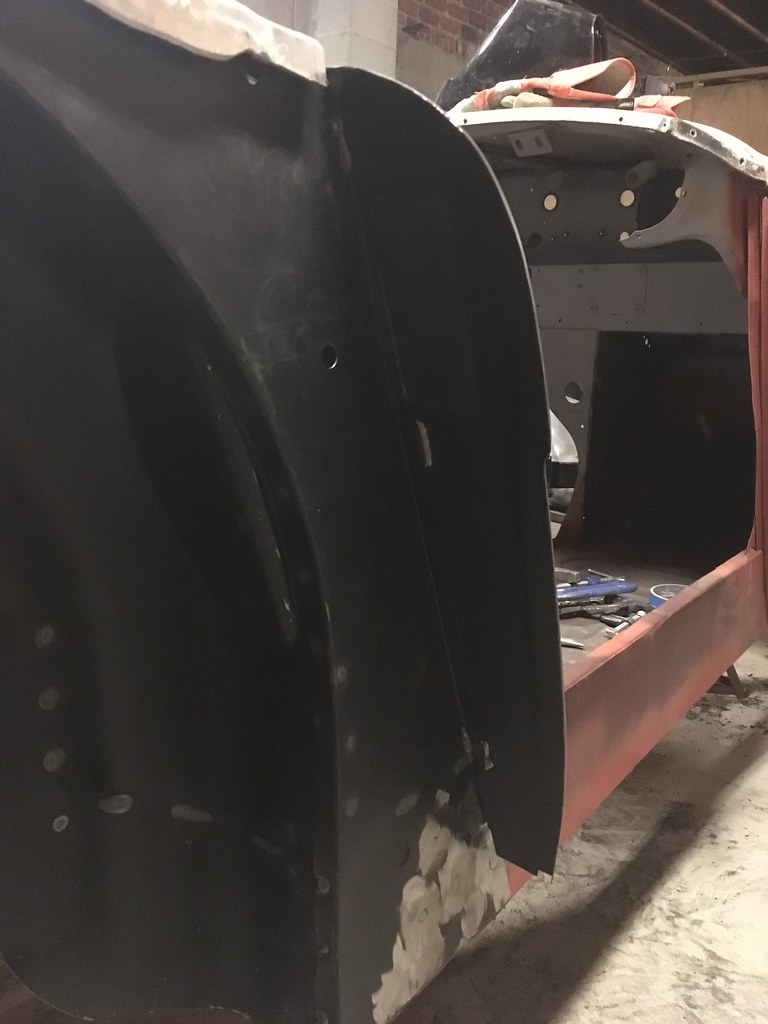
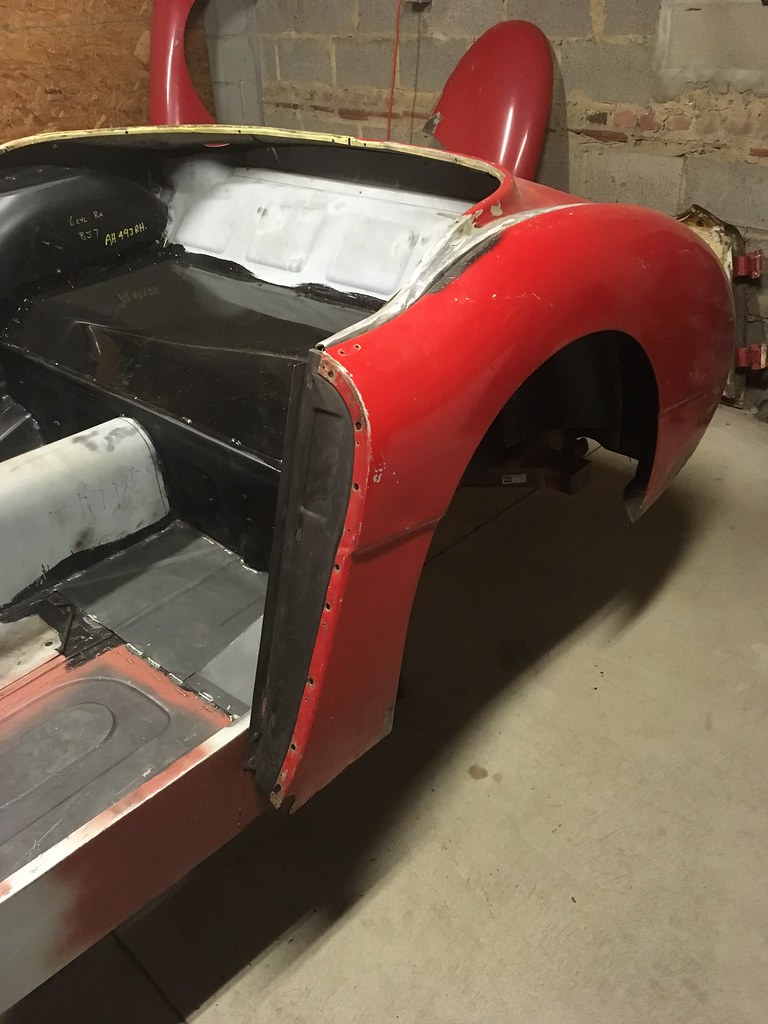
Last night I got the driver's side rear fender mounted solidly in place to see what I'm really working with. I was a bit overwhelmed with the results to I proceeded to sweep the floor for an hour. I really don't see a way around modifying the doors, front wings, rear fenders, hinge pillars or all of them to get this to work.

I got measurements from another Healey and from the top of the hinge pillar to the top of the shut pillar seems like it should be about 32 to 32 1/4". The bottom gap should be about 32 1/4" inches. On my car currently, the top gaps are right at 32" or 31 7/8". The bottom gaps are dead on the other measurements at 32 1/4". Considering the lack of precision when these things were made and the fact that I was using measurements from a poorly restored car, I think this is pretty berkeleying close.

Here's where I stand:

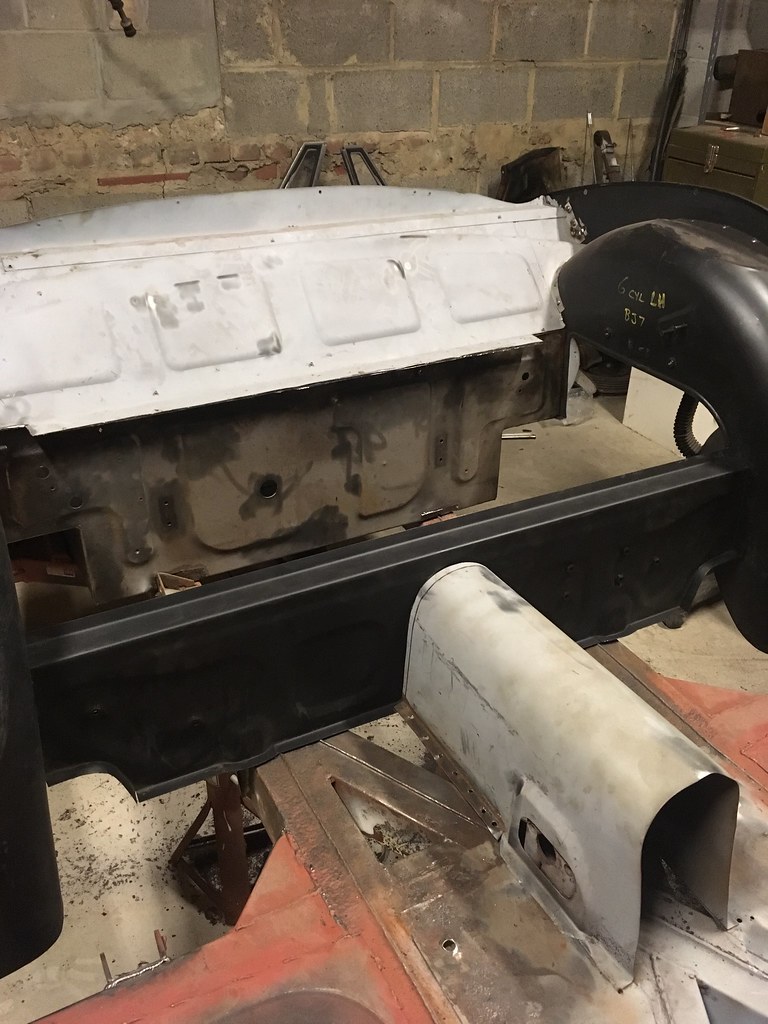
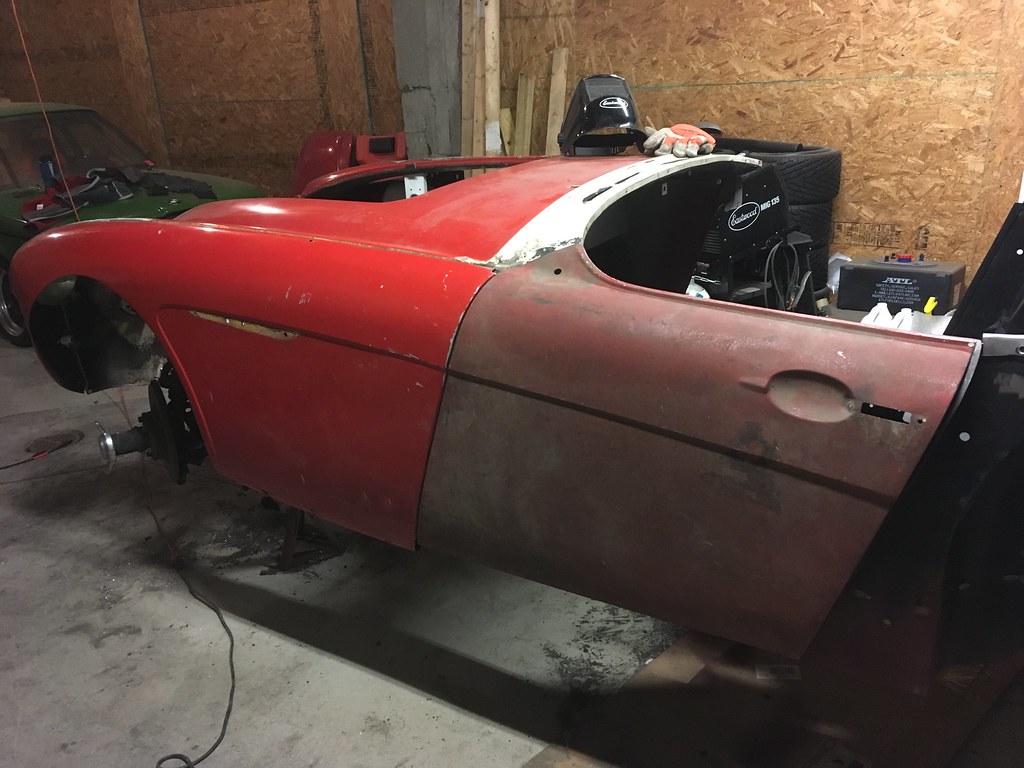
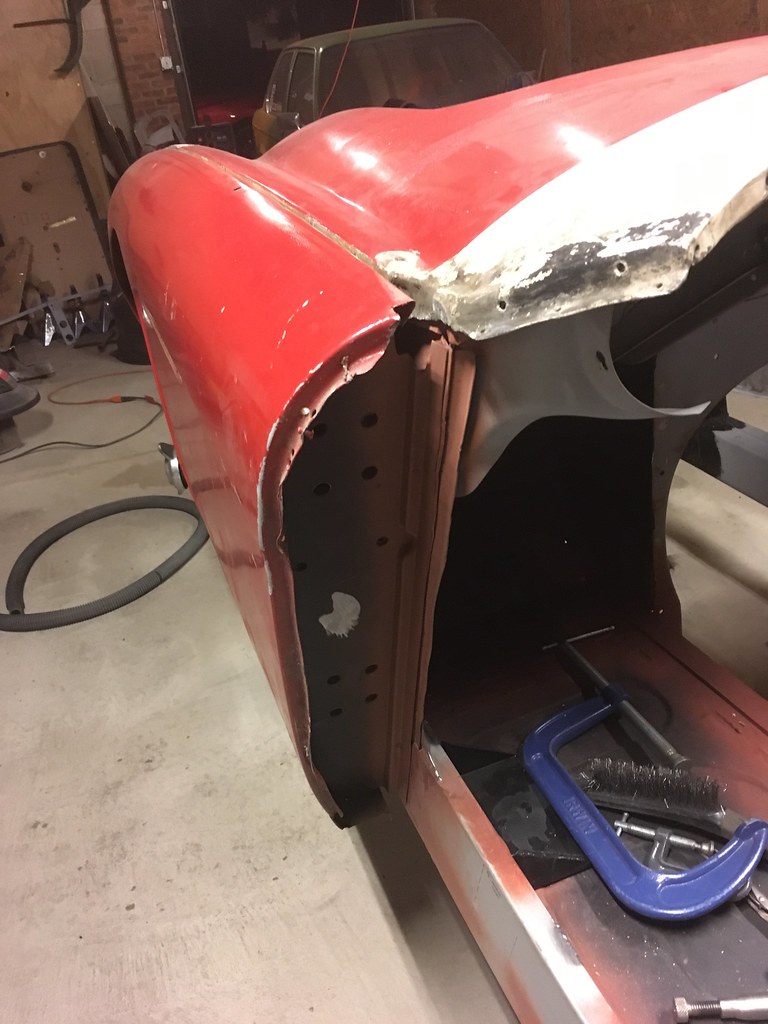
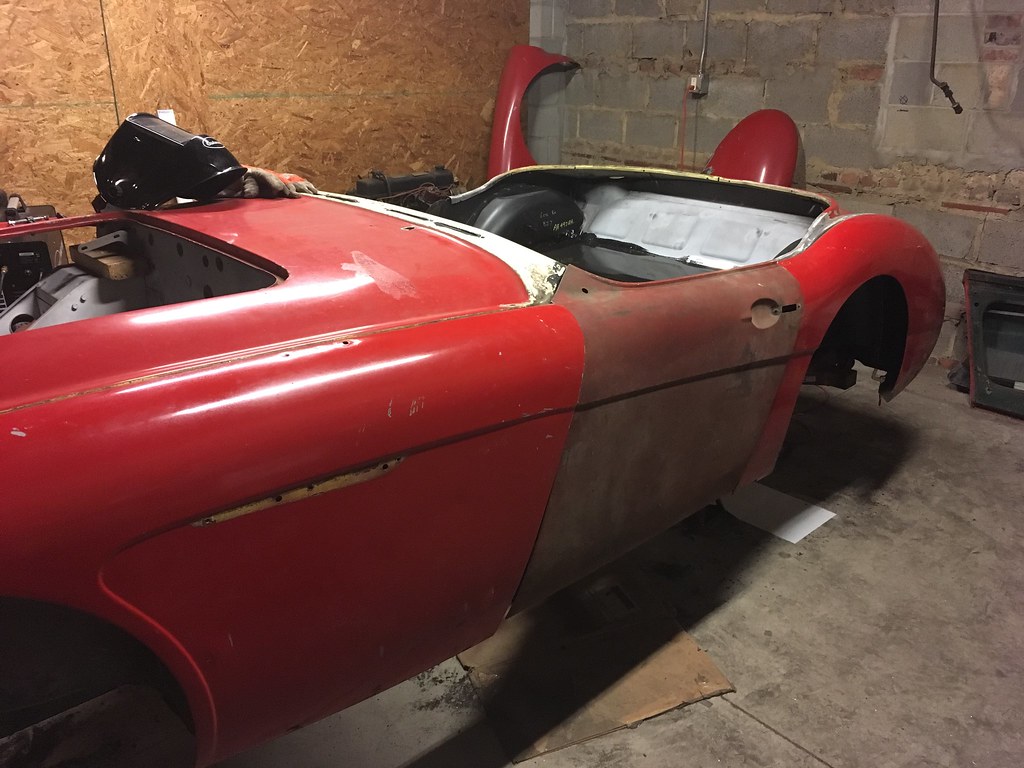
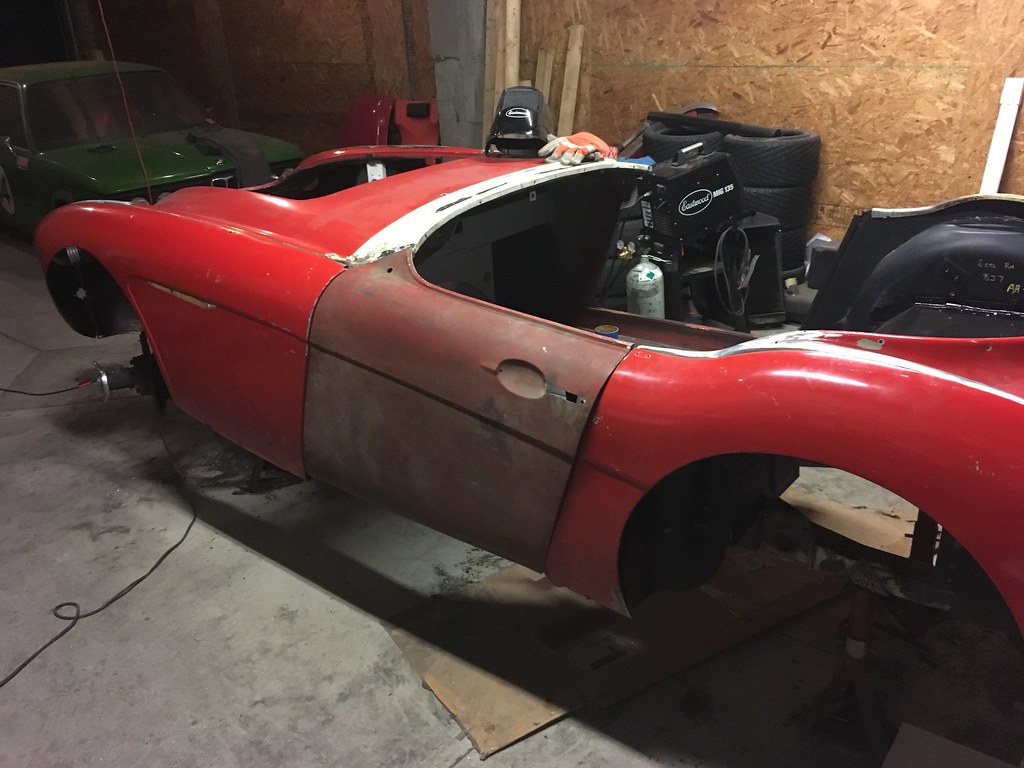
- The front wing and shroud meet up as they should

- The shut pillar and the rear fender fit just about perfectly

- The front edge of the door and the rear edge of the front wing meet very well

BUT

- The rear edge of the door overlaps the rear fender

It looks like it will be the same story on the passenger side.

What I've decided is that I must have gotten the hinge pillars in the wrong spot. That also would mean that they were in the wrong spot to begin with (or I measured wrong) because where they are matches the million measurements I took. The one caveat is that the doors didn't fit well to begin with. I thought that it was probably just because they were the wrong doors for the car. HOWEVER... If I move the shut pillars by 1/4", I'll have to use a bunch of shims to get the doors to clear the front wings but that will put me in the same position I'm in currently.

Here's how I see my options - I'd appreciate any input from anyone on this:

- Move hinge pillars forward, use a lot of shims, probably have to trim the front wings.

- Move hinge pillars forward, definitely trim front wings

- Move shut pillars back, trim rear fenders

- Move nothing, trim doors

For those Healey people in GRM world, here's the only thing that I haven't worked into the equation. The whole debate about whether this needs to be done with the engine and trans in place (or an equivalent weight). Some schools of thought feel that even a rust-free, freshly restored Healey frame will flex in the middle enough to screw up door / body gaps. This car will eventually have a cage which would prevent this, but I have sort of decided to put that off in an effort to get the thing done this year and enjoy it. It won't see track time for quite a while.

Again, any suggestions will be greatly appreciated.

Crackers
Crackers Dork
2/16/18 8:42 a.m.

It looks to me like more of a vertical positioning issue with the cowl/hinge posts relative to the quarter. 

It's really hard to tell from pictures though. 

I almost posted this last week but didn't want to put that kind of juju on you. 

Hopefully you can sort it out easily. 

Crackers
Crackers Dork
2/16/18 8:47 a.m.

Try jacking it a little just behind the hinge posts from the center on a piece of wood and see what happens. 


AxeHealey
AxeHealey GRM+ Memberand Reader
2/19/18 7:37 a.m.

In reply to Crackers :

Thanks for the suggestion. I think you're right, the hinge pillar is a little off. I've spent a considerable amount of time with experienced Healey guys over the phone who have laid out how they were cobbled together from the factory. The front was set up and then the rear (including shut pillars, fenders and shroud) were moved around until it was right. indecision

Although my hinge pillars are close I think I need to get them perfect to ever expect the doors to line up. It's going to be a painful and annoying process but it has to get done.

AxeHealey
AxeHealey GRM+ Memberand Reader
2/19/18 7:56 a.m.

I spent a ton of time on the phone with Healey guys last week. They both laid out the process in which these cars were cobbled together at the factory. The cowl, front shroud, hinge pillars and wings were located in exactly the right place. Once that was done, the shut pillars, rear shroud and fenders were hung loosely in place. Doors were hung and closed and all of the rear body was moved to make fit then permanently installed. That means that the shroud and hinge pillars need to be exactly right. 

I know the shroud is right. It still fits perfectly from where it came. That leaves the hinge pillars that I put in. Although their placement matches my measurements from the originals, this car was "restored" previously and had the wrong doors on it that never fit correctly. I was basing my measurements off of something flawed to begin with it would seem. I should not have trusted the starting point but, alas...

I went over yesterday with the intention of getting the shut pillar cut off and digging into how much the rear needs to move. Before I did that, however, I decided to trace where the back edge of the door hits the rear fender. Although the front edge of the door meets the front fender fairly well, I realized that the increasing gap top to bottom in the front exactly matches (in terms of angle) the increasing over lap in the rear. This says clearly to me that the angle of the dangle of the hinge pillar is off.

Undoing the work I did to get the hinge pillar in place is going to be a ridiculous and painful amount of work, but I think it has to get done. I also think it will make the needed adjustment in the rear much smaller.

Crackers
Crackers Dork
2/19/18 8:22 a.m.

If I were in your shoes, I'd seriously consider making a template of your hinge pillar, welding the holes shut and re drilling them to move the door. It's not like this is a concourse car. 

Pull the wings and see if you can clamp the hinges to the post and align the doors to the quarter that way. 

If that works, I'd just re drill the holes. 

Edit: Nevermind. Looking at the pictures again I see that won't work. 

AxeHealey
AxeHealey GRM+ Memberand Reader
2/19/18 8:29 a.m.

In reply to Crackers :

Believe me, I've thought of every hack-around way to get this to work. This could be done without moving the hinge pillar. I would add material to the front edge of the door to make the gap perfect at the bottom. I'd then just trim/section the rear fender and move the shut pillar back and trim the door a bit to make the gap right and call it a day. In many ways this feels like what I should do because it's far from a professional restoration to begin with. 

At the same time though, I've come this far, I feel like I'd be selling myself short doing that.

jr02518
jr02518 Reader
2/19/18 8:37 a.m.

Please don't shoot the messenger, but I have understood that you need the drive train in the car to stress the chassis to hang the doors?  Something about the weight affecting the flex.  I seem to remember seeing pictures of these thing at the factory as rolling chassis on the ground with the cowl and nothing else. 

In fact when I knew the kids buying these in high school, yes in the late '70's these were really cheep, the body work was done with wheels on the ground so the panel lines could be made to line up.

Now I feel really old.   


Crackers
Crackers Dork
2/19/18 4:43 p.m.

If I'm seeing things right, the cowl is too high. 

If you fit-ish the doors and cut/weld the doors to fit the other stuff you're probably going to have a breaks/doglegs in the toplines.

However you go about fixing it, I don't envy your situation. 

AxeHealey
AxeHealey GRM+ Memberand Reader
2/20/18 7:11 a.m.

In reply to jr02518 :

There is heated debate in the Healey world about whether you need weight on the chassis to get everything right. Some say they've never gotten it right without weight, others say it's all mish mash. Because I had always planned to put the cage in at this stage, I didn't bother stuffing the lump back in there as the cage would get rid of any deflection in the chassis. 

In an effort to get the car on the road this calendar year, the cage is being pushed off to next winter. That means, yes, I'll be putting the engine and trans in the car. Either that or a bunch of sand bags strategically placed.

Thing is, my issue would still stand as the weight of the drive train would tend to "pinch" the door gaps, not enlarge them.

1 2 3 4 5 ... 36

You'll need to log in to post.

Our Preferred Partners
AsEXqUHNFmgYFRMIRhd2sfzXulR5h0yOr2chzvFNAcTXG5ajmTrS7mT9ZoW40ODv