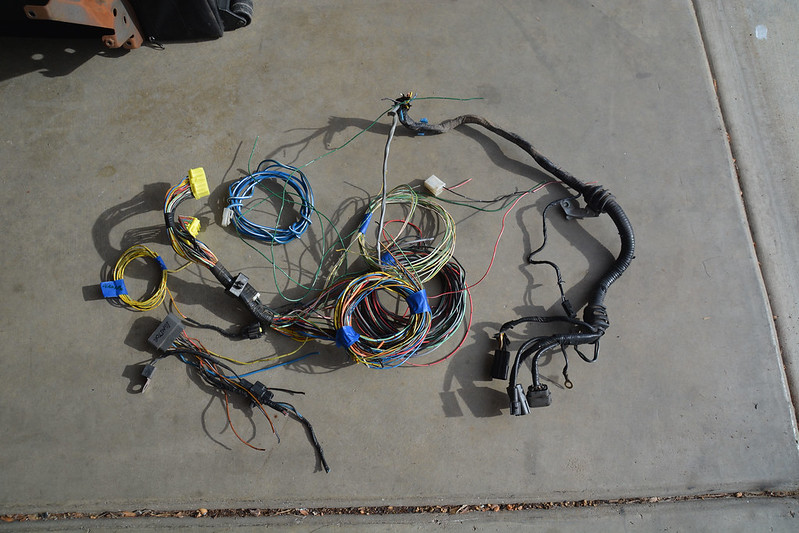
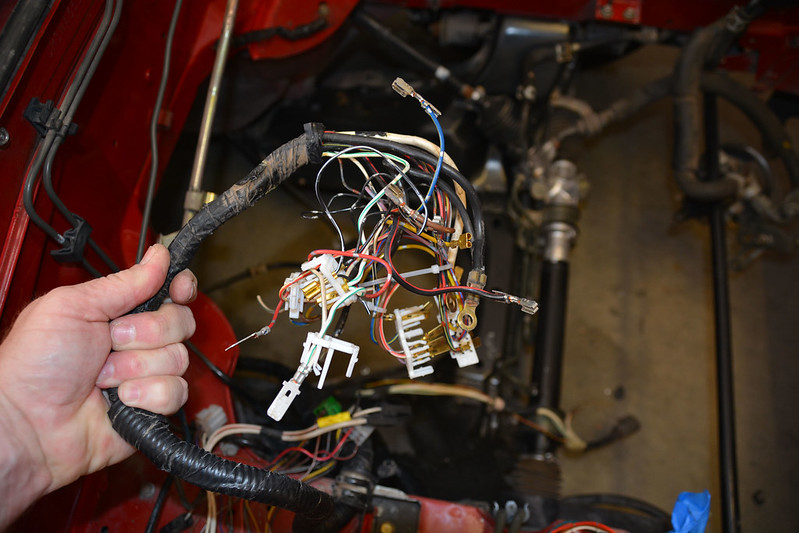
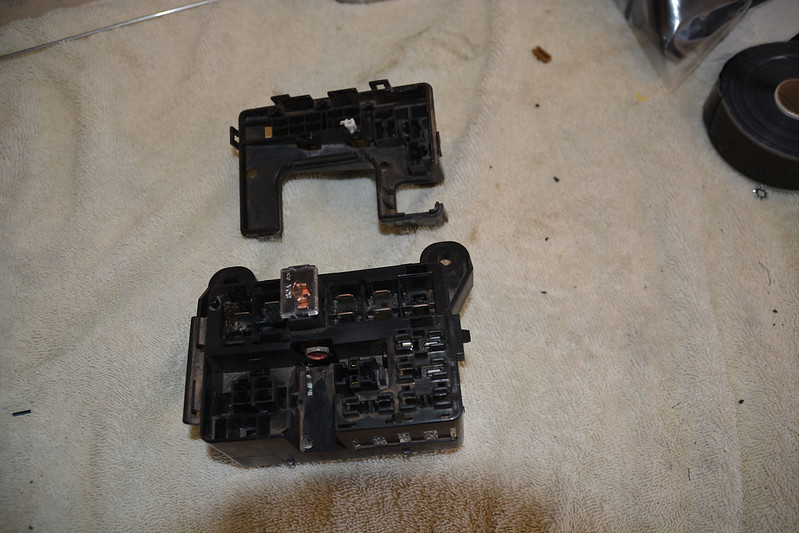
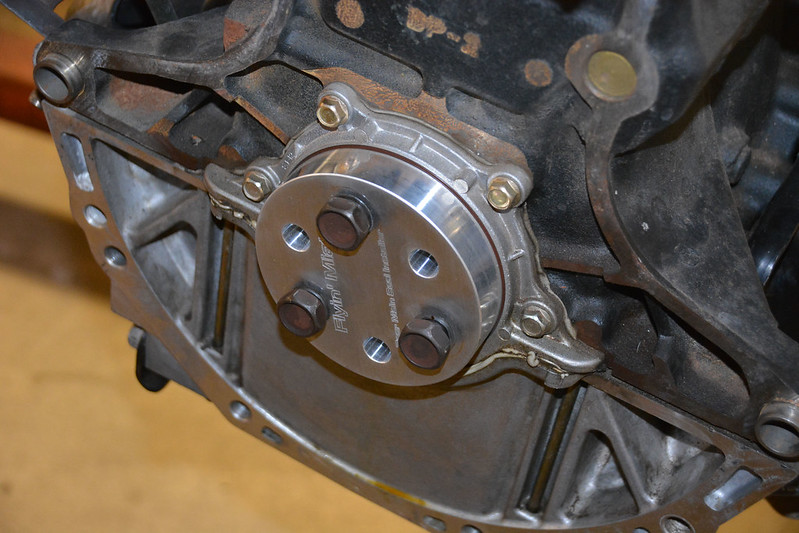
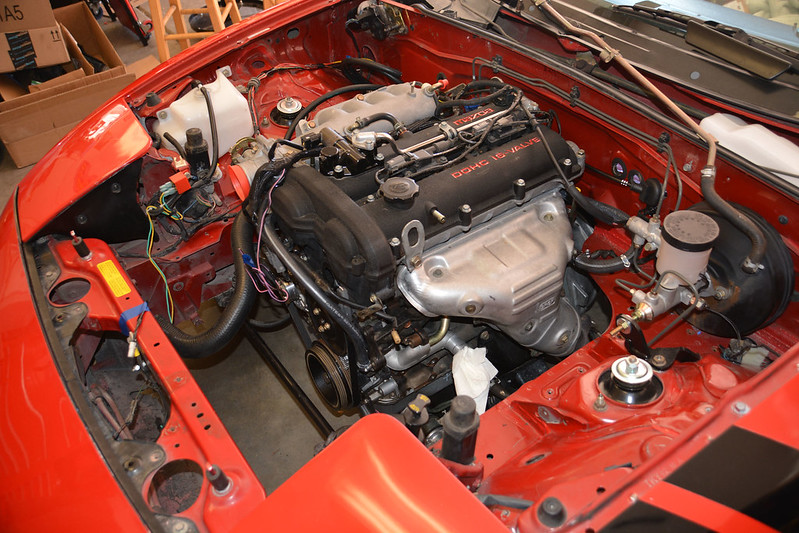
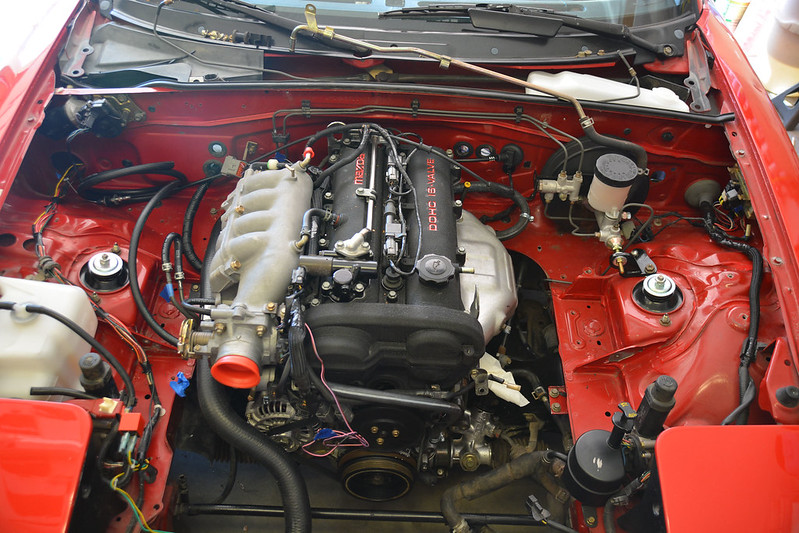
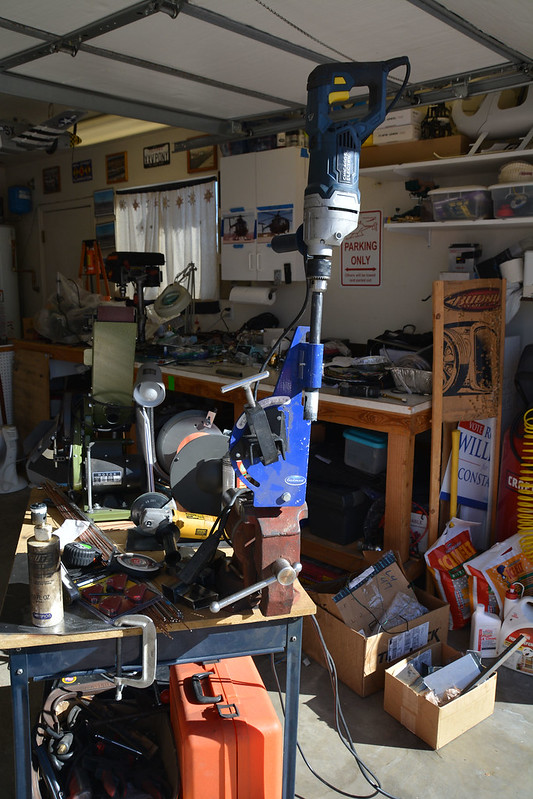
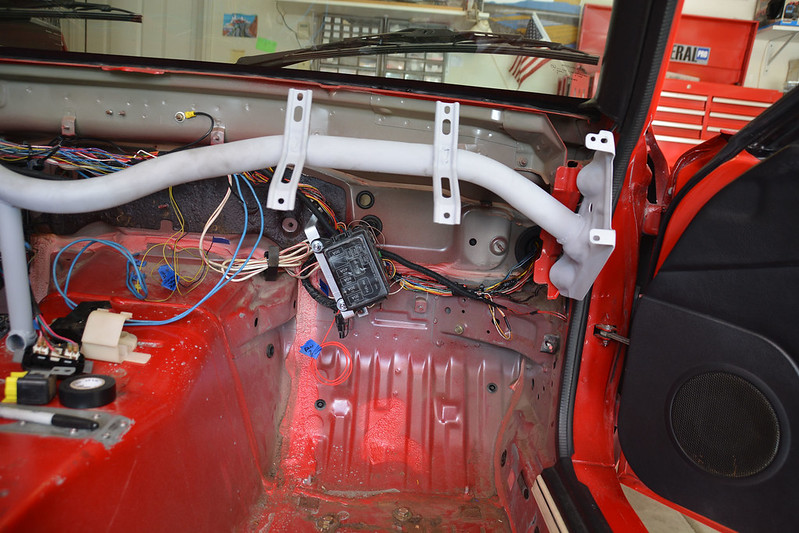
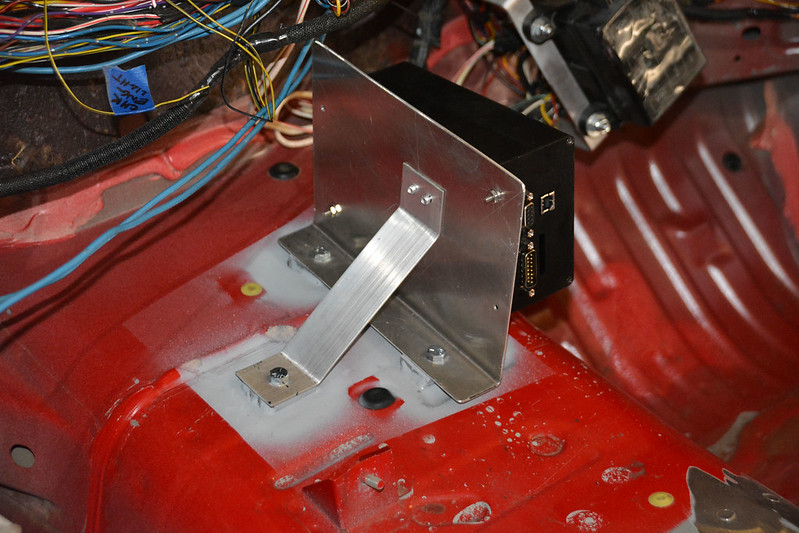
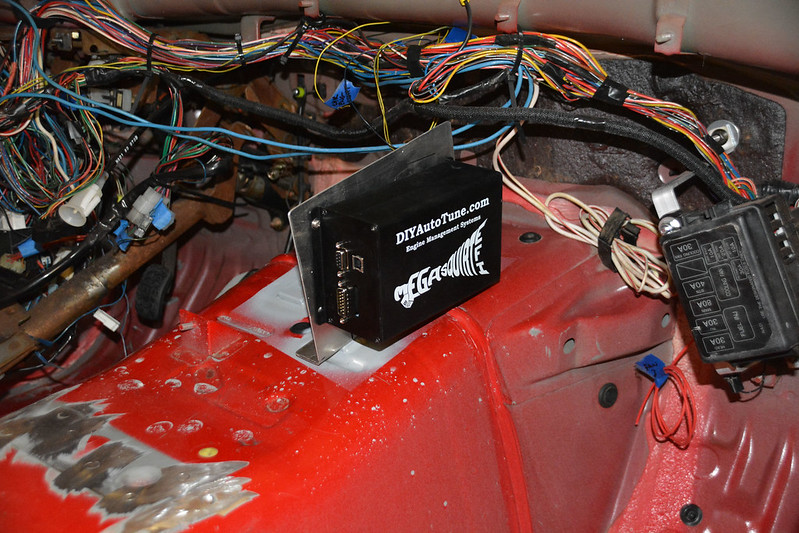
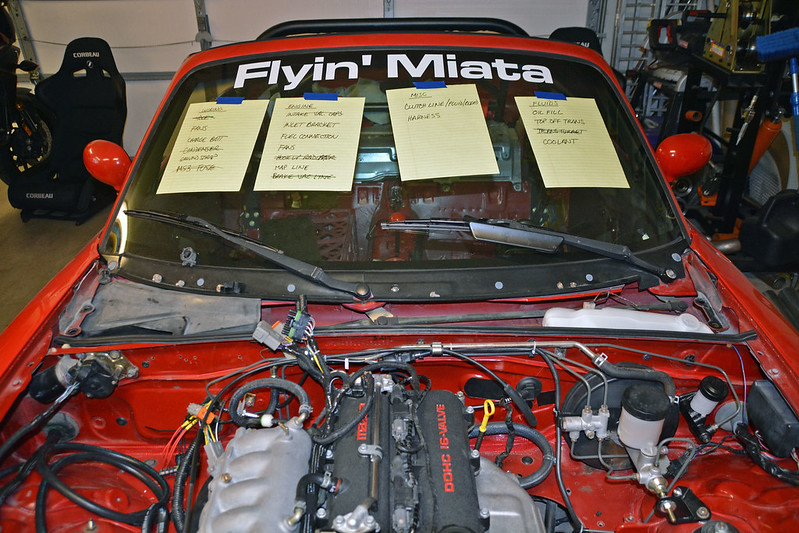
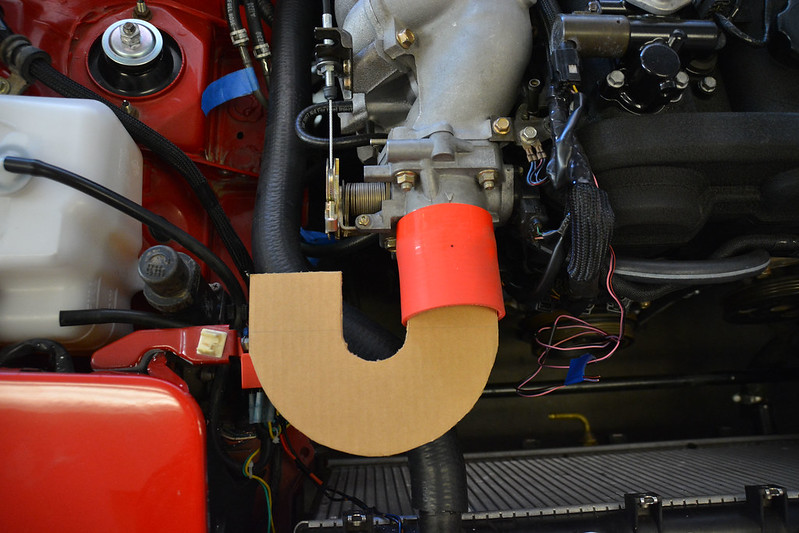
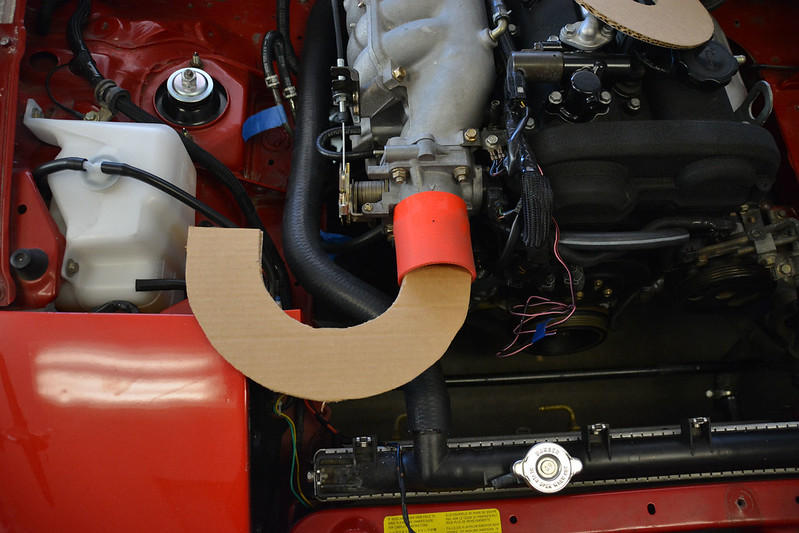
Since the thread has caught up to real time, there's not been a lot going on. Weather here has turned nice again after several weeks of rain/snow, so at least I can roll the car in and out of the garage to work on stuff. Unfortunately, my work schedule has not left a lot of free time to work on it, though the OT and side work will benefit the budget. Which is important, as I'd like to replace the turbo on the tow rig before we start traveling this year. Mostly, I've been piddling around with the wiring. I'm just about ready to hook the battery back up, and make sure everything on the chassis still works properly...  Once past that hurdle, I'll start wiring up the MS3. Still need to fab a mount for the relay/fuse box and MS3. Last week, I got in some aluminum tubing, silicone connector sleeves and a filter and started mocking up the intake. I would prefer to run a cold side intake, but am having trouble finding a 180* (or therearbouts) bend that will fit. The problem on NAs is the headlight and retractor mechanism. What fits easily in an NB doesn't in an NA... Here's the two radii I've been able to source so far, mocked up in cardboard:
 DSC_0192 by Rodan AZ, on Flickr
 DSC_0191 by Rodan AZ, on Flickr
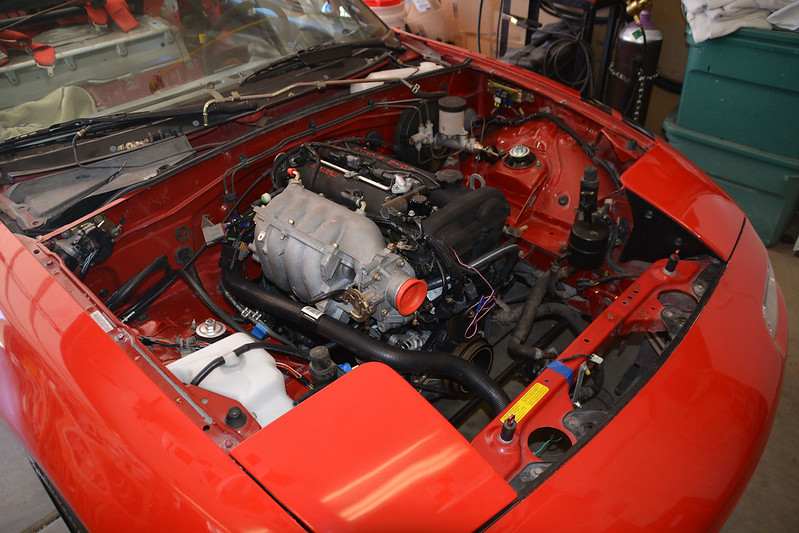
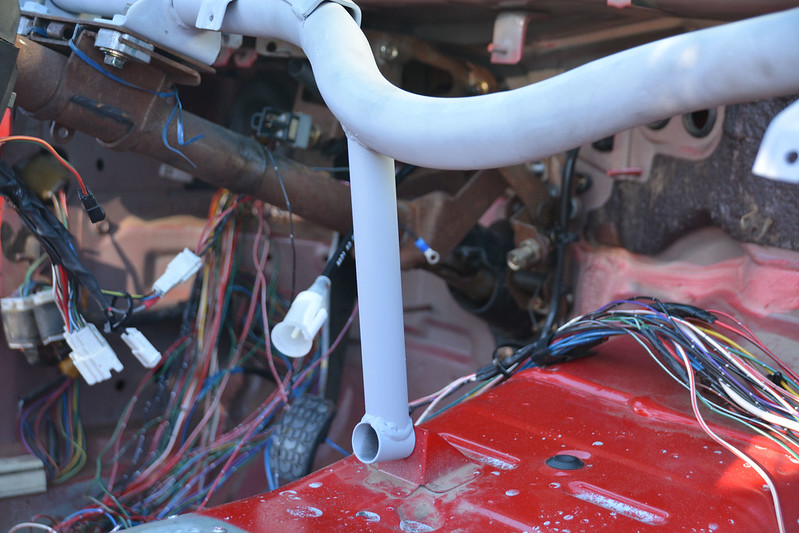
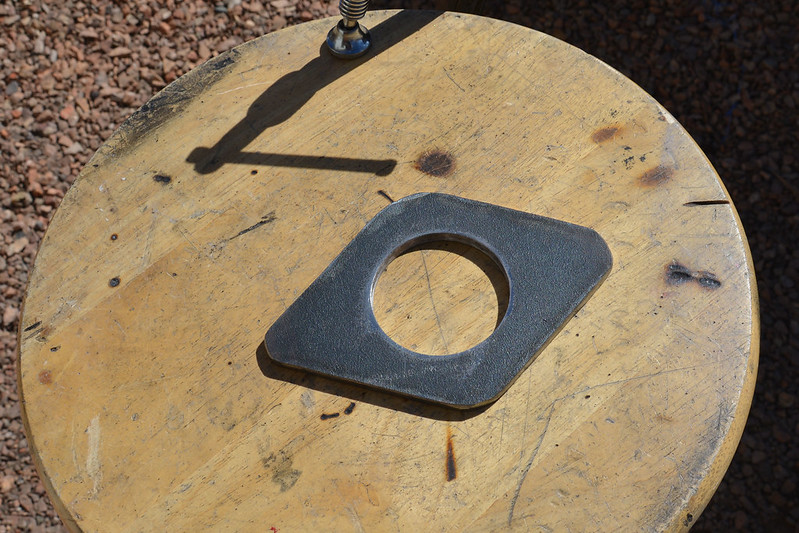
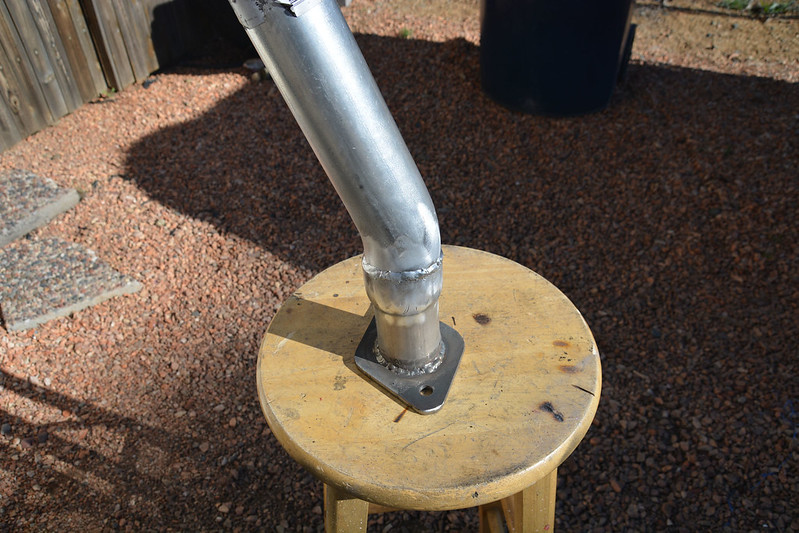
The wider bend fouls on the headlight, the narrow one on the throttle linkage. I'm considering the narrow one, with a cut/weld to slightly widen the angle, but it's a cast piece, and welding cast aluminum is well beyond my rudimentary TIG skills. I'm open to suggestions... For now, it's the path of least resistance and a hot side run.... just a matter of a couple of cuts on a 90* and 45* piece...
 DSC_0186 by Rodan AZ, on Flickr
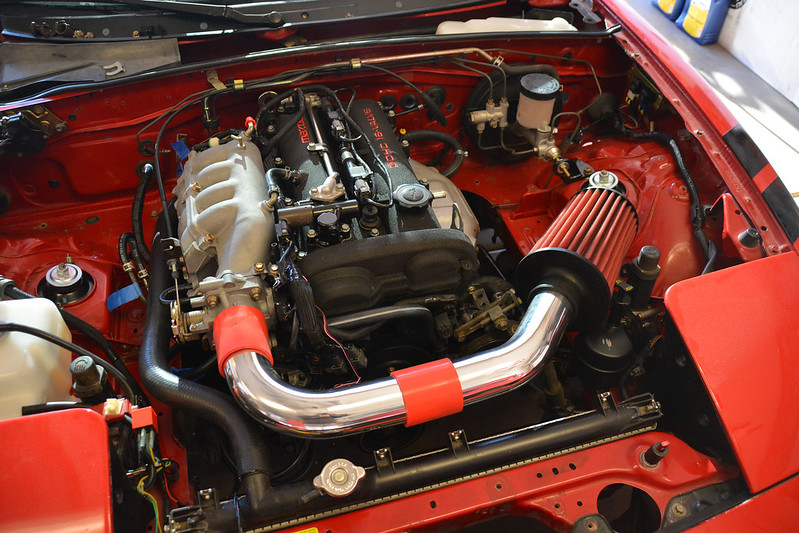
 DSC_0188 by Rodan AZ, on Flickr
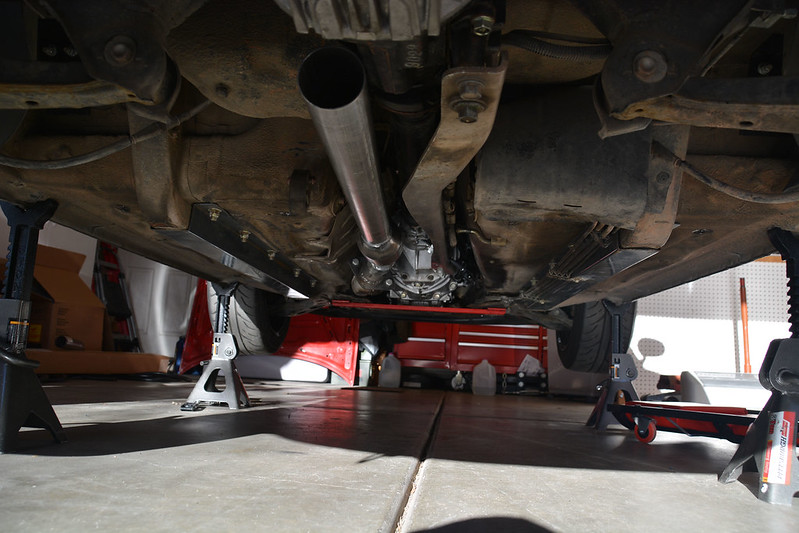
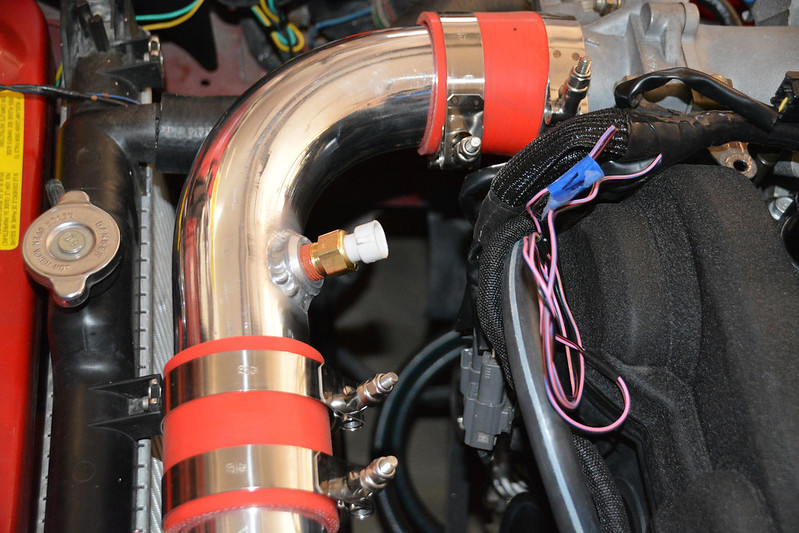
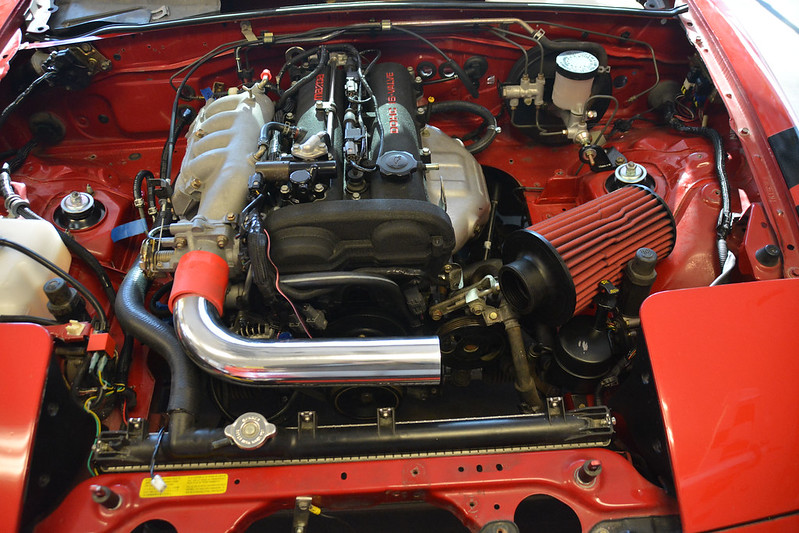
and, voila! It's an intake!
 DSC_0190 by Rodan AZ, on Flickr
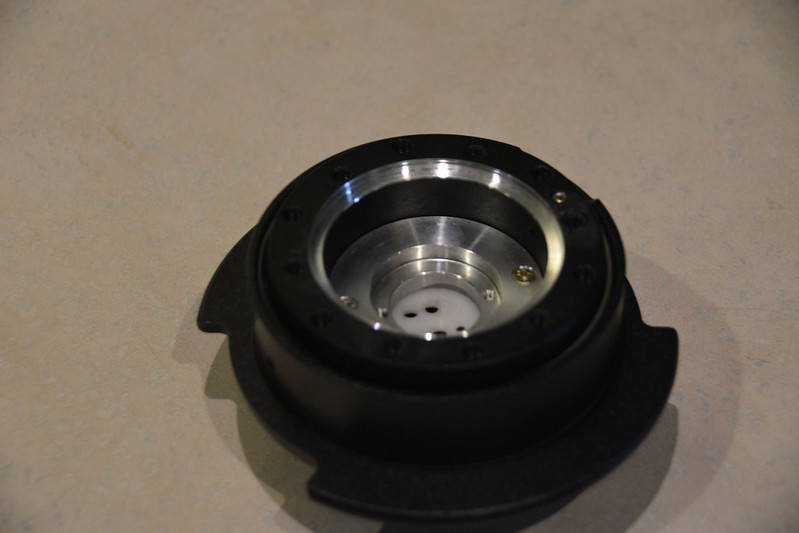
Still needs a support bracket or two, and a bung for the IAT sensor, but at least it clears the hood! Then the other day I got sidetracked for a while on the horn button. While the car was apart, I added an NRG QR hub, but had never bothered with the horn button, just bolted the wheel on. Well, I decided to take a couple minutes to stick the horn button in... nope. The Momo wheel has a plate that 'carries' the button between the wheel and the hub.
 DSC_0194 by Rodan AZ, on Flickr
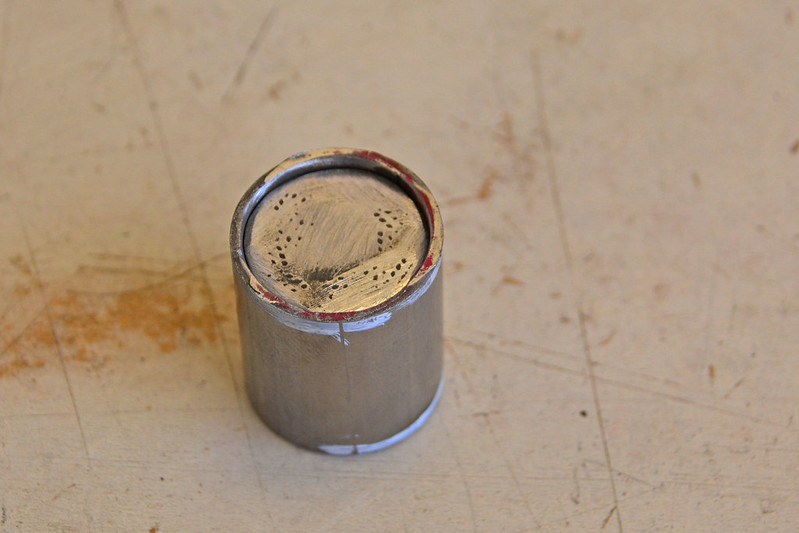
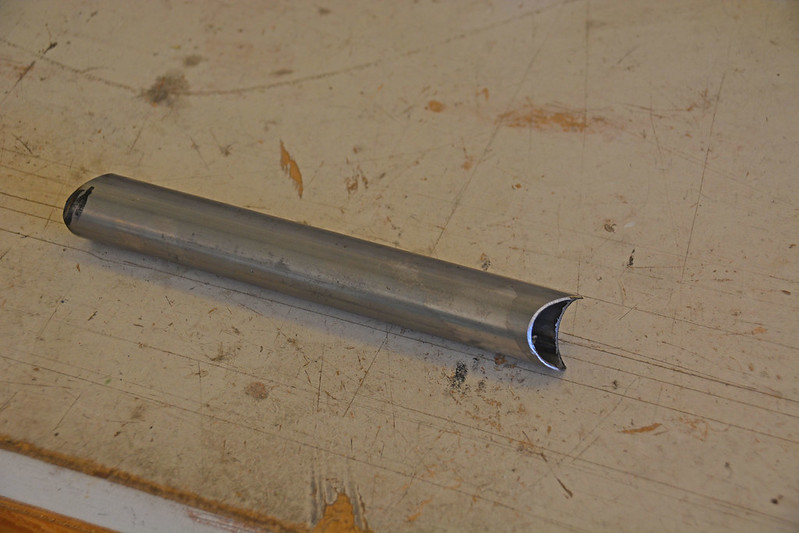
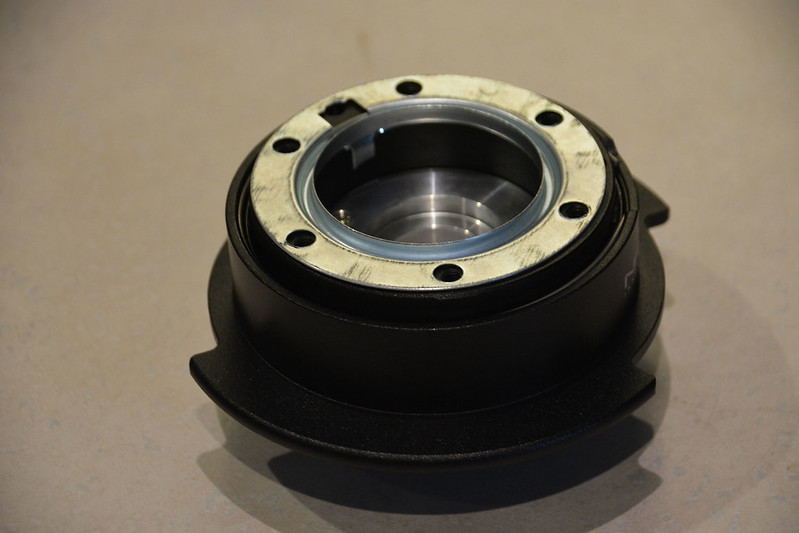
Unfortunately, the raised ring doesn't fit inside non-Momo hubs, so it won't bolt down flush. I had this problem with the generic hub I had on the car previously, but had forgotten about it. So, I pulled the NRG hub off the car, disassembled the horn wires from the contacts, and chucked it up in my lathe. I then cut a recess, so the plate would rest flush on the hub.
 DSC_0195 by Rodan AZ, on Flickr
 DSC_0197 by Rodan AZ, on Flickr
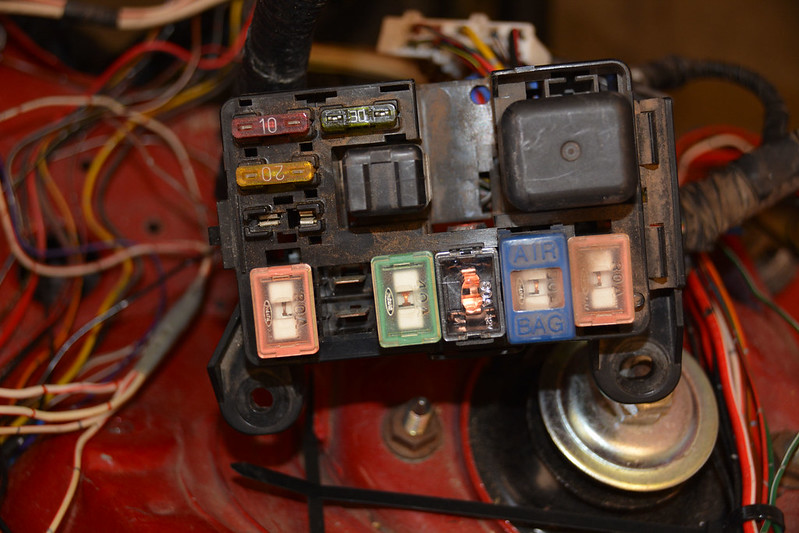
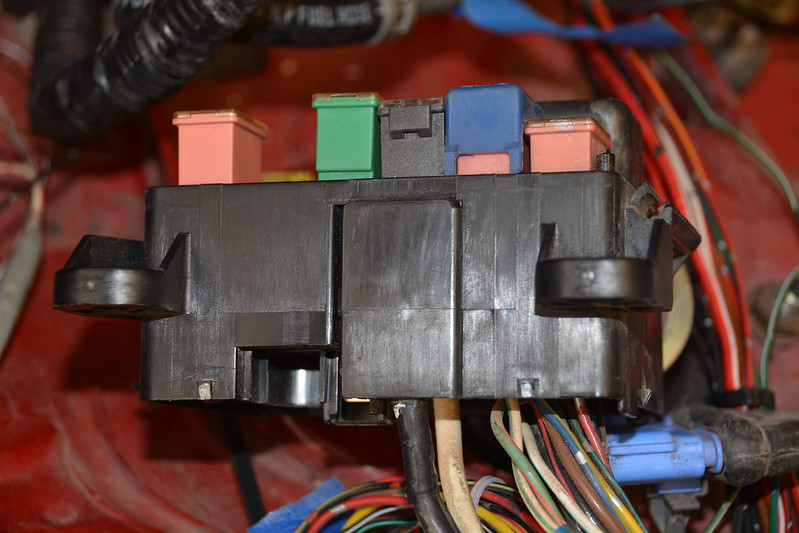
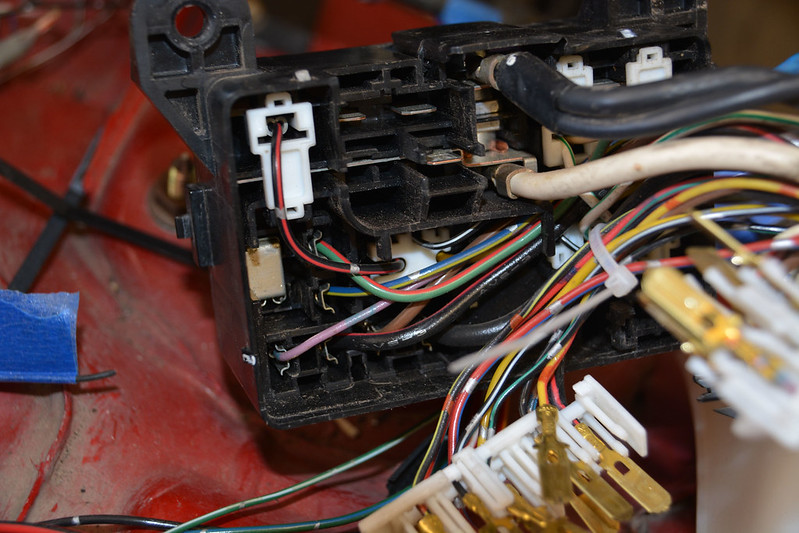
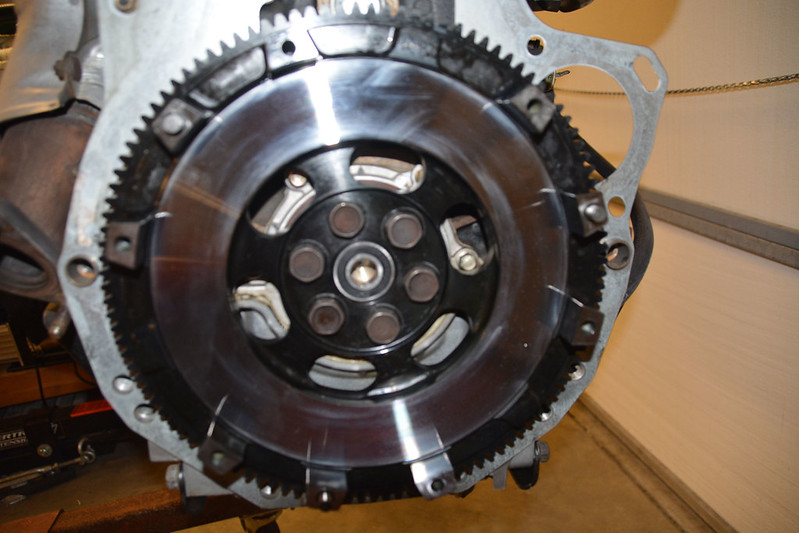
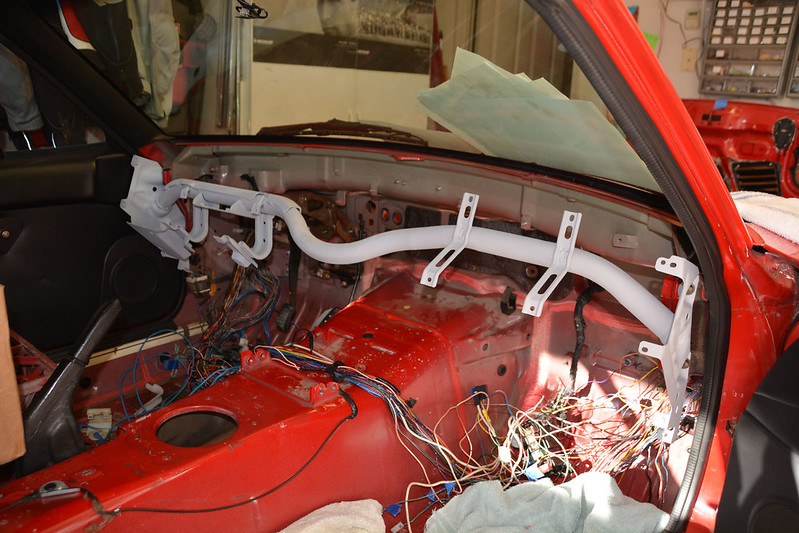
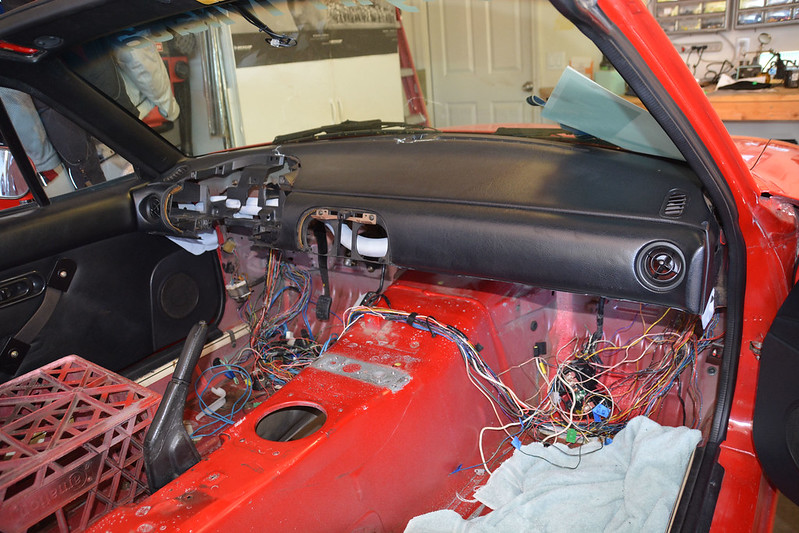
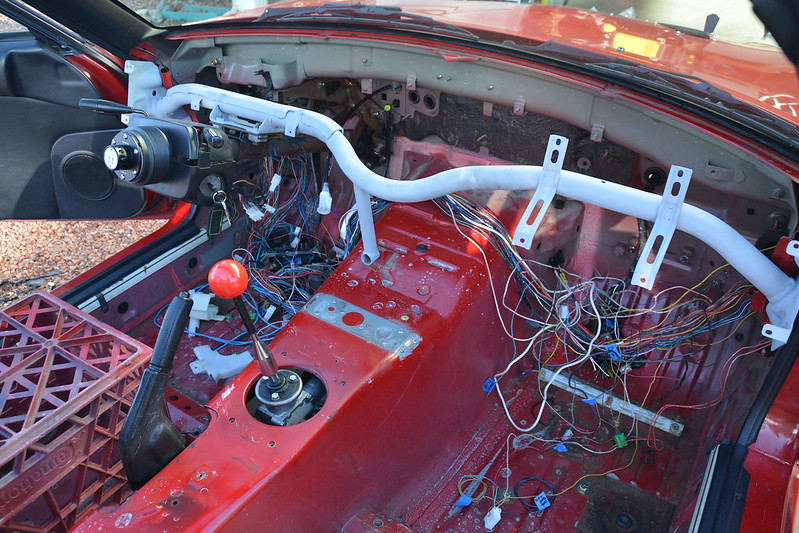
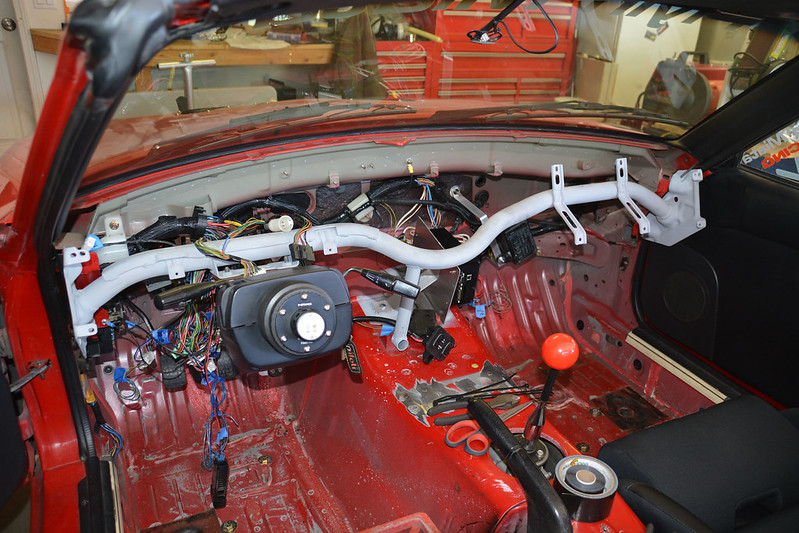
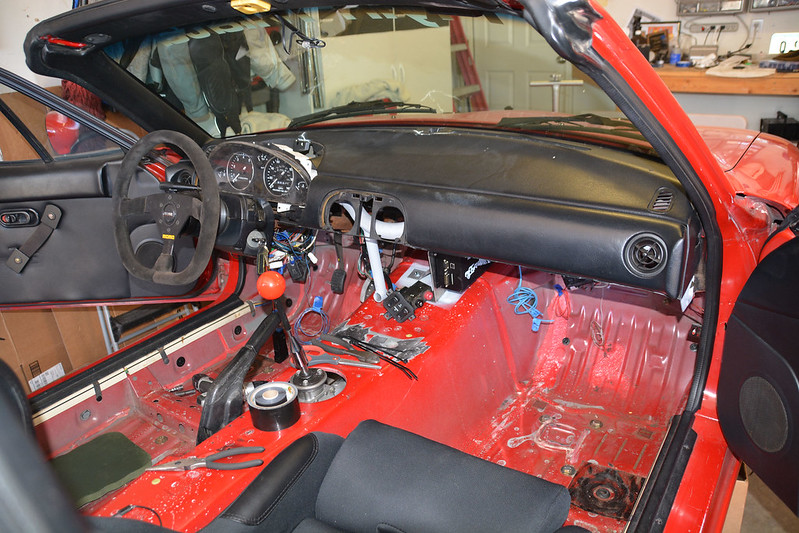
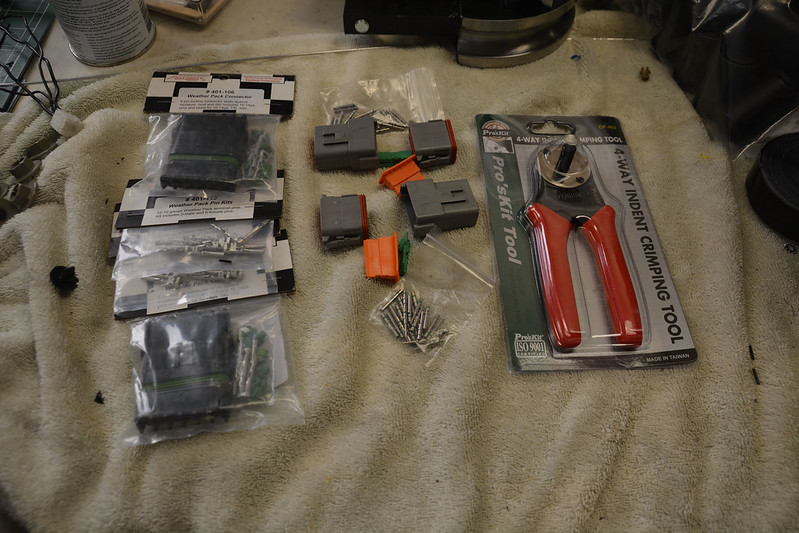
Easy, peasy, and back together... only about 40 minutes longer than I had planned to spend on that little project. I also got the clutch pedal and master bolted back in the car, and took a few more bites out of the wiring elephant. Small progress, but every little bit is a few more inches toward the finish line...


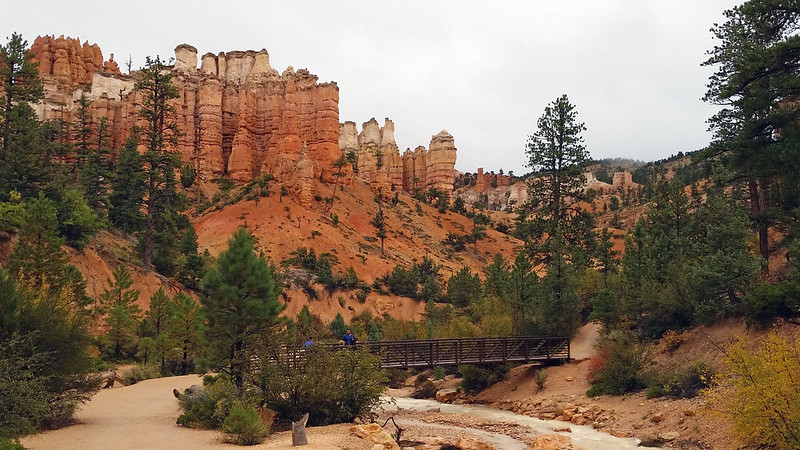
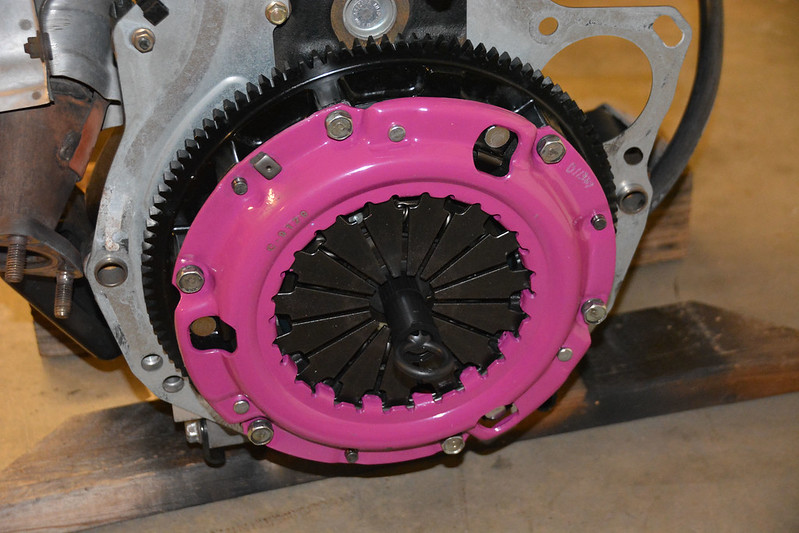
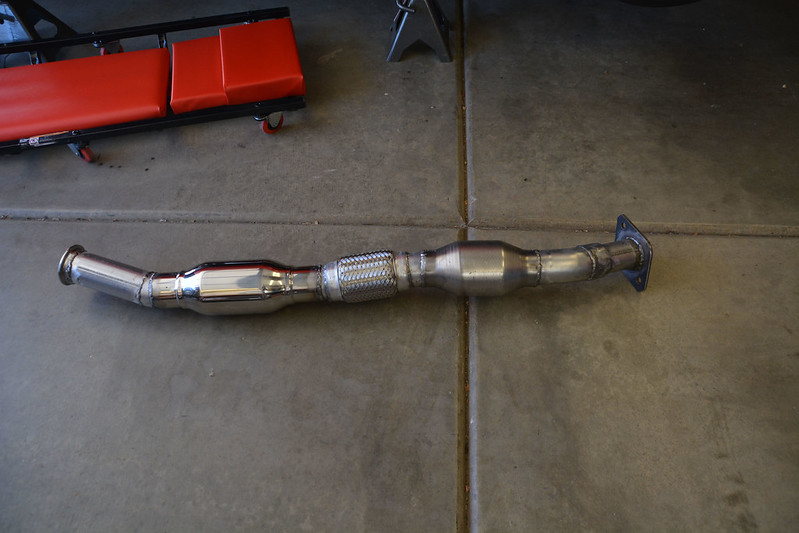
 DSC_0017 by Rodan AZ, on Flickr
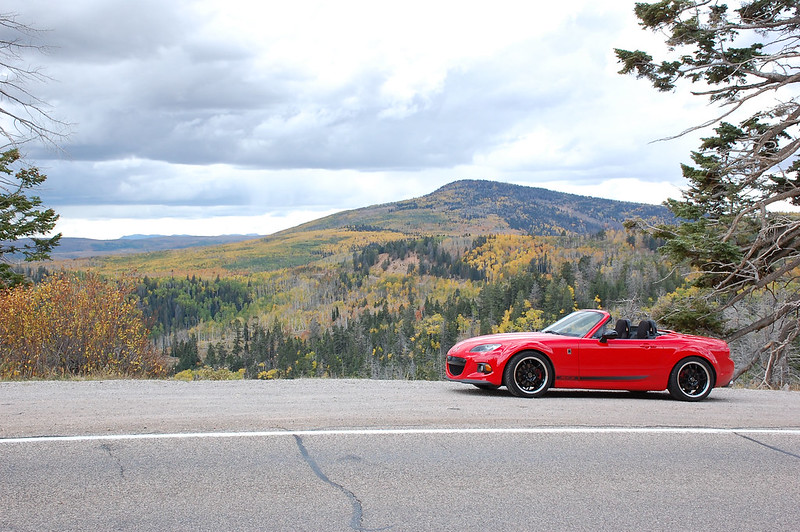
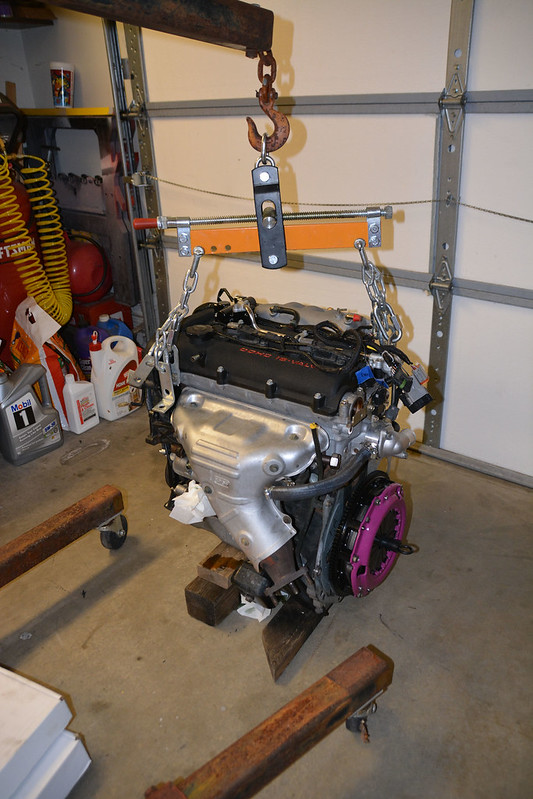
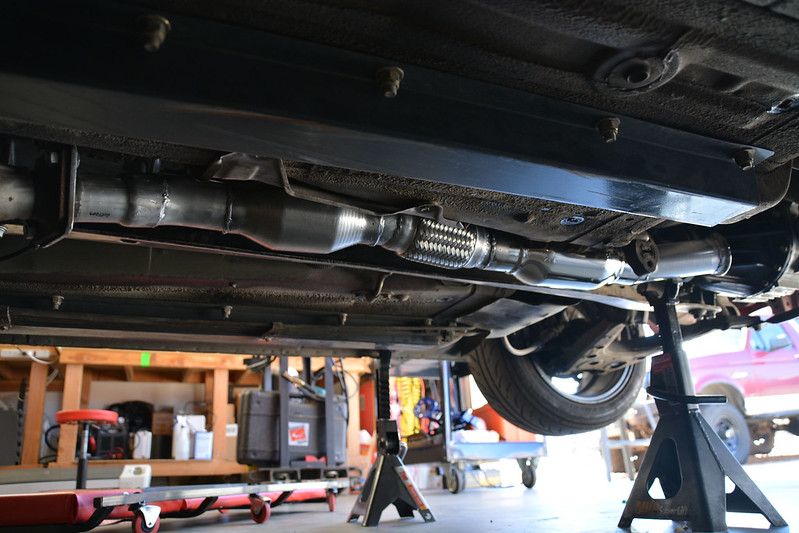
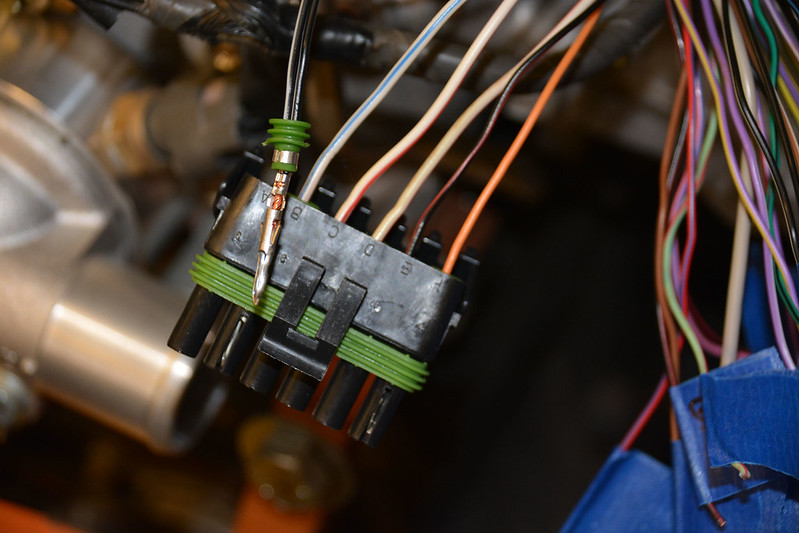 DSC_0031 by Rodan AZ, on Flickr
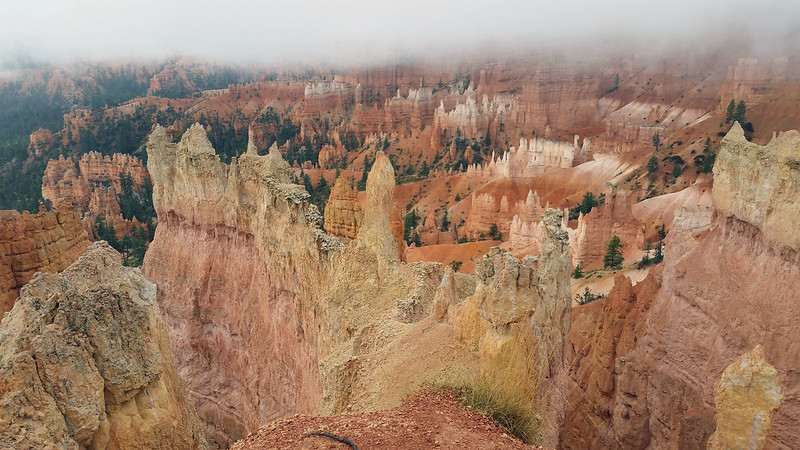
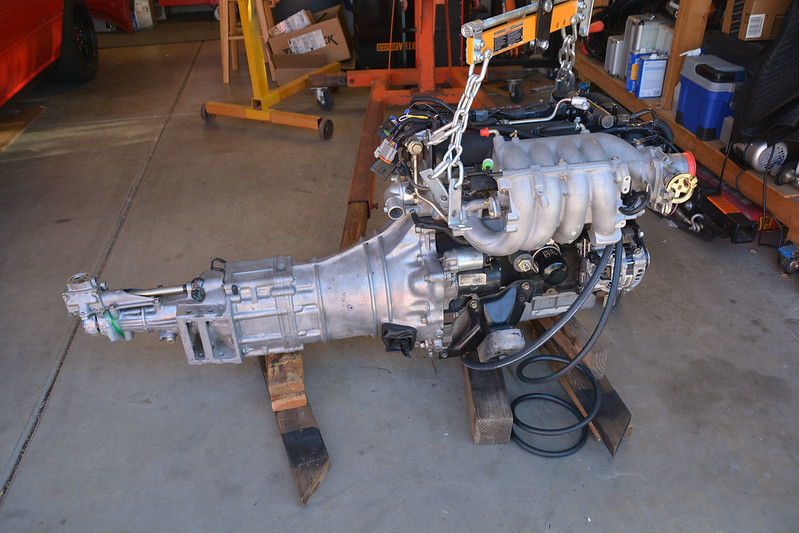
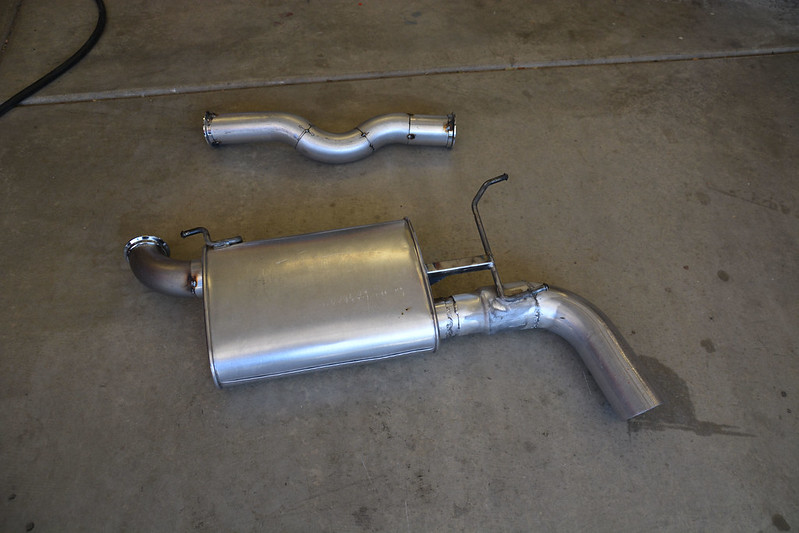
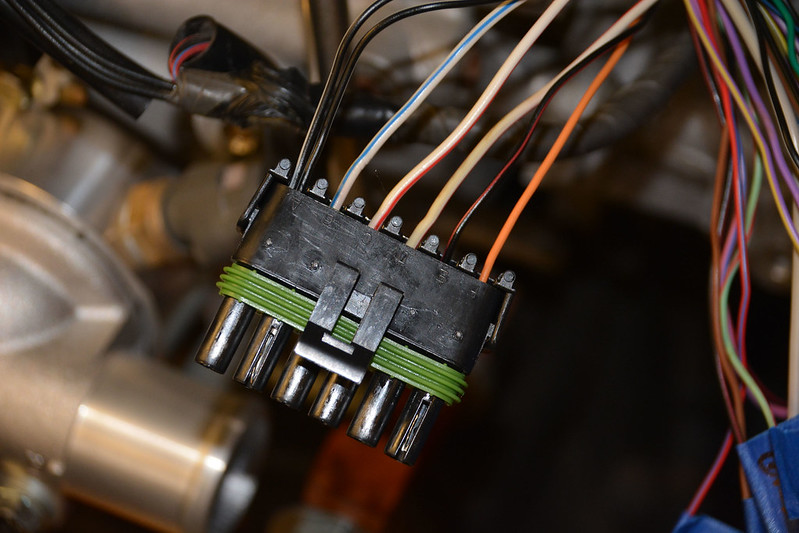 DSC_0032 by Rodan AZ, on Flickr
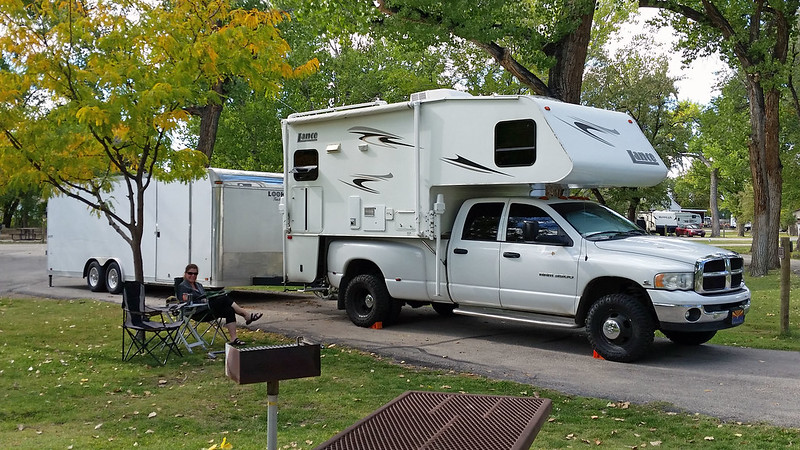
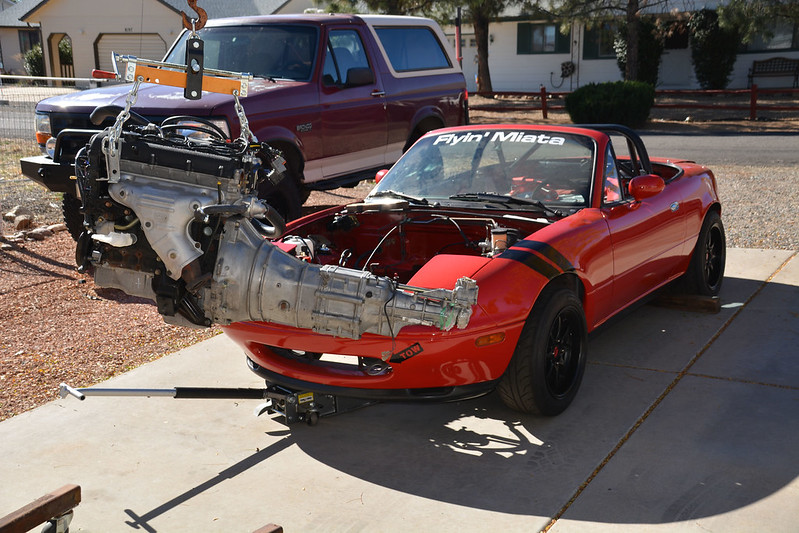
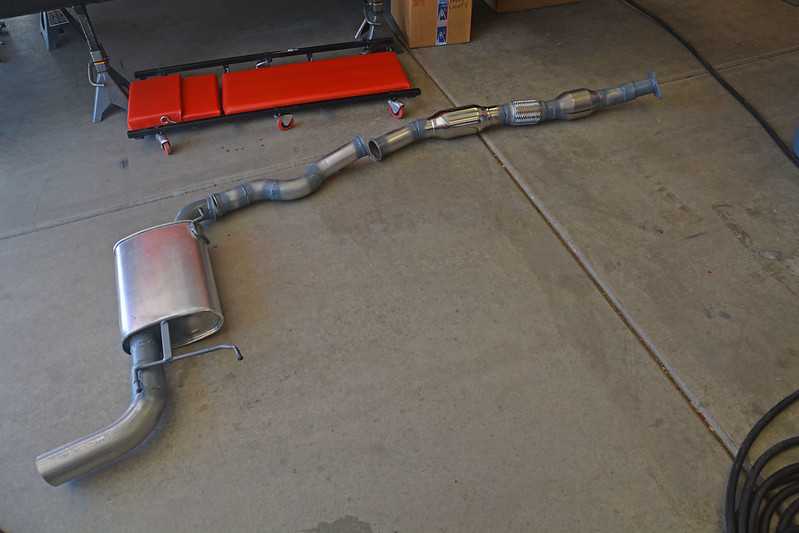
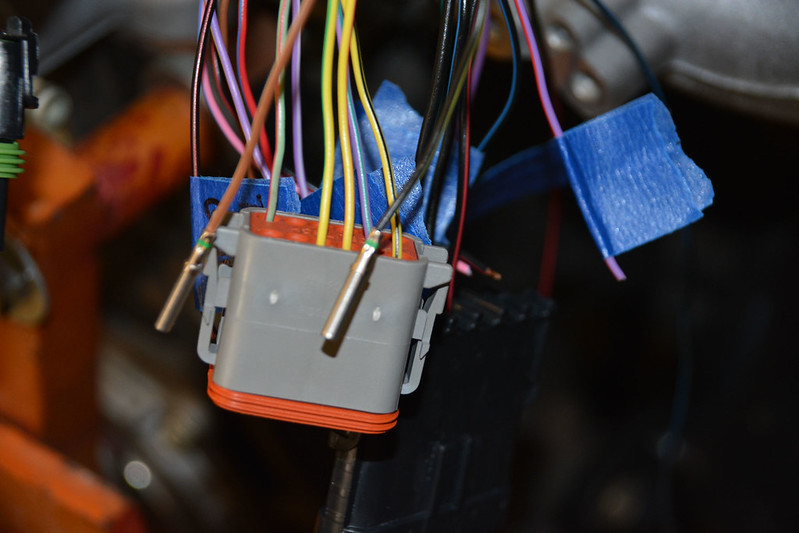 DSC_0033 by Rodan AZ, on Flickr
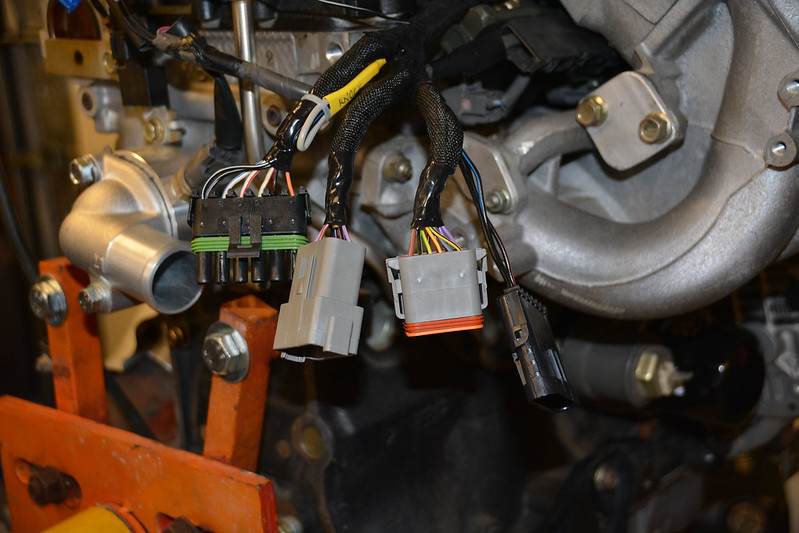 DSC_0035 by Rodan AZ, on Flickr