Apr 18, 2018
I had a coupon or gift card... something that effectively made this (nearly) free.
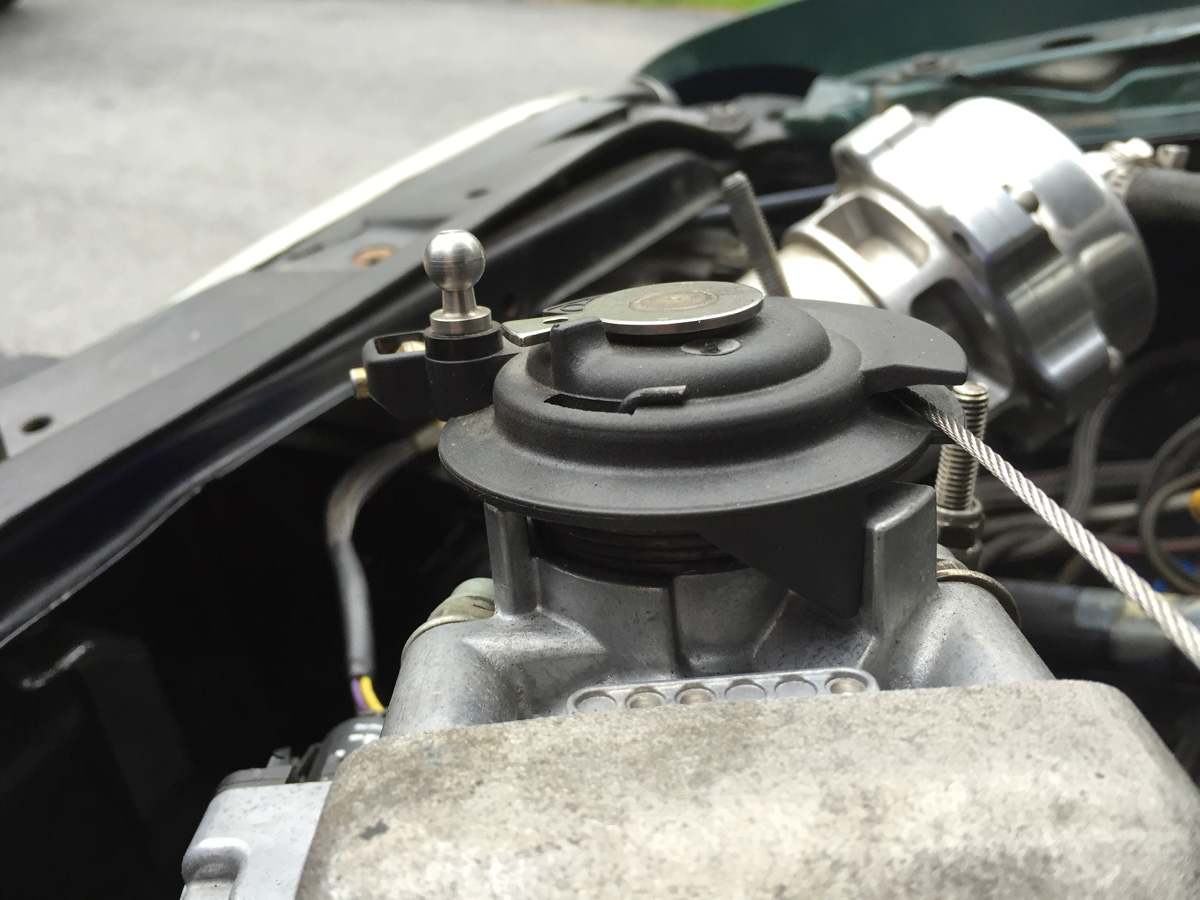
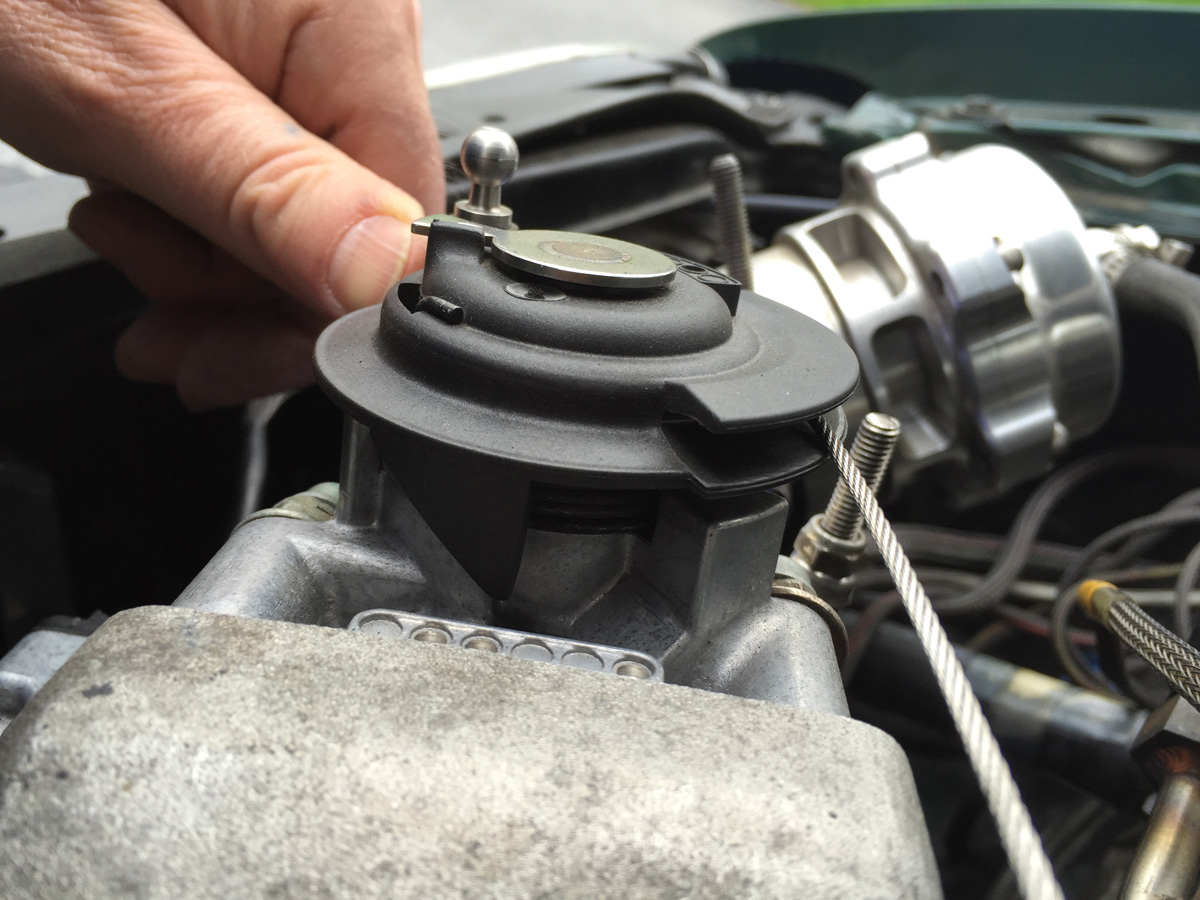
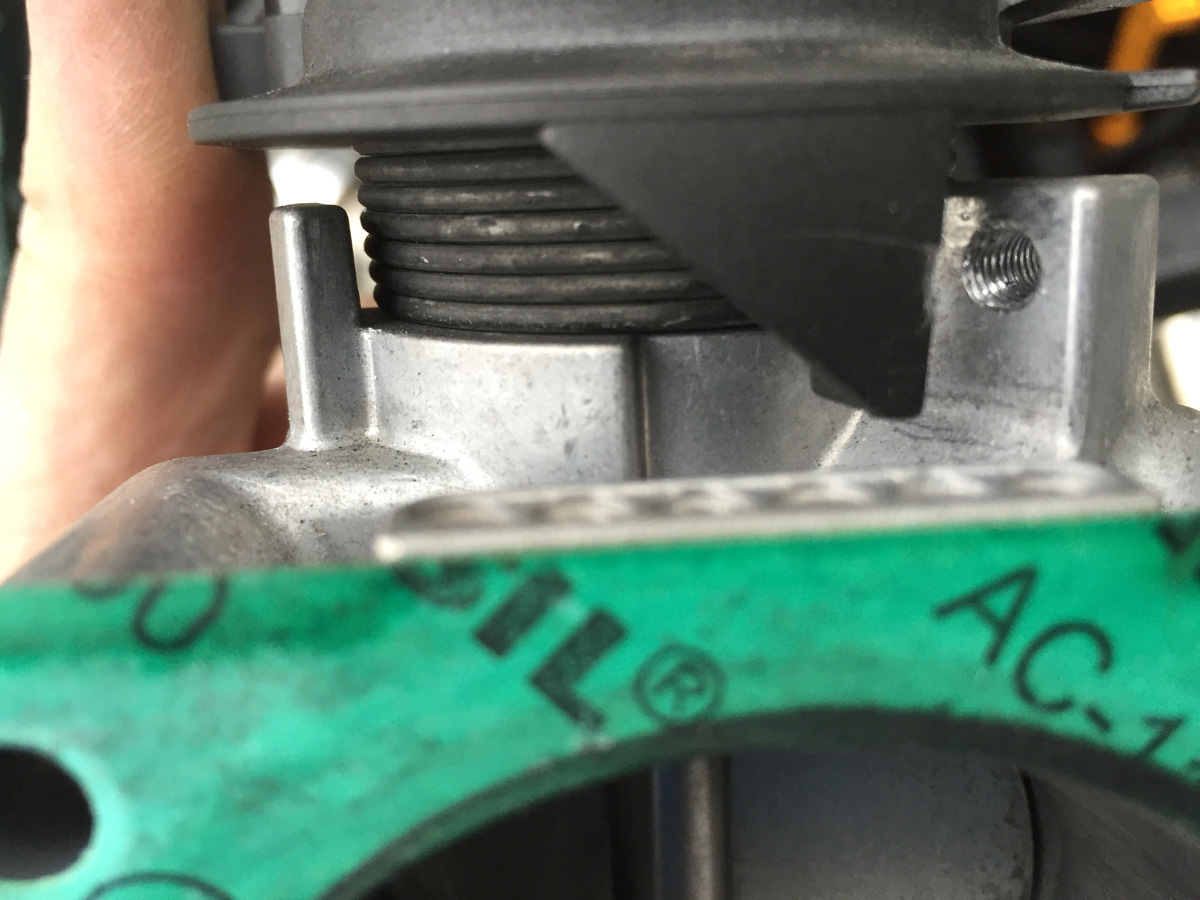
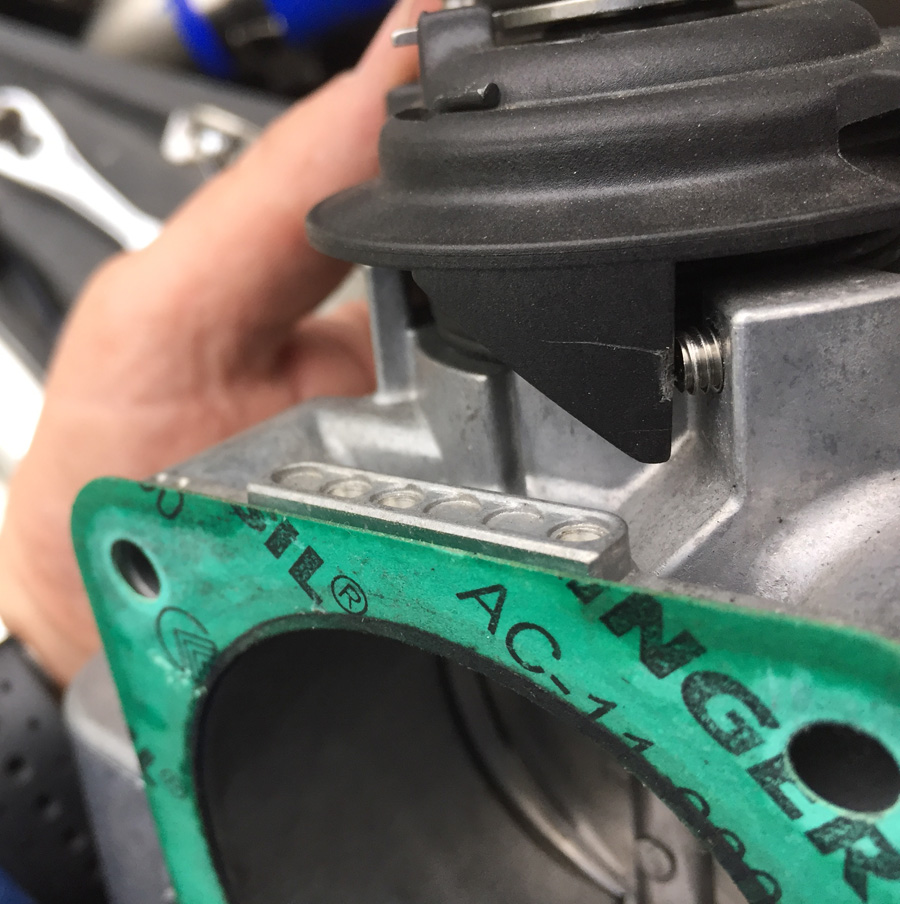
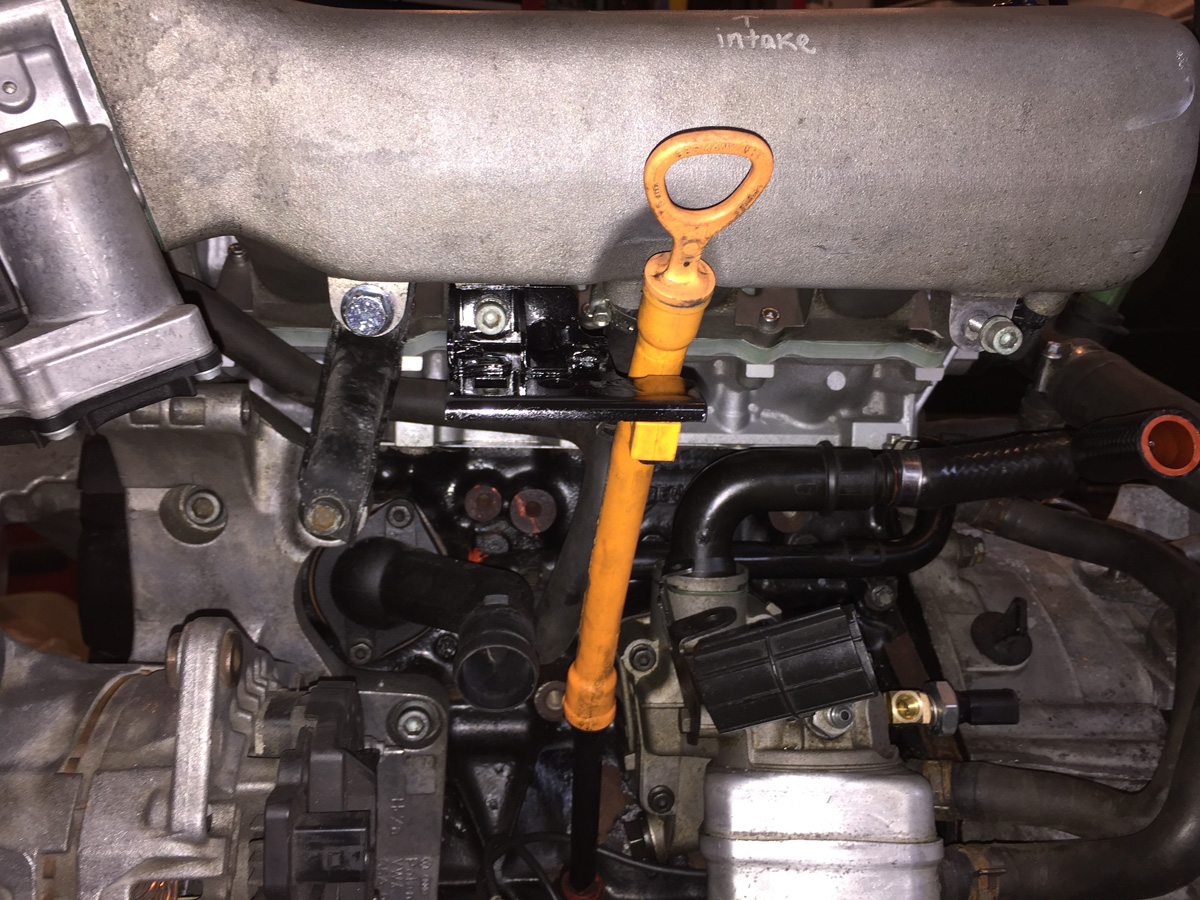
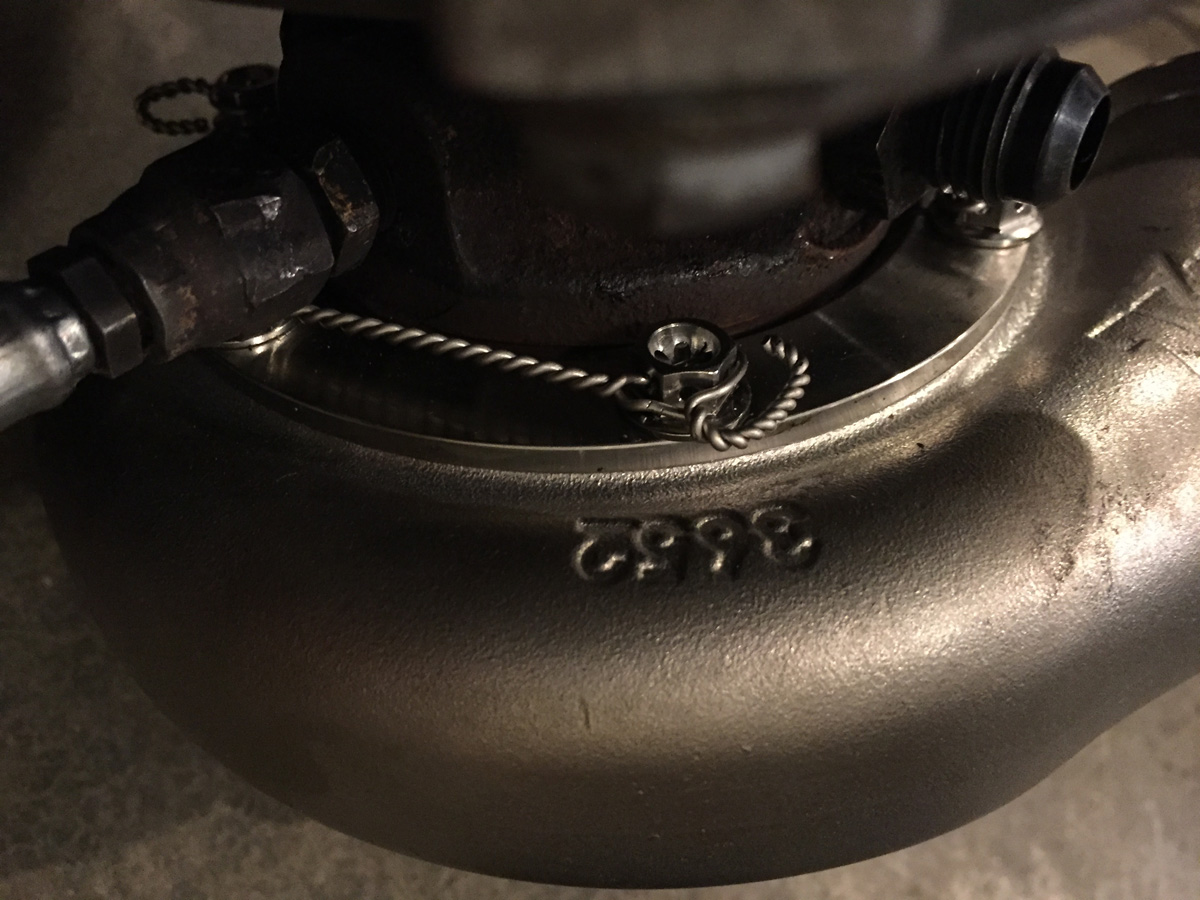
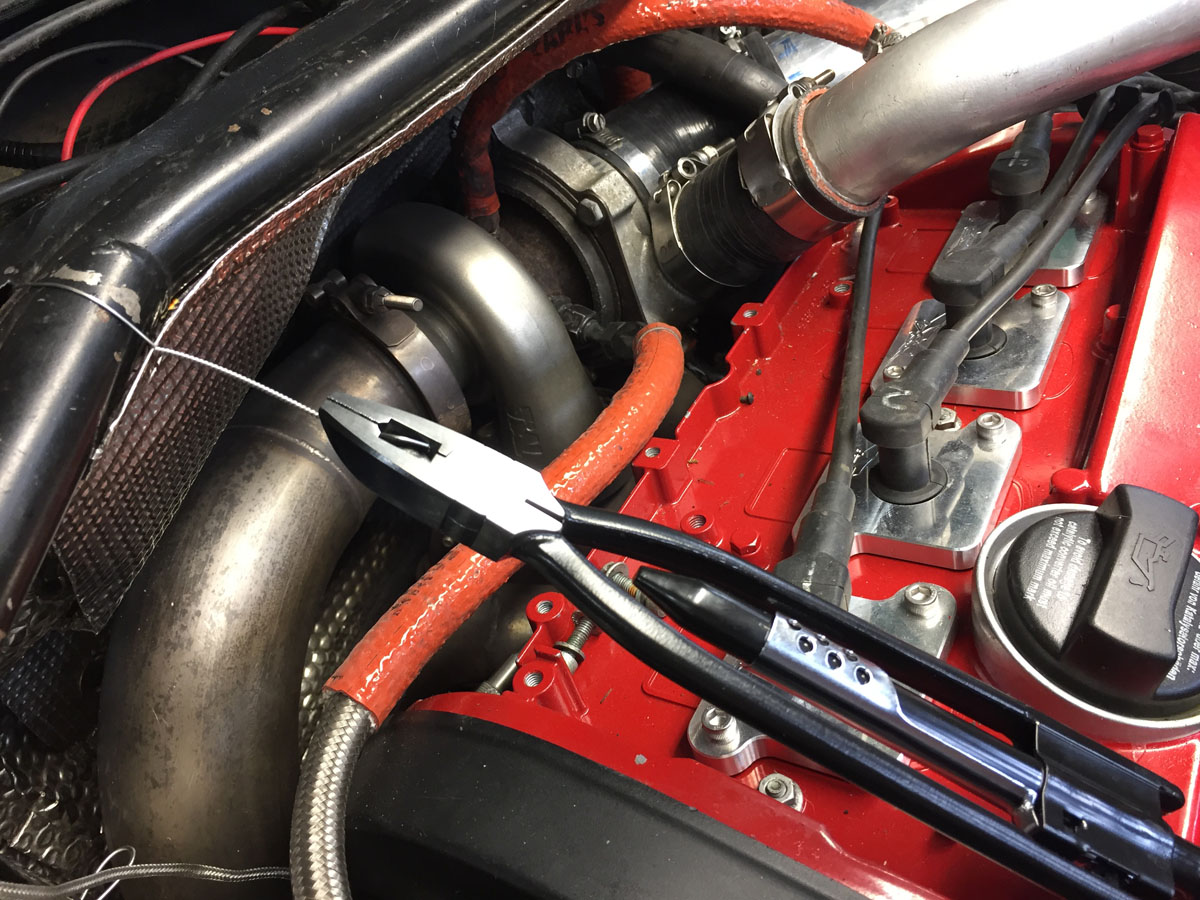
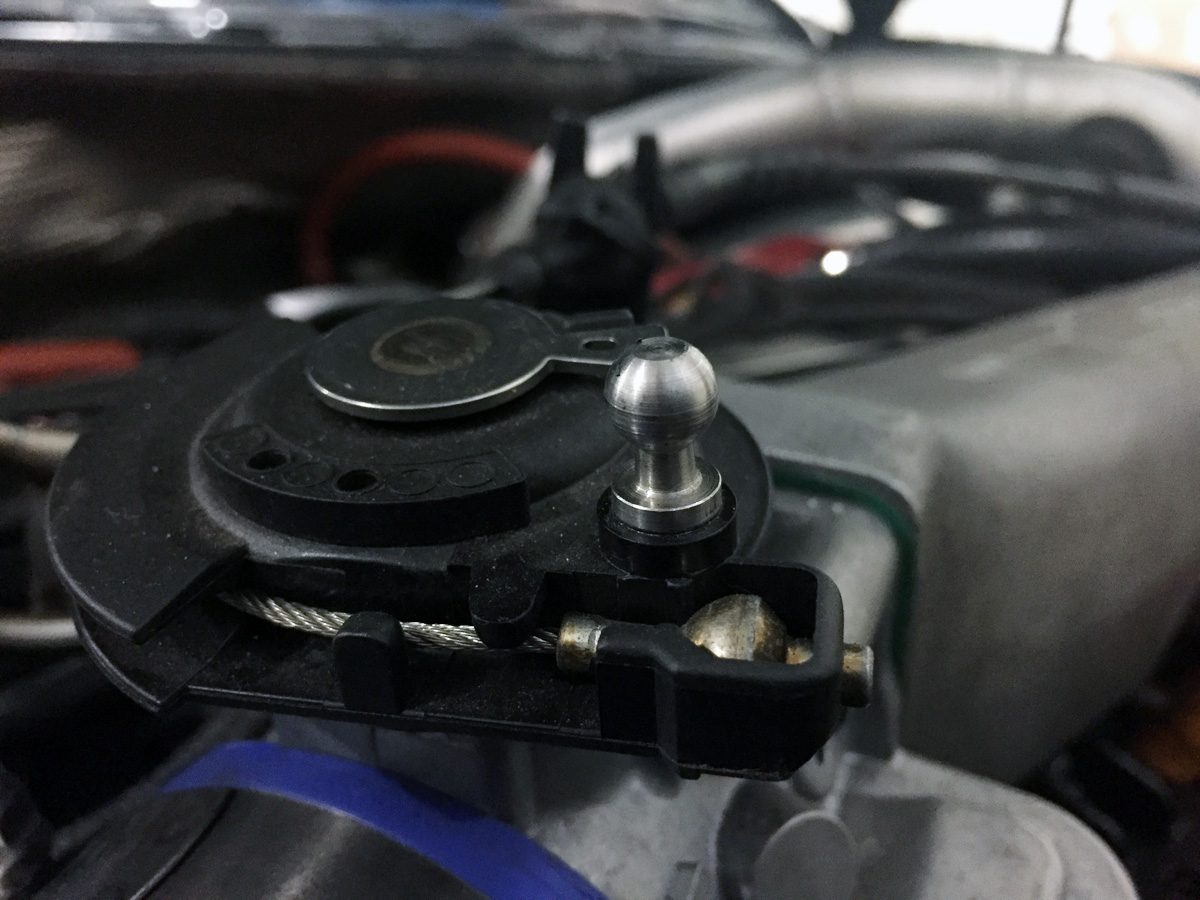
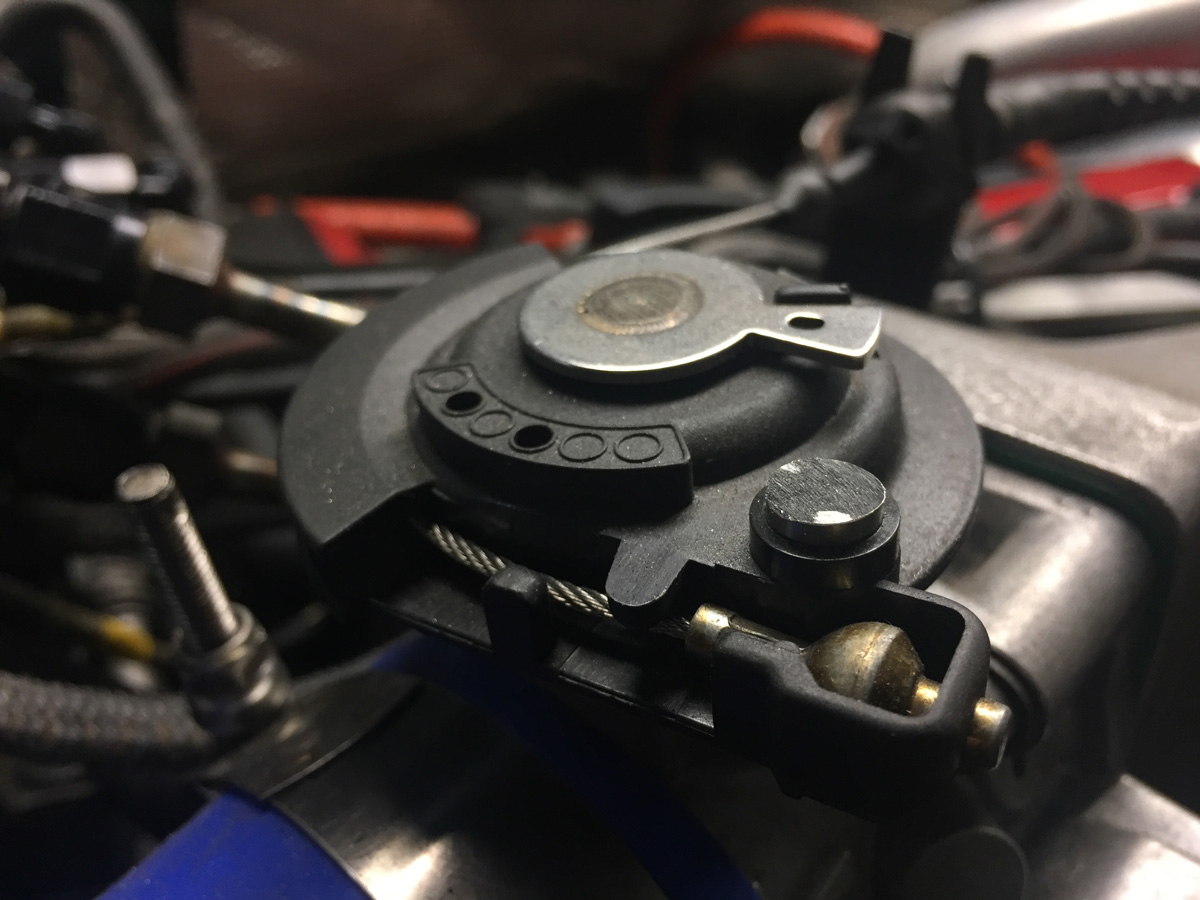
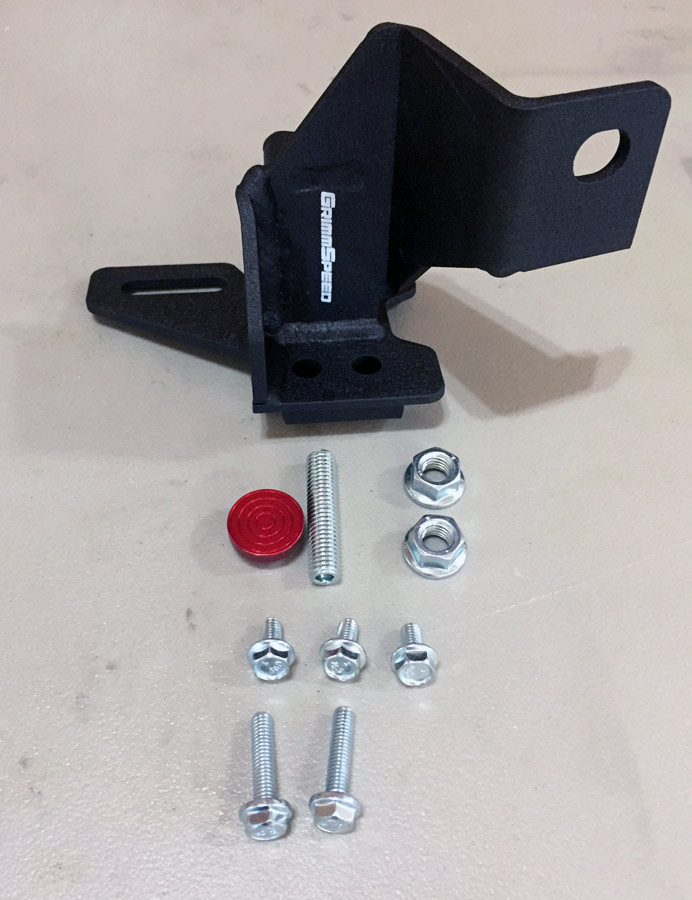
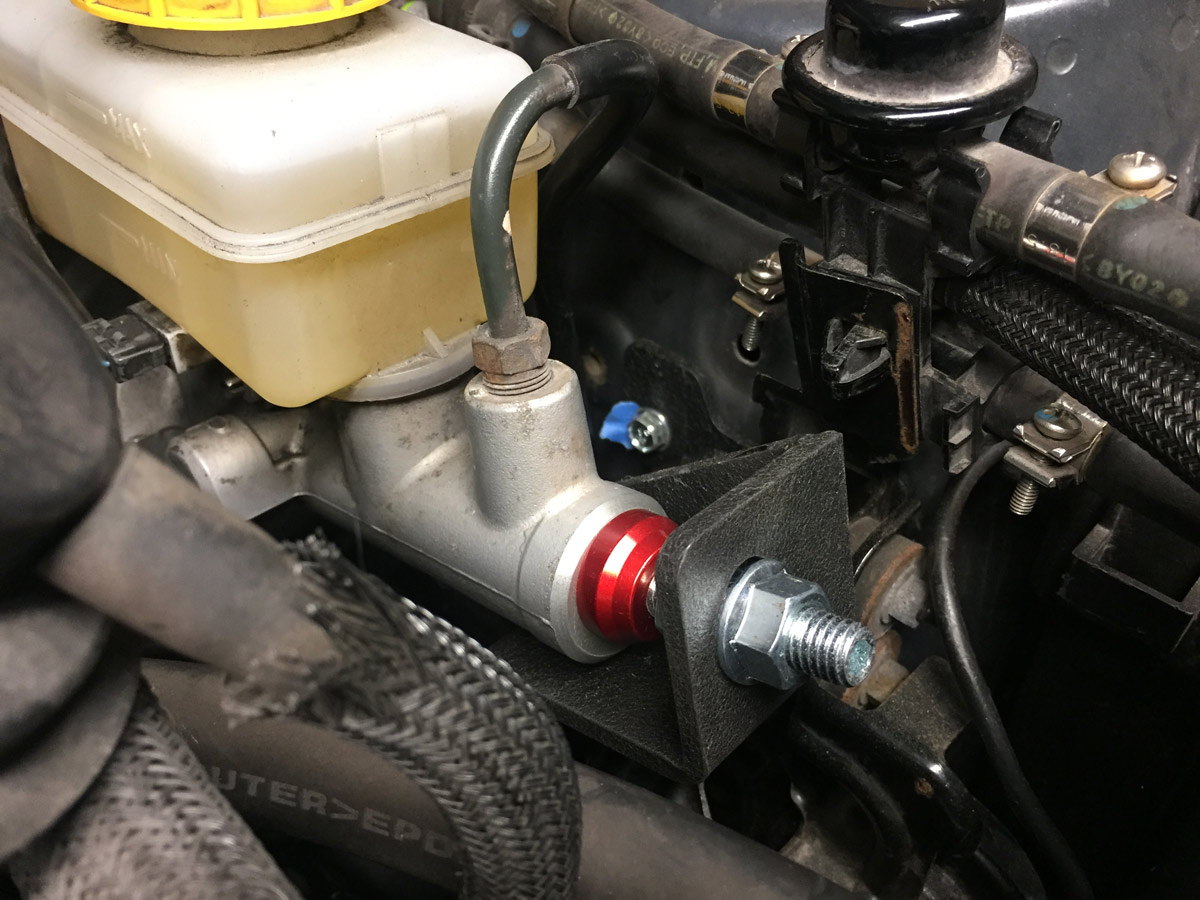
This is the GrimmSpeed "Master Cylinder Brace" that is supposed to firm up the brake pedal as this brace prevents the master cylinder from moving (firewall flex).
The website states that this will make the pedal feel firmer just like SS brake lines would do... but I already have SS brake lines, so I wasn't sure if there would be a huge difference.
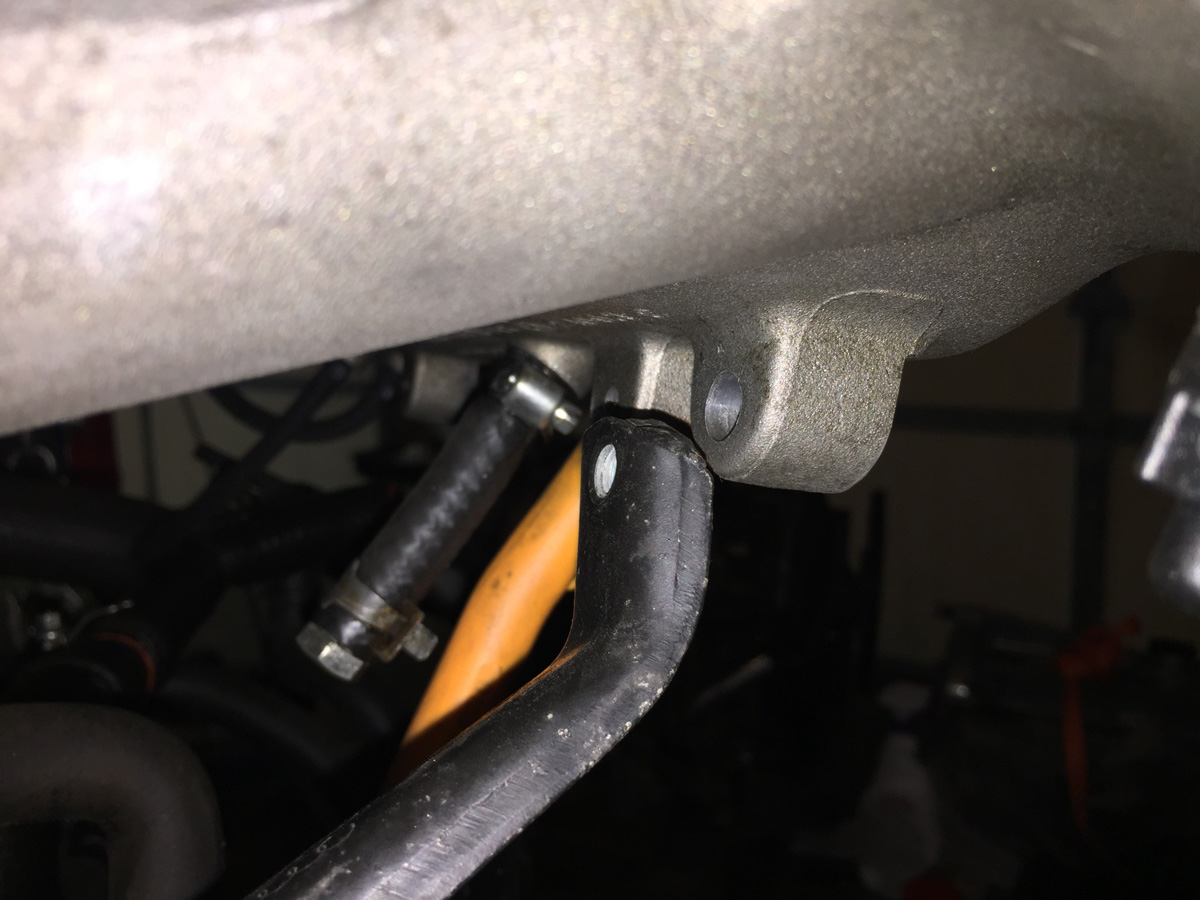
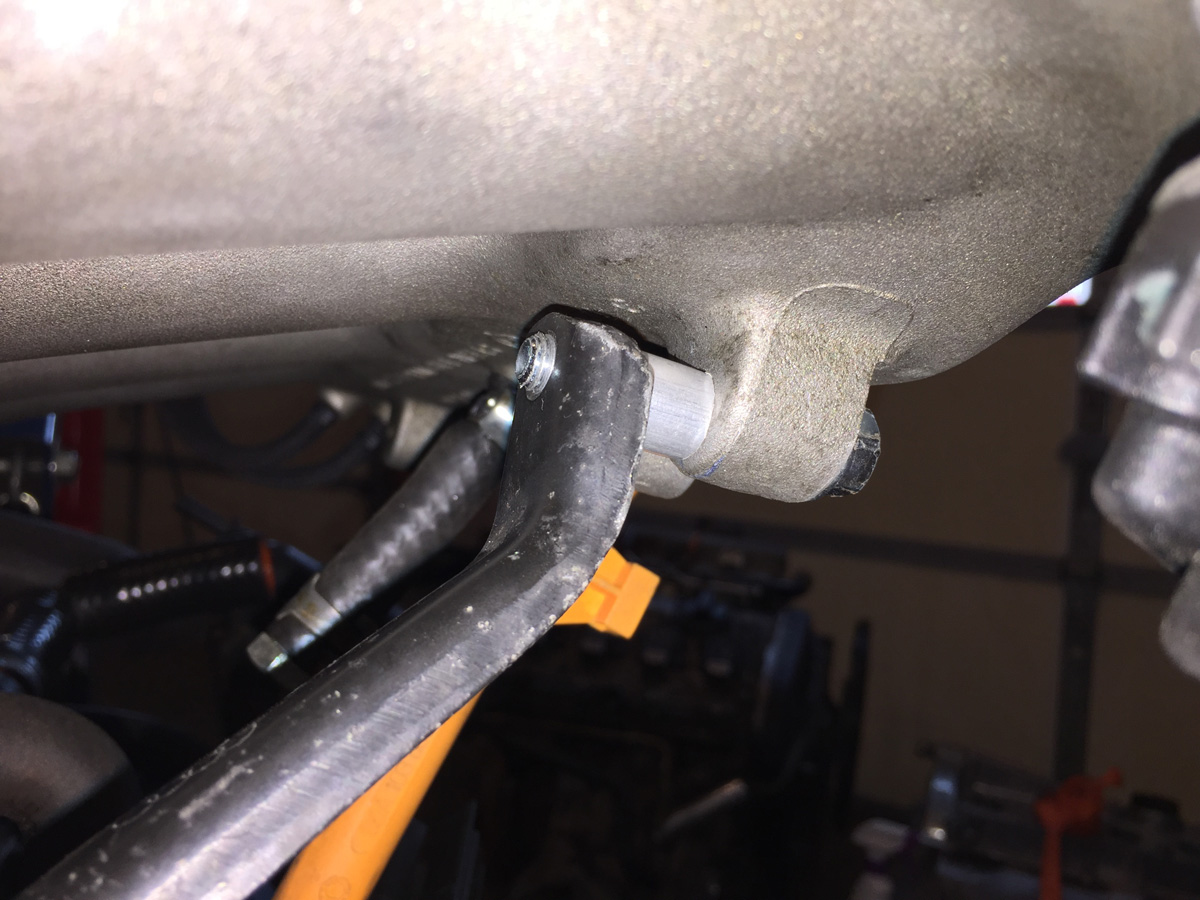
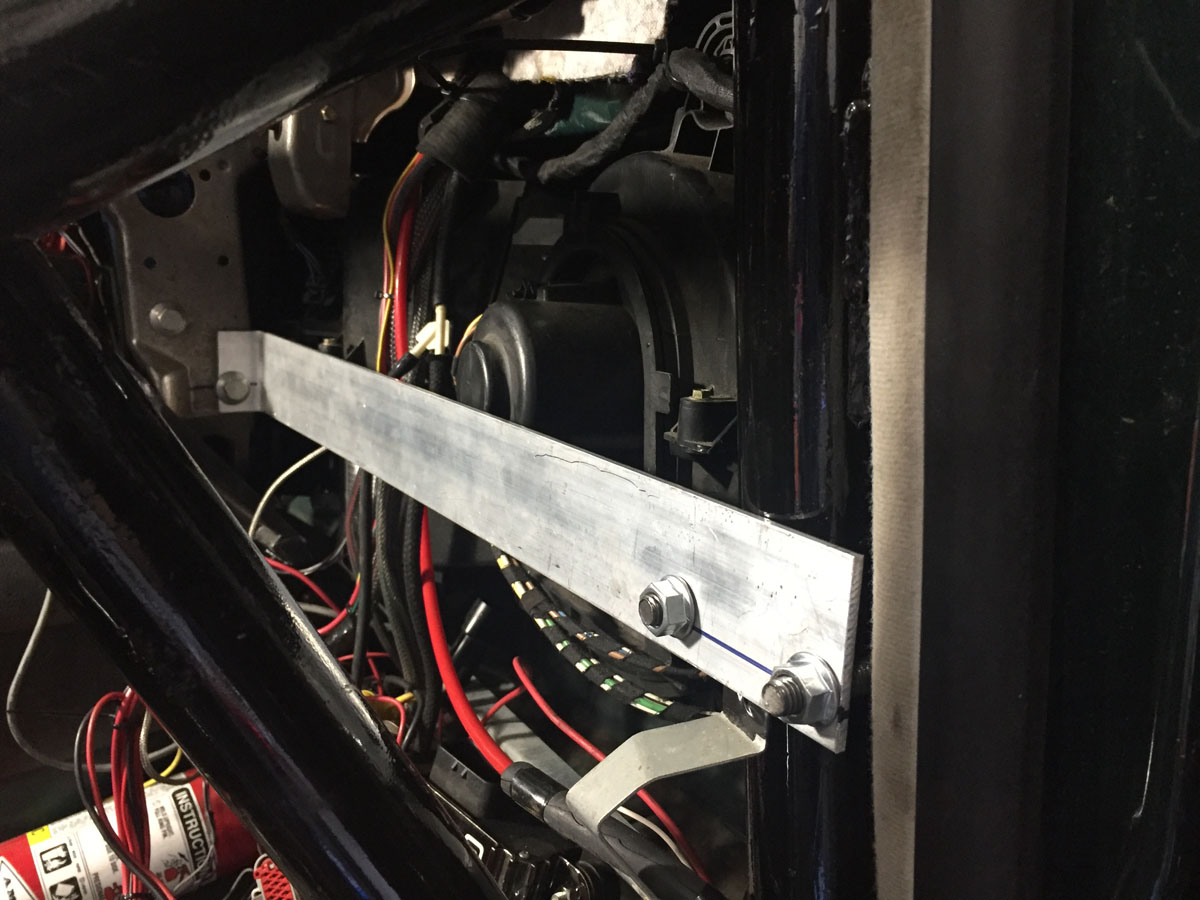
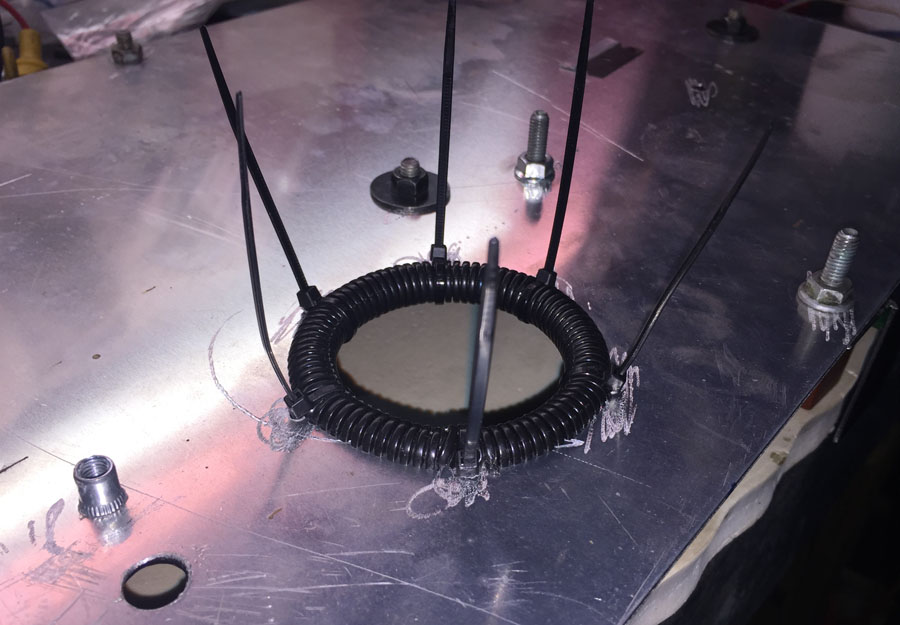
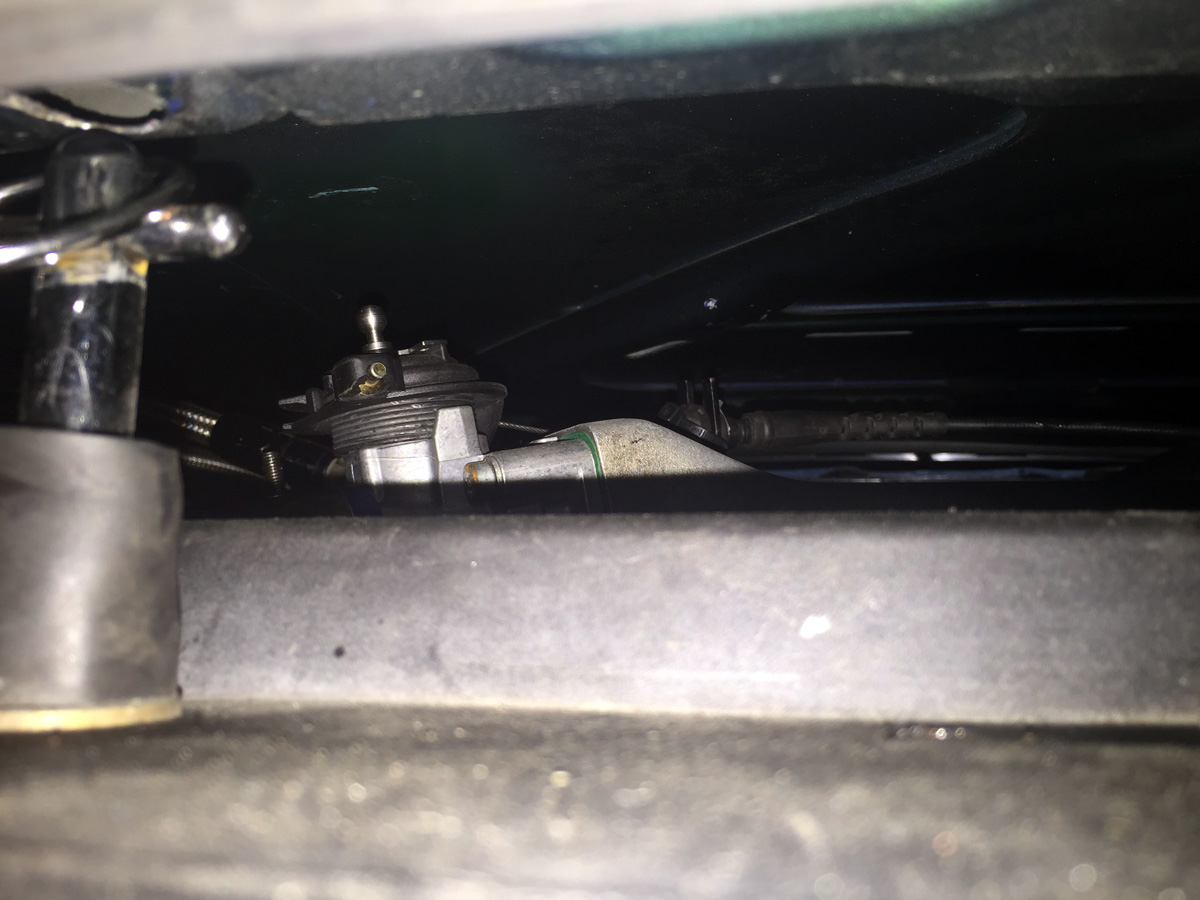
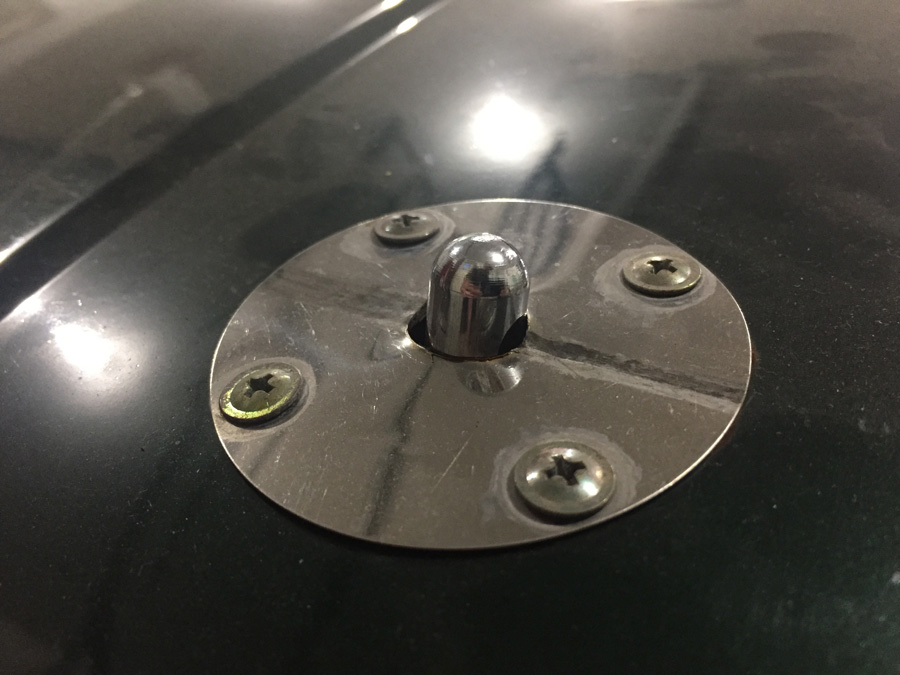
It wasn't too difficult to install, but I was having some challenges because I could not quite visualize the end game... how it should look when installed. I am told this should be a 15 minute job (seems it should take longer since I had to chase some holes, remove some stuff, switch some things around, and have a beer). Just saying...
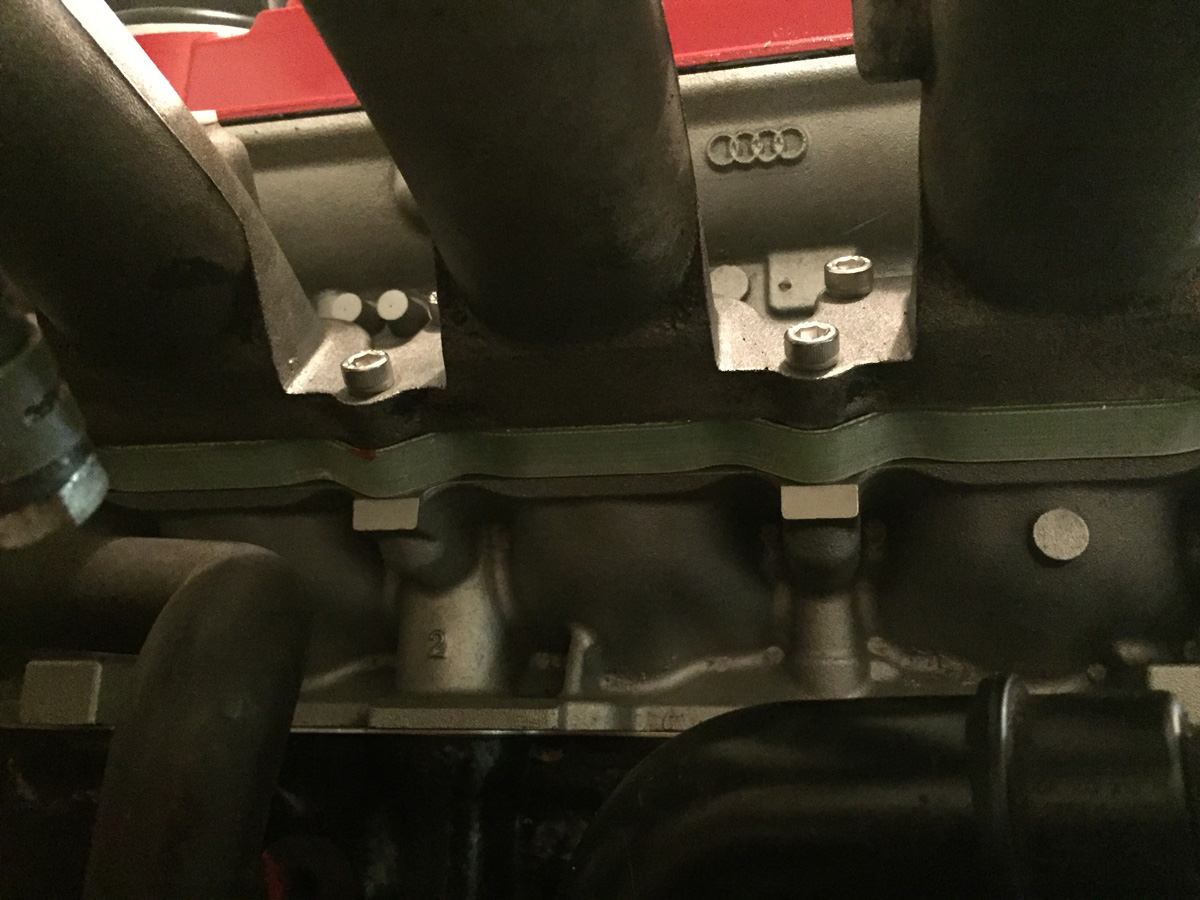
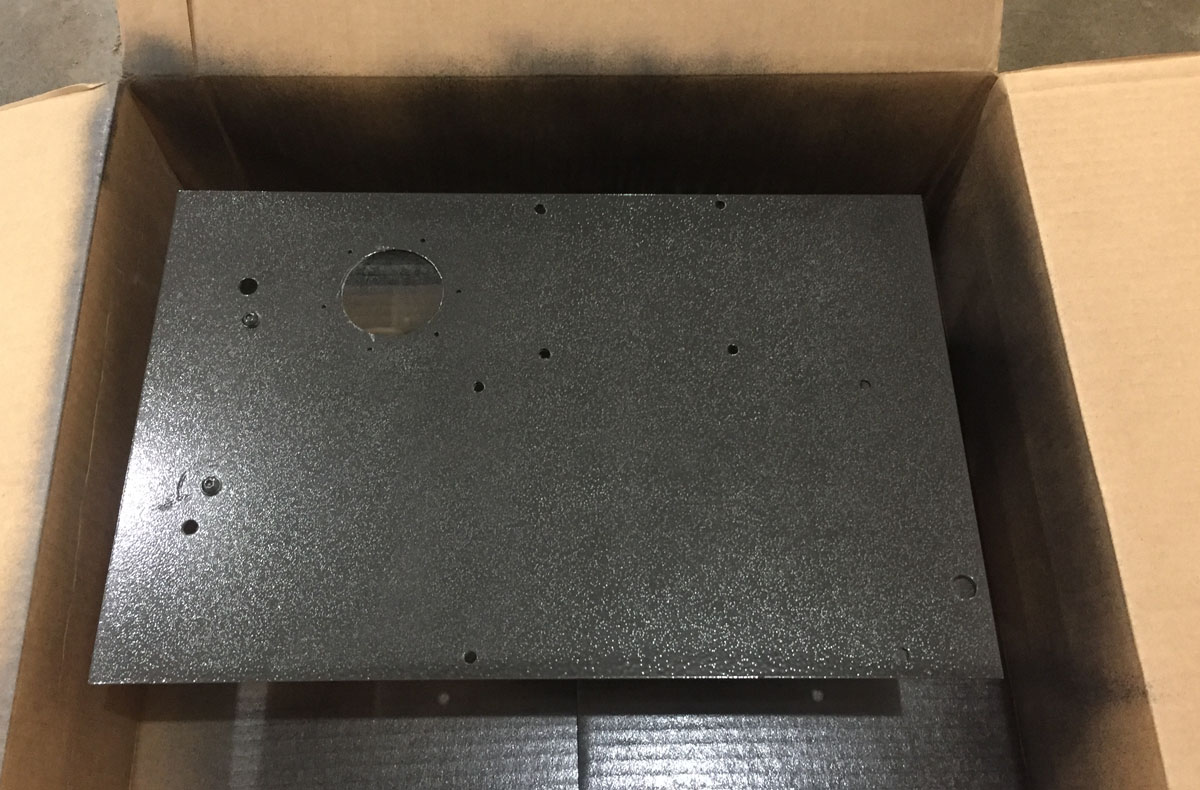
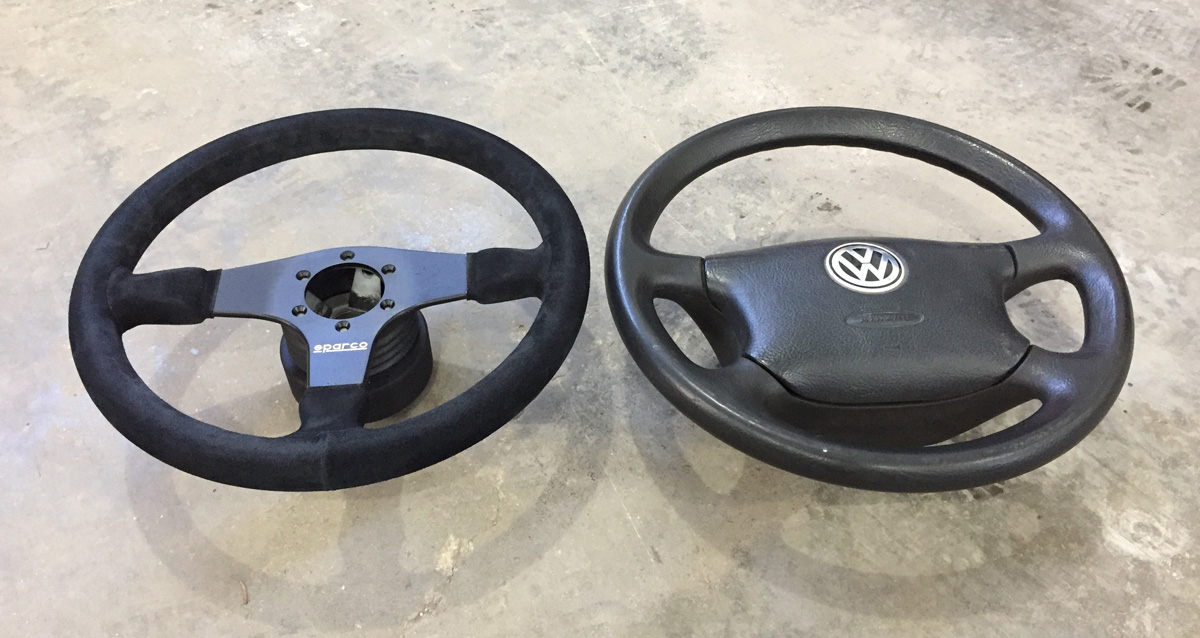
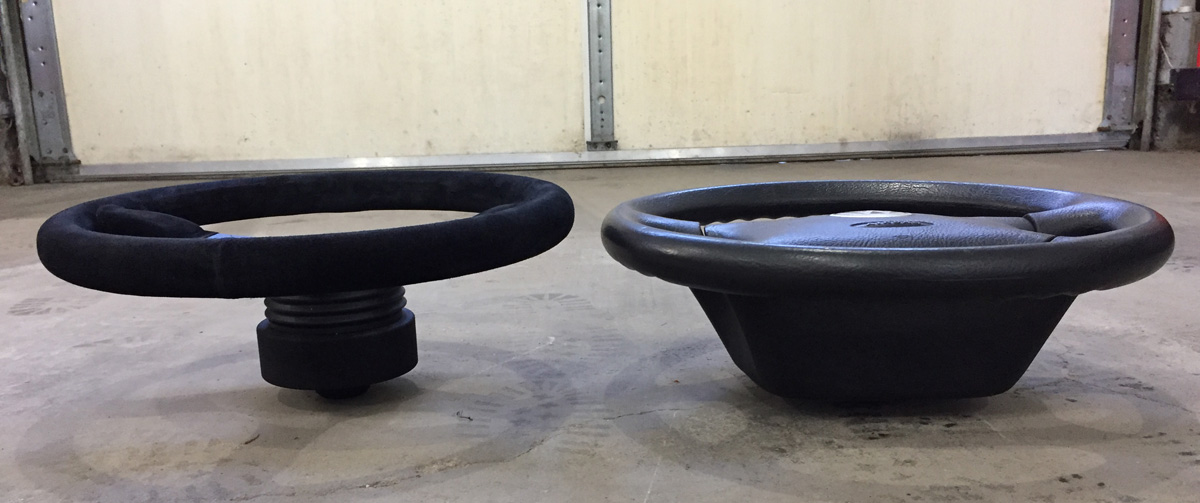
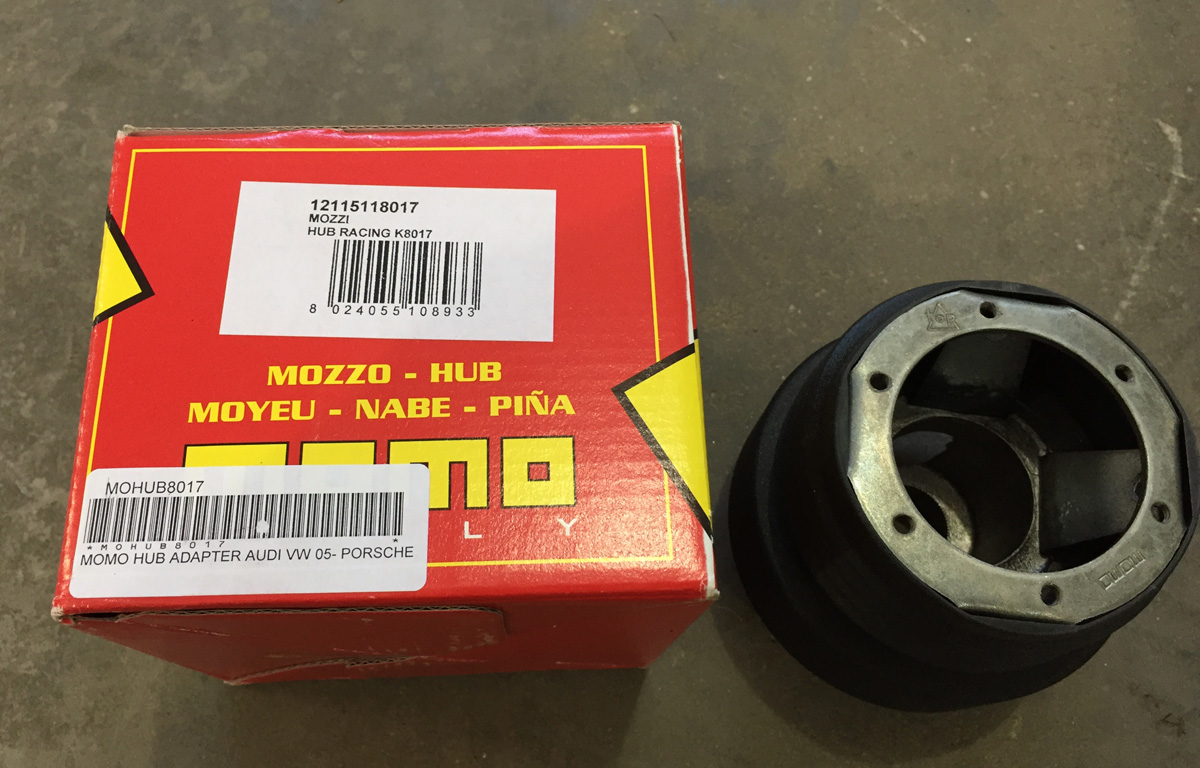
The Kit...
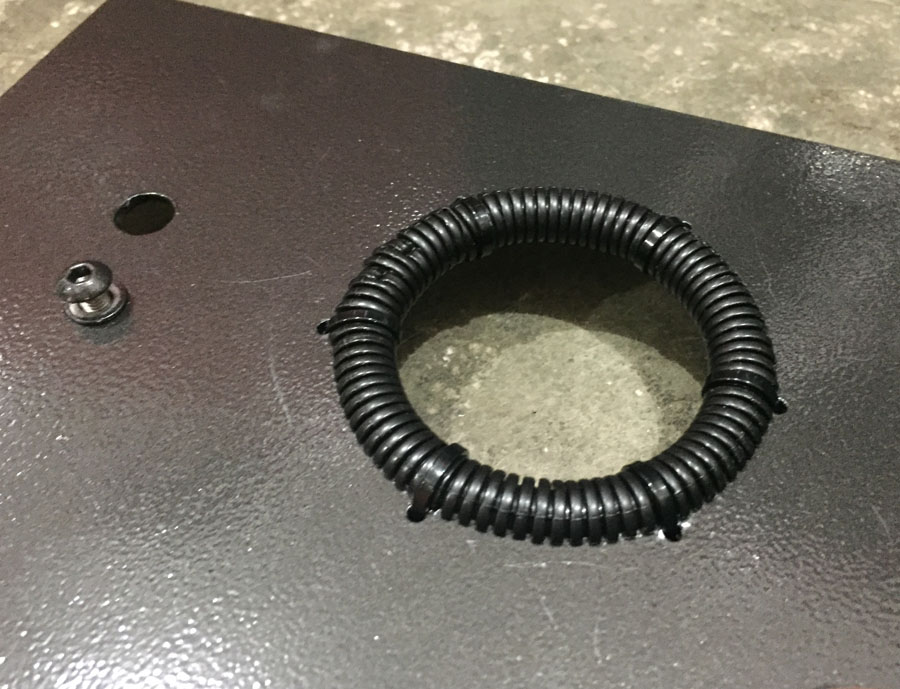
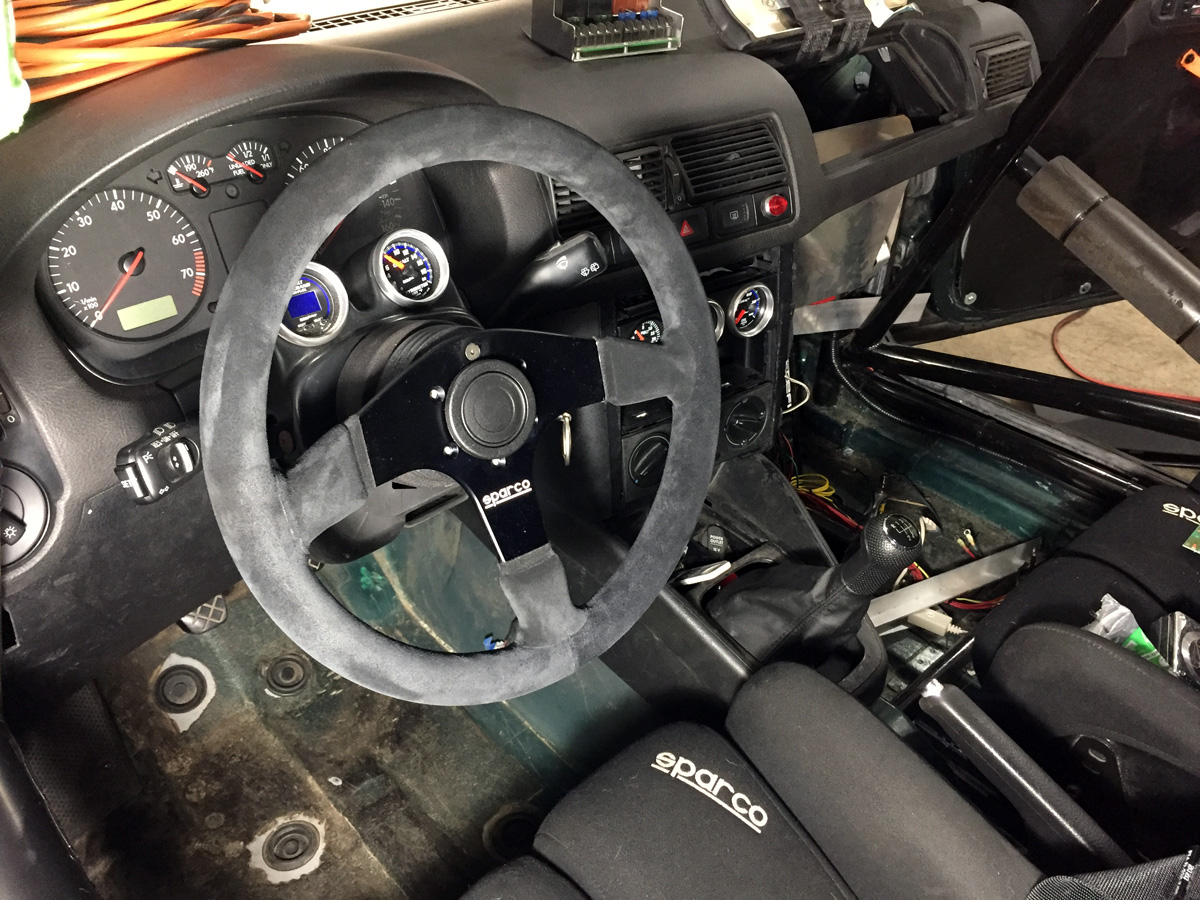
Installed...
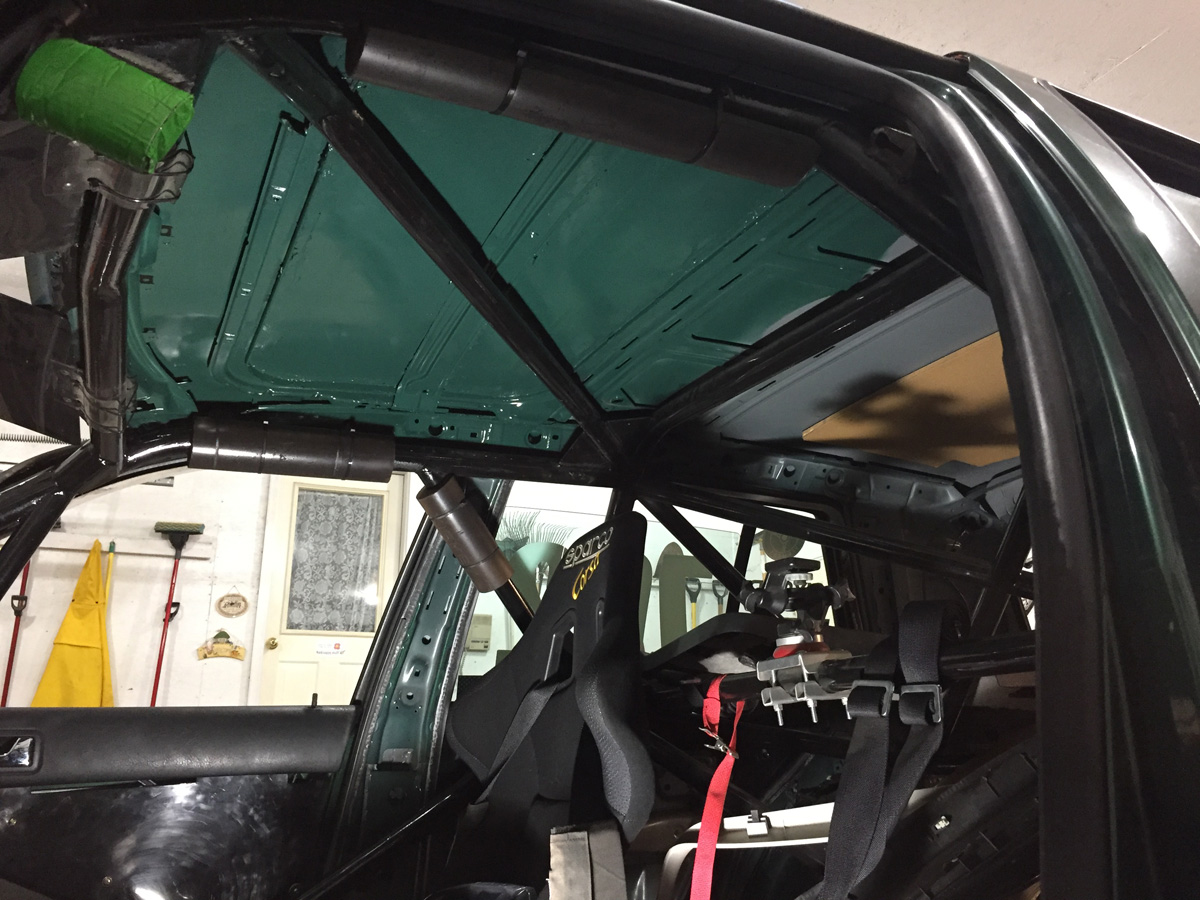
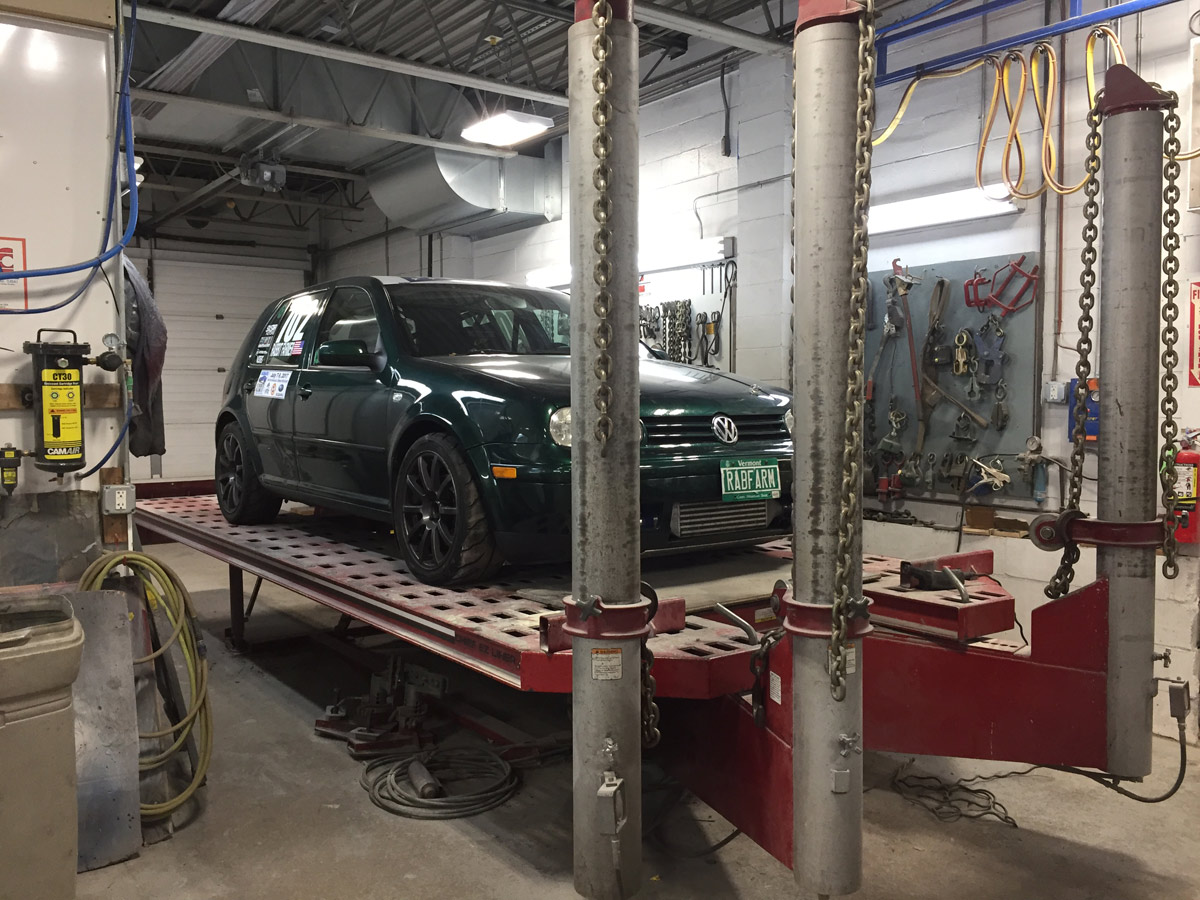
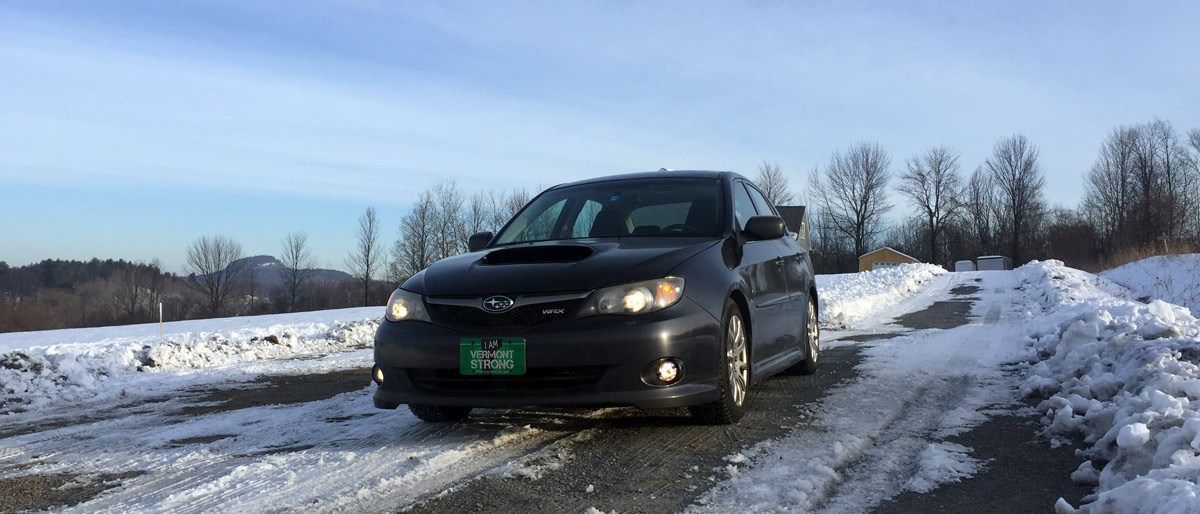
The car... just begging for its gun metal stock rims with summer (not all season) tires.
Now, let’s get to the good stuff.
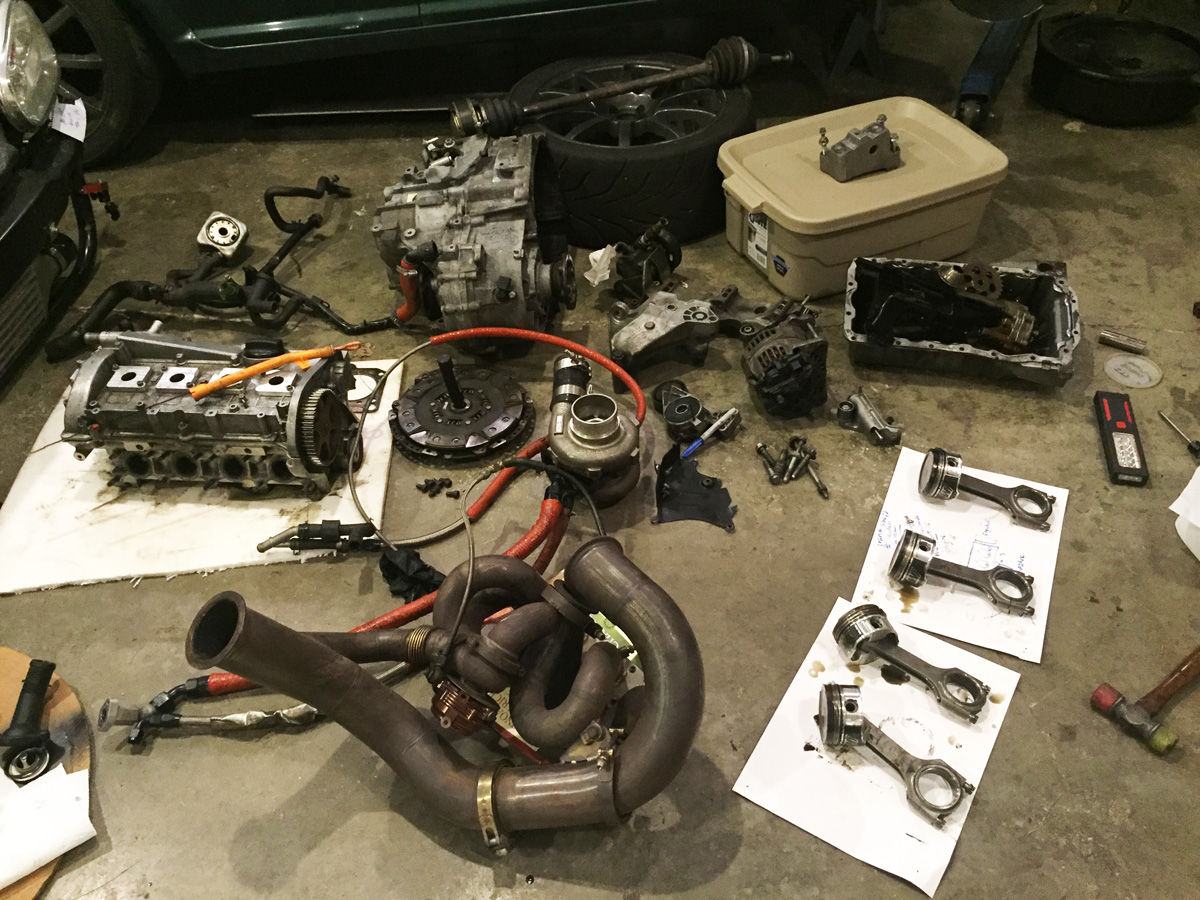
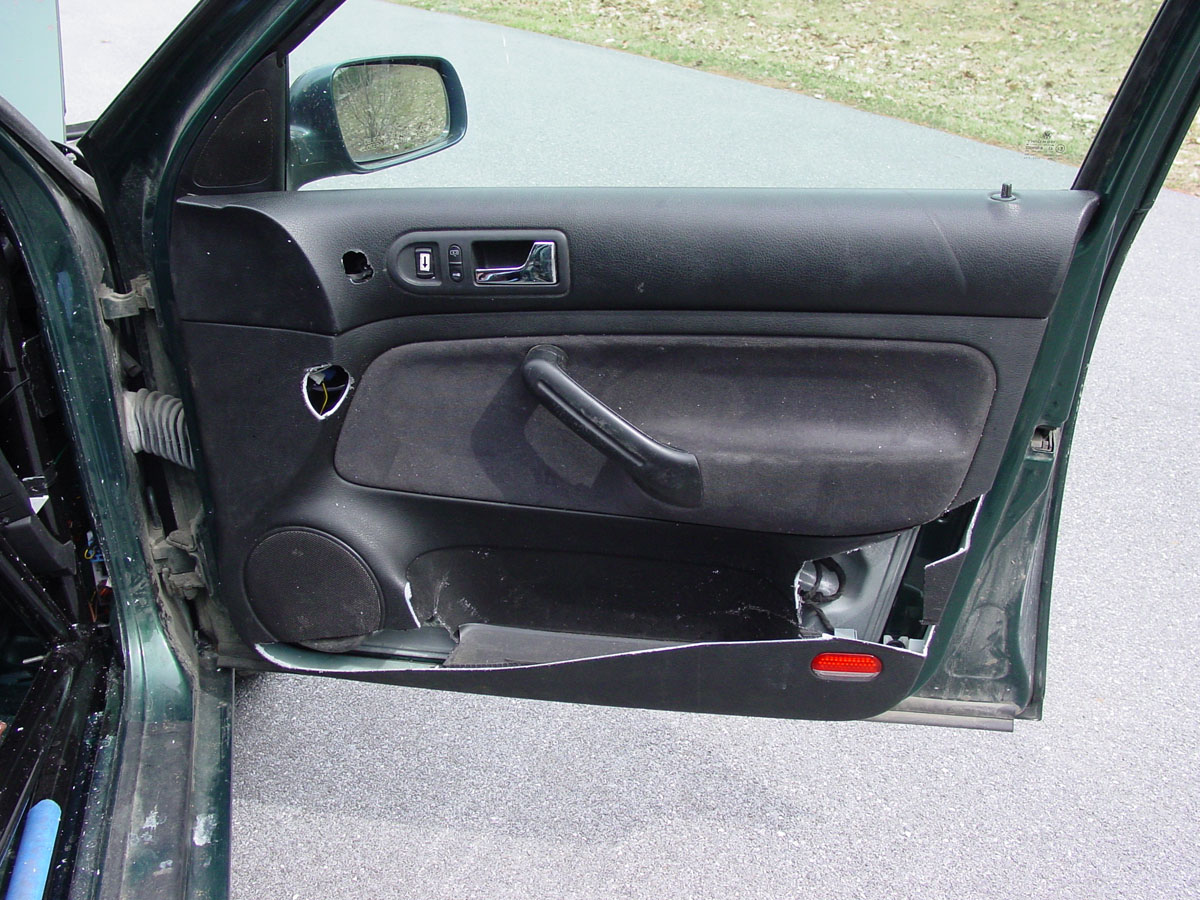
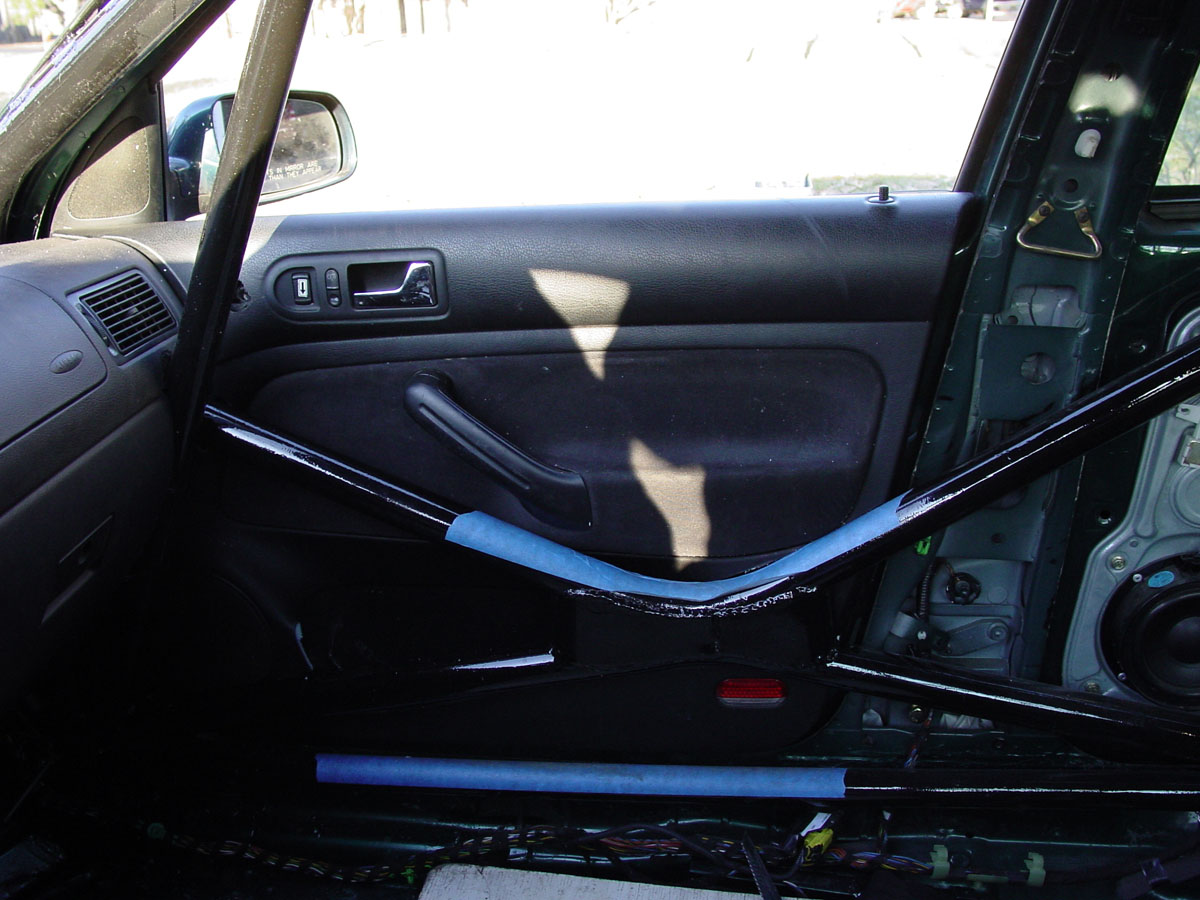
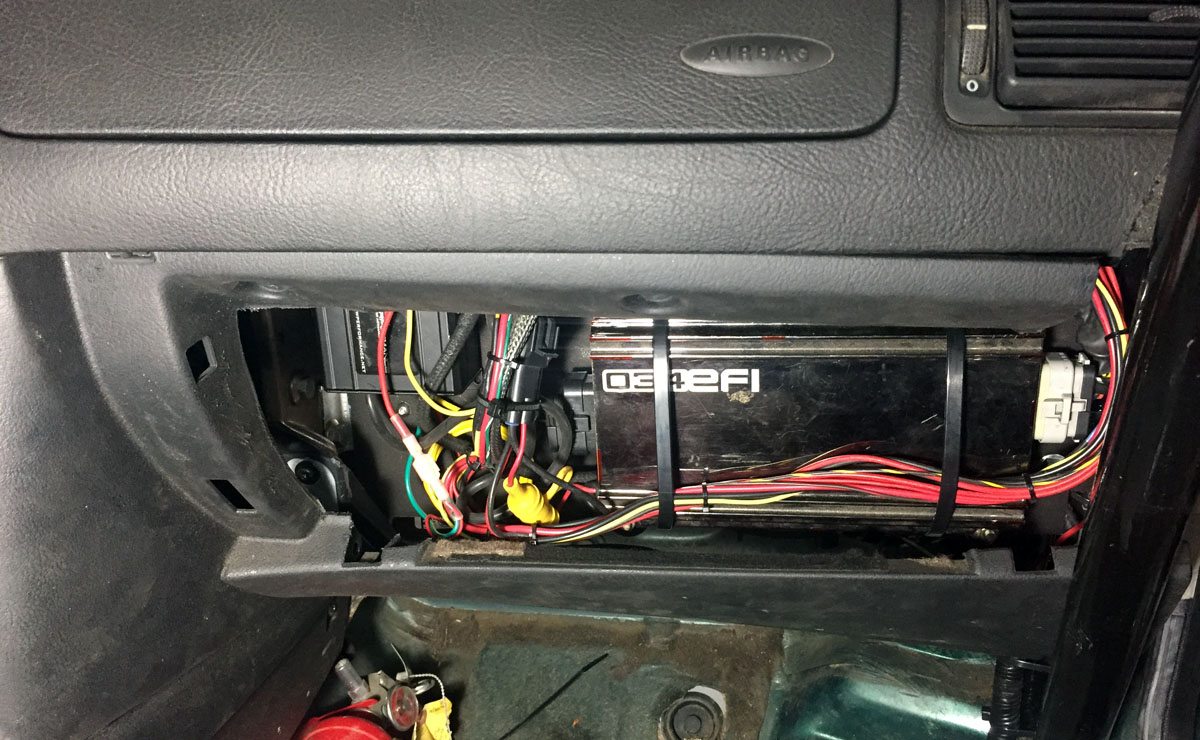
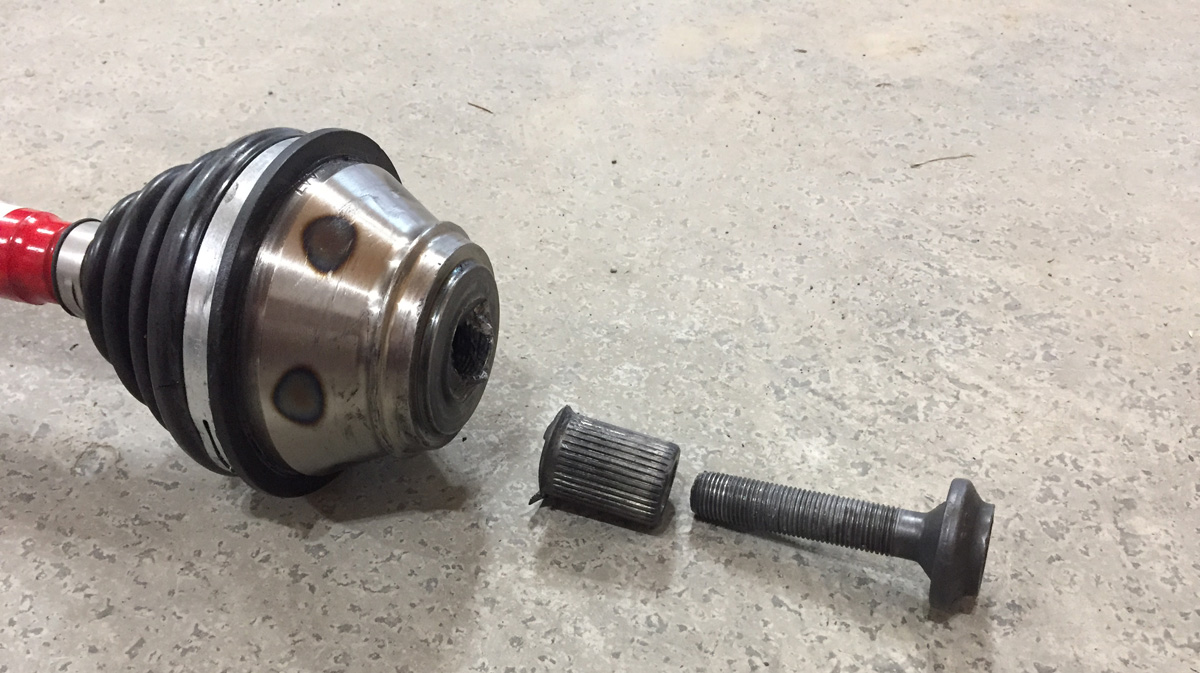
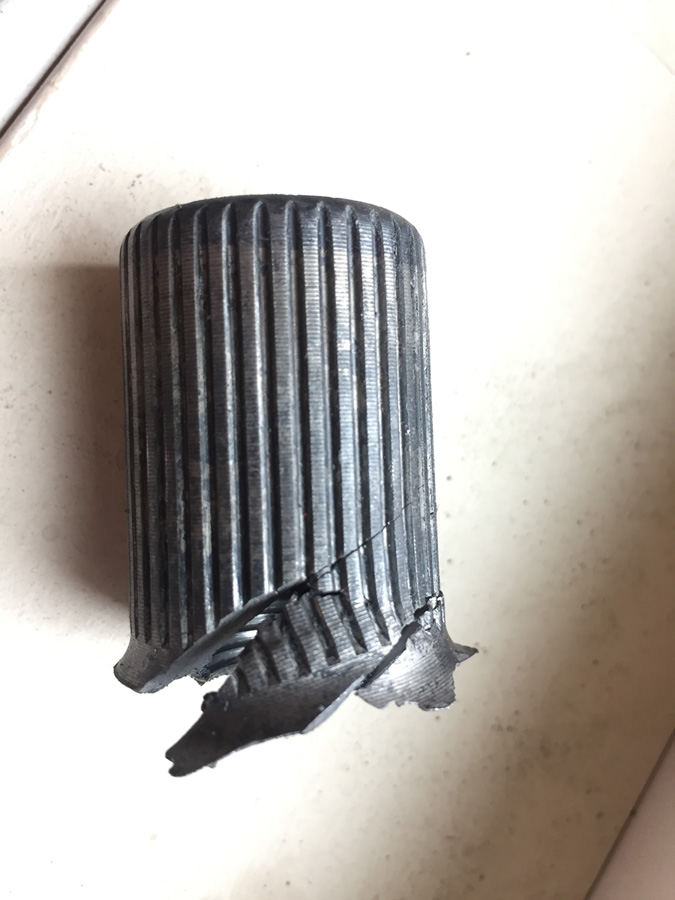
Steel bottom oil pan, Raxles axles, and removing the steering lock on the Golf
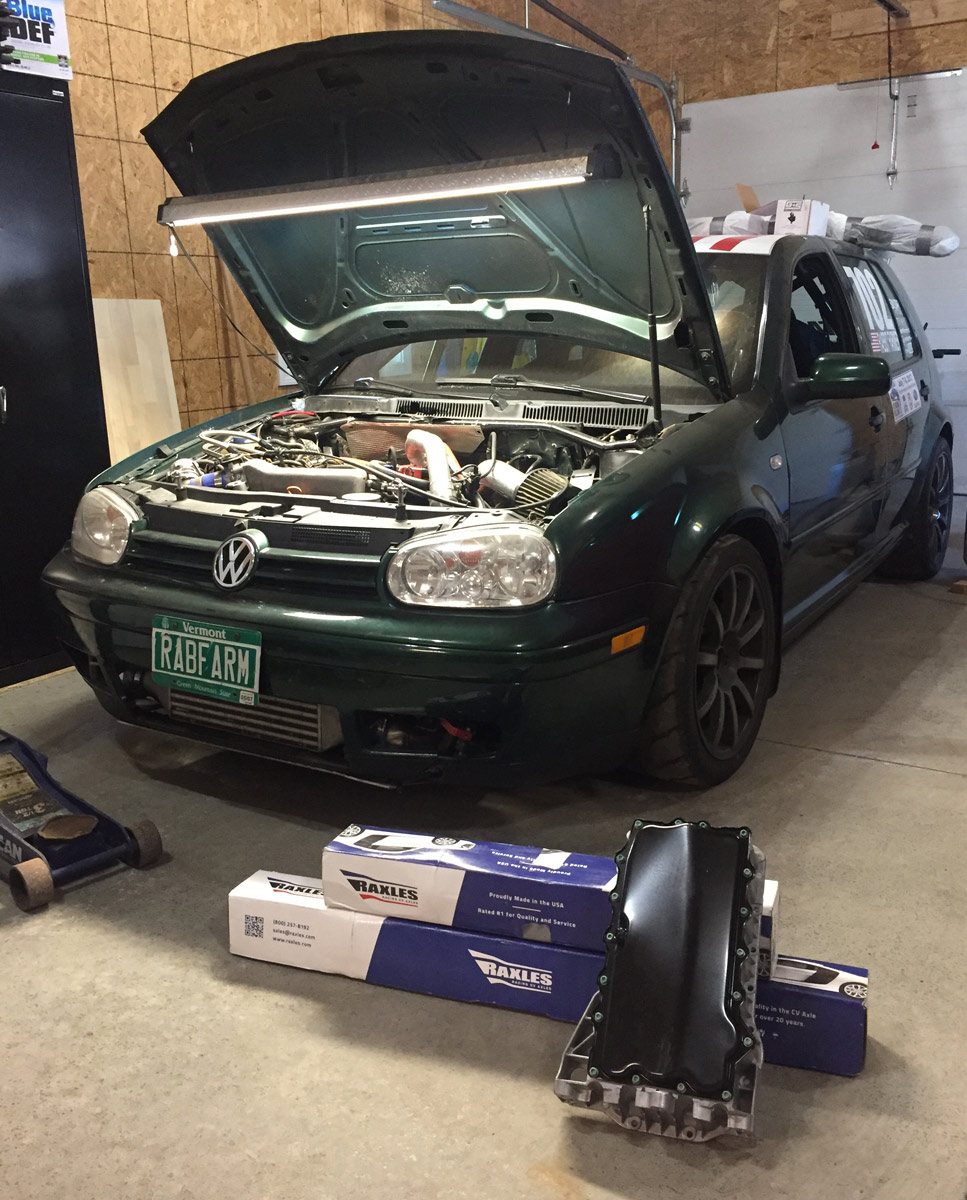
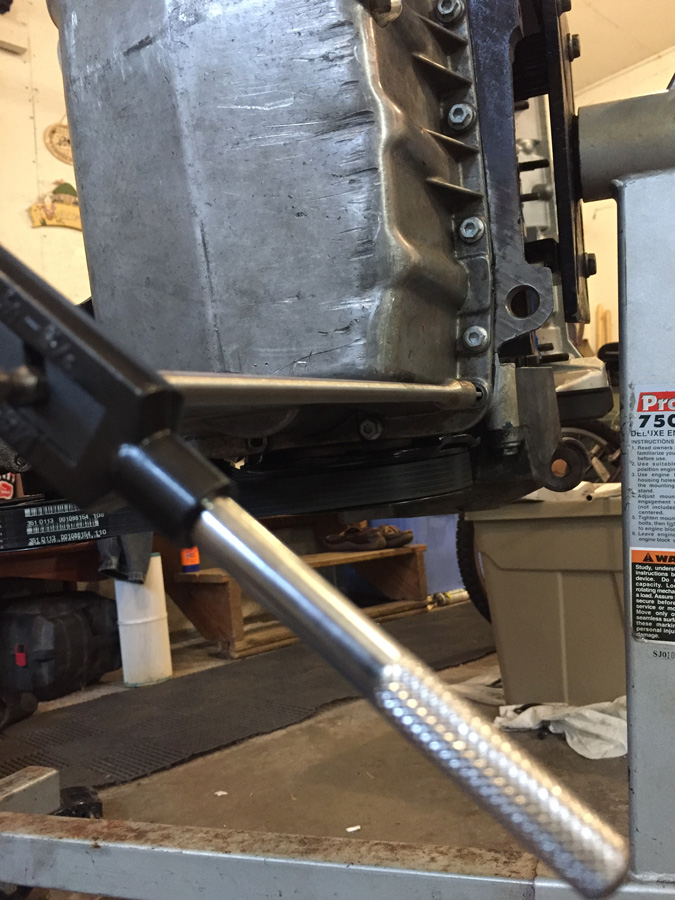
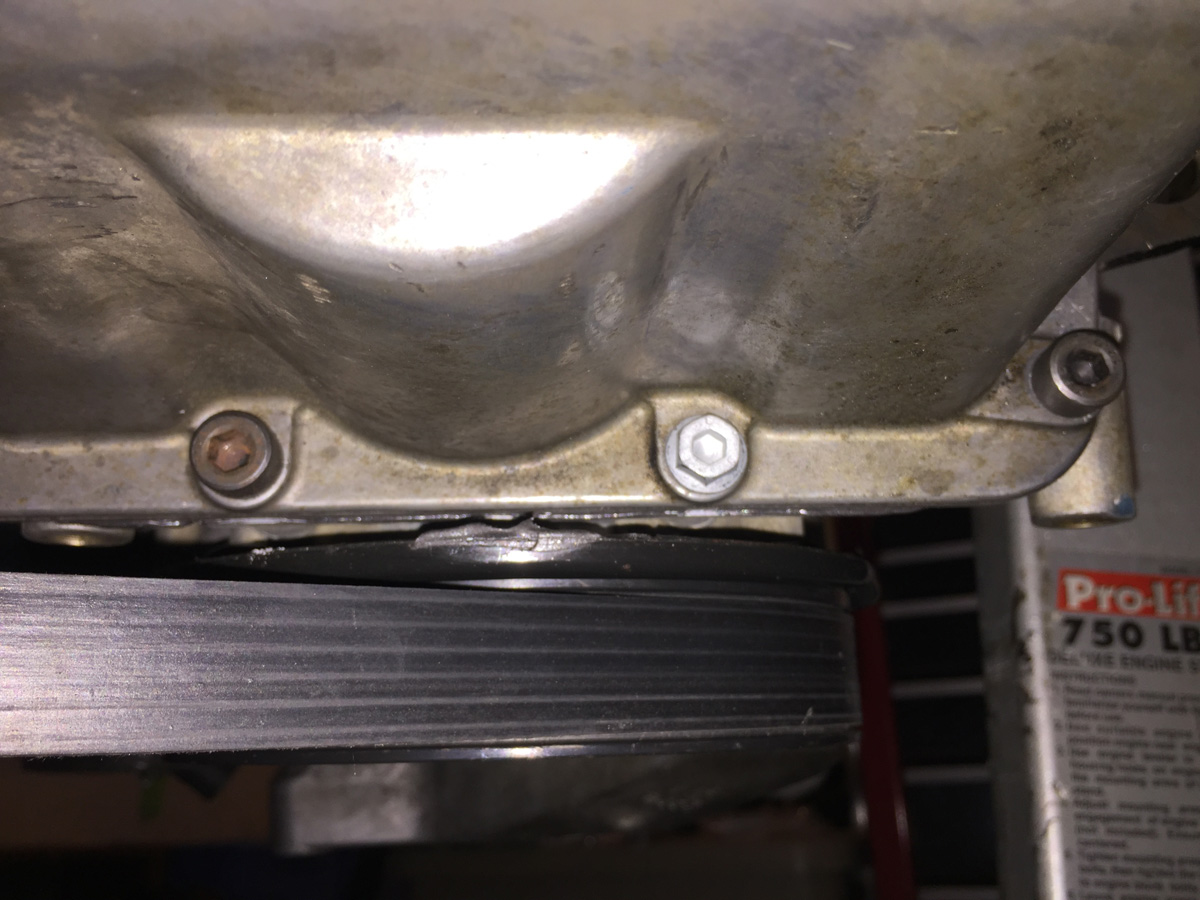
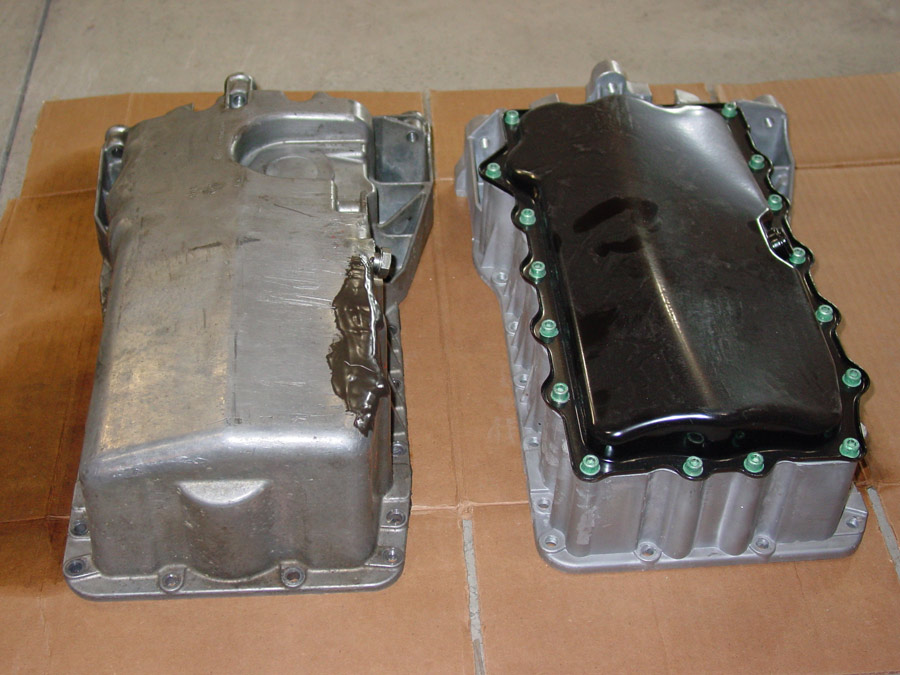
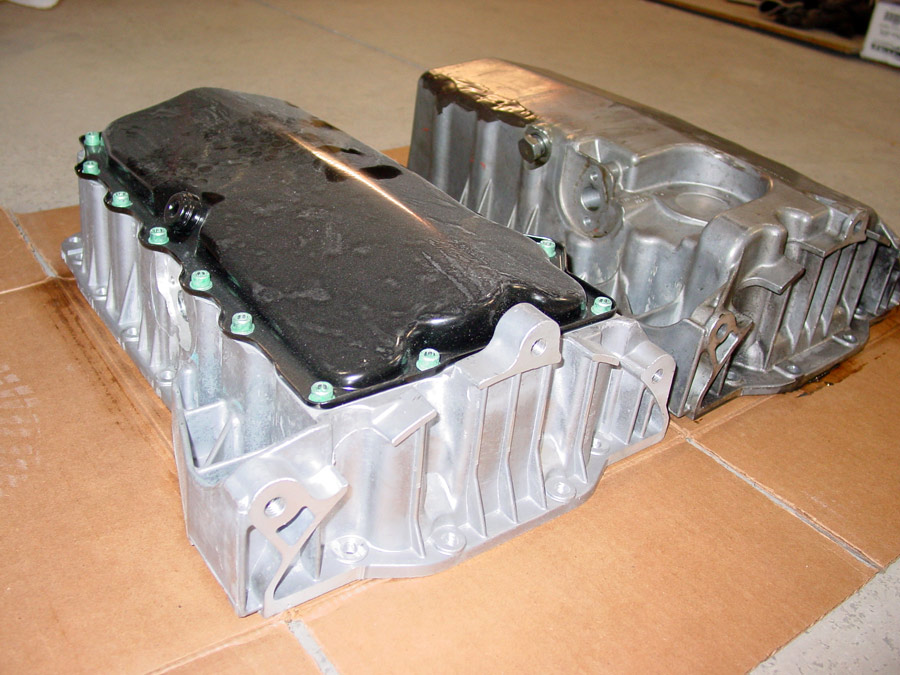
The steel bottom pan is called a hybrid pan. Whatever…. It isn’t all aluminum and it is shorter. It seems to make up for oil volume in the width (front to back) of the bottom of the pan.
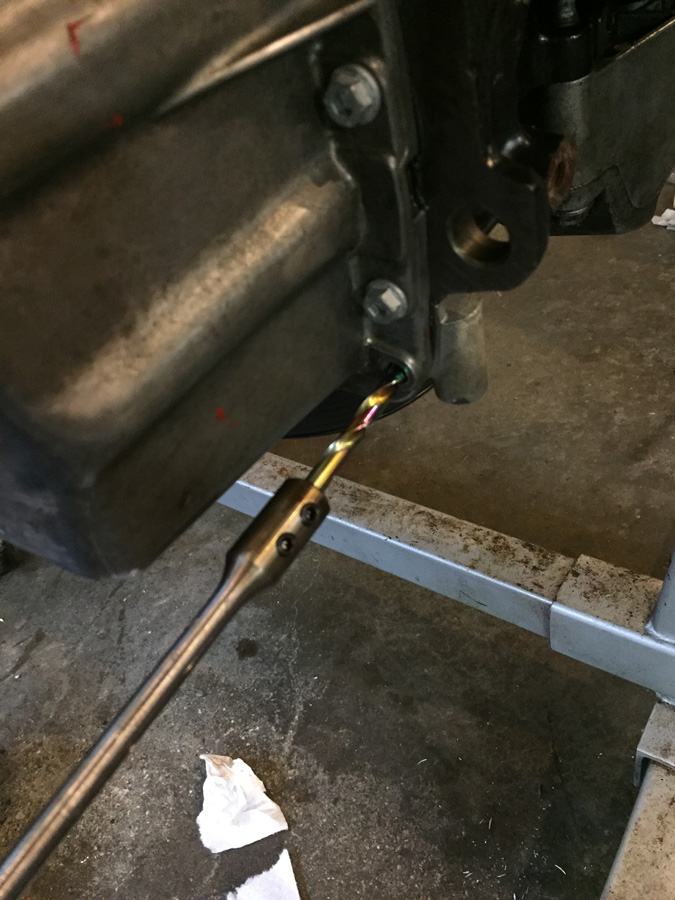
Naturally, with the shorter pan, it came with a slightly shorter oil pick up tube.
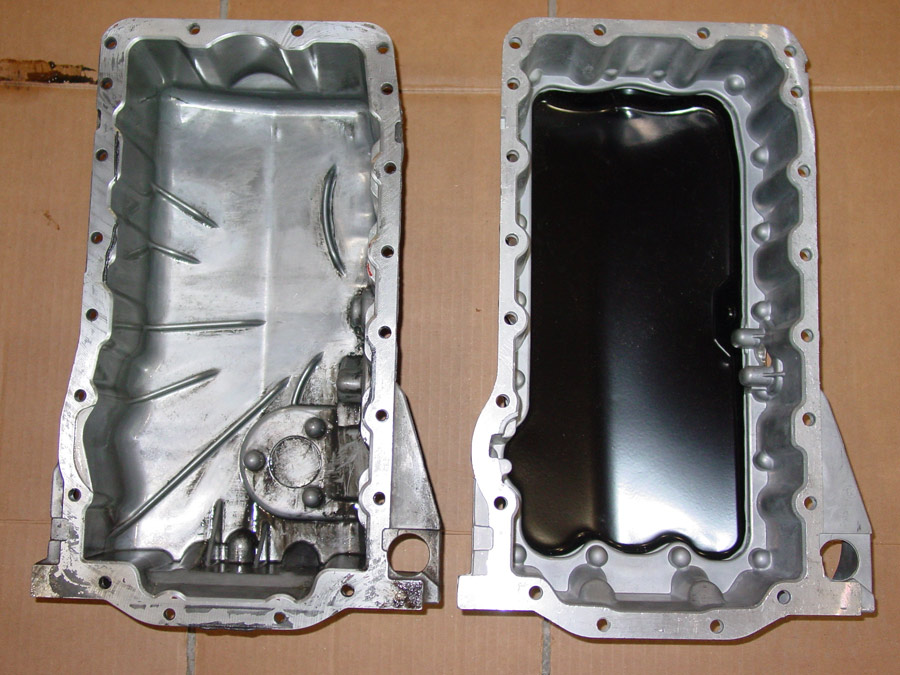
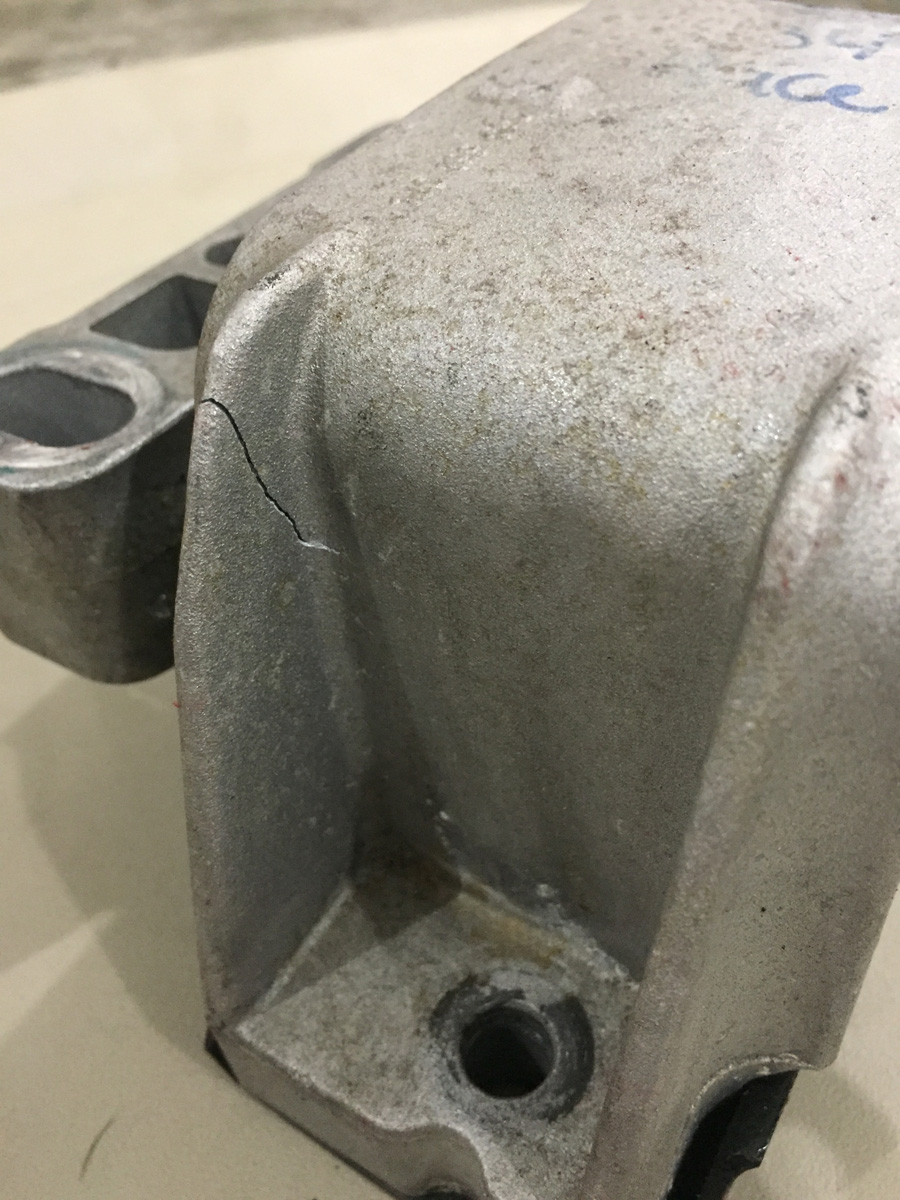
The gray stuff on the old pan is JB Weld that I used to seal a hairline crack for the last hillclimb (Philo) of the 2017 hillclimb season. This is the reason I was replacing the pan.
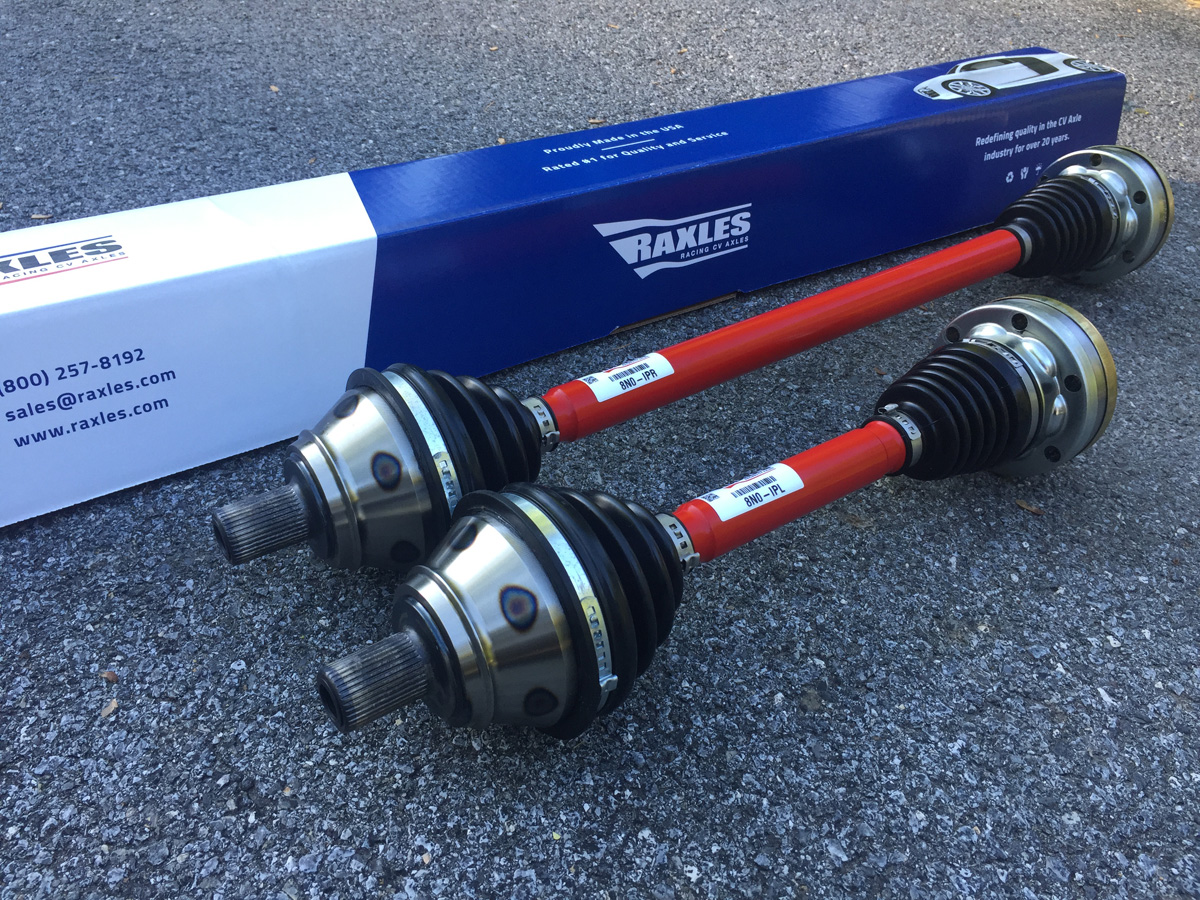
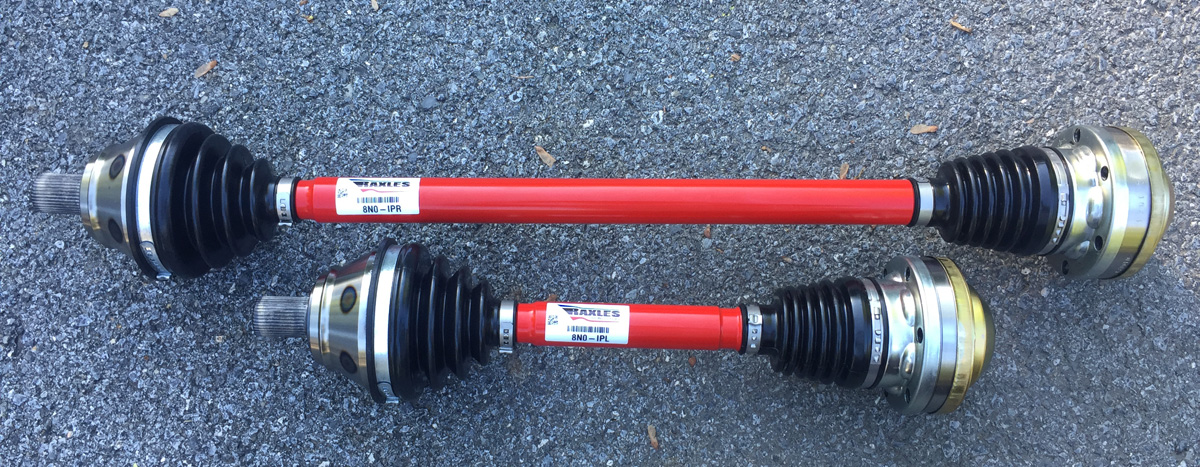
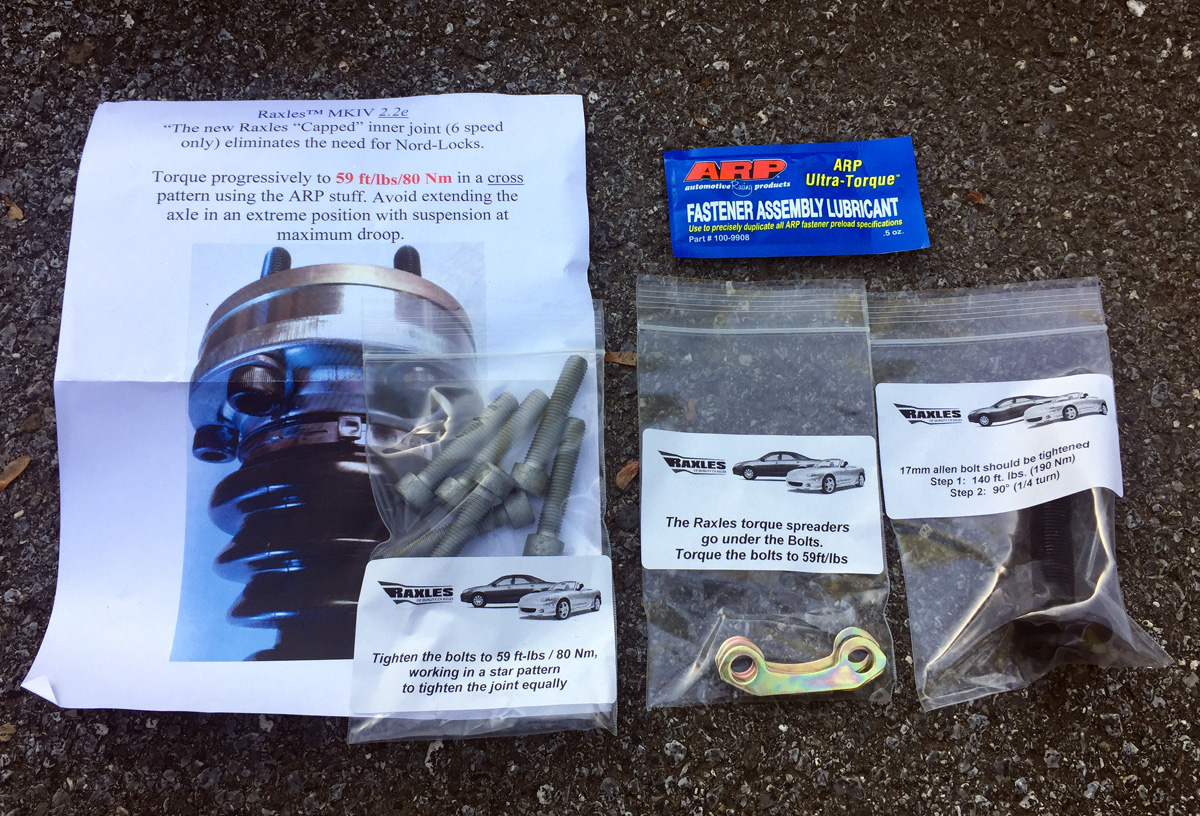
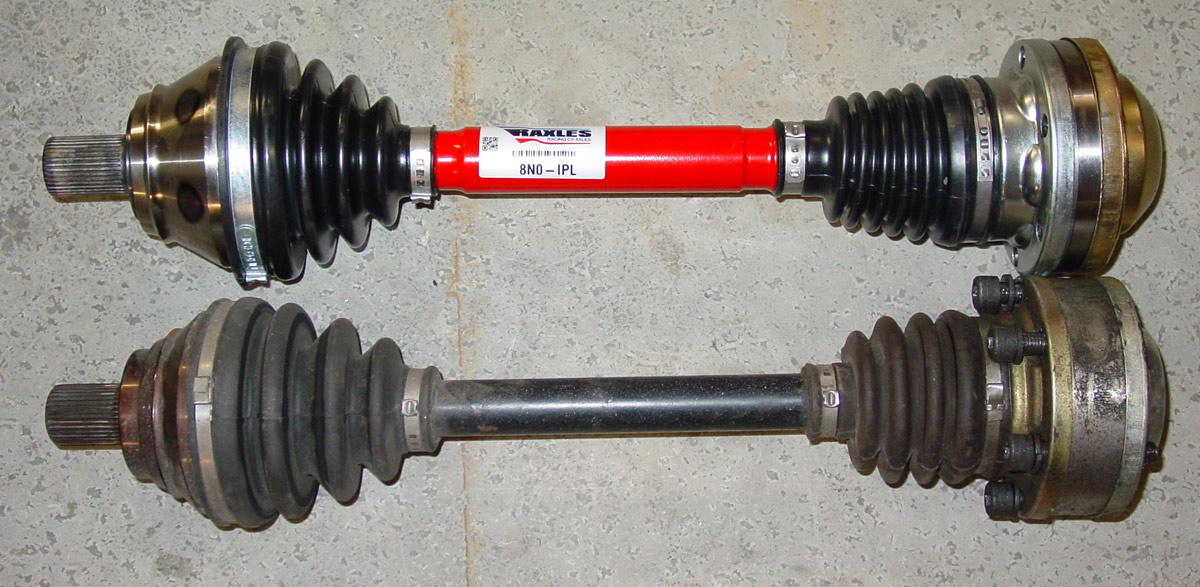
Next…. Some Raxles axles. I spoke about them earlier. Very pleased with everything so far. The 2018 hillclimb season with be the ultimate test.
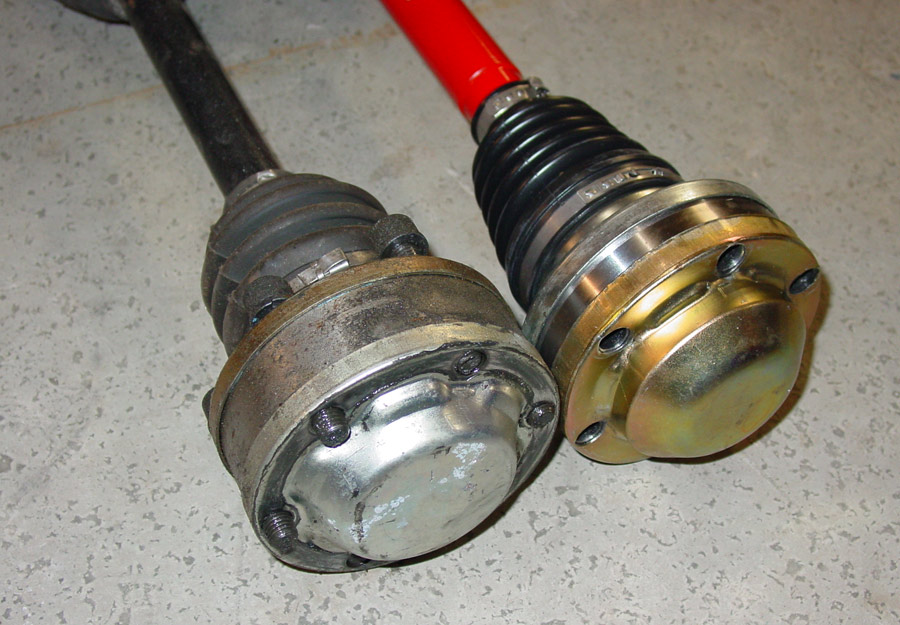
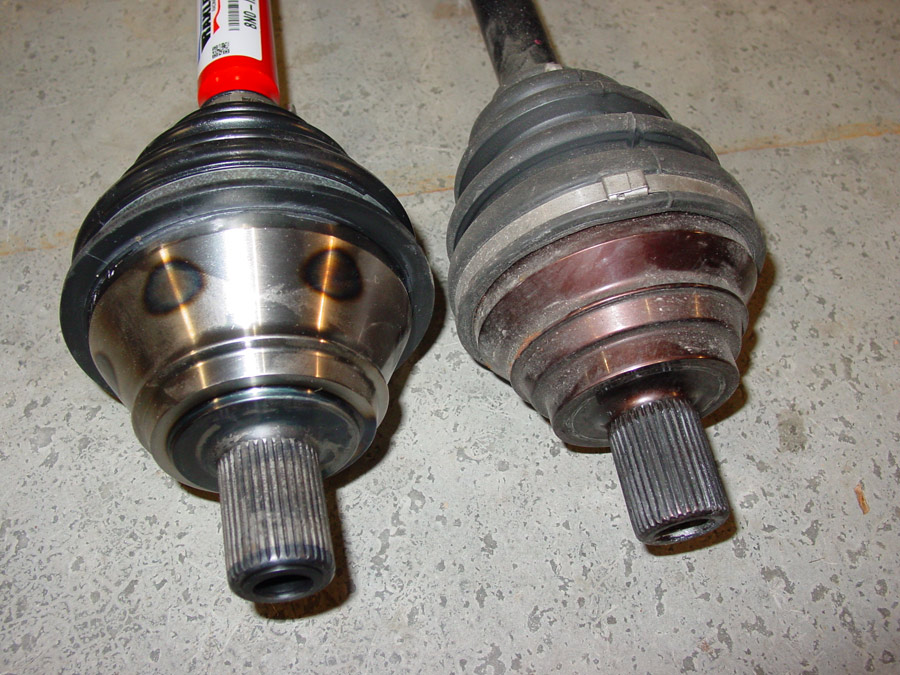
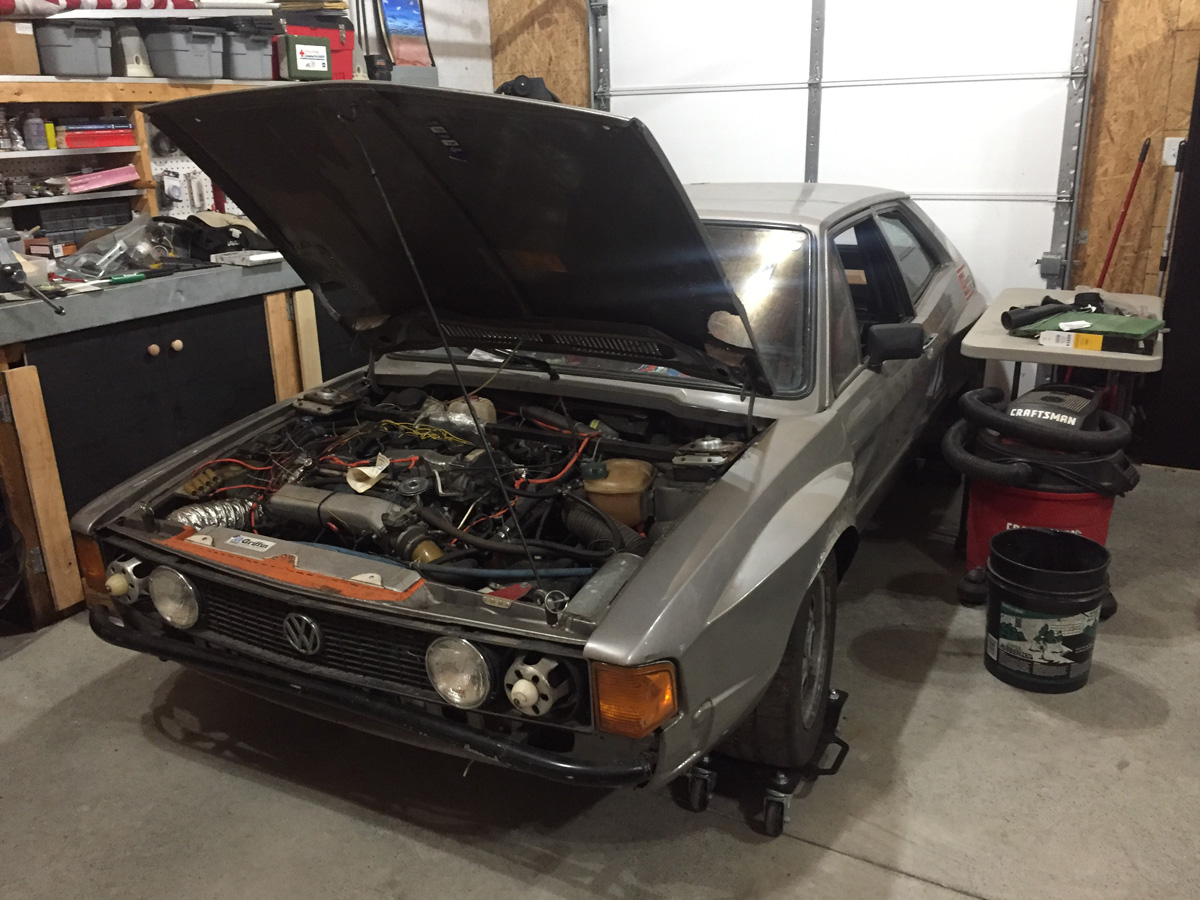
Pan and both axles are installed!

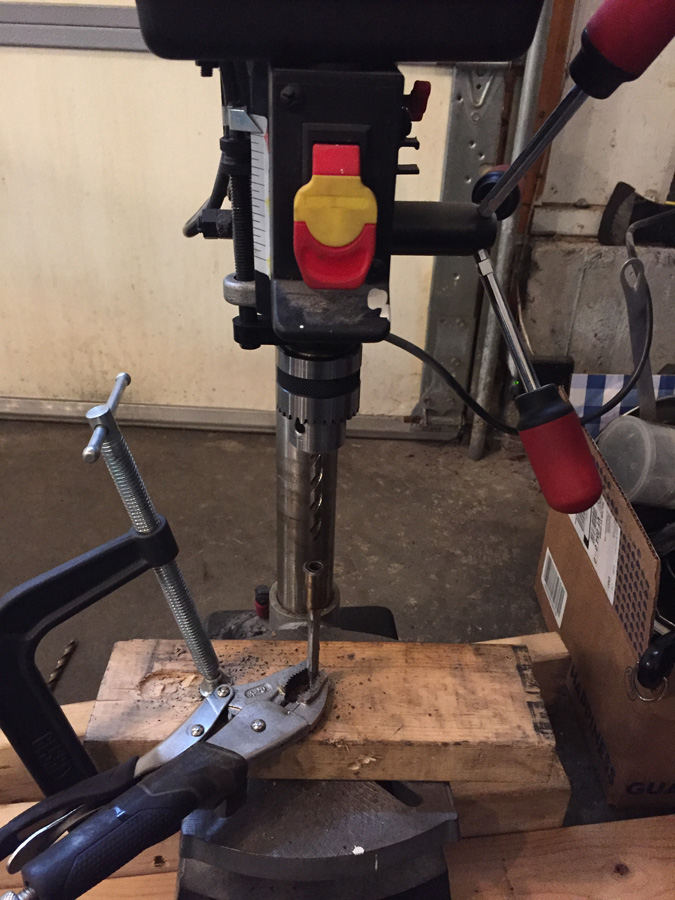
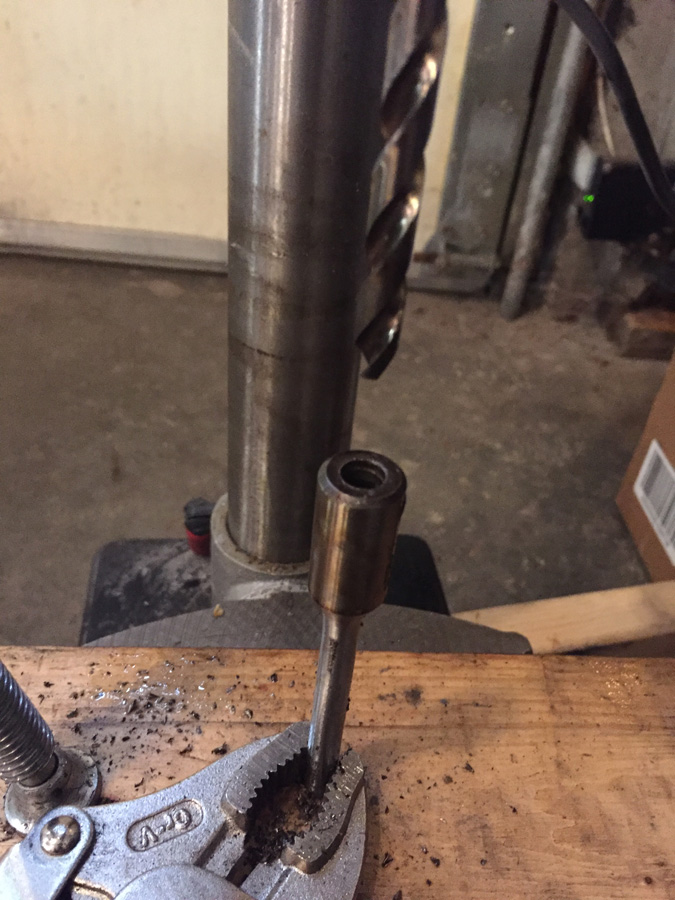
Okay… this is where the “way too much information, man!” section starts. If you have no interest in seeing how to remove the steering wheel lock on a MK4 Volkswagen, stop here and spend your time doing more useful things like getting lost on Youtube.
The disclaimer: I had no idea what I needed to do and was not able to find information on the internet. I even searched the dark web (my order of hookers should be here in 5-7 business days) with no luck.
First… You do NOT need to cut the snap bolts on the ignition as you do NOT need to remove it.
If you are removing the entire switch and do not need any part of it (electrical ignition switch or the chipped key), then you CAN cut off the bolts and consider this project done.
Read on….
Taking the Dremel to each of the snap bolts. I sliced the bolt head into little sections that then introduced blunt force trauma (well, it wasn’t blunt) via a chisel to shear off the heads.
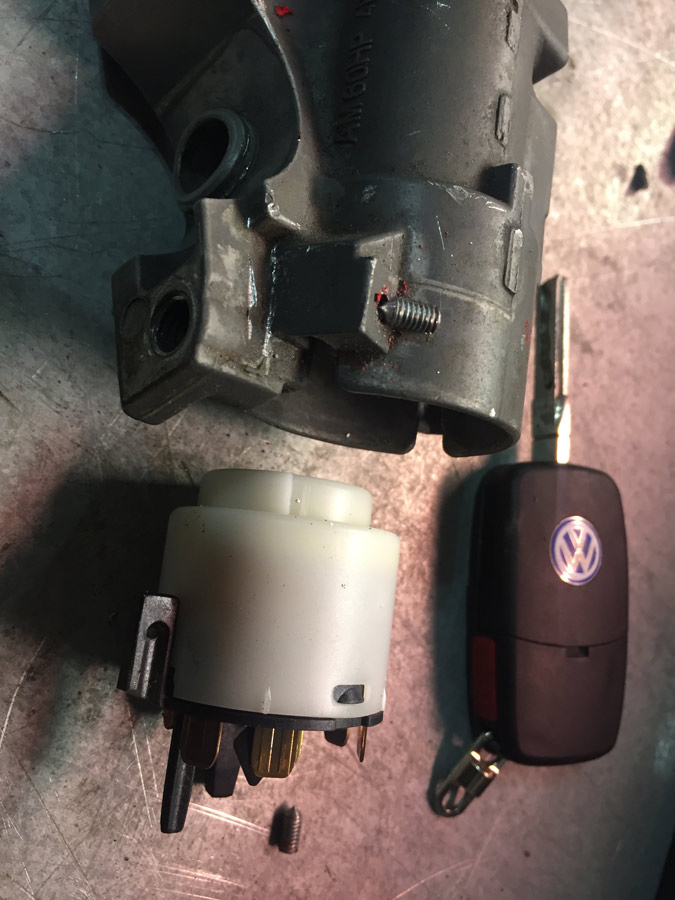
Both snap bolts removed, unplugged the chip key, unscrewed the single ground, and would normally remove the ignition switch plug on the back, but that was already removed as I have a separate flip-switch ignition switch.
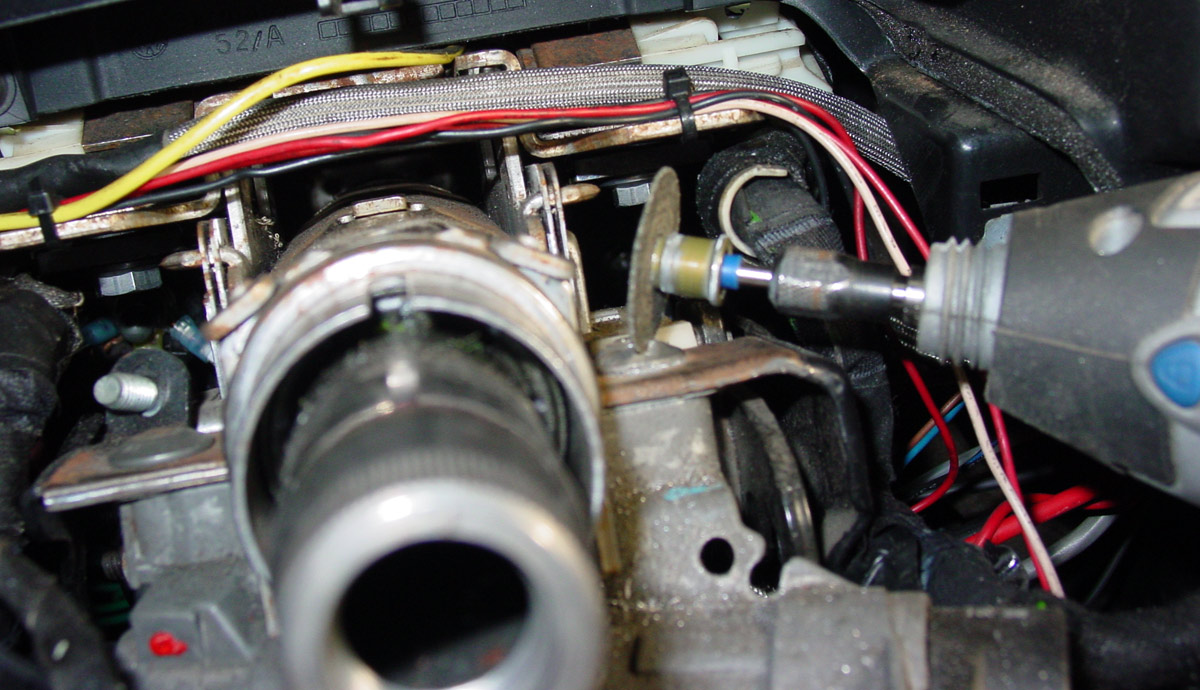
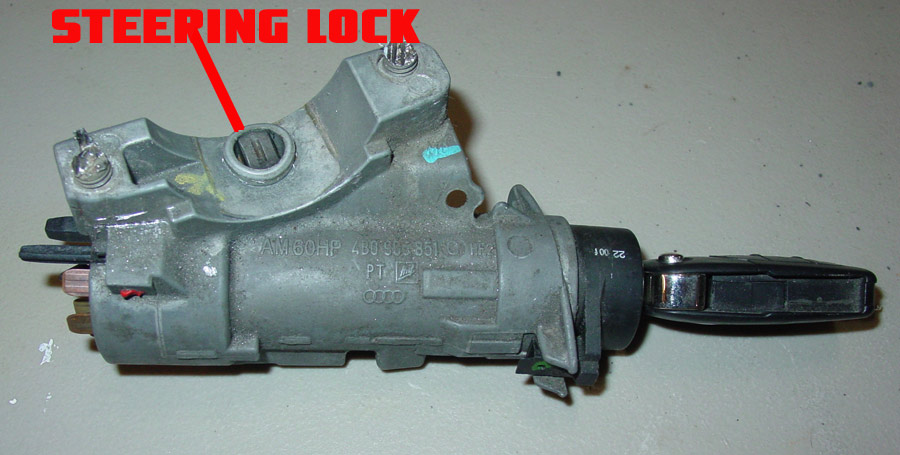
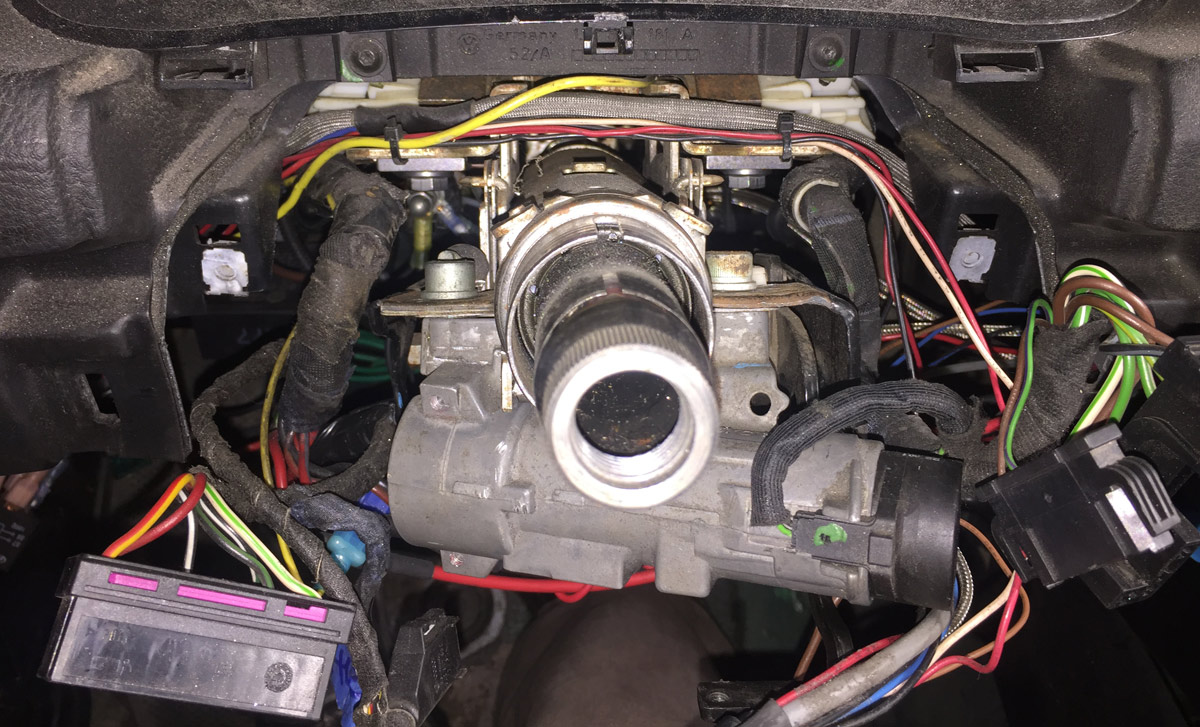
This is the steering lock pin.
There are a lot of video tutorials online on how to remove the chipped key ring (black ring). Short version: Turn the key to on, insert paperclip/mechanics wire/etc. into the little hole next to the key. This will release the lock on the black ring.

If you are planning to reassemble the key section of the ignition switch, pay attention to the orientation of the insides and be careful with the two plastic clips. I knew that I did not need any of this so I just focused on removal.
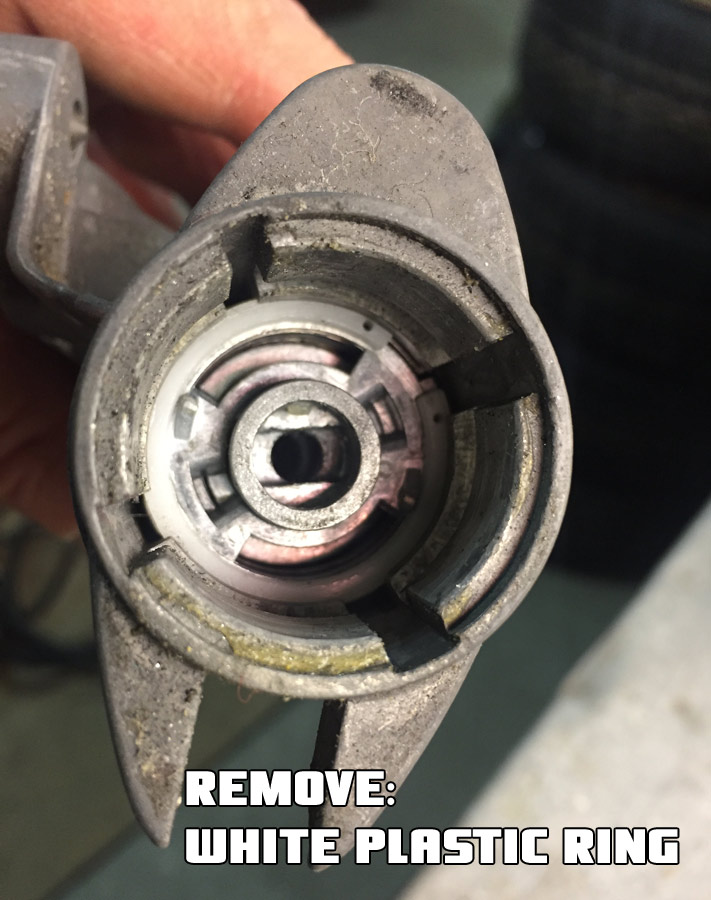
Remove the plastic ring. It is brittle.
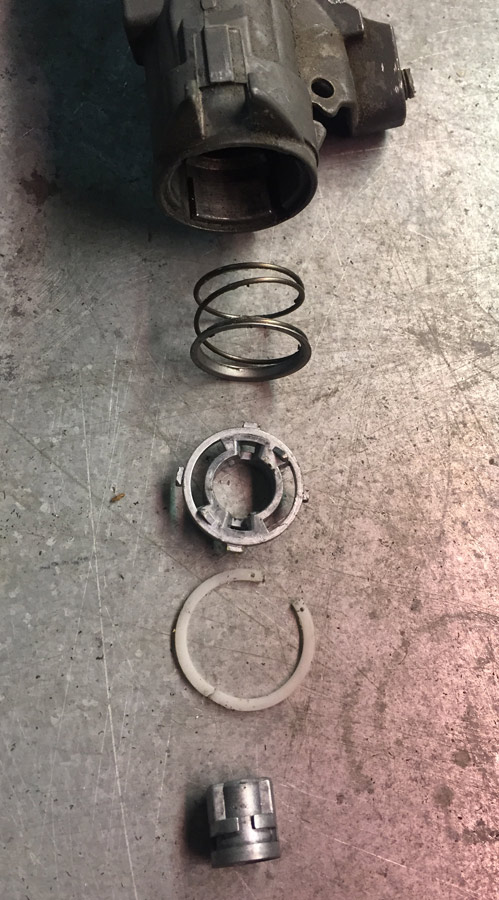
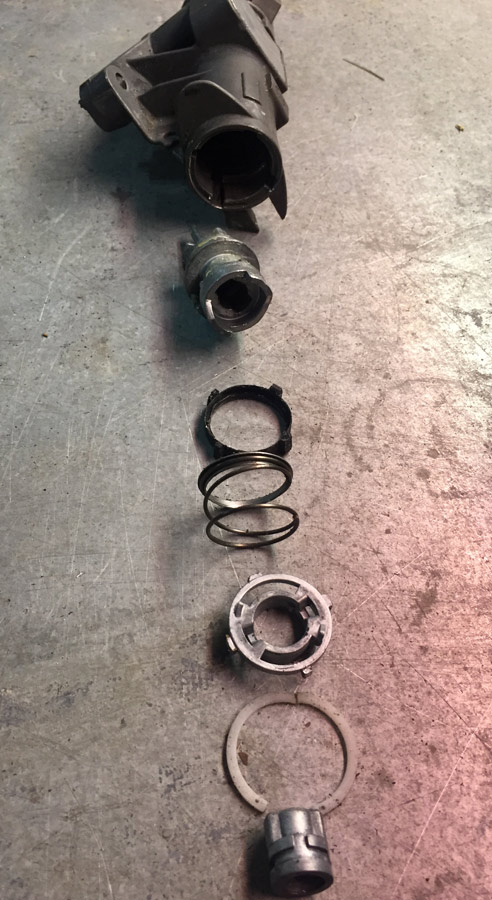
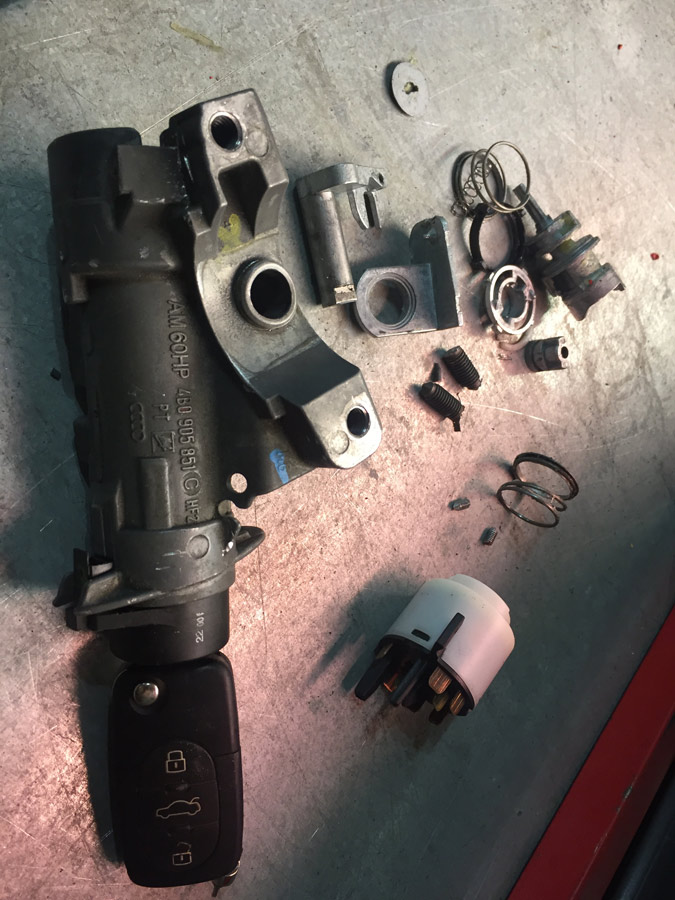
The bits and pieces… yep, that is the technical name. Look it up.
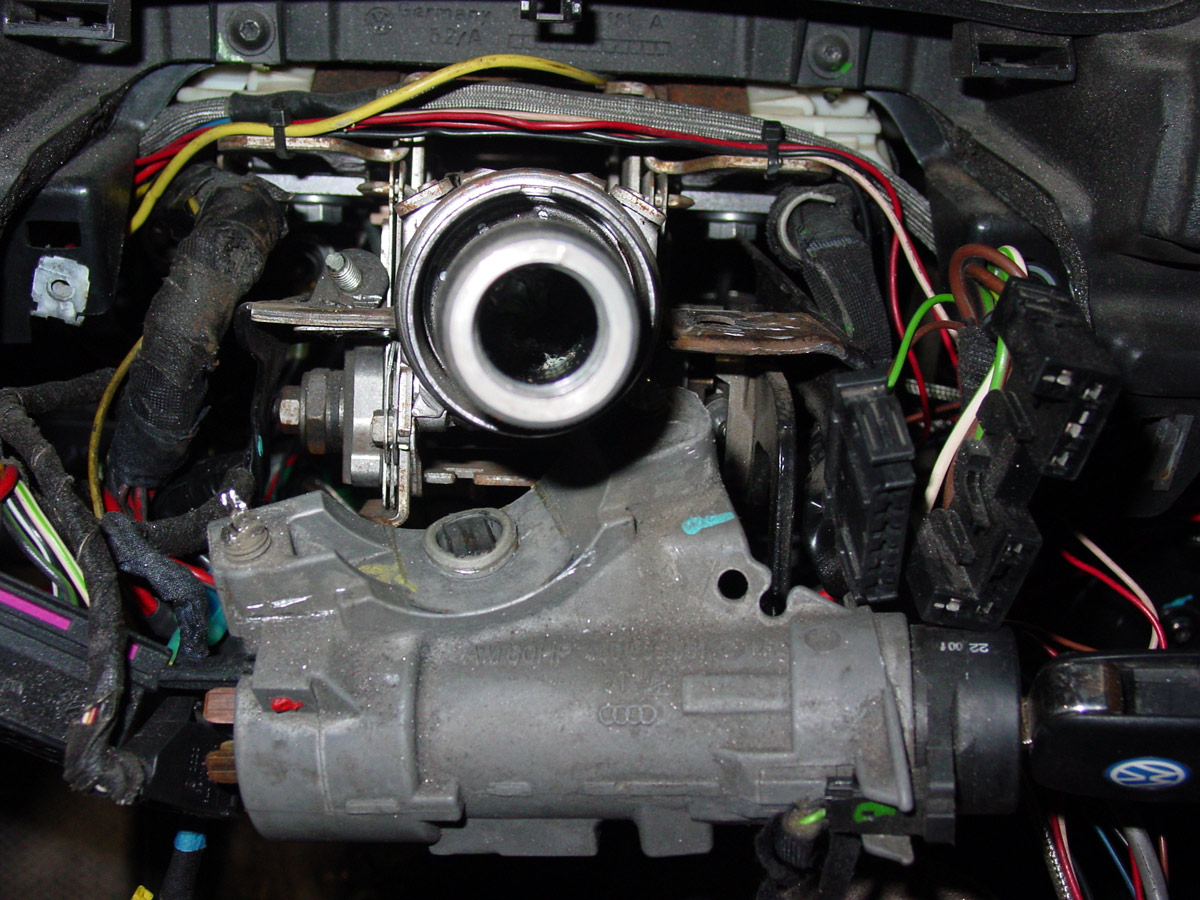
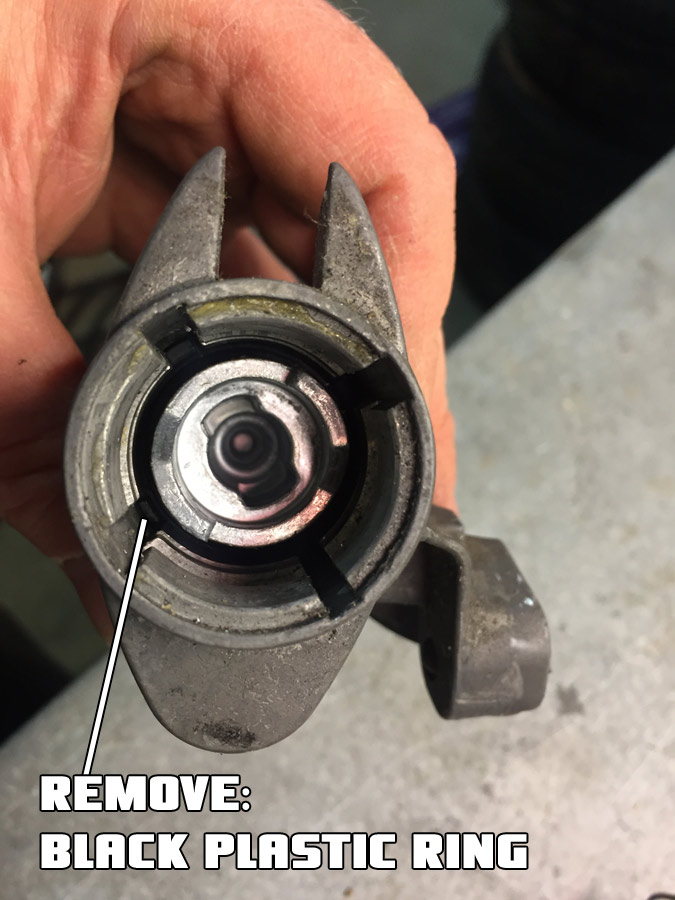
Next is a hard to see black plastic ring. This needs to be removed so that the largest part of this assembly can be removed. This is the piece that is preventing you from removing the metal plate on the bottom of the switch where the actual steering lock pin lives.
More bits and pieces… this is everything that comes out of this end.
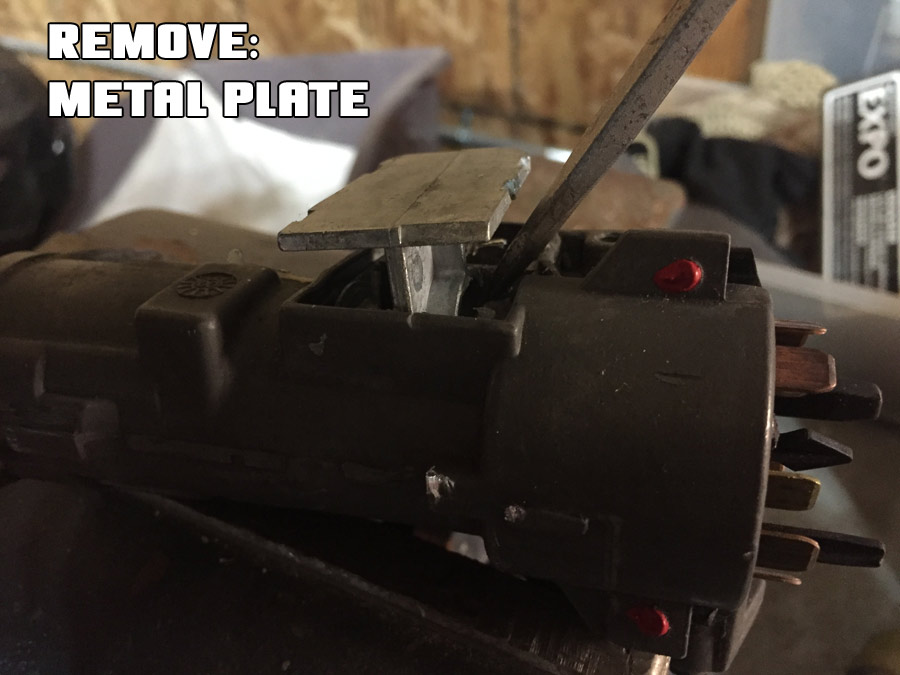
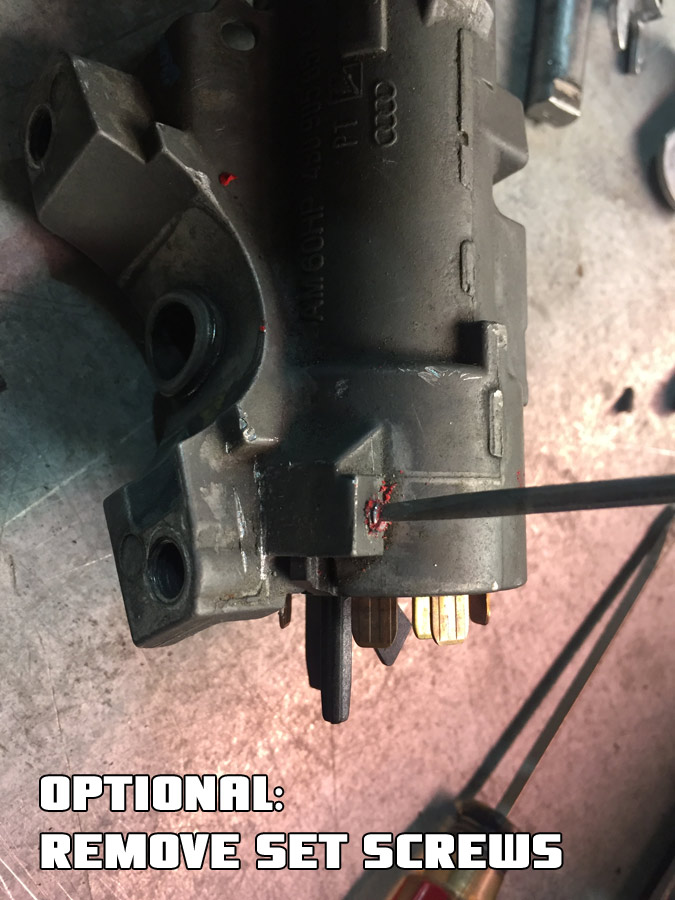
Pry off the metal plate. You will see that the plate has a ring that the previously removed part went through that prevents you from removing the plate. Note the two red dots in the image… this is red paint (or something along those lines) that cover set screws for the electrical part of the switch. More on this later.
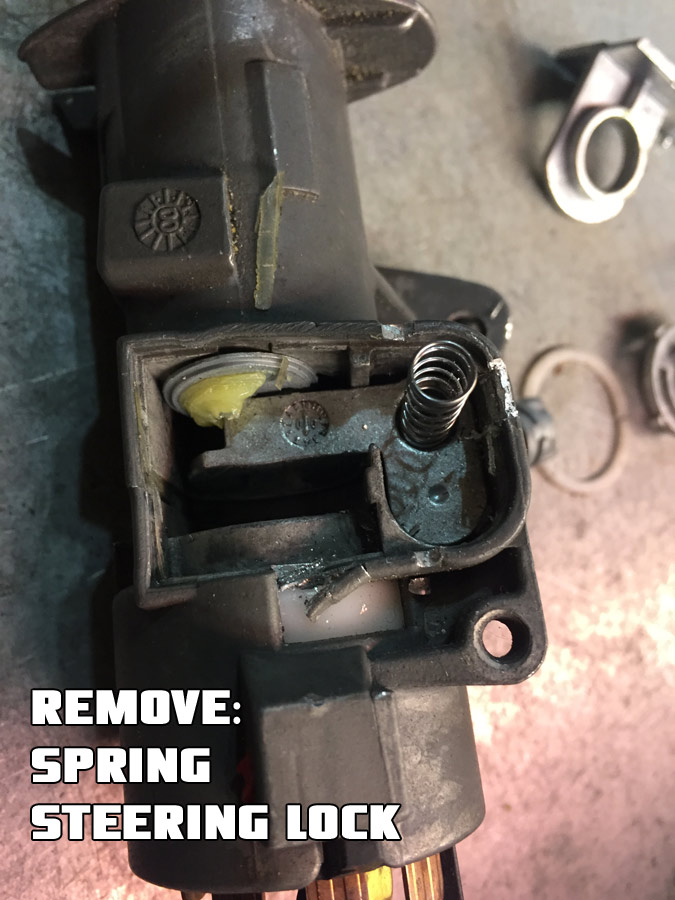
Remove the spring and the steering wheel lock pin.
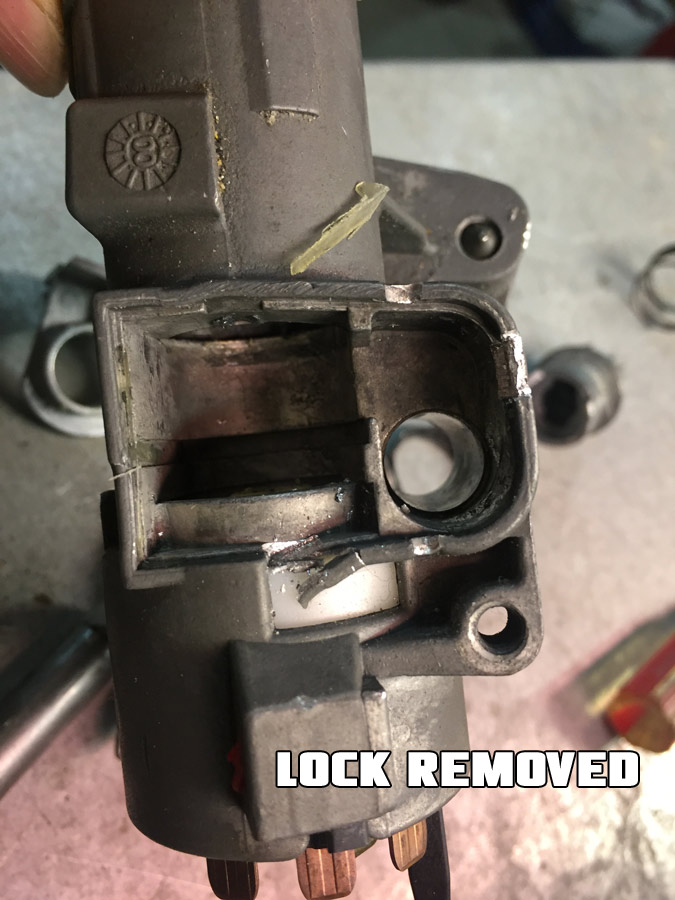
Removed!
If you do not need the electrical plug, tap off the red paint and remove the two set screws.
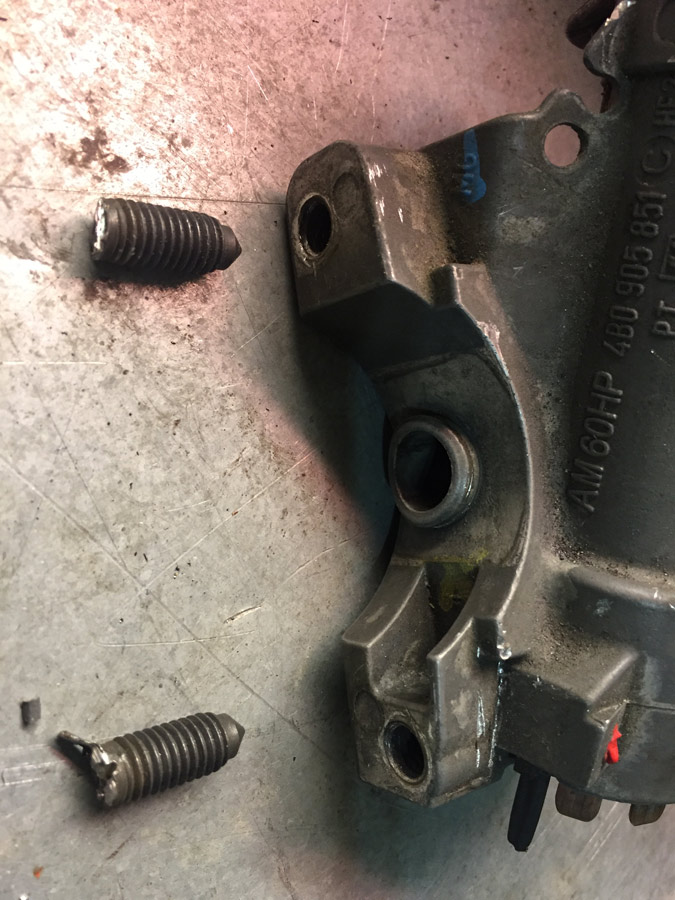
Remove what remains of the two snap bolts. These were easy to remove… I think you could grab onto them with vise grips. I used the vise. They were not tight at all.
Chipped key ring reinstalled… nothing else was installed. The metal housing is completely void of all bits and pieces.
Wait… why am I putting this switch back together after removing all the bits and pieces!?!?
Three reasons:
1. I am unsure if the chipped key is needed to run something on this car, so I reinstalled it.
2. The snap bolts also held the braces for the wiring harness on either side of the steering column.
3. There was a single ground wire that I didn’t feel like trying to find a new home.
It just seemed easier to remount the empty shell of the ignition switch instead of trying to solve all these new, albeit relatively simple, problems.
What’s left…
1. Reinstall steering wheel
2. Install front tires
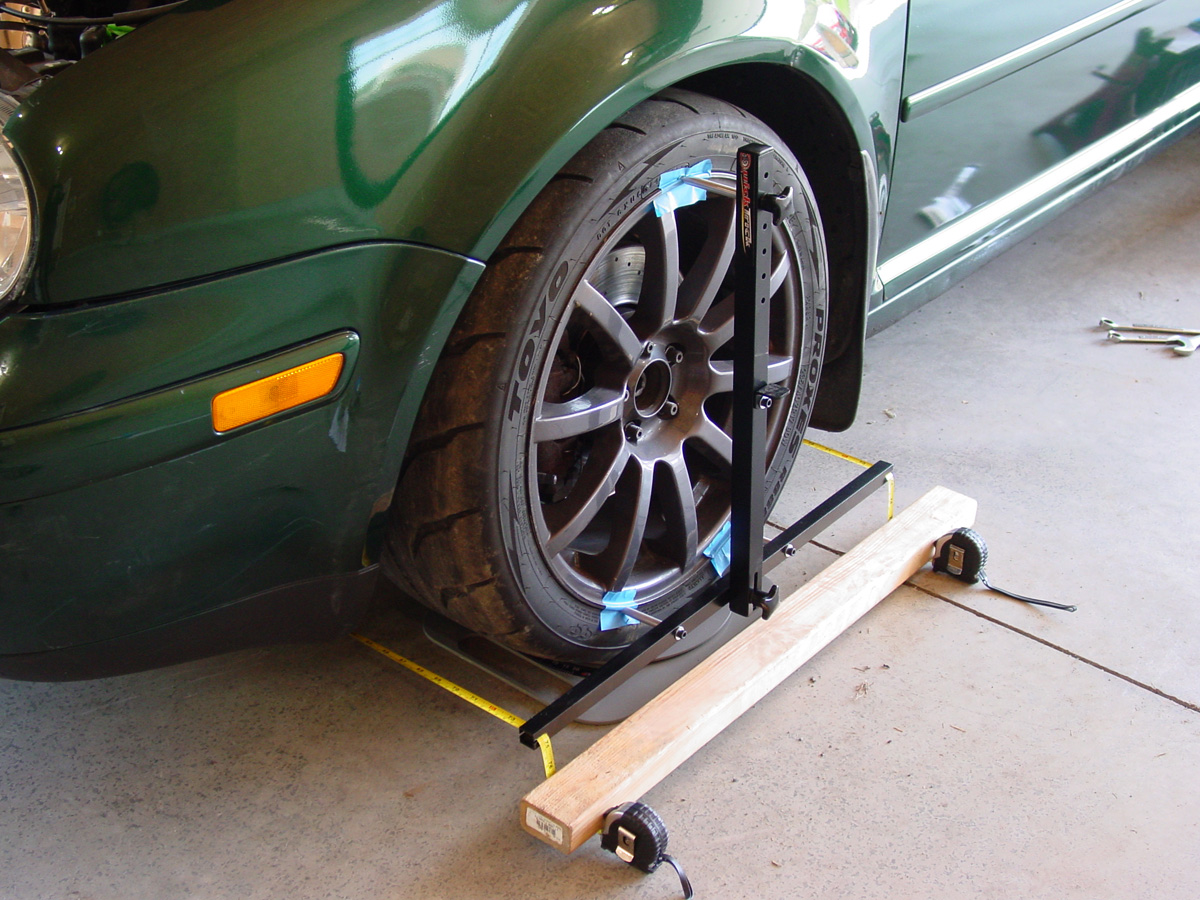
3. Install skid plate (left it off to check for leaks with the new oil pan)
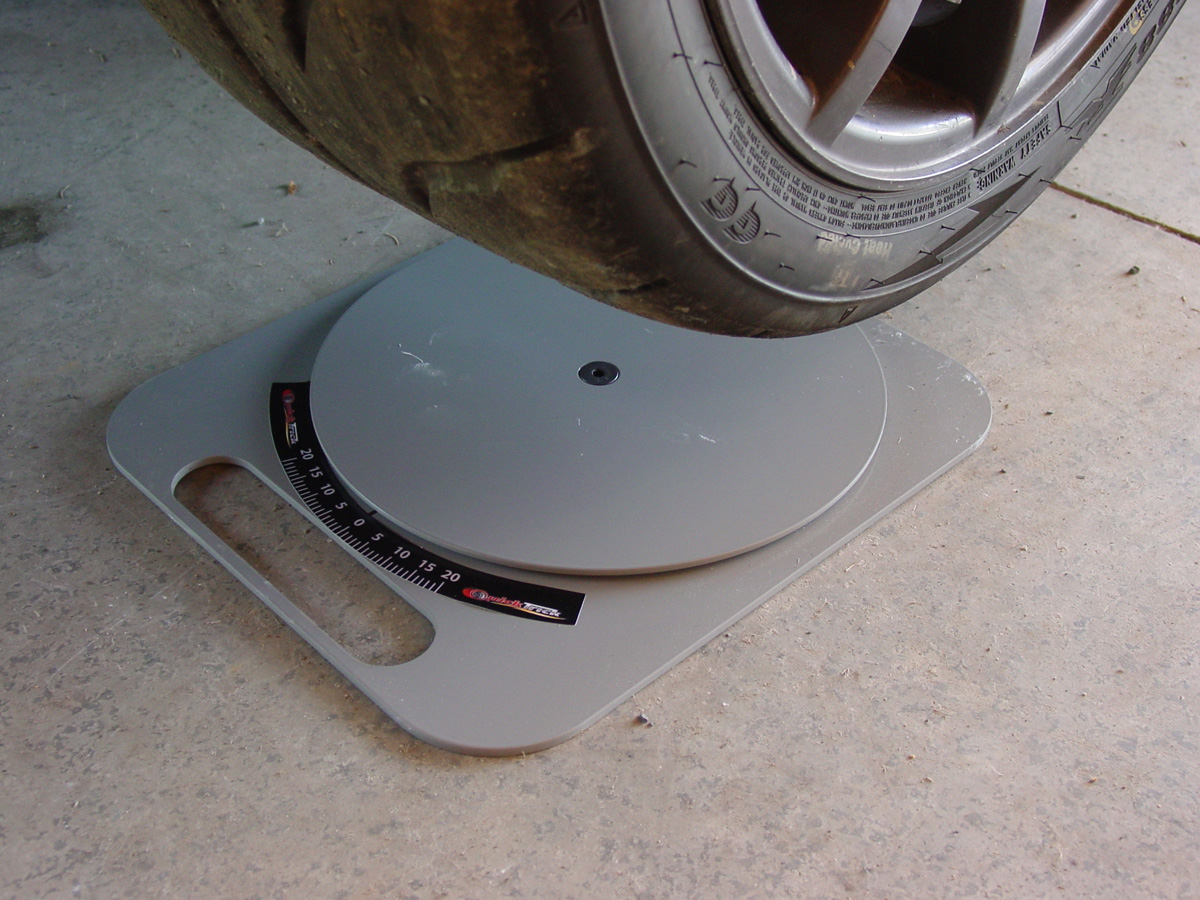
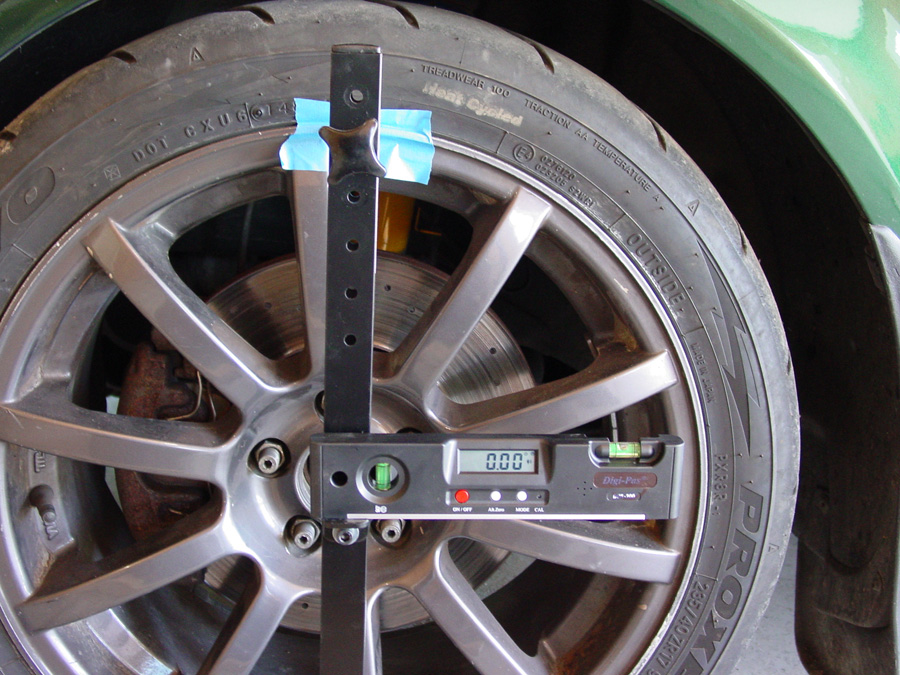
4. Alignment
5. Wash the car
All easy stuff. I hope that it is for the list. I have some minor work to do to the Subaru WRX (new headlights and fix some plastic bits on the front end that did not like the snowbank in the middle of the road) and then have THE project (the Scirocco) to jump into. Damn it… I am going to work on it this year?
And speaking of the Scirocco.
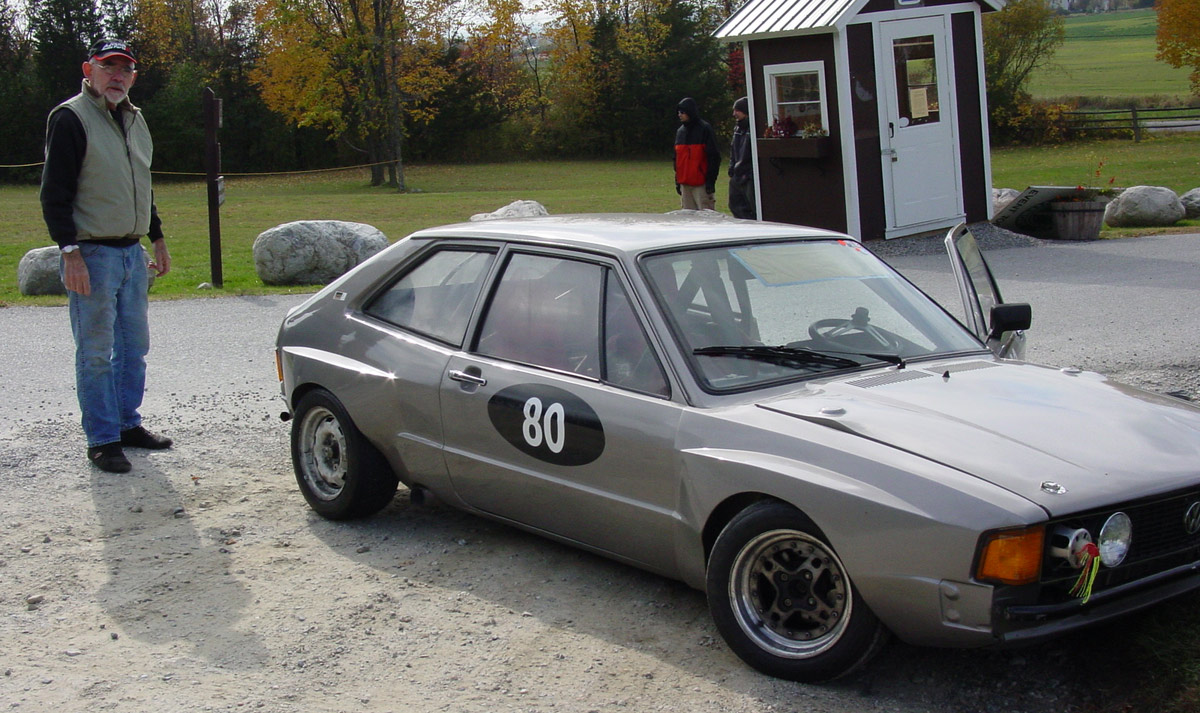
Bill Rutan, the builder and racer of the Scirocco, passed away early this month. He had a very, very, very successful racing career and built some very successful cars. I paid very close attention to his advice on how to make my Volkswagens go faster and how to drive faster.
Race on Bill, race on!