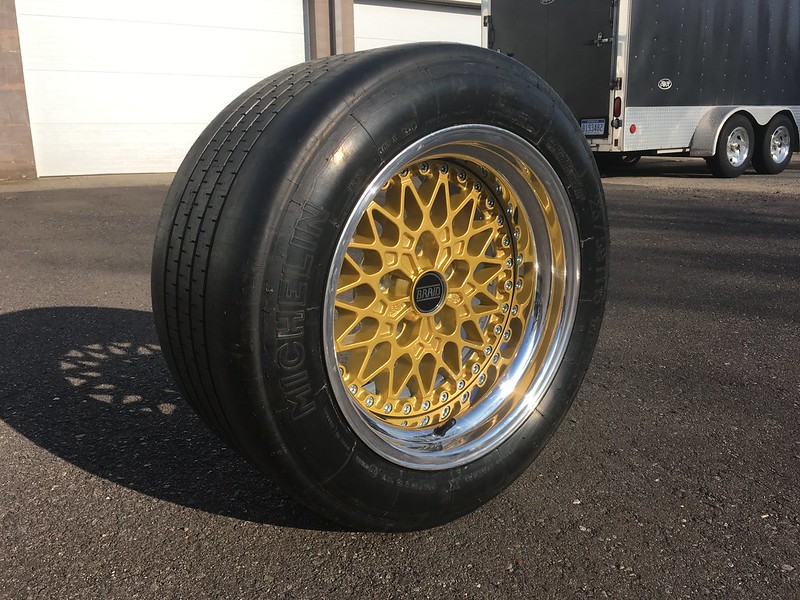
For a second there I thought you were going with a metric wheel, 15" wheels doesn't seem like a bad solution compared to those. There are a lot of good looking options in that list, I don't think you'll go wrong with whatever you choose.
I love popping over into the classic motorsports section and seeing this thread has been updated.
Adam
Thanks Adam,
You know, you could always "Favorite" the thread ;)
This project is amazing. I've wanted to dothis with a coupe quattro for the last 20 years. You've inspired me to the point where I just might do it!

de80q
Reader
10/26/18 3:34 a.m.
Bleed242 said:
This project is amazing. I've wanted to dothis with a coupe quattro for the last 20 years. You've inspired me to the point where I just might do it!
If you have one already, do it! I had thought about converting my 80q, but then decided against it. I like beating up all the Honda's in the area on the street too much haha.
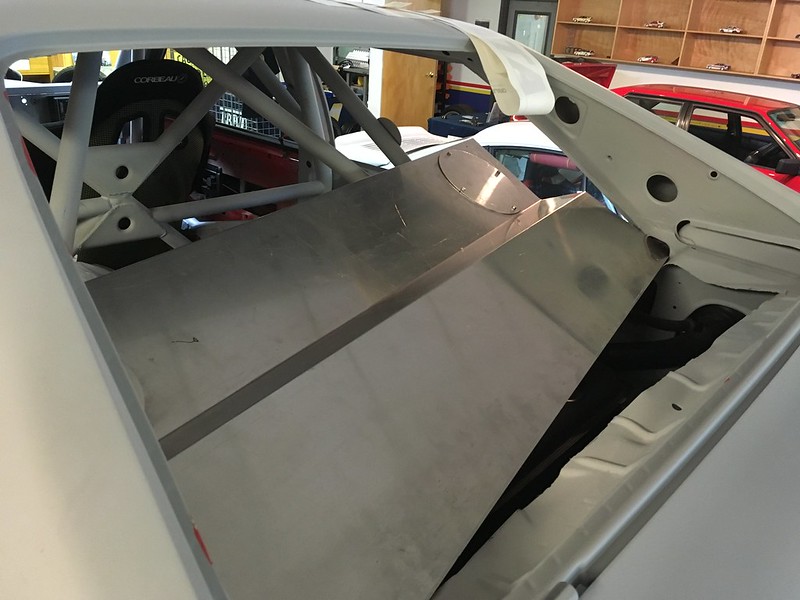
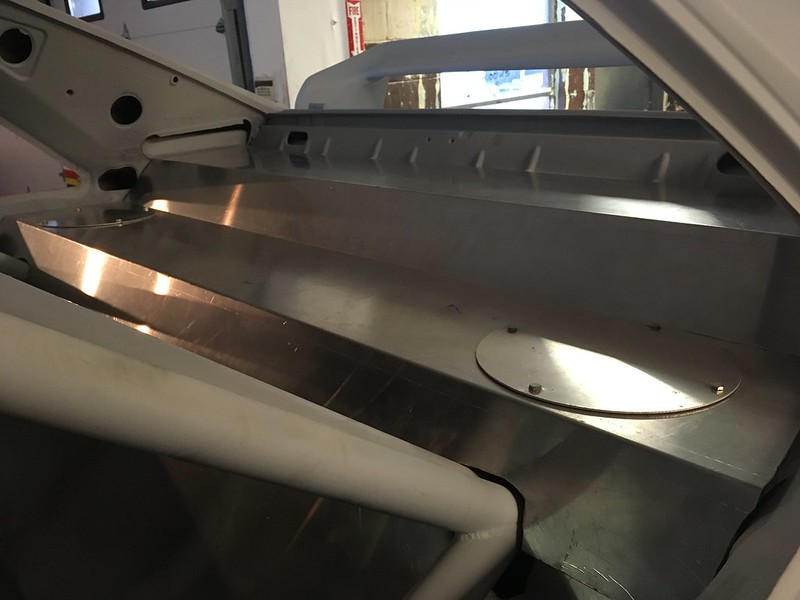
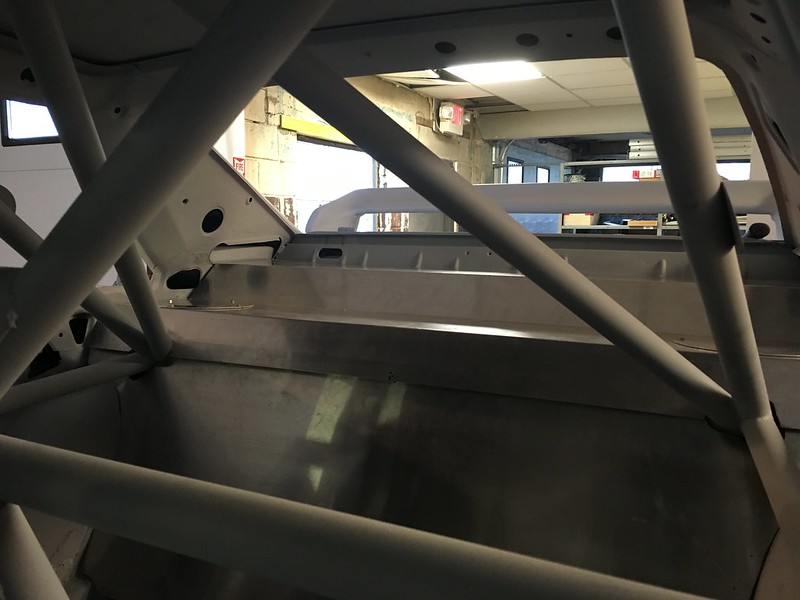
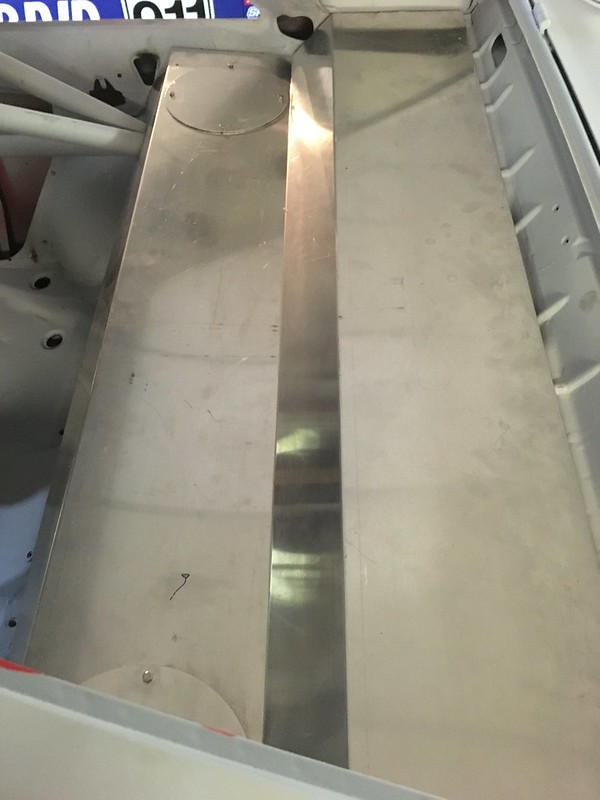
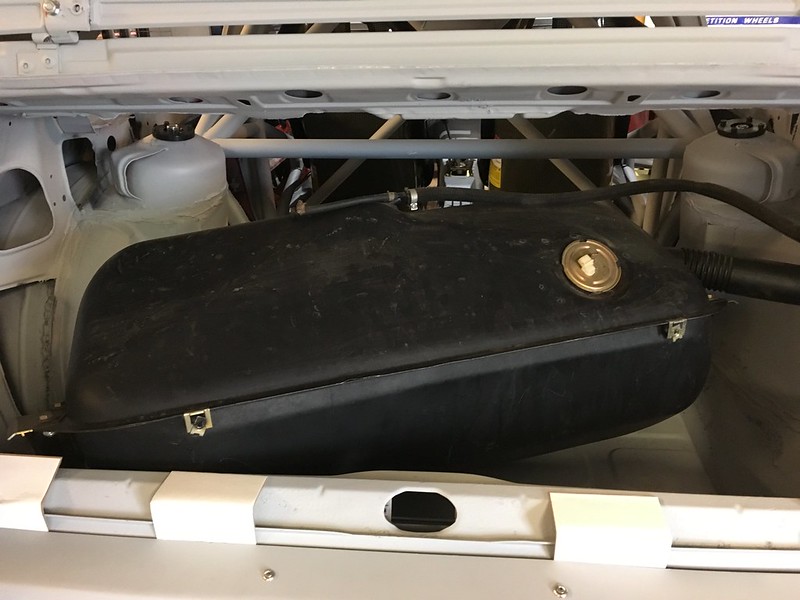
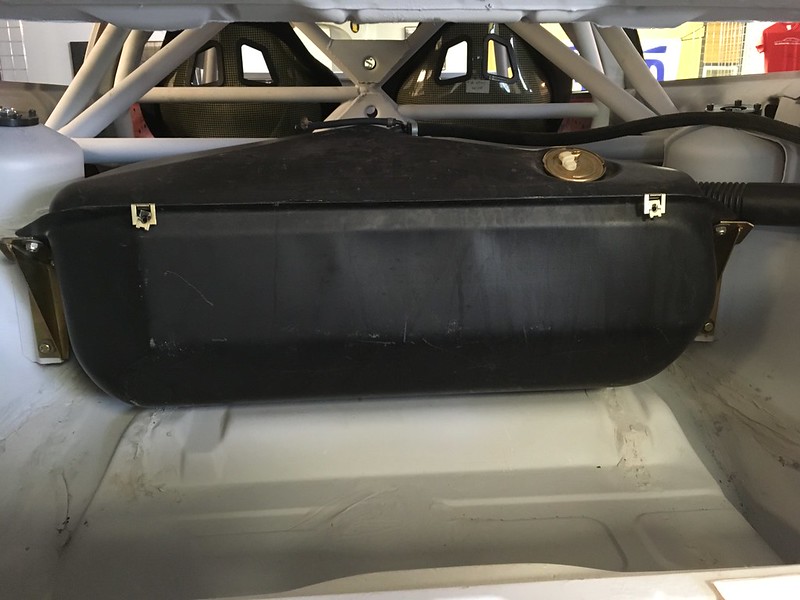
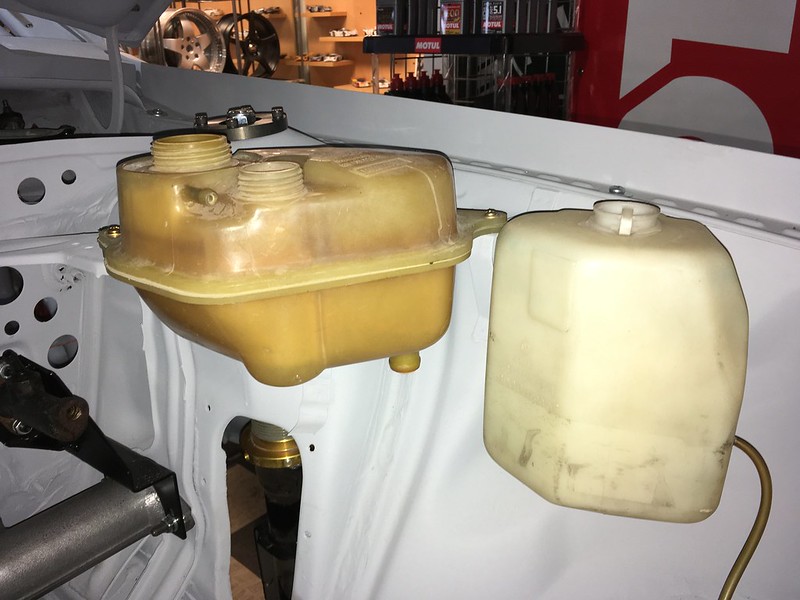
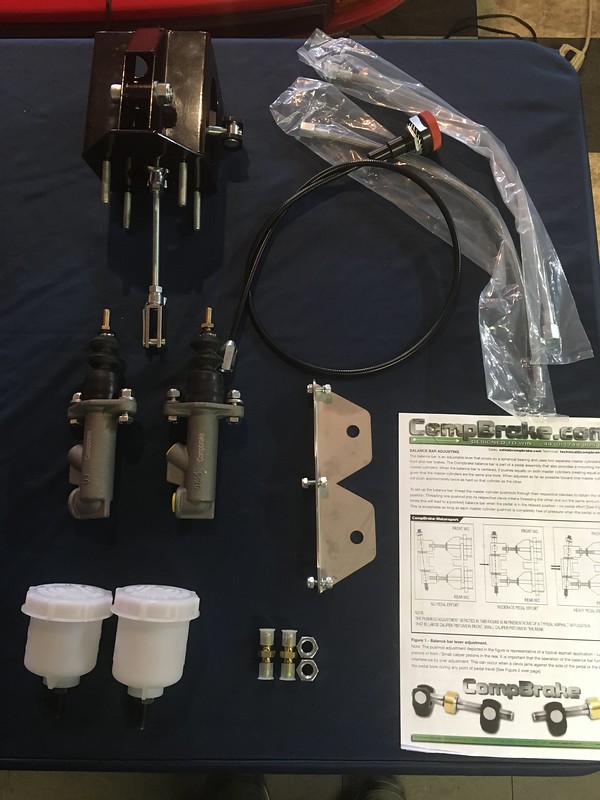
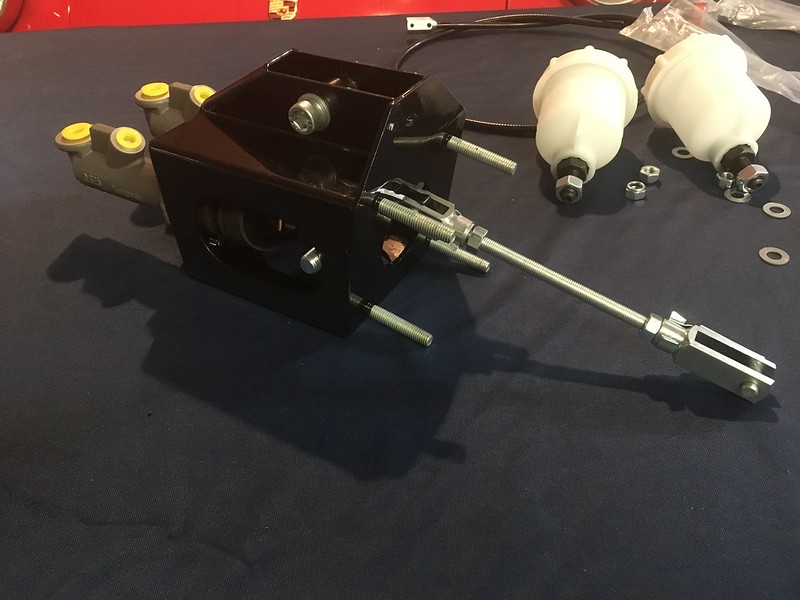
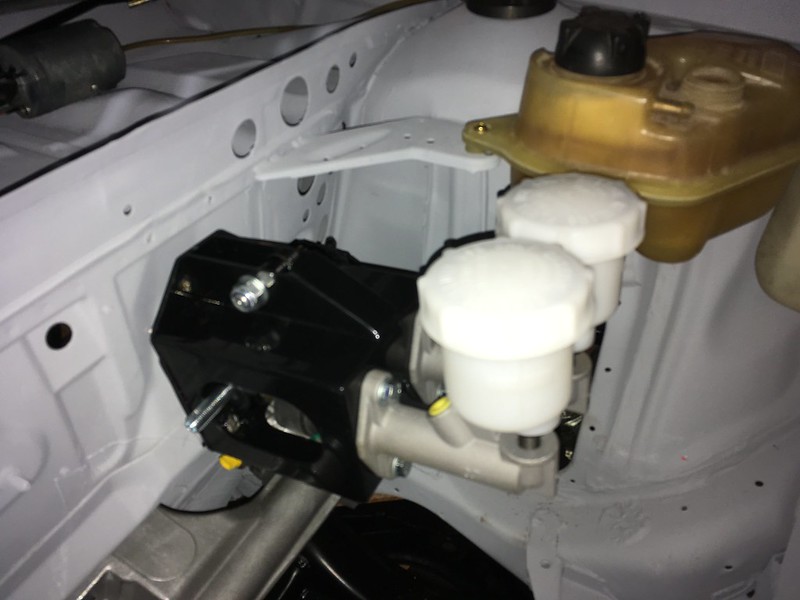
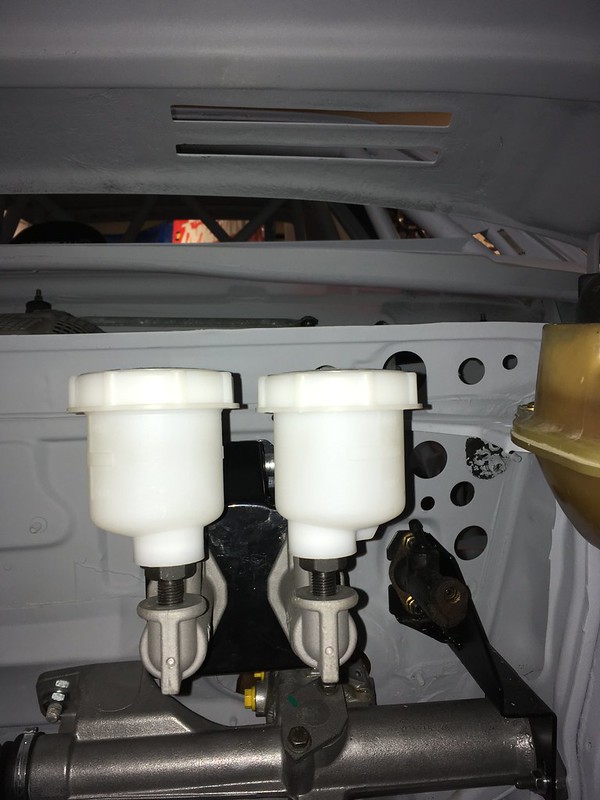
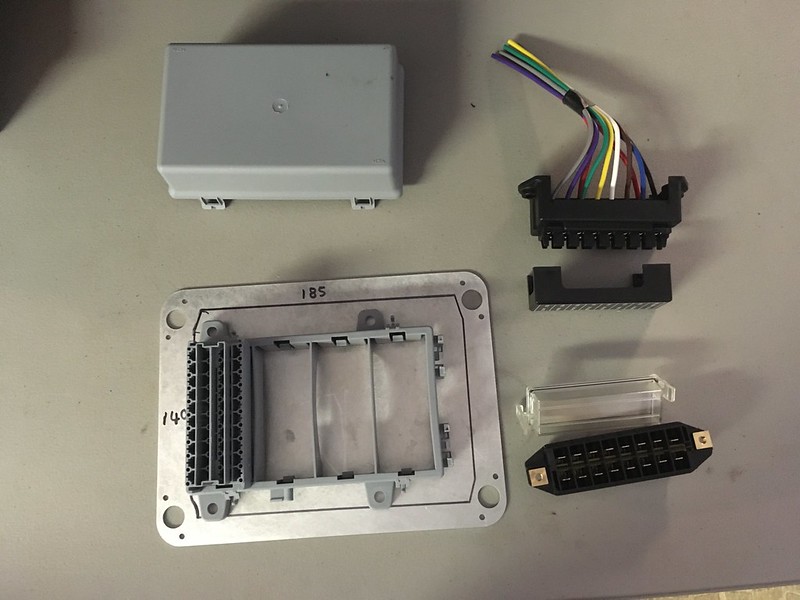
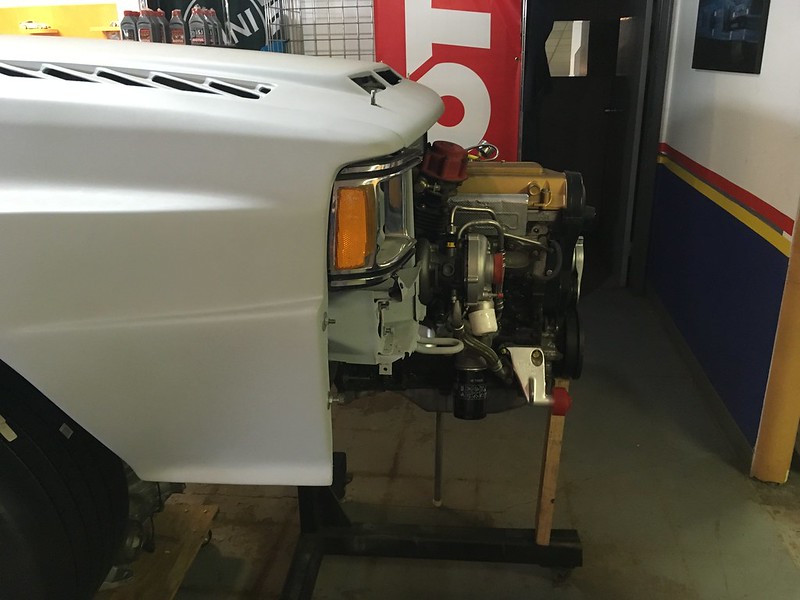
Those reservoirs... Do you think they are supported well enough, especailly in a car that could experience a lot of vibration and bouncing around?
Love your series. By all means continue.
Stu
stu67tiger said:
Those reservoirs... Do you think they are supported well enough, especailly in a car that could experience a lot of vibration and bouncing around?
Love your series. By all means continue.
Stu
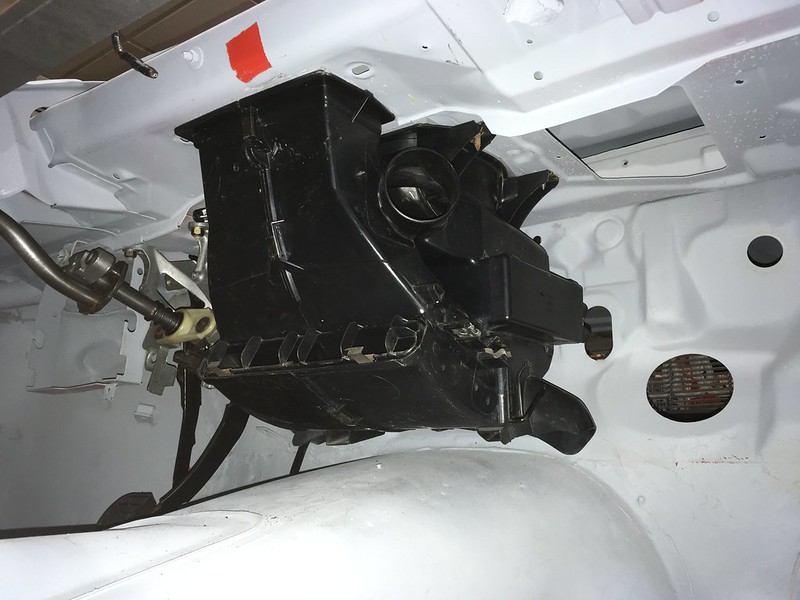
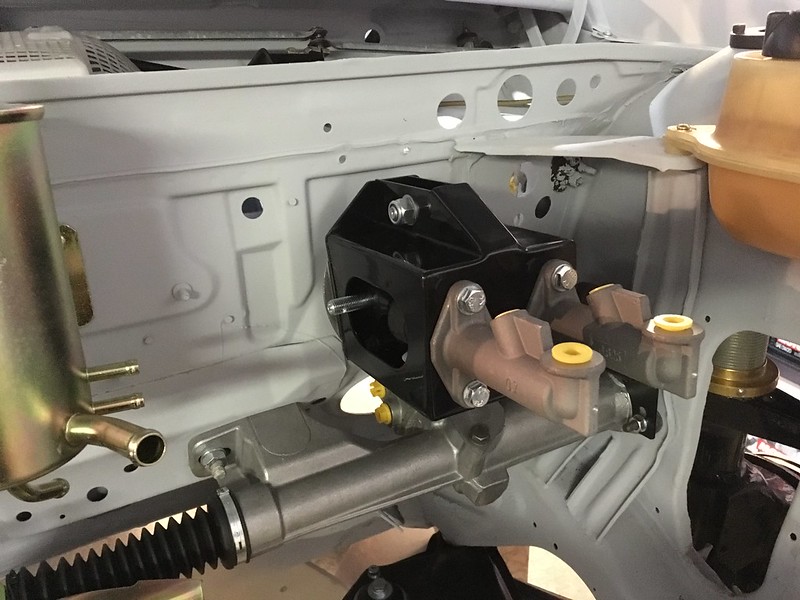
Good point Stu. We haven't committed to them being there yet.

docwyte
UltraDork
7/19/19 6:28 p.m.
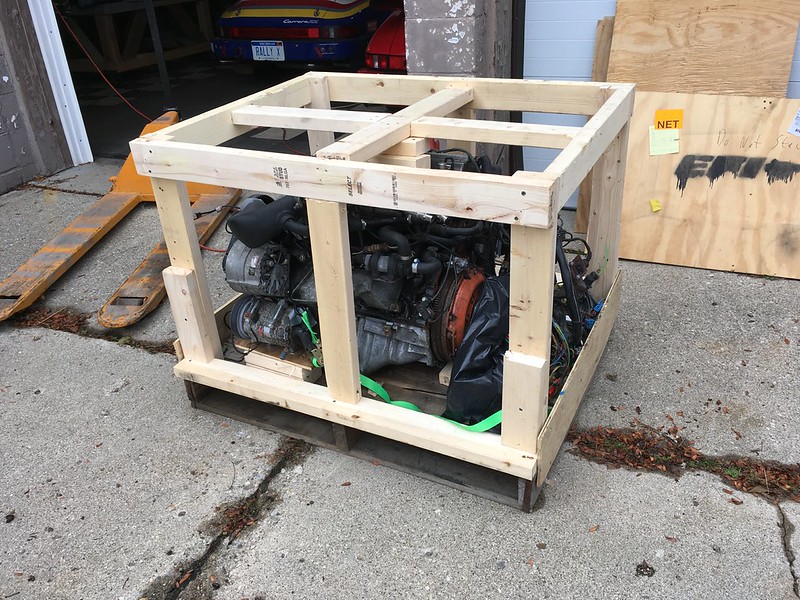
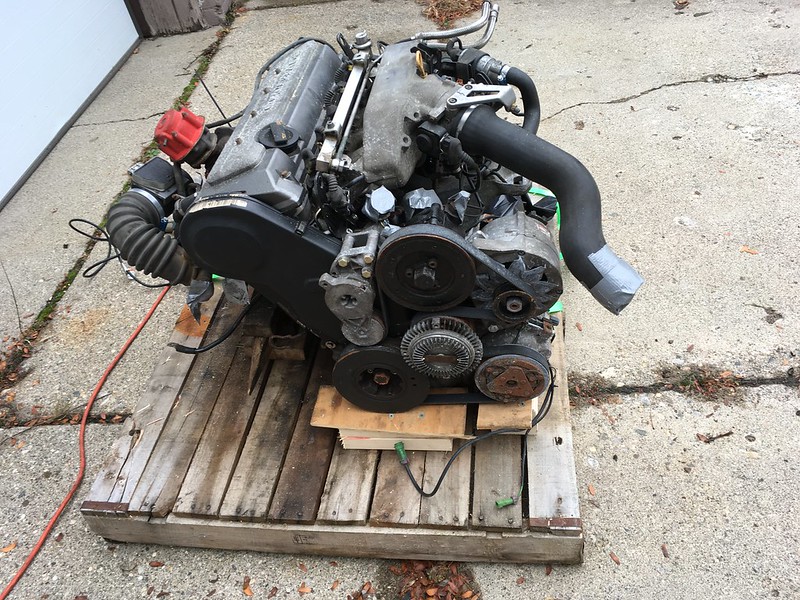
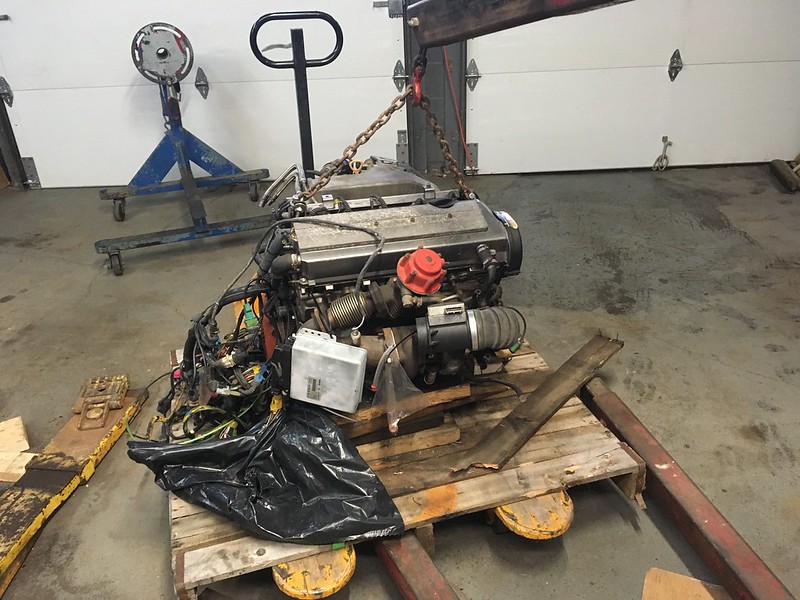
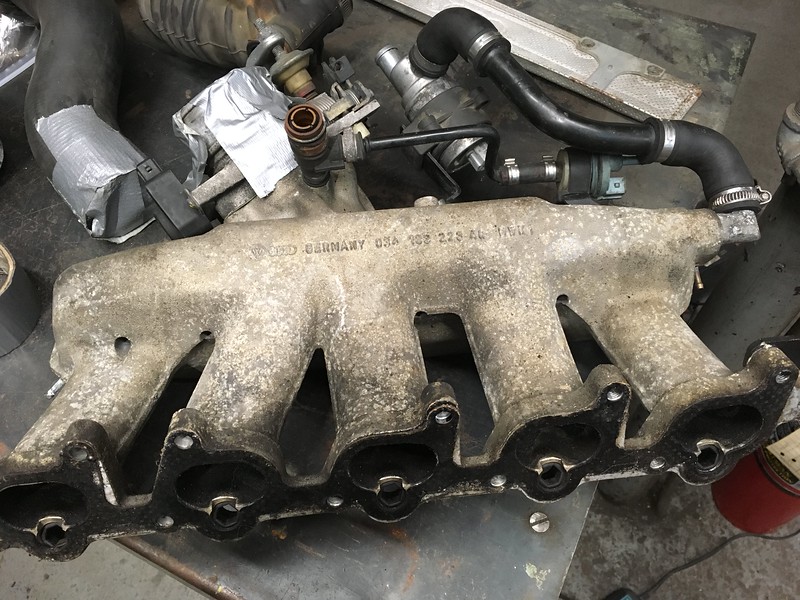
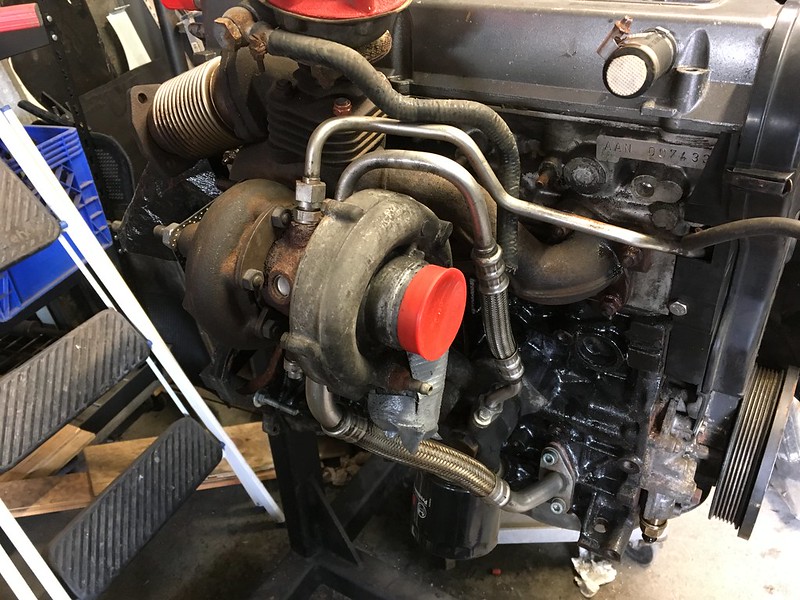
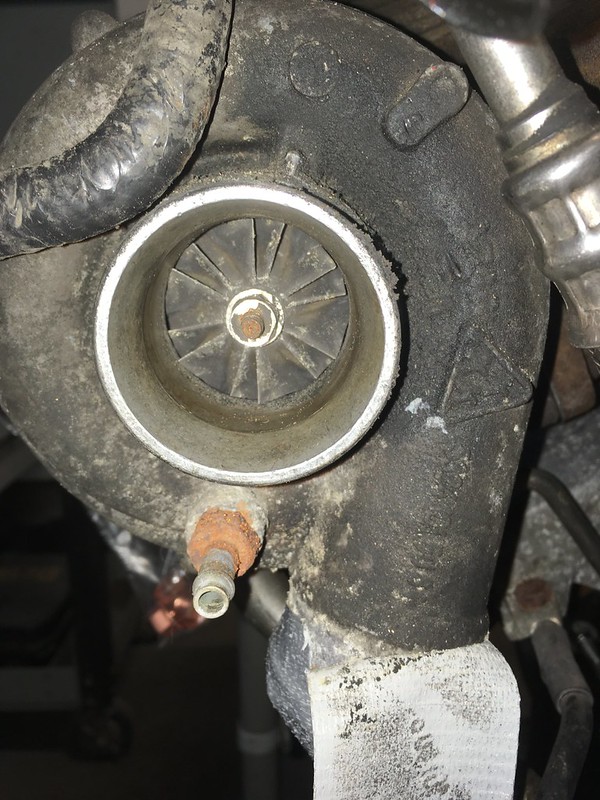
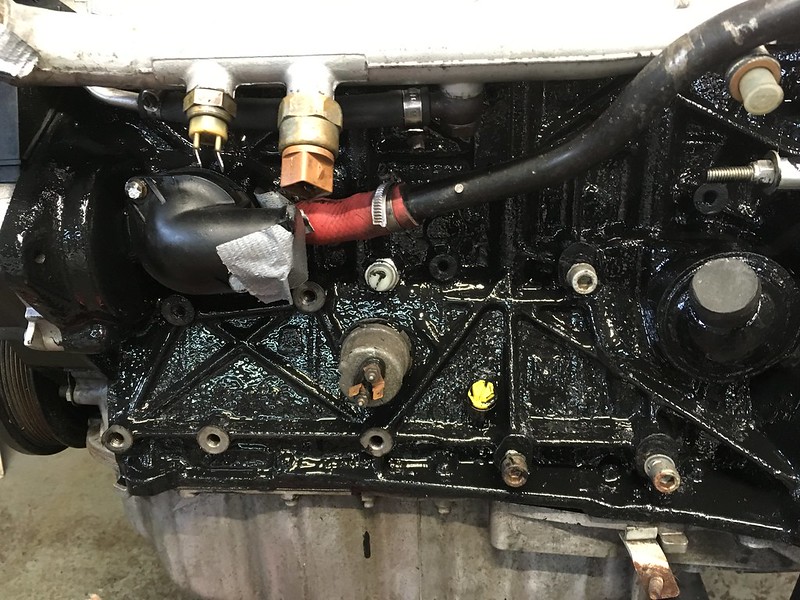
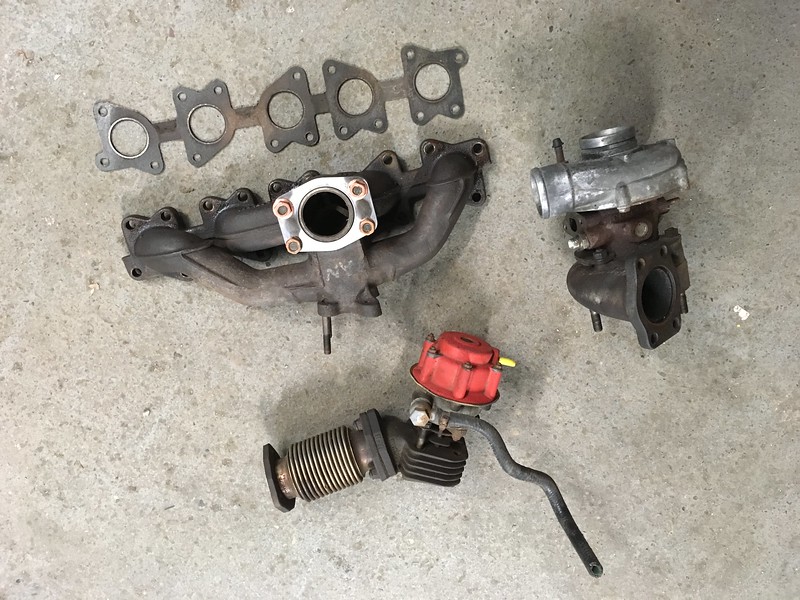
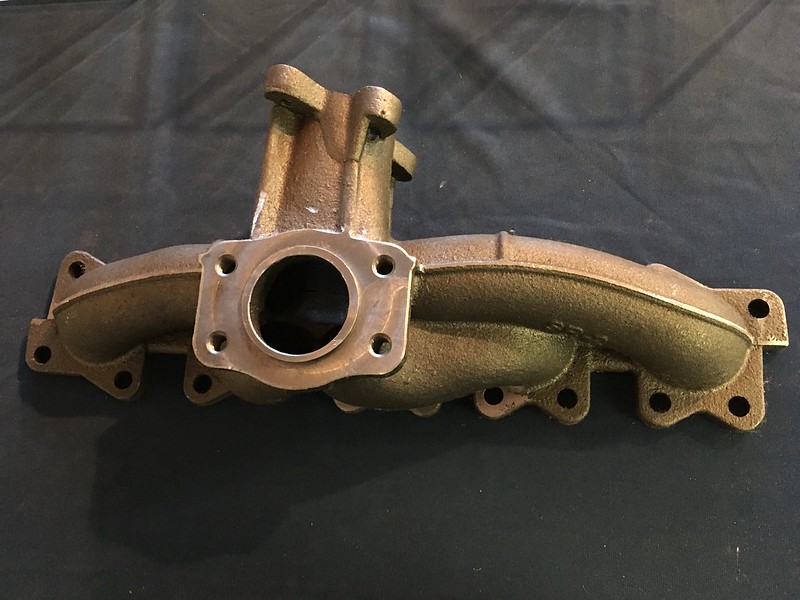
Didn't want to use an RS2 exhaust manifold? Did you have the turbo rebuilt to RS2 specs?