Fortunately we’re working on a 1965 Mustang, not something rare or complex. Used parts and expert advice are readily available, and we’ll use both to help get this classic on track both for vintage and enduro events like those hosted by WRL and Lucky Dog.
What Makes a Racing 9-Inch Rear So Special?
Original Shelby Mustangs used a 9-inch Ford rear end fitted with a Detroit Locker–a ratchet-style, limited-slip differential. The rear brakes were enlarged, with the stock 10-inch drums replaced with 11-inch drums grabbed from a Ford Galaxie.
As a base-model car, our Mustang came with those 10-inch brakes fitted on an 8-inch rear. We needed something beefier.
Do not simply pull a used 9-inch rear end from a salvage yard, insisted Cobra Automotive’s Curt Vogt, our advisor on this Mustang journey. Anything pulled from a street car will be bent or worn out–and when it starts acting up while hauling down Road Atlanta’s back straight, we’d wish that we’d followed his advice.
Start with a new 9-inch rear designed for motorsports, he said. Since these rear ends are racing favorites across so many brands, they’re readily available from a variety of specialists.
We contacted the folks at Spraker Racing Enterprises of Mooresville, North Carolina, as we had met them at a local swap meet. Jeff Spraker was familiar with our needs and explained that he was doing more and more rear ends for HSR competitors and other race car builders.
Curt told us to order a 9-inch rear end housing sized for a 1965 Mustang and fitted with Moser 31-spline axles, an Eaton Detroit Truetrac differential and a 3.70:1 final drive. Other modifications for road racing included a relocated vent hole and flush-mounted drain plug.
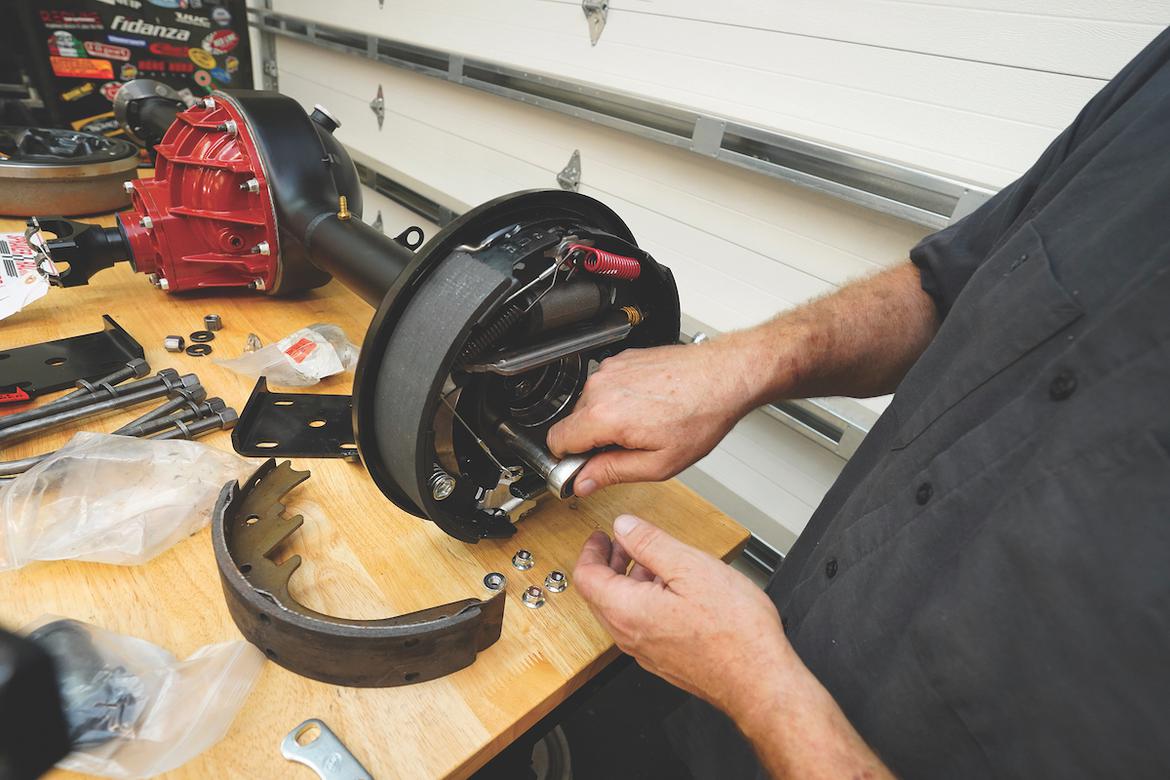
While HSR does allow the Cobra Automotive rear disc brake kit that mostly contains Ford parts, we decided to stick with the tried and true 11-inch rear drums that came on the original Shelbys. This move saved a bit of time and money–about $400. Mounting the competition rear drum kit from Cobra Automotive was very straightforward.
To plumb in those new rear brakes, we turned to Classic Tube. This firm offers stainless and mild steel lines for our early Mustang. Since mild steel is easier to bend and we’re not concerned with road salt or other issues, we opted for the brand’s Hi-Po over the axle rear brake line kit designed specifically for our application. It fit perfectly.

We spent about $3400 on the rear axle, while the competition rear brake kit retails for $1095.95. Could we have saved money with salvage yard parts? Probably. But with some endurance contests in this car’s future, we figured we’d start with a bulletproof driveline that won’t let us down just as we’re getting into competition. Everything also went together perfectly.
Building a Proven, Simple Rear Suspension
An early Mustang rear suspension is dead simple, right? Maybe on a street car, but if you’re building a reliable race car, Curt Vogt and his Cobra Automotive crew are as particular about the rear suspension as they are the rest of the car.
Curt was quick to remind us that our goal is to build a modestly priced Group 3 car, not a Group 5 terror. (Group 3 cars are supposed to remain closer to stock, while Group 5 can get a bit radical.)
He also explained that we needed to get the car safely on track and then we could develop it from there. Speed would come later.
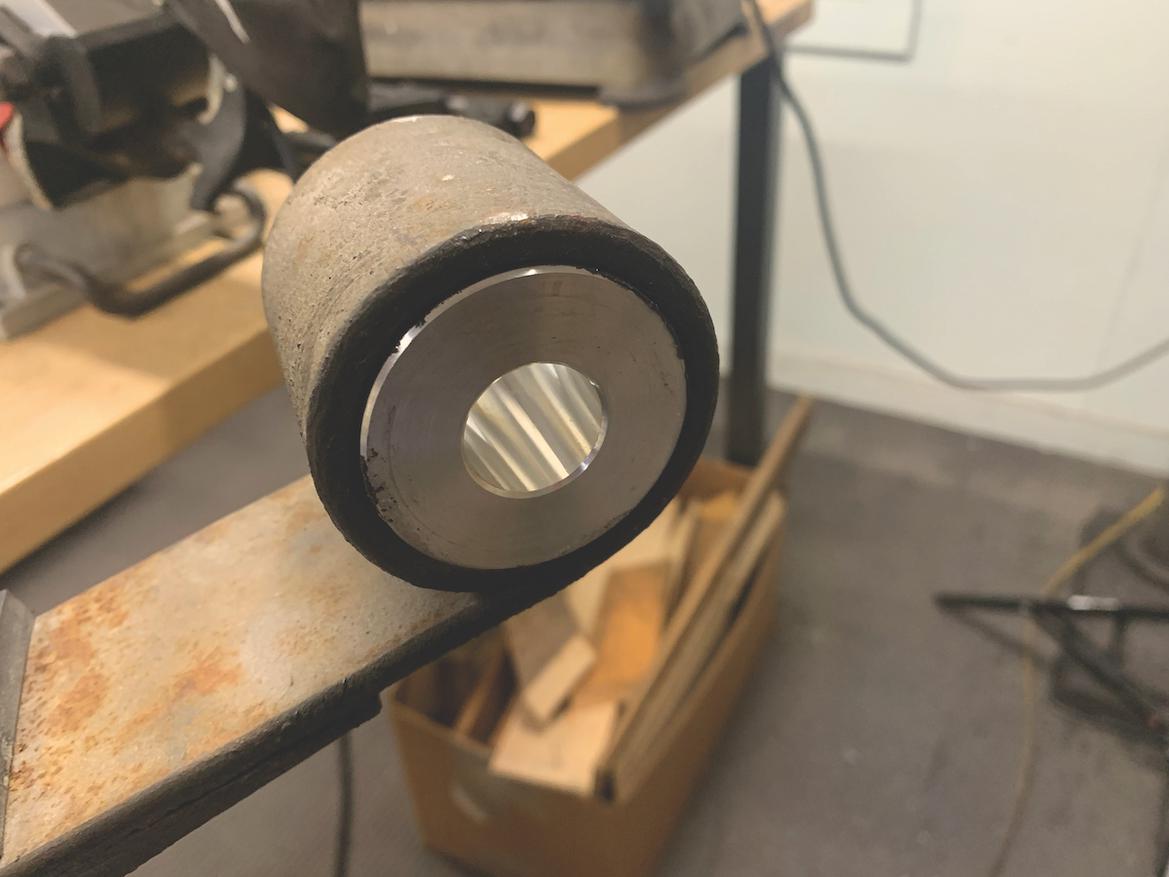
We started with some used, heavy-duty Mustang rear springs from a company called Standen’s. Start here, Curt said, before moving to his sliding spring mounts. We mounted these springs using Cobra Automotive’s Aluminum Competition Front Eye Bushings: an aluminum center paired with Delrin end plates. They’re designed to eliminate deflection commonly encountered on track.
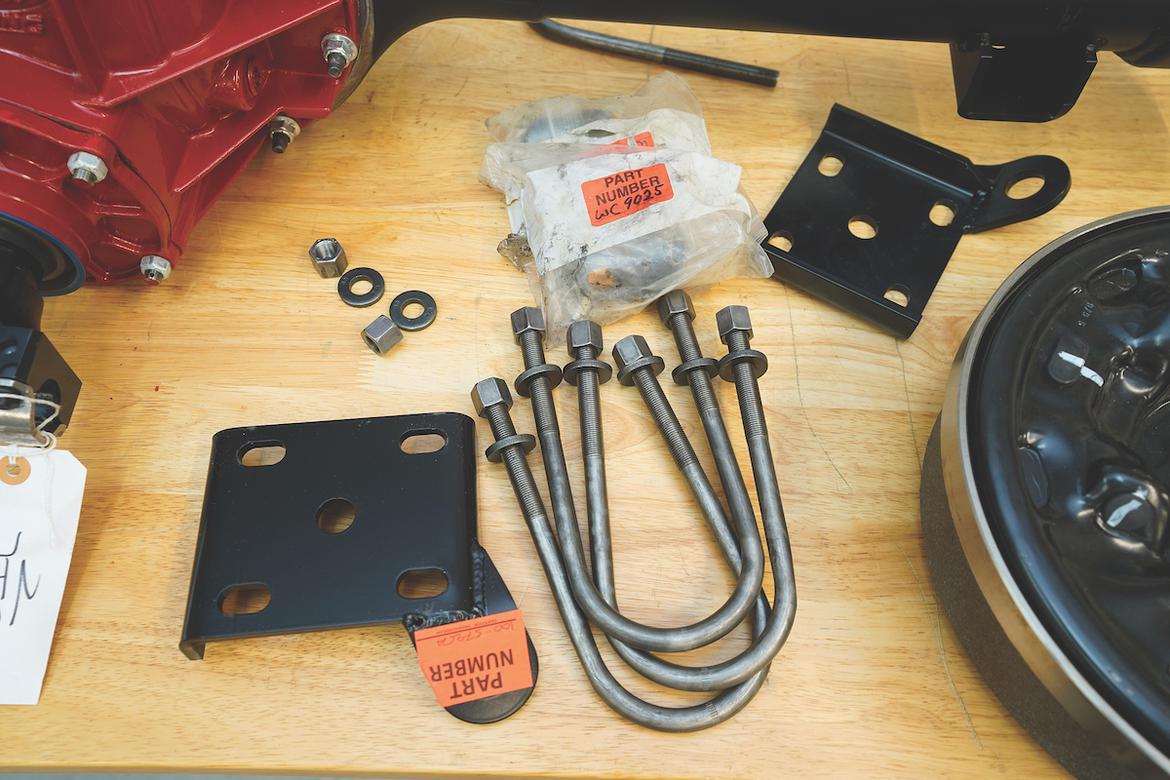
At the rear of the leaf springs, we used Cobra Automotive’s Street and High Performance Shackle Kit that combines polyurethane bushings with beefy end plates. The intention was to keep the springs from moving back and forth when cornering. We used these in conjunction with , as shown here, the firm’s race-designed rear spring shackles, heavy-duty U-bolts and heavy-duty spring plates.
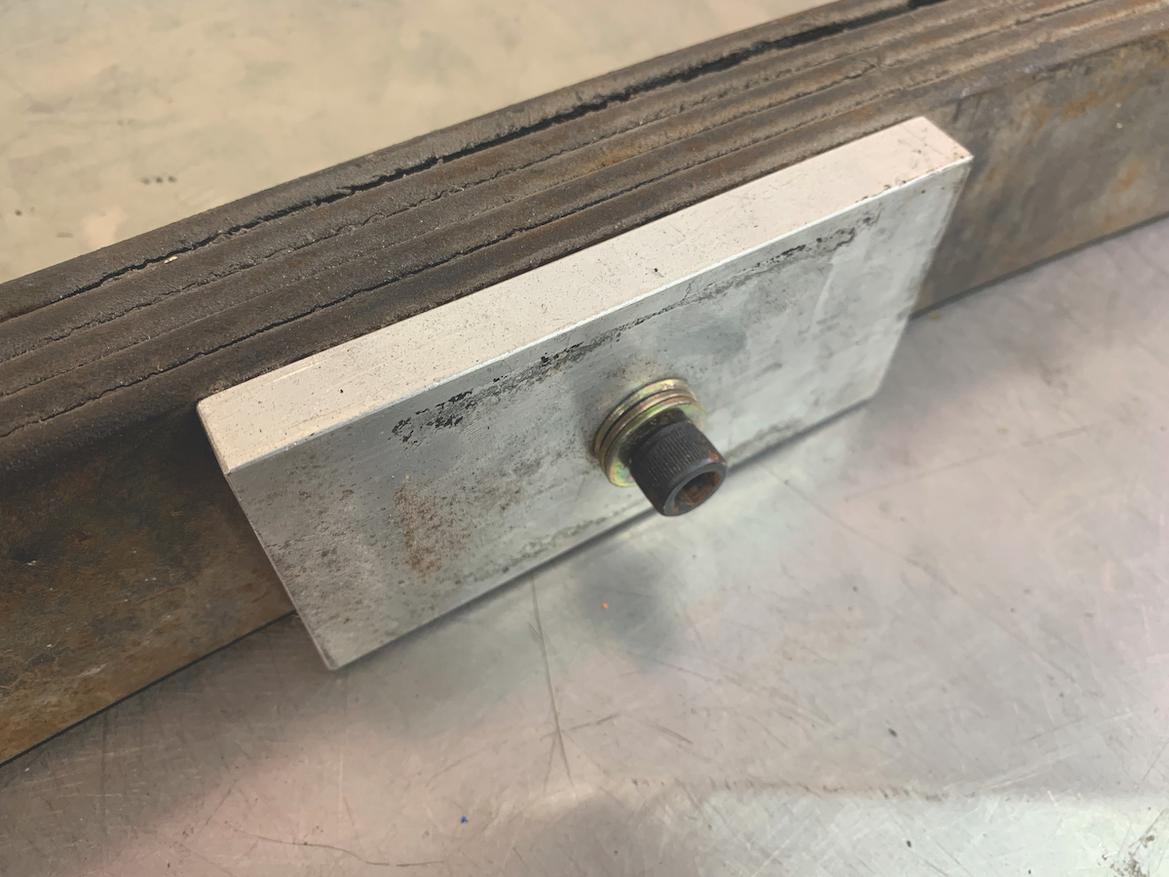
The stock center pin used to locate the Mustang’s leaf springs is a weak 5/16-inch affair that’s just not up to racing. We drilled out the stock pin with a hardened drill bit and then installed a hardened 3/8-inch hex-head bolt. This setup will use the head of the fastener as an alignment pin and also keep the springs properly snug. A simple yet effective half-inch lowering block helped lower ride height a bit, too.
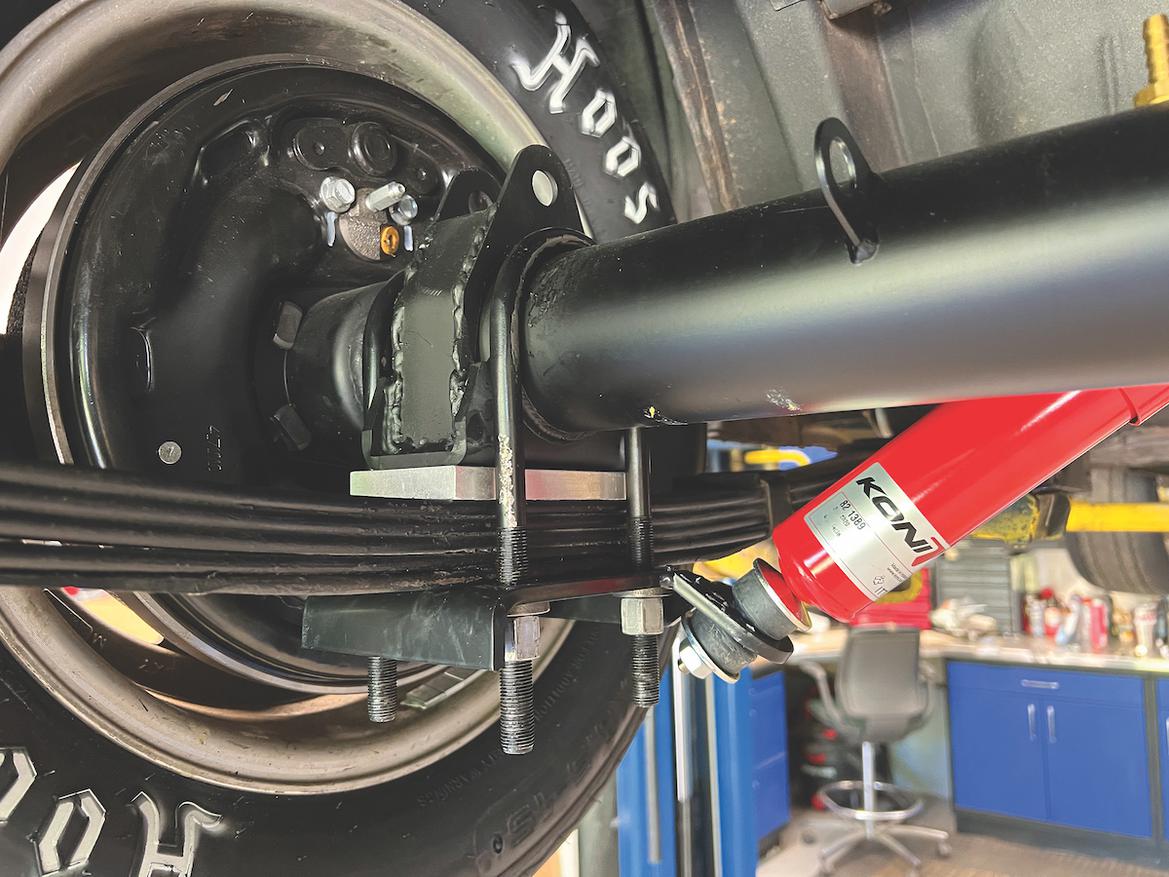
We then mounted Koni Classic rear shock absorbers as originally fitted to both street and race Shelbys. We’ll adjust the stiffness once we’re out on track. (While popular in motorsports today, remote-reservoir shocks are not allowed in our Group 3 class.)
Employing an Old Shelby Trick: Traction Bars
More cribbing from the Shelby playbook: traction bars that mount through the body. Curt said that as long as we used his heavy-duty spring hardware, a Panhard bar wasn’t necessary.
We did want to install traction bars, though. While Cobra Automotive makes a DIY mount kit for those Shelby-style bars, we scored some used Afco bars.
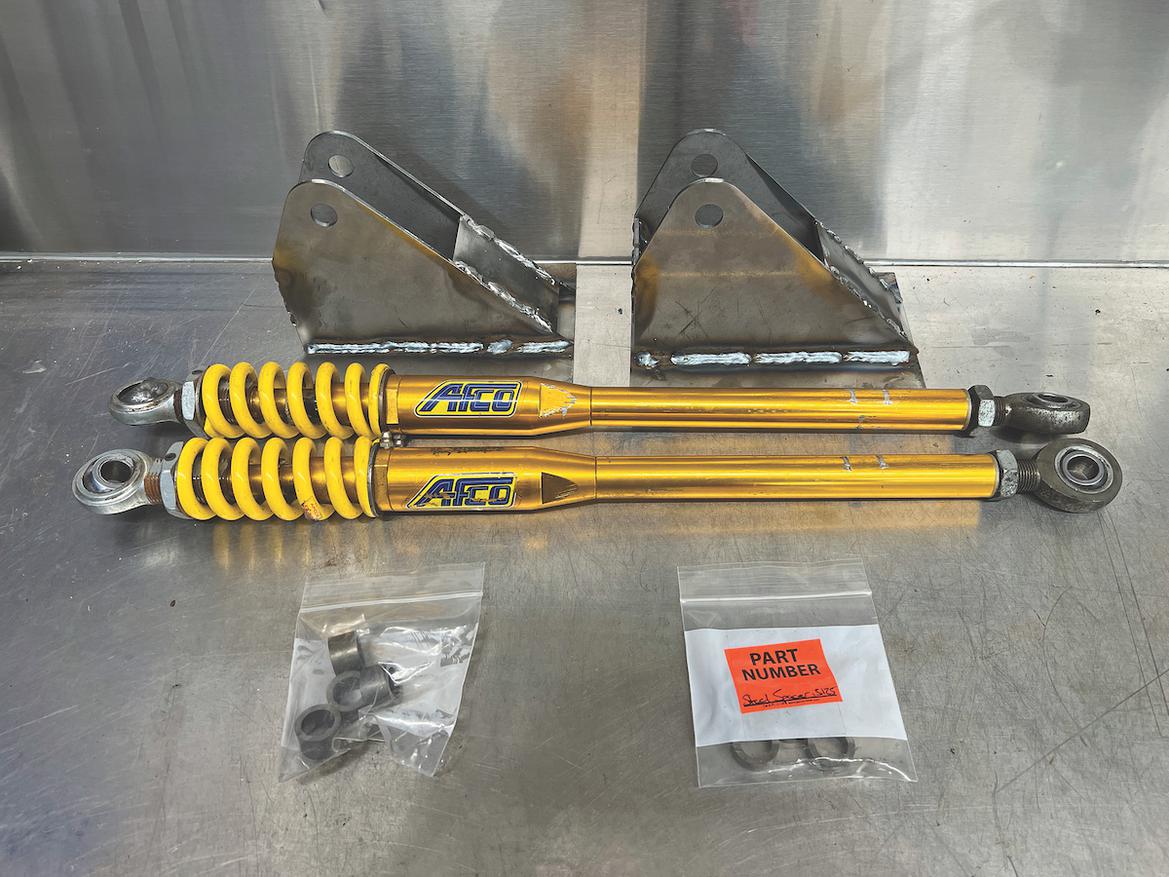
Our Afco bars feature adjustable preload as well as springs that soften the bars’ action.
To keep the axle cool while grinding and then welding on those mounts, we used wet rags.

To assemble the traction bar mounting brackets, we jigged them in a vise and MIG-welded them together. The process was straightforward, and the kit fit together well.
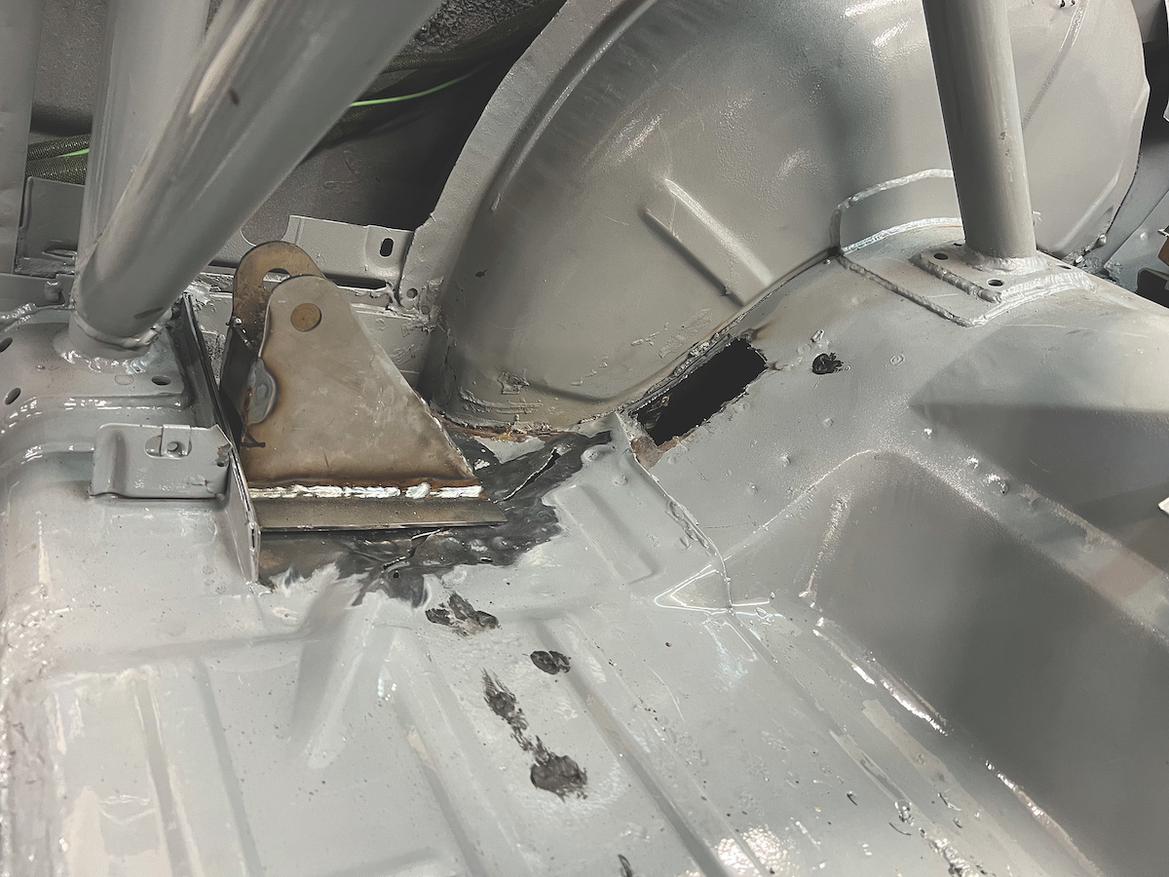
Just as Shelby did, we had to cut the body and weld more mounts to the floor. Curt said to wait to mount these brackets until we had the car about finished and full of fuel so we could properly set the preset for these bars. We’d then seal those openings with some rubber tube-like material.
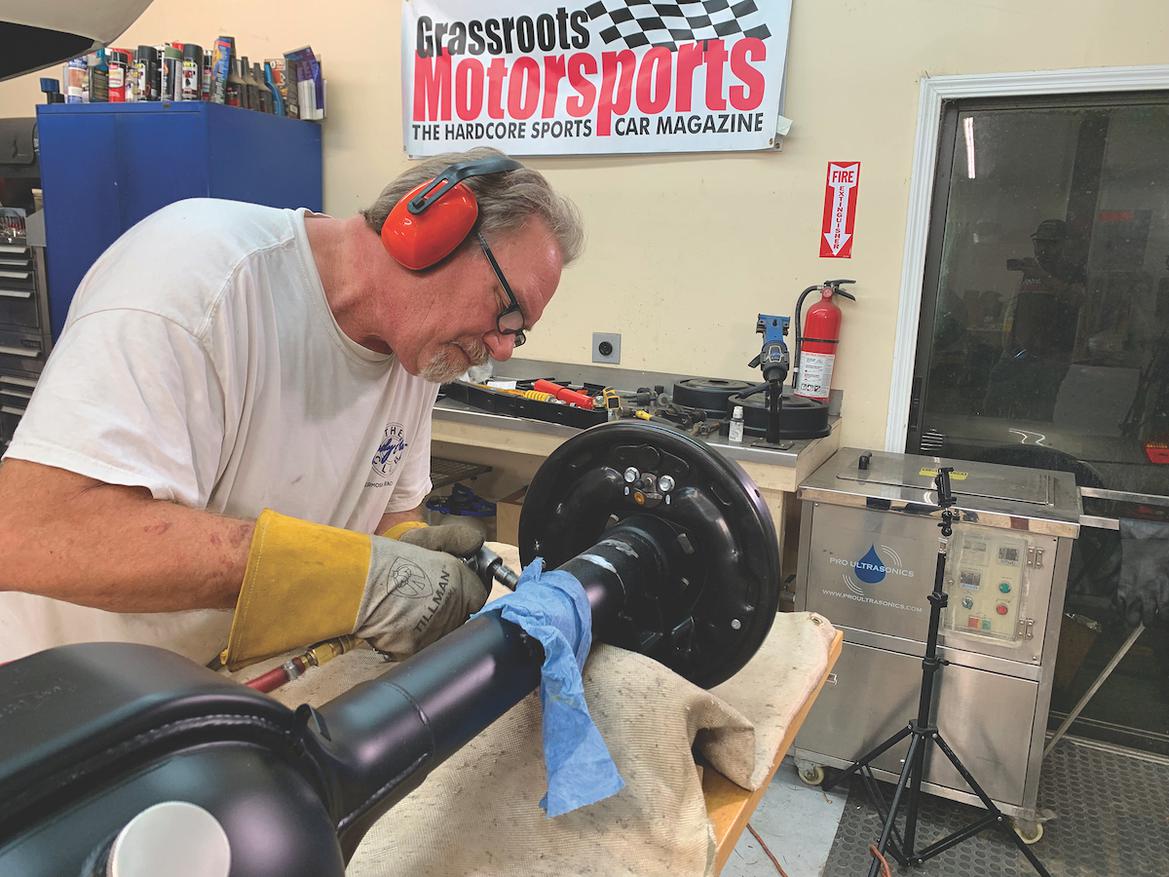
Freshening Our New/Used Driveshaft
Our Mustang didn’t come with a driveshaft, but we scored a good used one at Cobra Automotive. (Notice a theme here?) While the U-joints seemed okay, we wanted fresh ones before hitting the track.
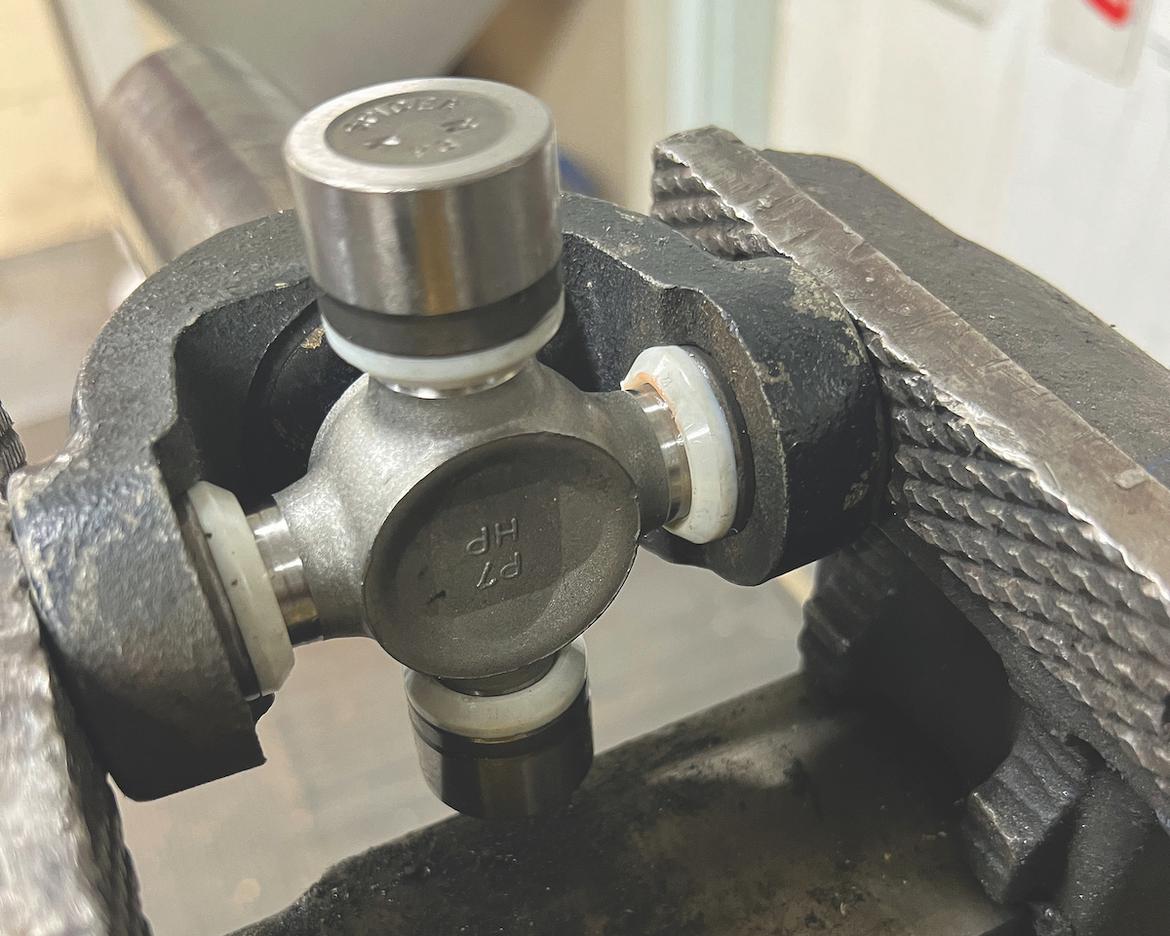
The crew at Cobra Automotive recommended heavy-duty Spicer U-joints instead of no-name replacements. The part No. is 5-1330X, and they cost about $30 each. These heavy-duty U-joints were used in a lot of trucks but also work as high-performance upgrades for cars.
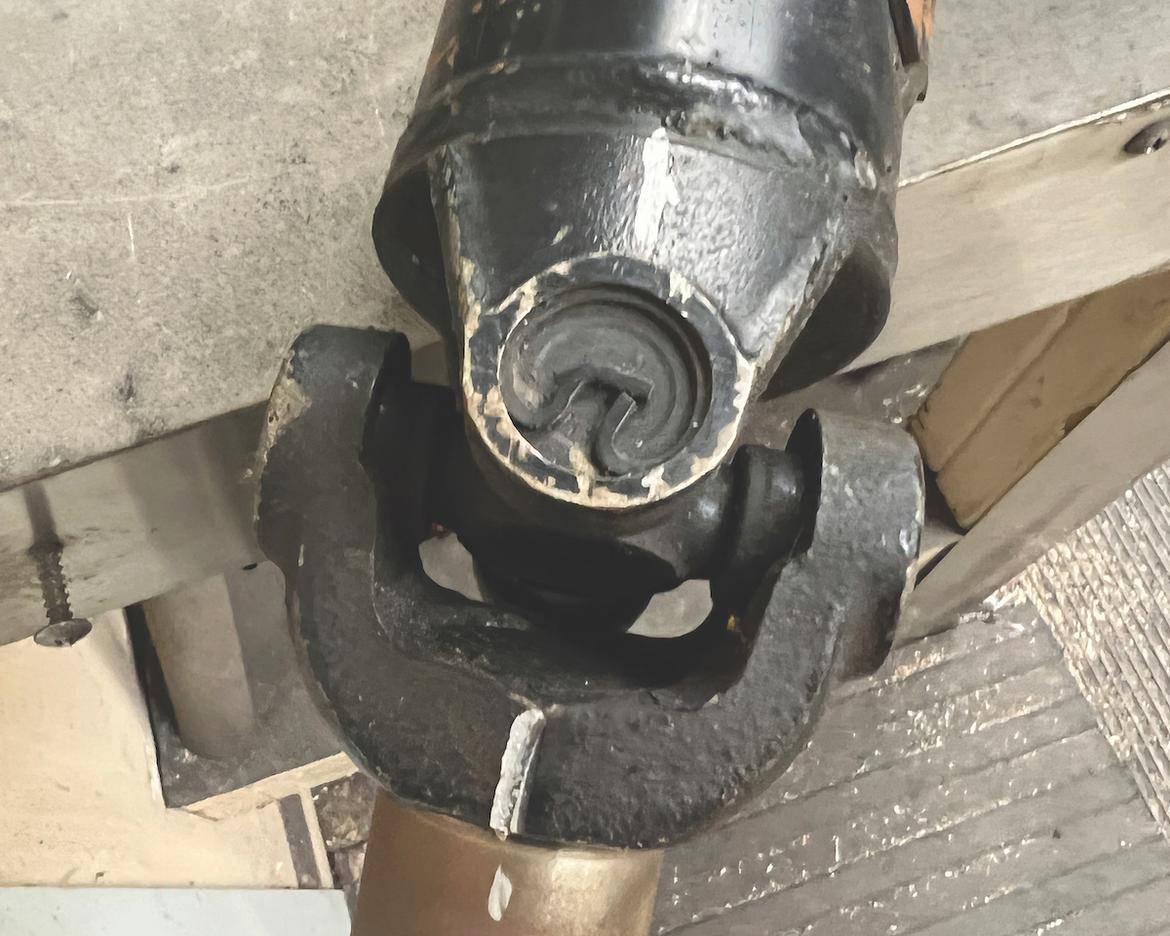
Our Roltek transmission measures about an inch and a half shorter than a Ford Toploader or BorgWarner T-10, so we had a local shop lengthen and balance the driveshaft accordingly. Before pressing out the old joints, we marked everything. We also scuffed and painted the driveshaft.
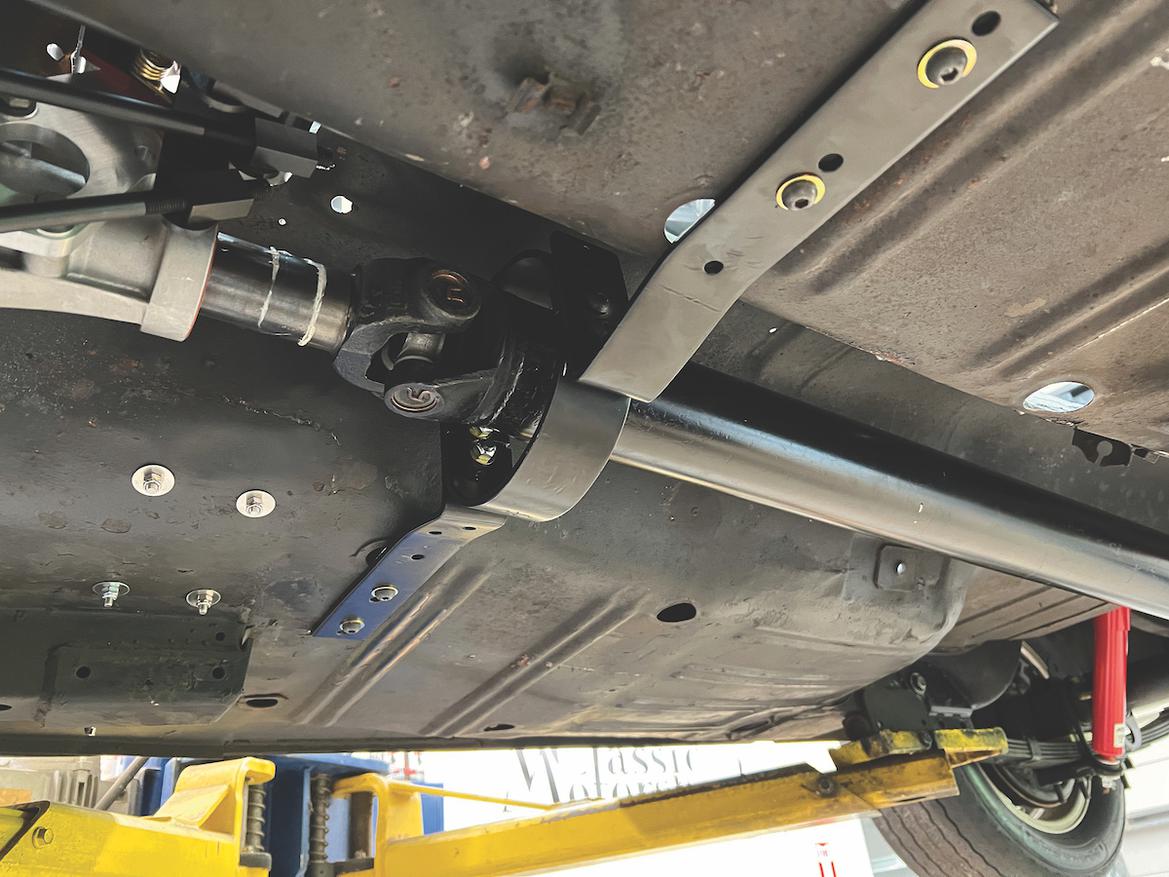
Early Shelbys came with a driveshaft loop to prevent the cars from pole vaulting should a front U-joint fail. We found a used loop at Cobra Automotive. Before installation, we cleaned and powder-coated it.


 Photography by Chris Tropea


