We see this question asked and answered every day in online forums with respect to wheel-and-tire packages, especially when it comes to lowered cars.
The answers often provide conflicting information due to varied alignment, ride height, spring rates and coil-over packaging. Having the right combination of parts on your car is only half the battle. Dialing it all in optimally is key to maximizing performance.
A fair bit of track testing helped us determine the best spring rates for our setup: 10K fronts along with 4K rears. (In standard units, that would mean 560 lbs./in. fronts and 224 lbs./in. rears.) This combination provided the fastest lap times along with street manners that we could live with.
But we still had a problem: The supplied bump stops were too short for our needs and allowed for more rubbing than we’d like.
What’s a Bump Stop?
For any given road or track, the spring rate will mostly determine the suspension travel–assuming it’s properly damped and doesn’t allow any physical contact. Stiffer springs allow less travel, which accommodates lowered ride heights, which in turn offers both handling and aero benefits.
But there will always be a bump in some road severe enough to exceed that damped spring, so we needed something to limit the travel and prevent the shock from bottoming out in extreme situations. That’s where the aptly named bump stop comes into play.
Think of bump stops as pieces of rubber or similarly soft material that act as progressive-rate springs. They come in all shapes and sizes. They’re usually found on the damper’s shaft, but they could be placed elsewhere in a suspension setup.
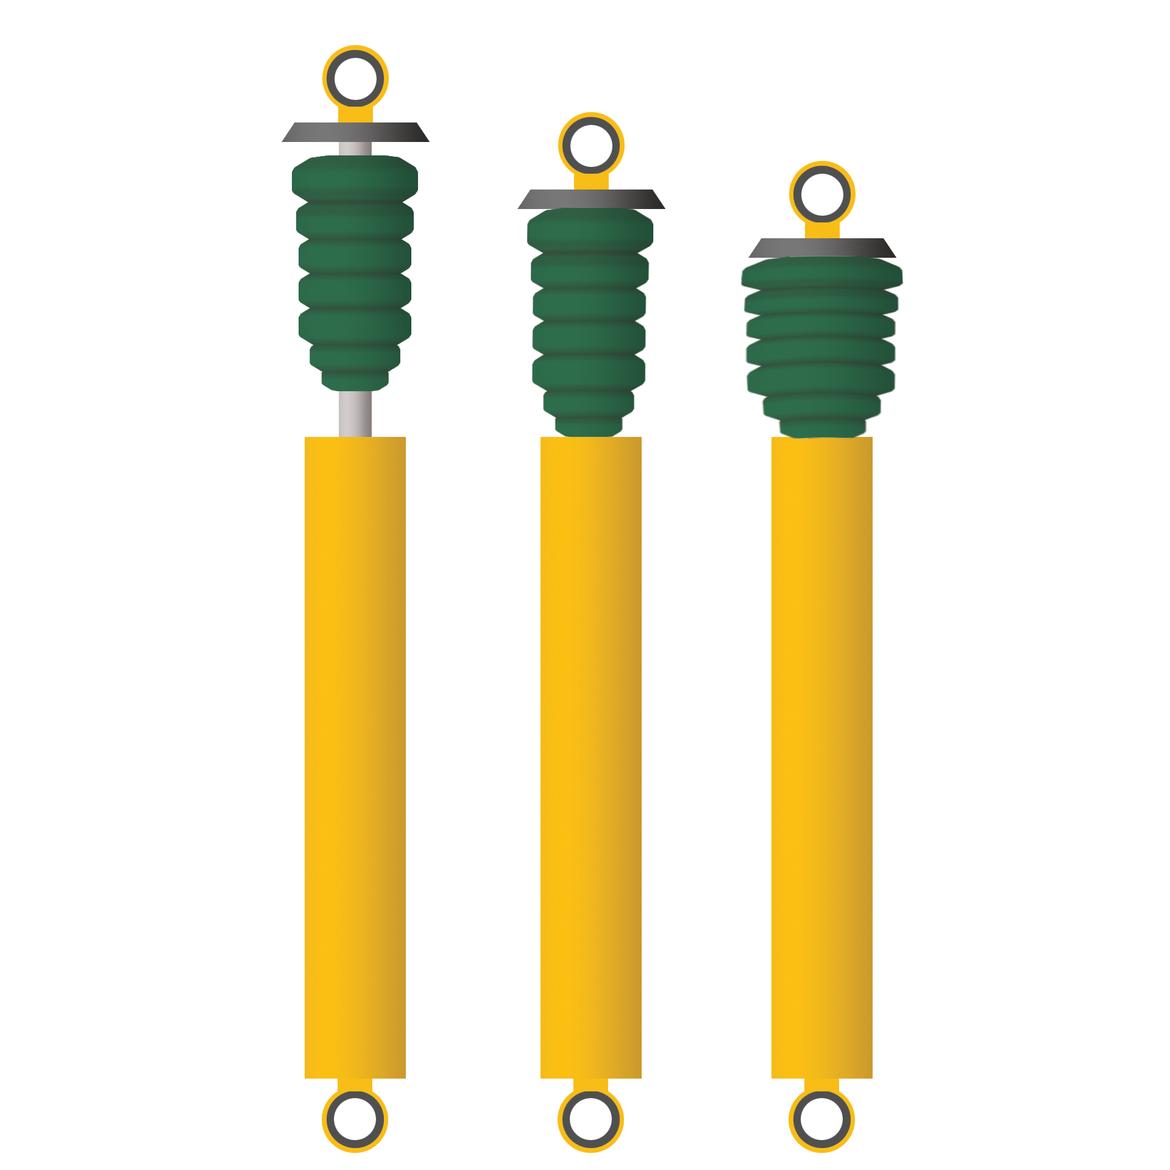
In most setups, bump stops float on the damper shaft and act as progressive rate springs when engaged. Photography Credit: Andy Hollis
In OE applications, they’re typically very long and have enough spring rate to provide smooth engagement throughout the suspension’s travel. Depending on the application, a vehicle might well often engage the bump stops, but in this case, that’s a good thing: Picture these bump stops acting as progressive rate springs when engaged.
In motorsports, where travel is much more limited, bump stops are more of a fail-safe that prevents the damper from internally bottoming out. They also prevent body contact–like, say, a tire hitting an inner fender. A shorter, stiffer bump stop allows more use of the linear range of the primary spring, but that’s at the expense of a more abrupt change of rate upon impact.
Our RedShift coil-overs shipped with fairly short, stiff bump stops. We then added a spacer to limit compression travel to just shy of tire-to-inner fender interference.
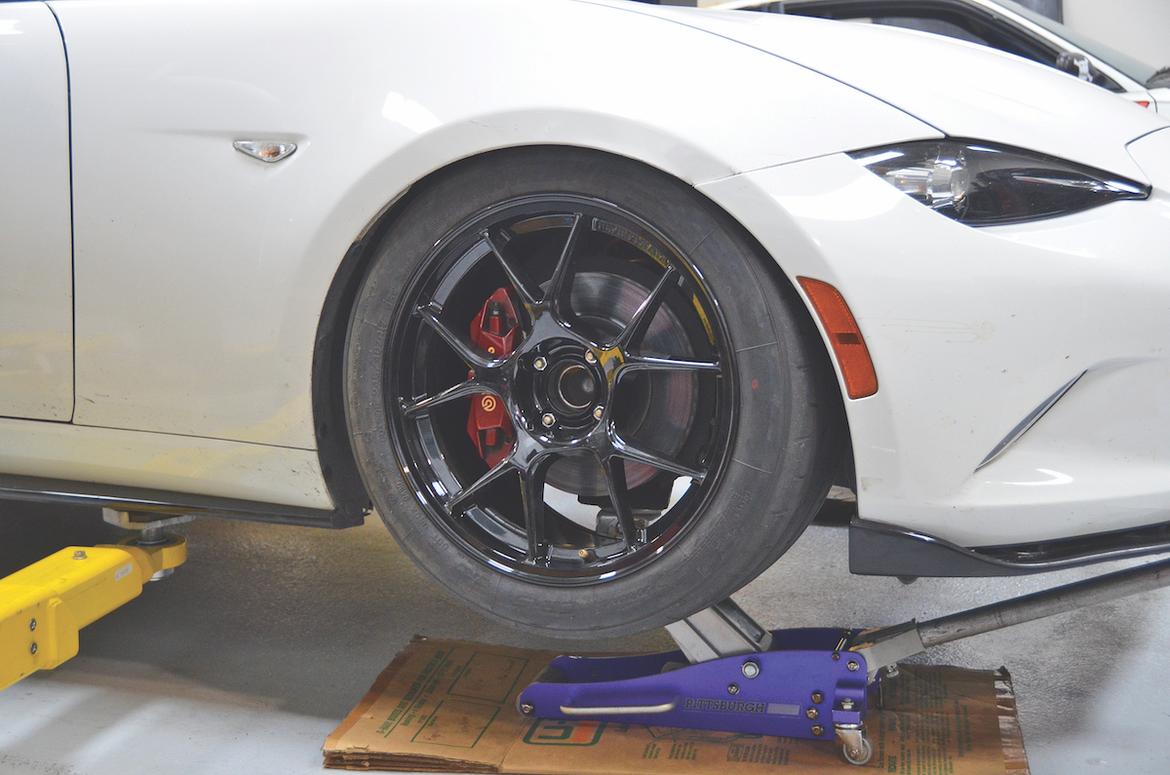
To measure how much spacer our bump stops needed, we first measured travel with our tires and Flyin’ Miata Kogeki wheels in place. Photography Credit: Andy Hollis
To make that spacer, we removed the spring from the coil-over, disconnected the anti-roll bar, pushed the bump stop down onto the shock body, and jacked up that corner of the suspension until contact was made. After lowering that corner of the suspension, the position of the bump stop showed us how much unusable travel we needed to eliminate.
Then we simply cut a piece of Delrin rod. The good news is that this approach worked quite well to eliminate all body contact. The bad news is that this setup did so at the expense of total suspension travel.
So, how could we gain back suspension travel? To maintain ride height when a stiffer spring is installed, the coil-over must be adjusted to compensate for the reduced static deflection.
With a one-piece damper, the lower perch is moved downward, which can leave the spring loose under extreme extension situations. With a two-piece design, like our RedShift units, the effective body length can be adjusted so the spring stays tight on its perches. A side effect of this approach is that droop travel is reduced in favor of bump.
Since we were making small, incremental changes and had plenty of available travel, we initially changed the body length. By the time we established our final spring choice, though, we had removed almost 1 inch of damper rebound travel, which translates to nearly 2inches at the wheels. Moreover, we had increased the potential for bump-induced tire contact by that same 1 inch, necessitating an even bigger spacer.
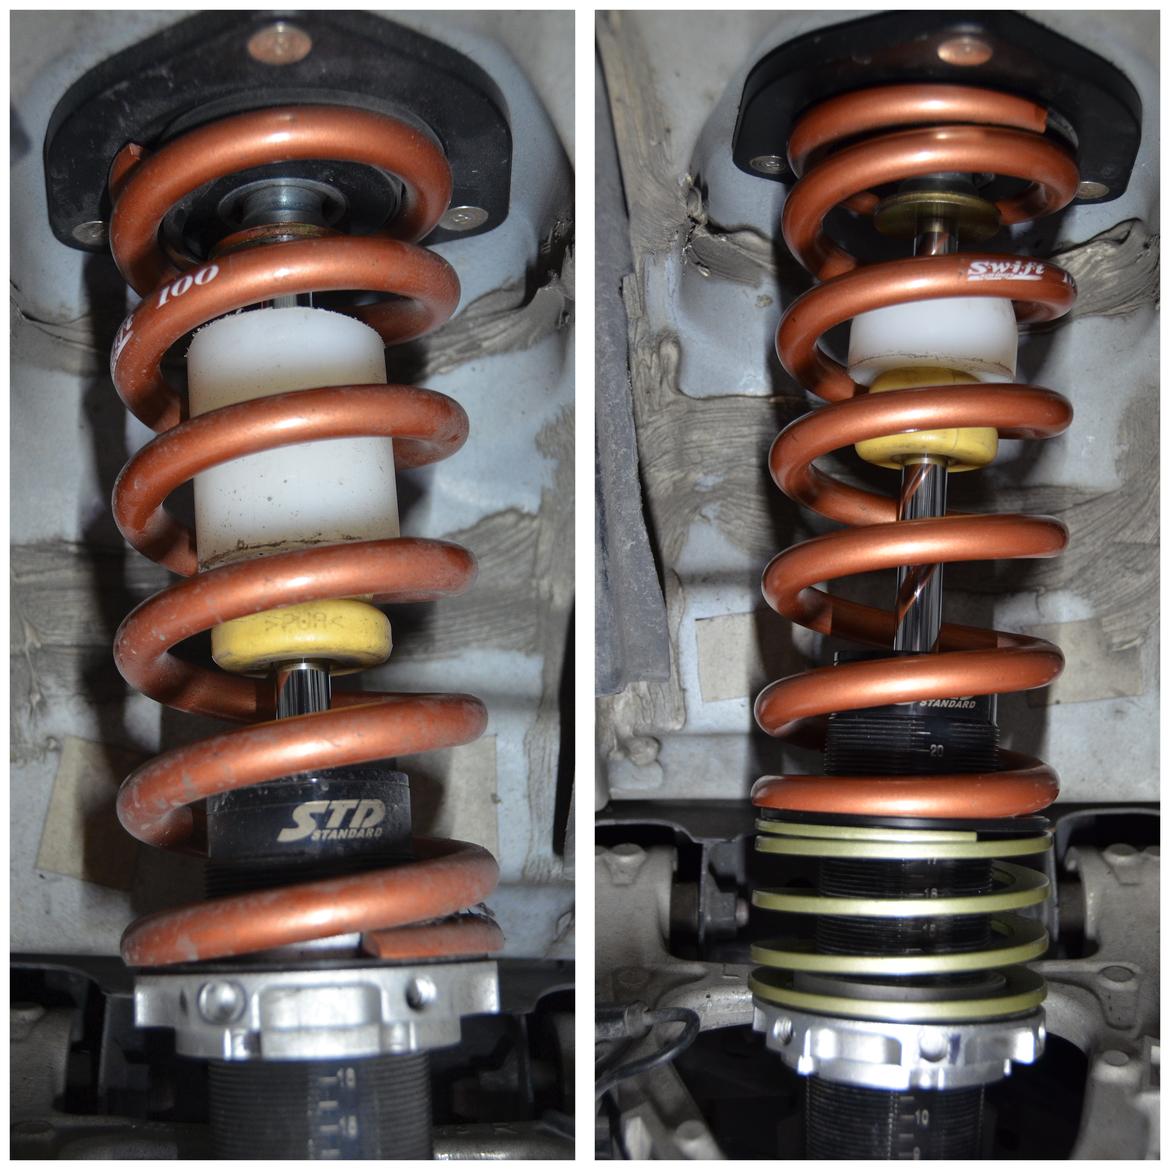
We initially cut a large spacer from Delrin, but installing helper springs allowed us to lower the bottom spring perch and regain shock travel. Photography Credit: Andy Hollis
This approach worked well on track, but a more elegant solution beckoned: helper springs. These low-rate add-ons fit underneath the primary springs to take up any slack yet have just enough rate to keep everything in place under full droop. This also helps keep the tire in contact with the road surface.
With helper springs in place, we could now adjust ride height via the lower spring perches, just as you would with a traditional, solid-body coil-over, and then use body length adjustment to dial in bump travel. Attention must be paid to minimum thread engagement on the damper body, however. In our case, we still had to run a small spacer even with the body length maxed out, but we got back most of our droop travel.
With our basic ride heights and suspension travel sorted, the car was now ready for final corner weighting and an alignment check.


 Photography Credit: Chris Tropea


