In reply to Trent :
The lower a-arms on the Saleen S7 were made with a similar hammer forming technique. Of all the parts in the suspension that were on the watch list for failure, the lowers were never an issue. They were light and strong.
I have done a little hammer forming of fender vents and the like but never as big a piece as you made. Love it. The RS bend could have been closer to the crank pulley. That might be what looks off to you.
That is quite impressive work!

Trent
PowerDork
10/13/23 7:06 p.m.
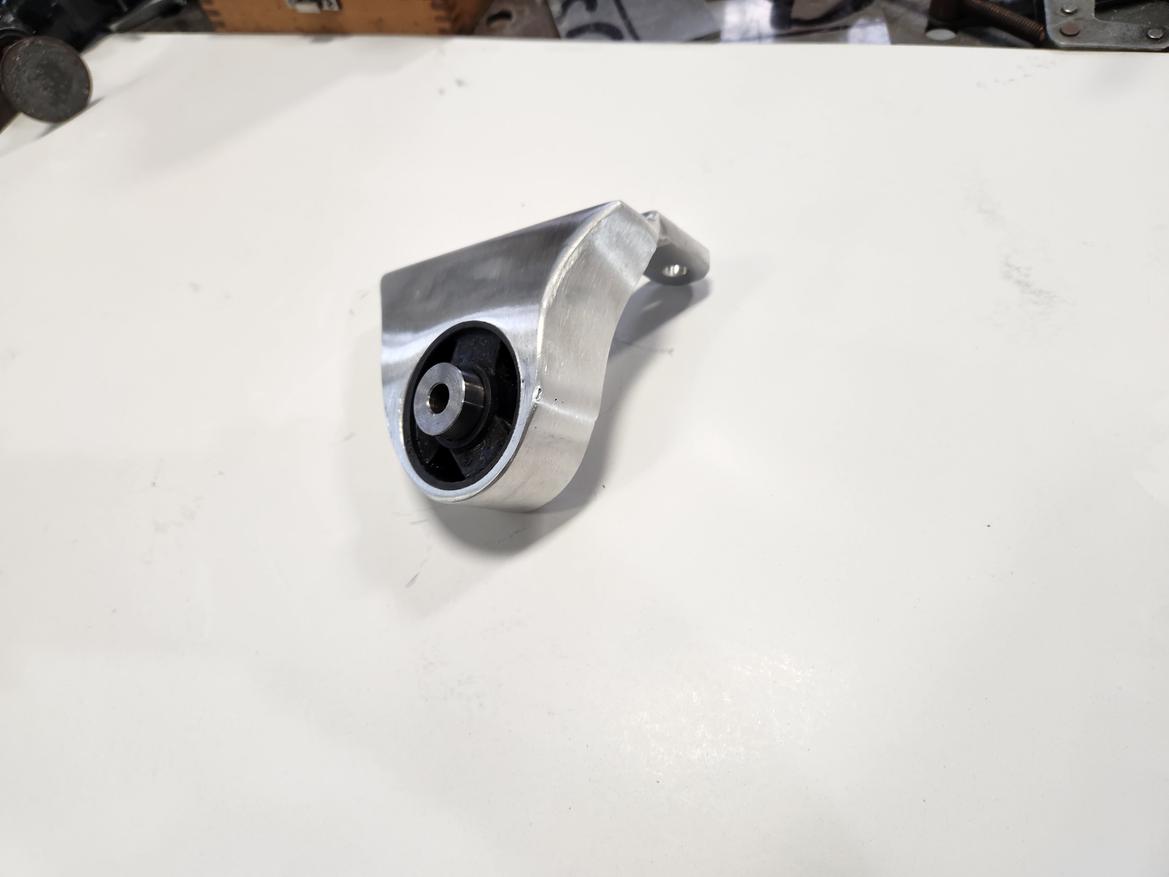
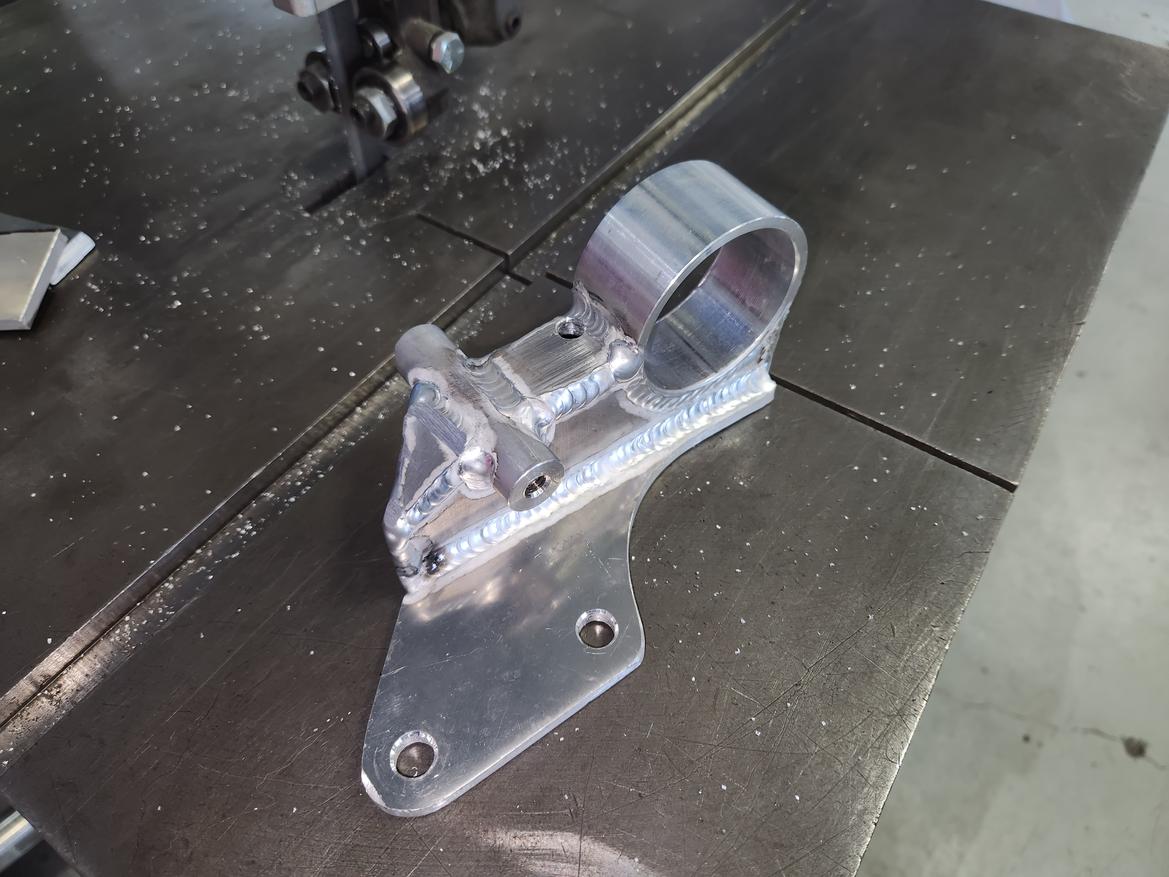
First motor mount done!
I actually bought a piece of metal for this.
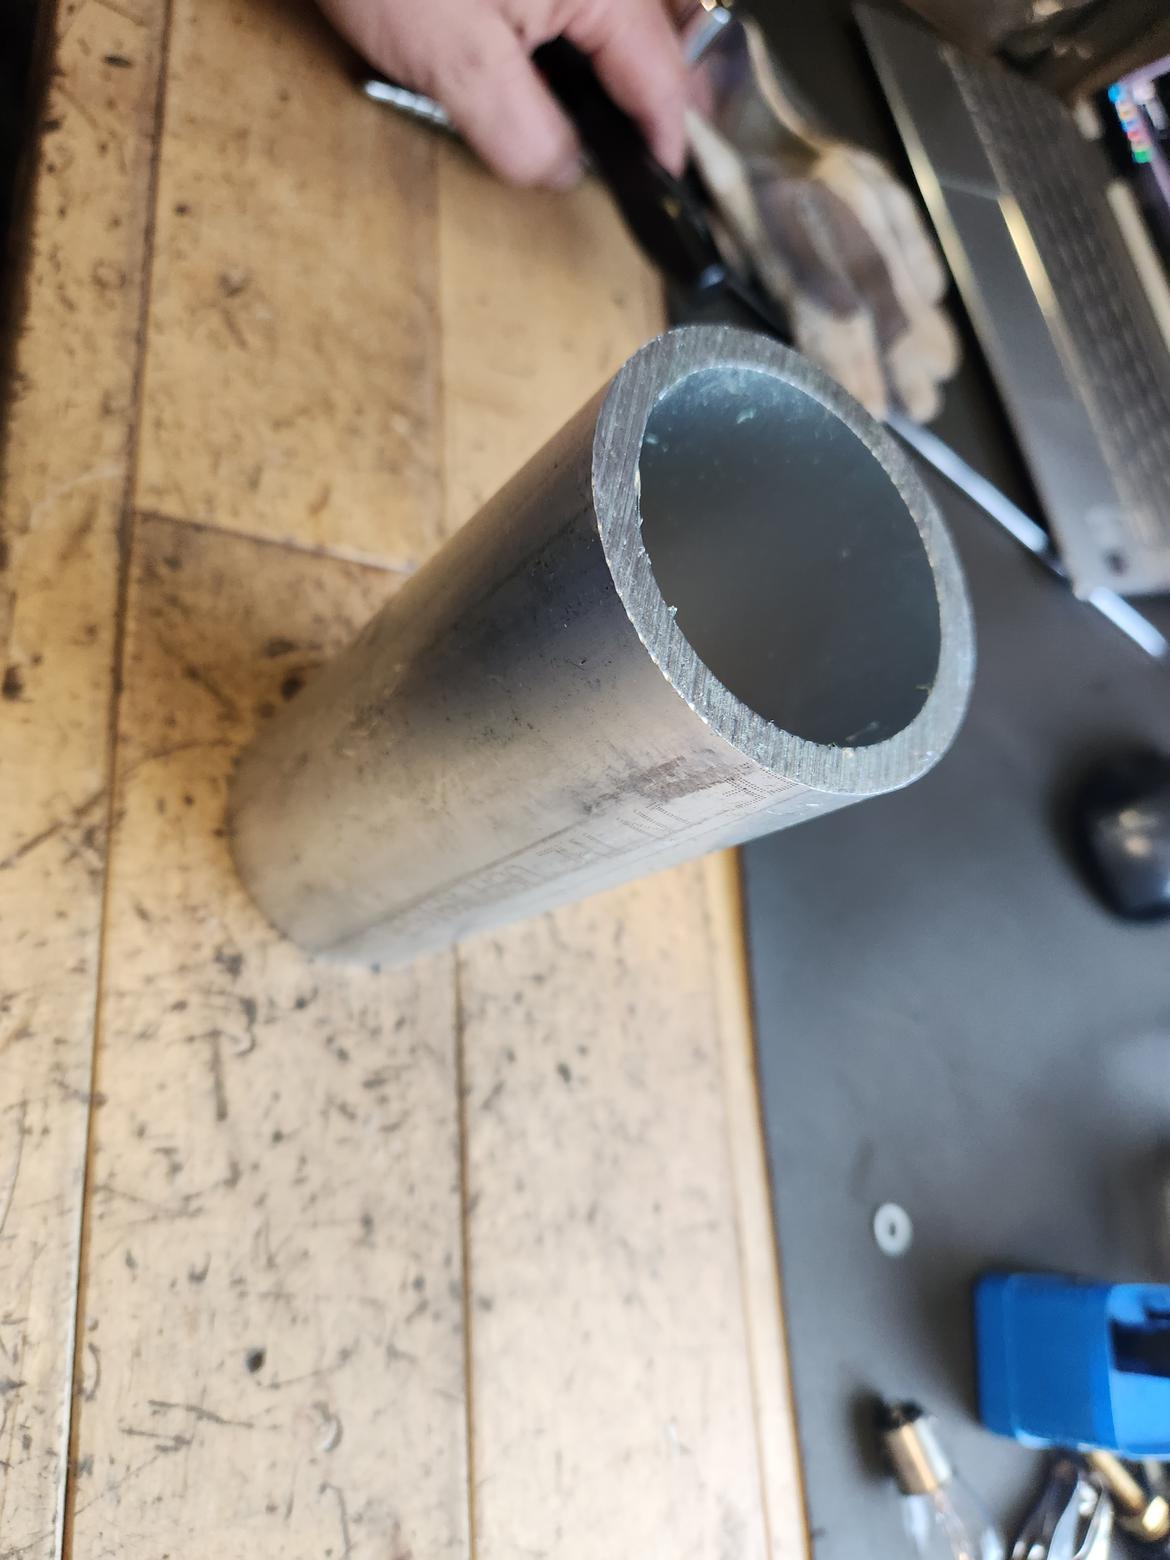
A few minutes at the lathe and I had two rings

And I am sure there are plenty of reasons why one shouldn't make a fabricated aluminum mounts but I am doing it anyway.
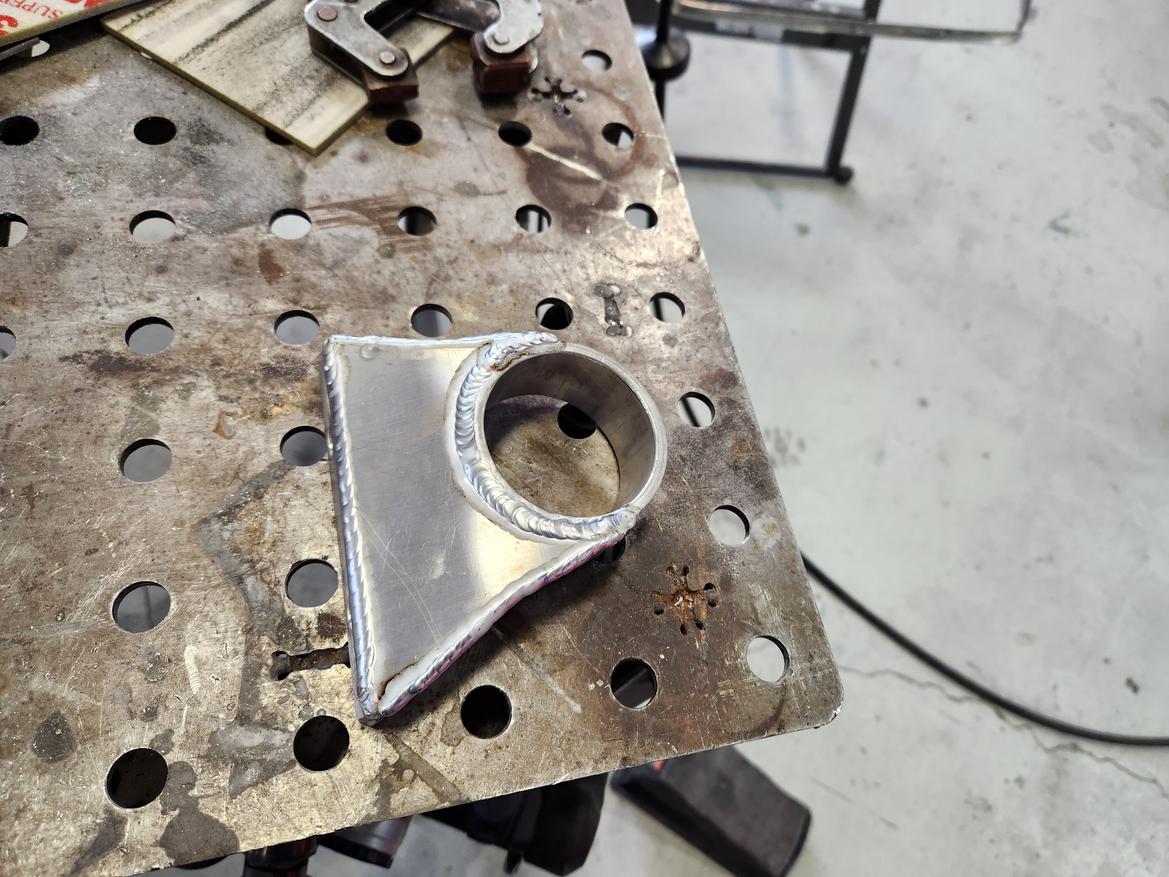
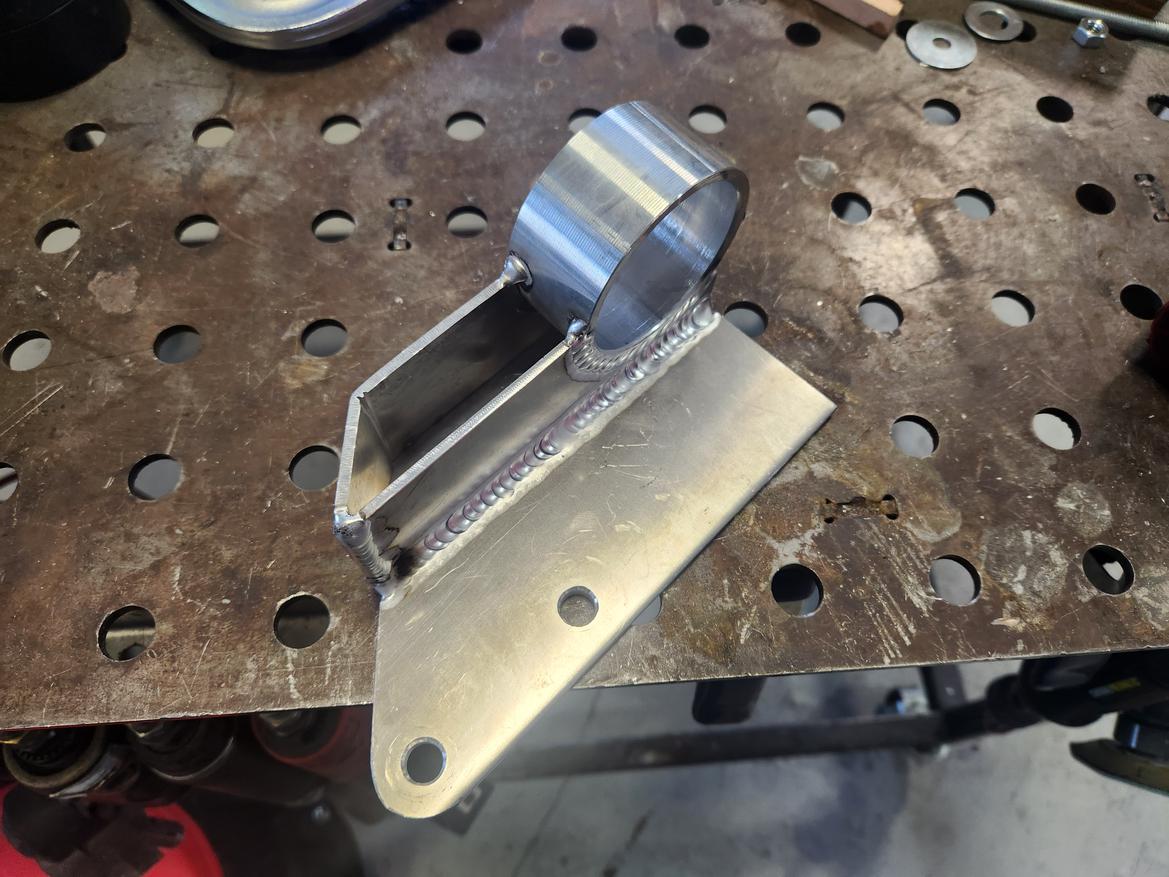
And I decided (correctly) to smooth out the welds. The bushing is actually an E30 control arm bushing. They are nicely sized and inexpensive. Not the Jag part I was planning on but I like this solution better
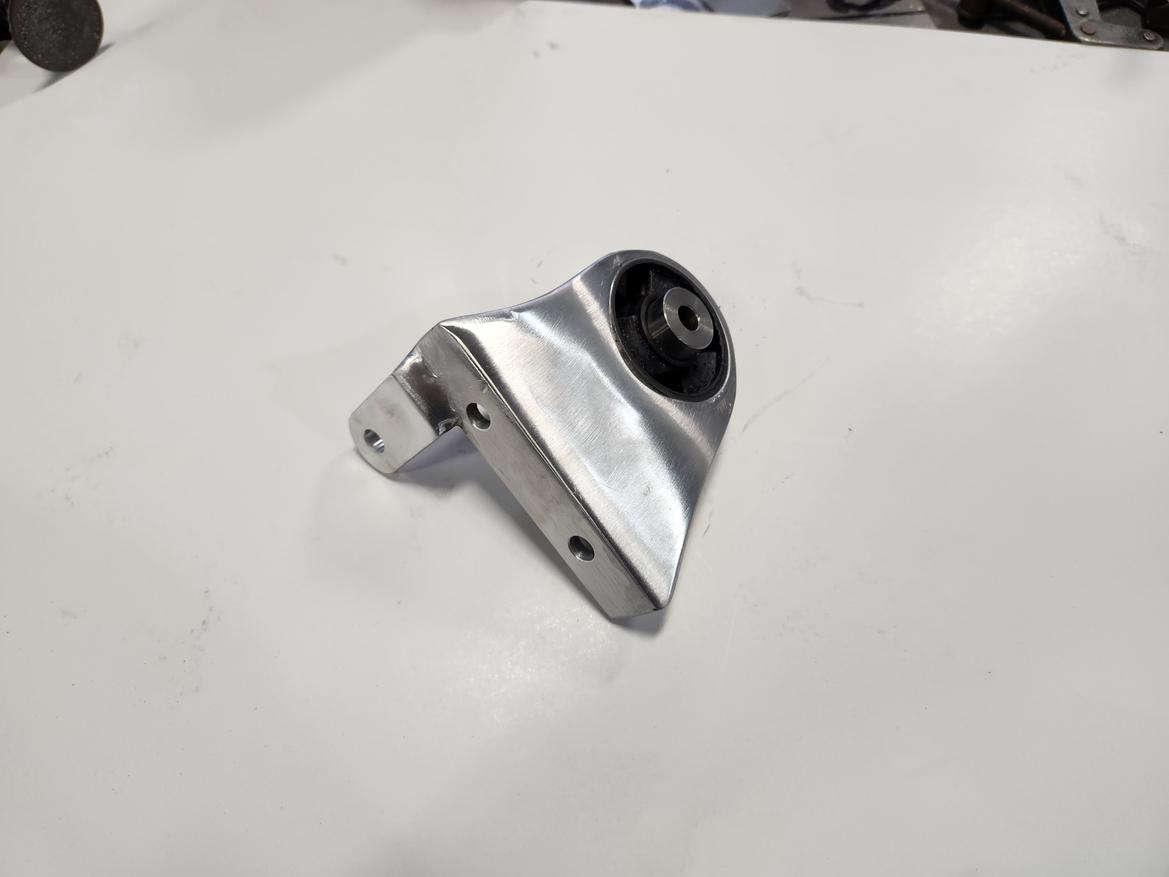
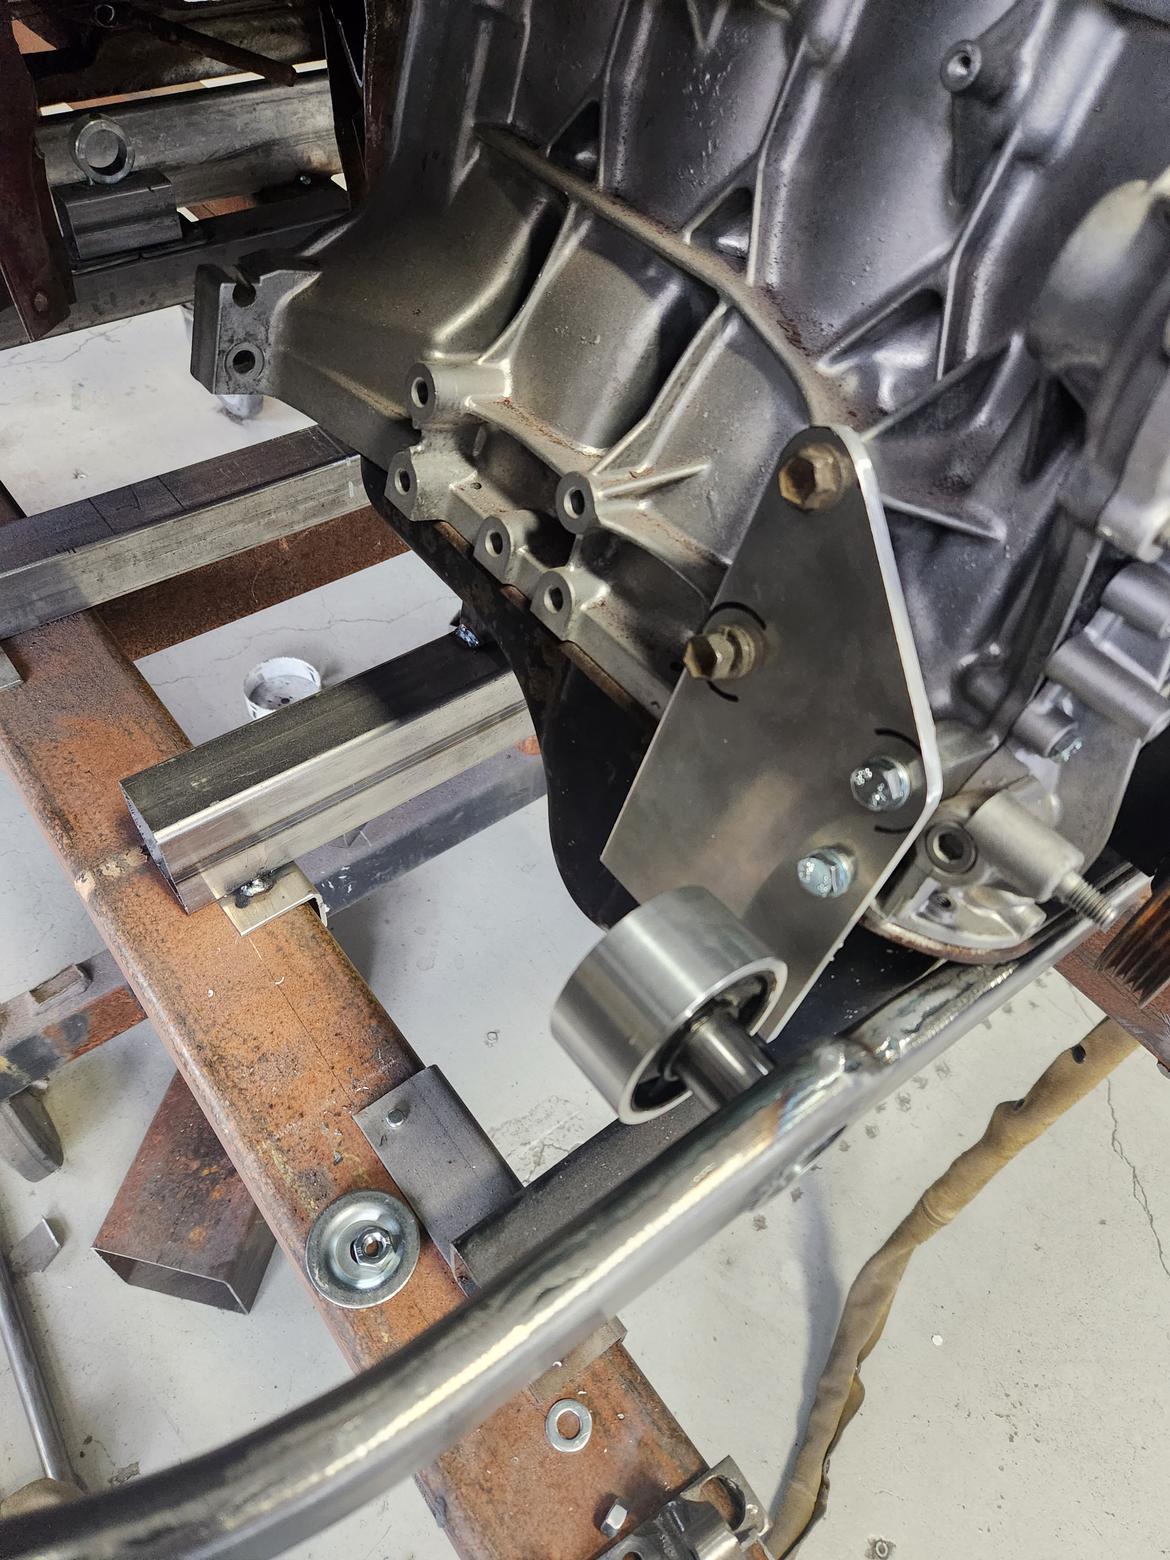
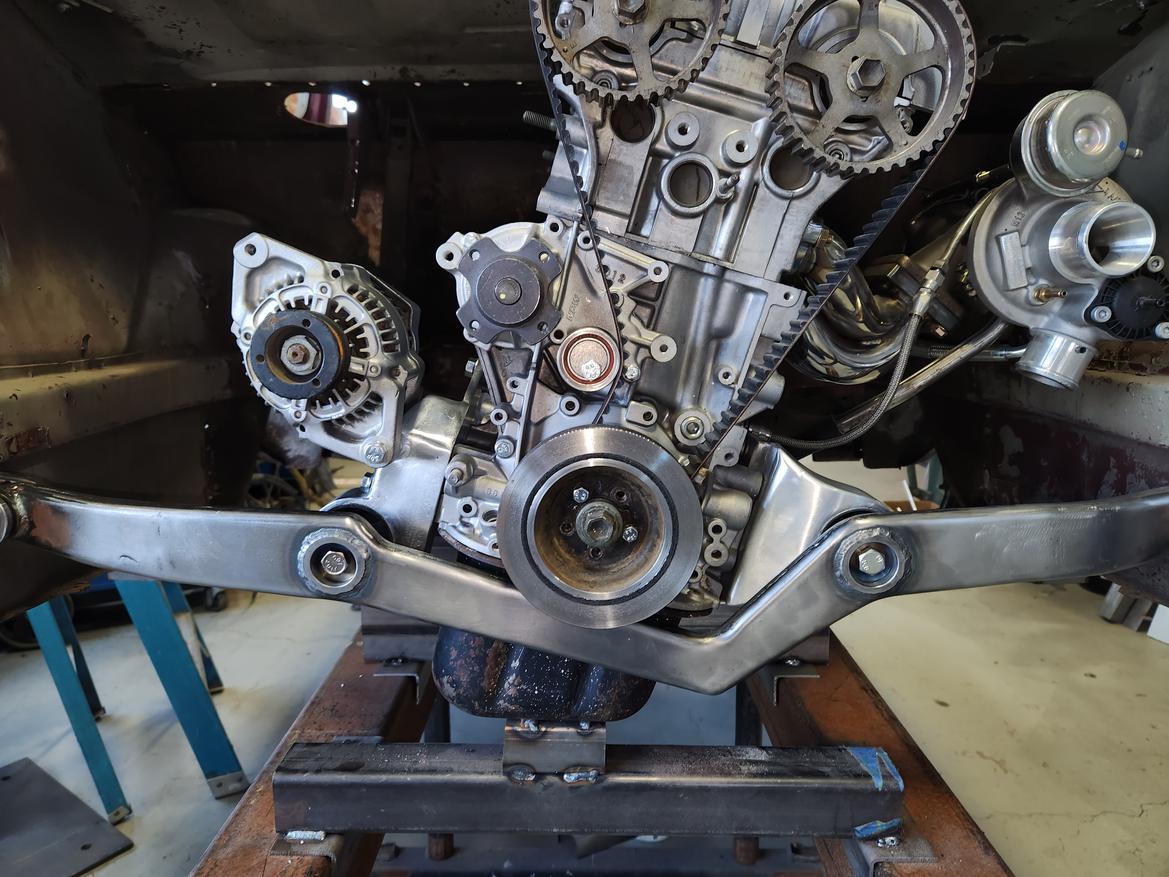
And installed
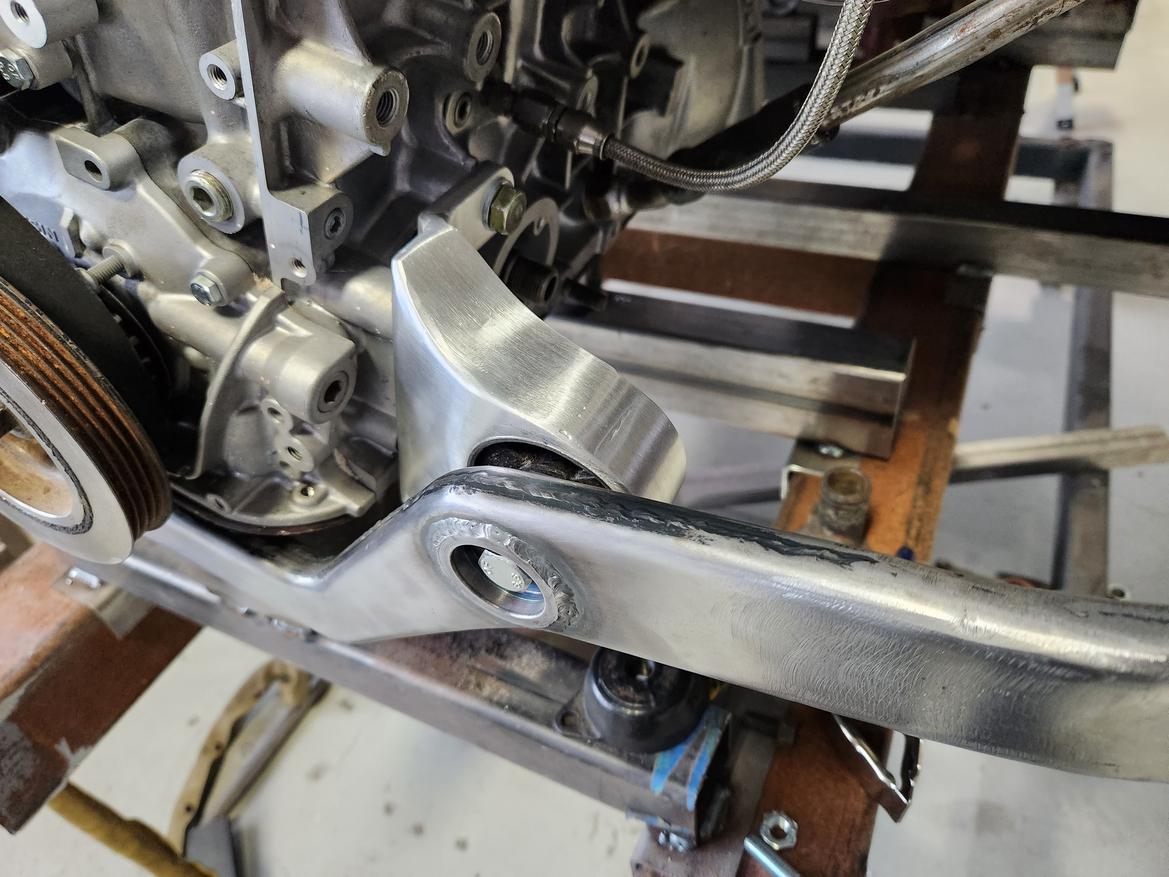
I like it. Simple and very lightweight. It ties in the shape of the crossmember to the motor.
Next up the other side. It will be more complicated as the bushing holder will have to include the alternator mount boss as well
Trent
PowerDork
10/14/23 8:17 p.m.
I had a spare half hour this morning and spent some time on the left side mount.
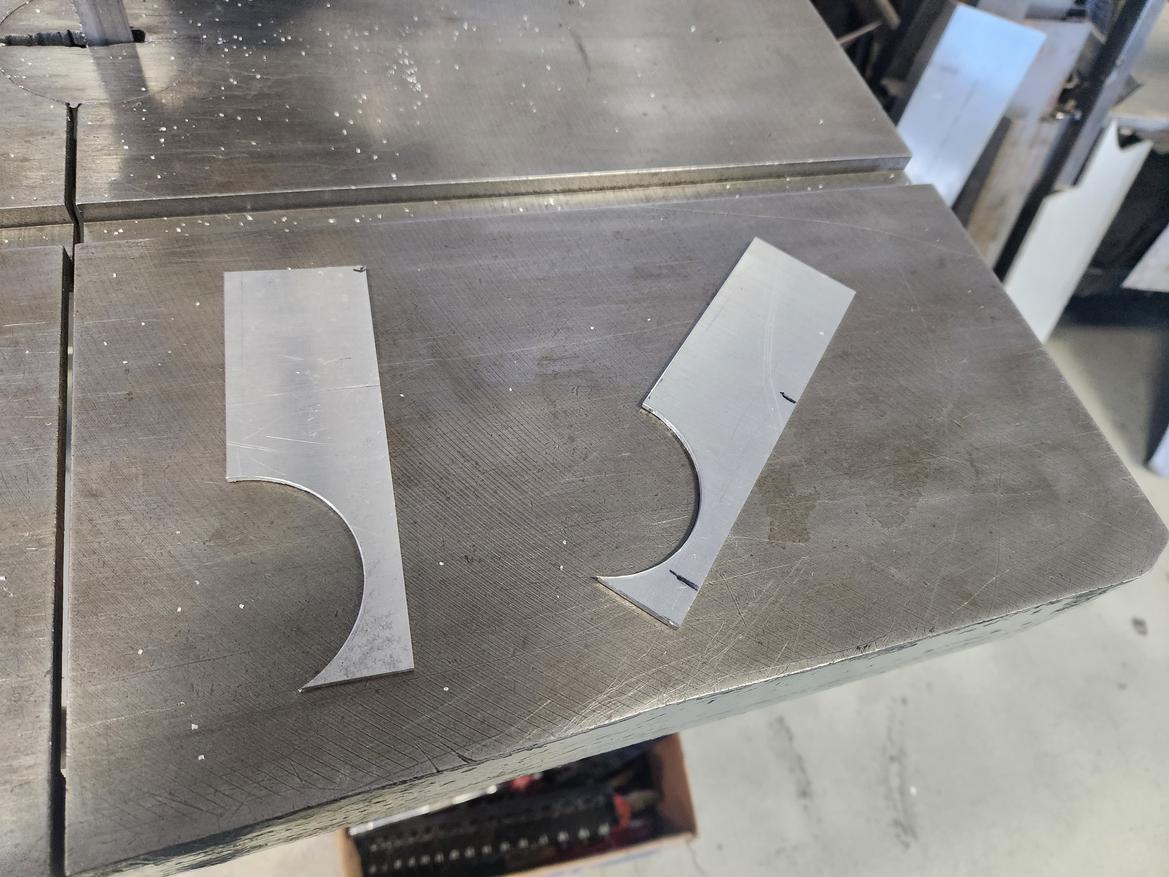
Chunk 'o' quarter inch plate

Drilled with as much precision as I could muster on a lazy saturday
sometime on the bandsaw and belt sander and then on the block
This will actually be a fair bit less complicated than I imagined. A few pieces to draw and machine early next week and I should be good to go
Trent
PowerDork
10/18/23 12:08 a.m.
Couple pieces of 1/8" plate
In situ for tacking
Little welding
And the alternator mount rod in place and all plated over.
I plan on smoothing it over like the other side.
Trent
PowerDork
10/18/23 6:47 p.m.
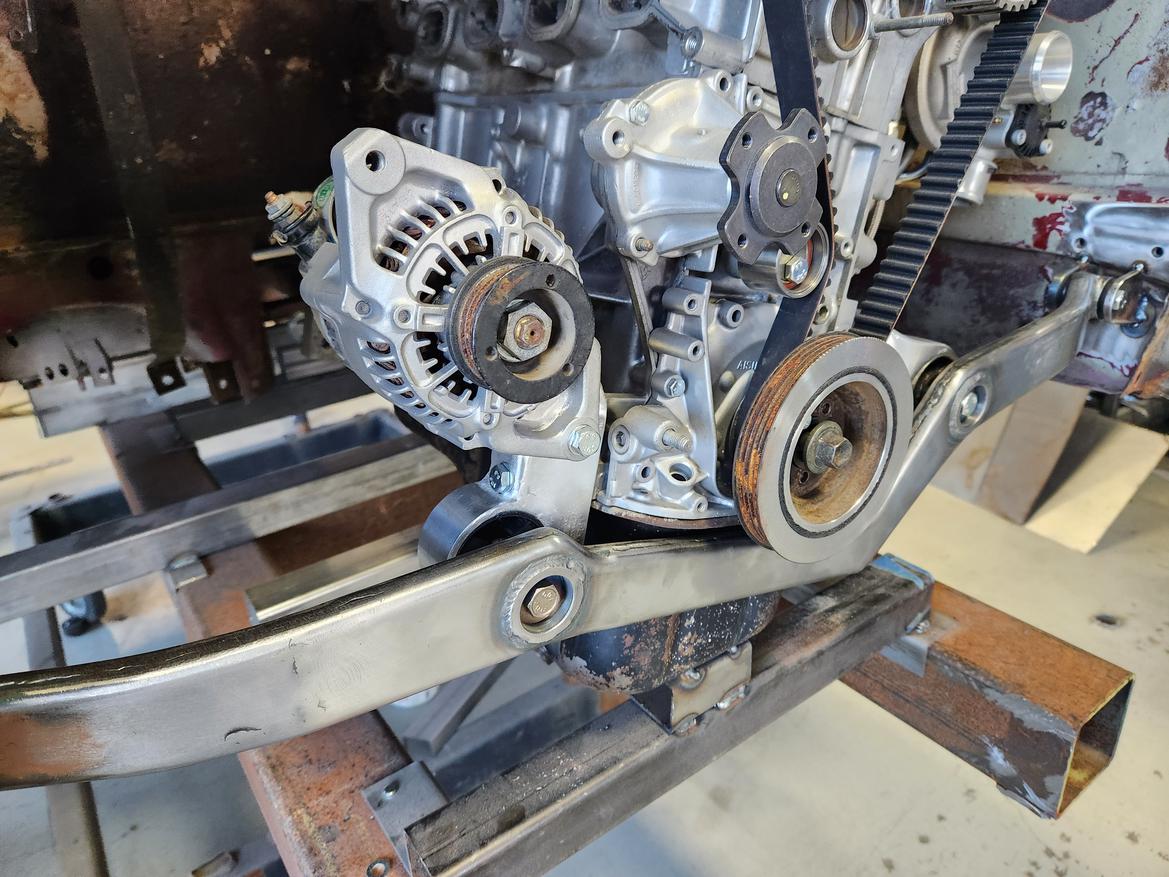
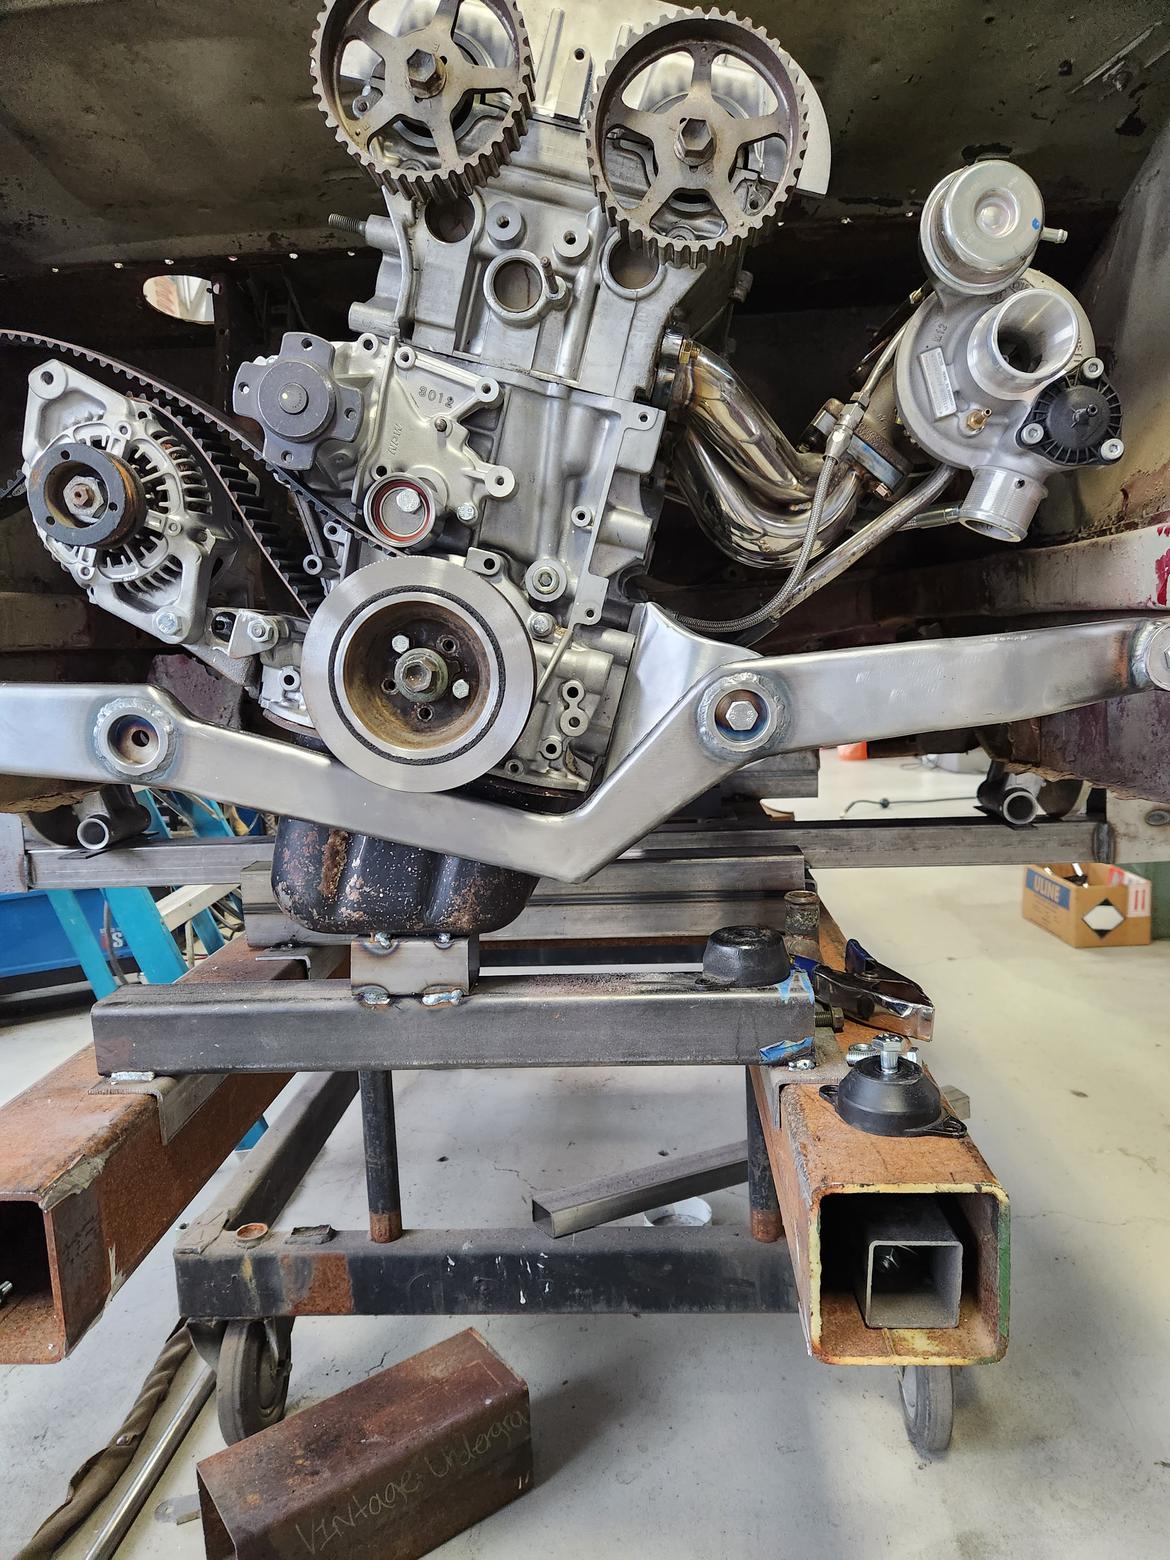
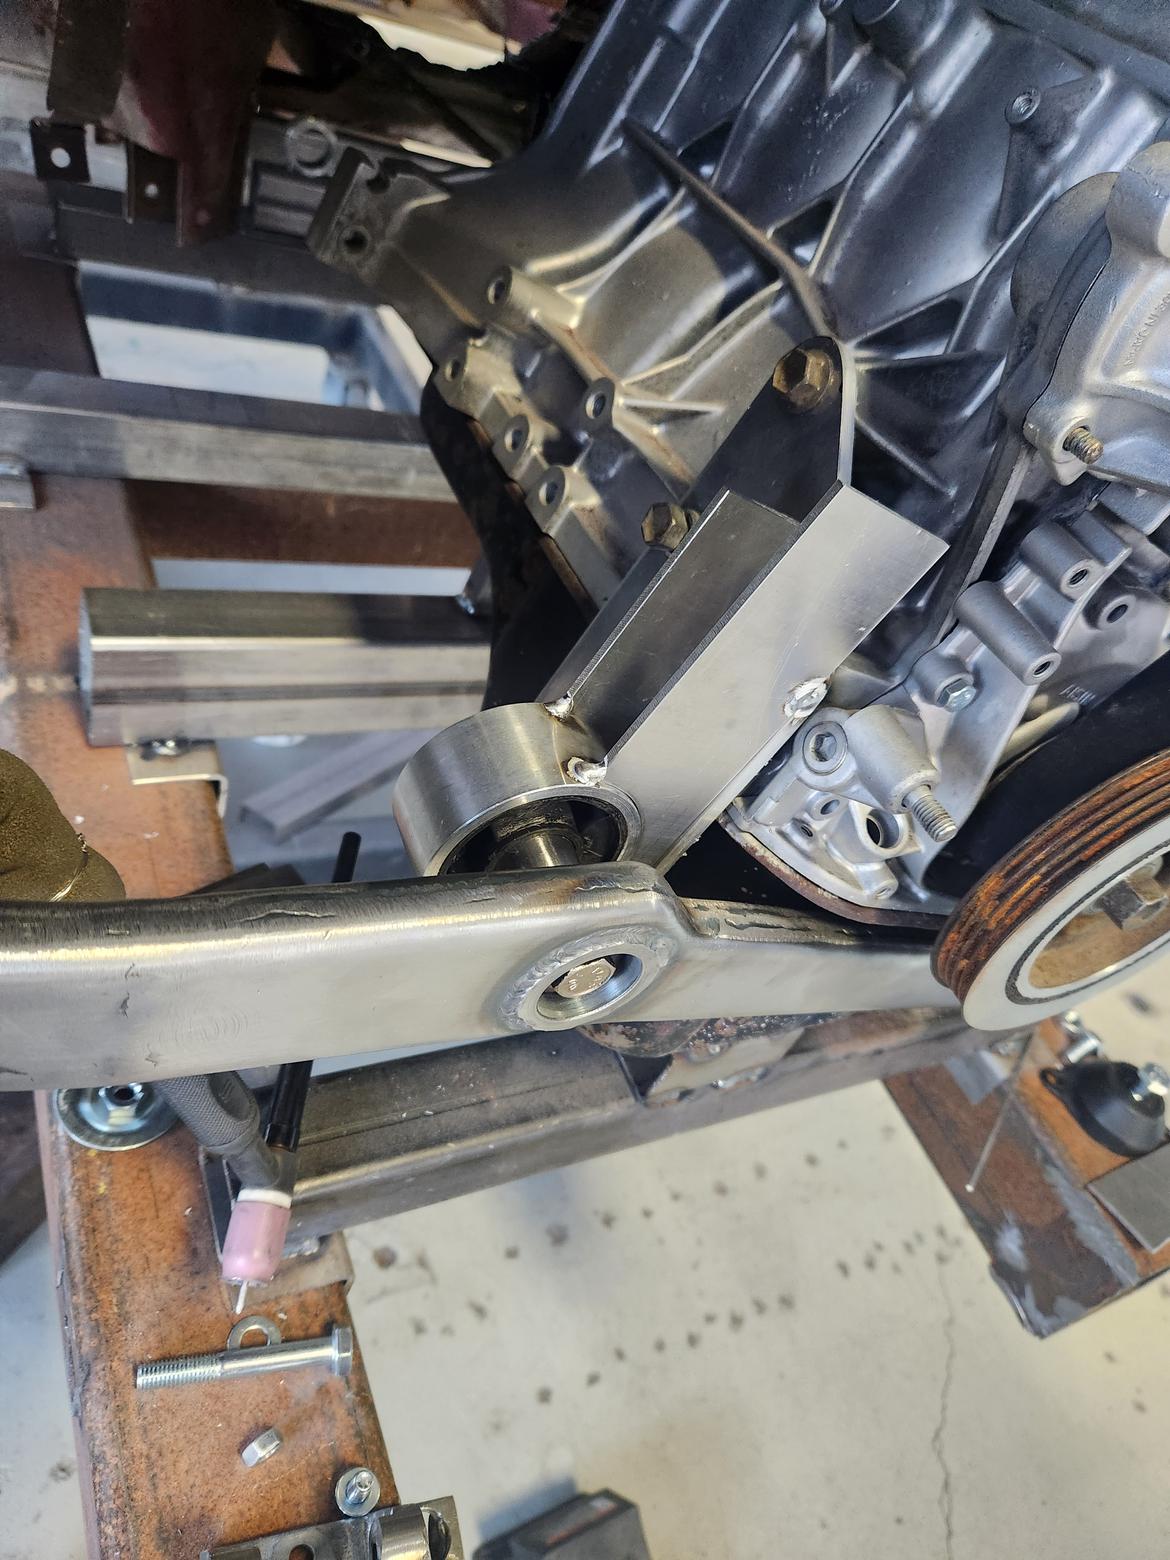
Second mount done and installed. It is OK. I'm not in love with it but I don't hate it. I might mod a few pieces when I remove it for final finishing. It does however weigh less than the original cast iron alternator mount it replaced.
I like your mounting scheme alot. It'll be interesting to see the durability of the aluminum mounts once its up and running. Beautiful work, carry on.
These are great working prototypes while you make some patterns and have blanks made in sand cast aluminum for replacement when required/cosmetically desired.
Just found this thread. I have three words for this build: wow, wow, and WOW. Beautiful work. Love this project.
Trent
PowerDork
10/20/23 5:17 p.m.
To quote Click and Clack:
"There are so many ways you can almost fix this!"
Trent
PowerDork
10/20/23 6:15 p.m.
Backing up a bit
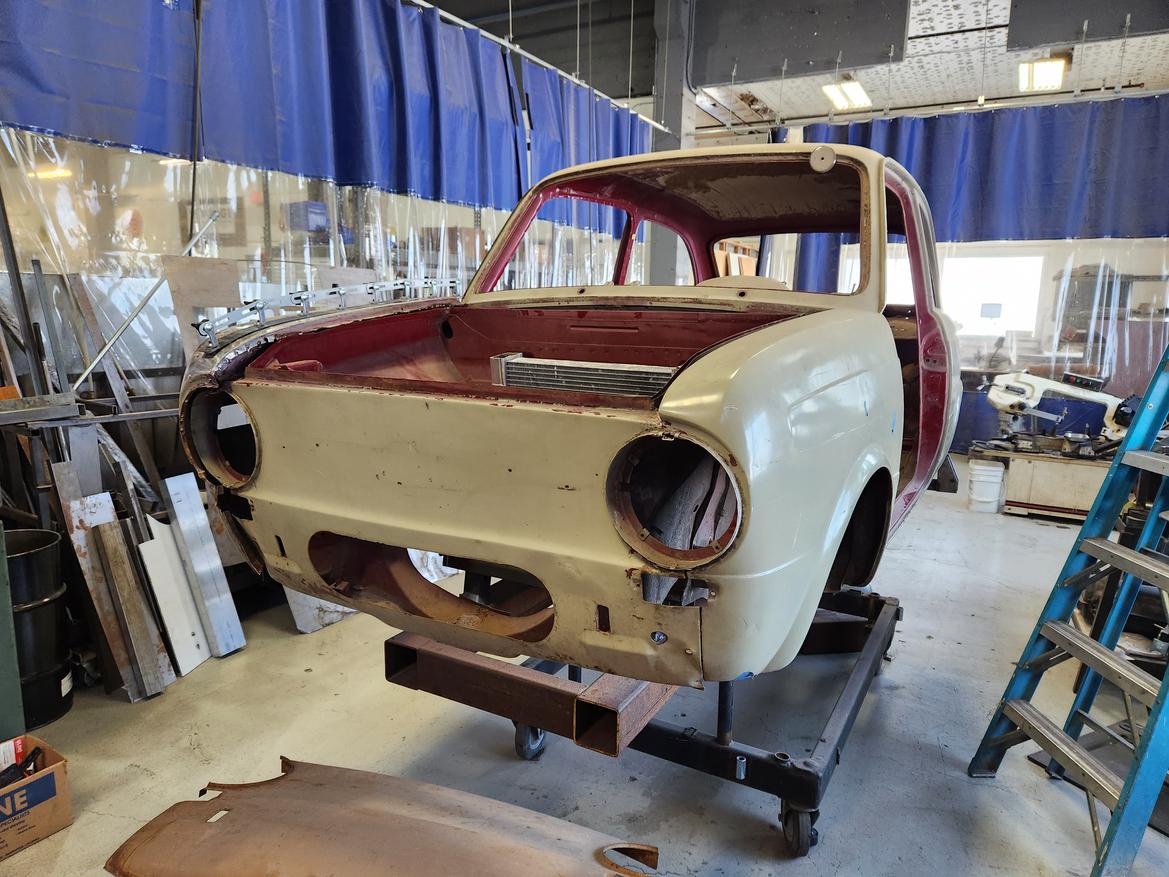
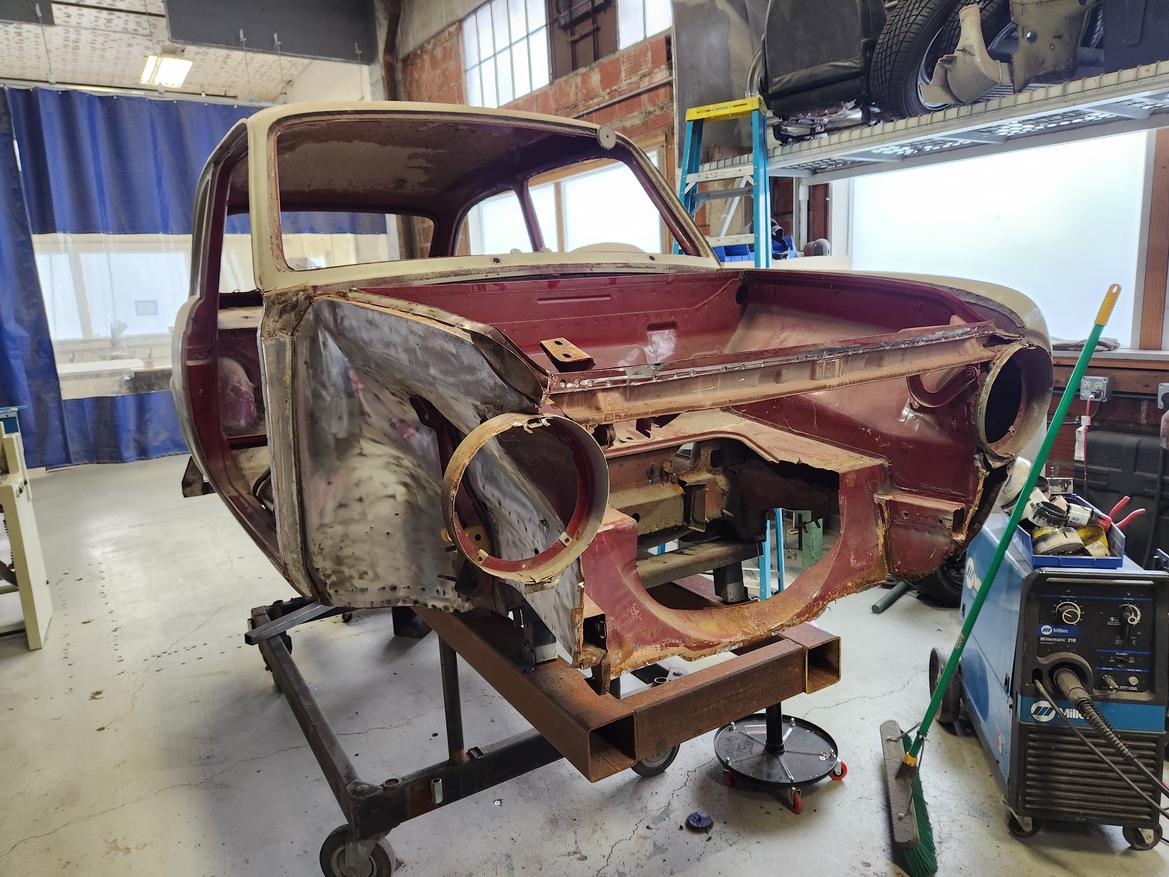
I suppose the next step is to make some sense out of the "frunk" area
I have a new skin, there is rust, the radiator hole I cut forever ago was too large.
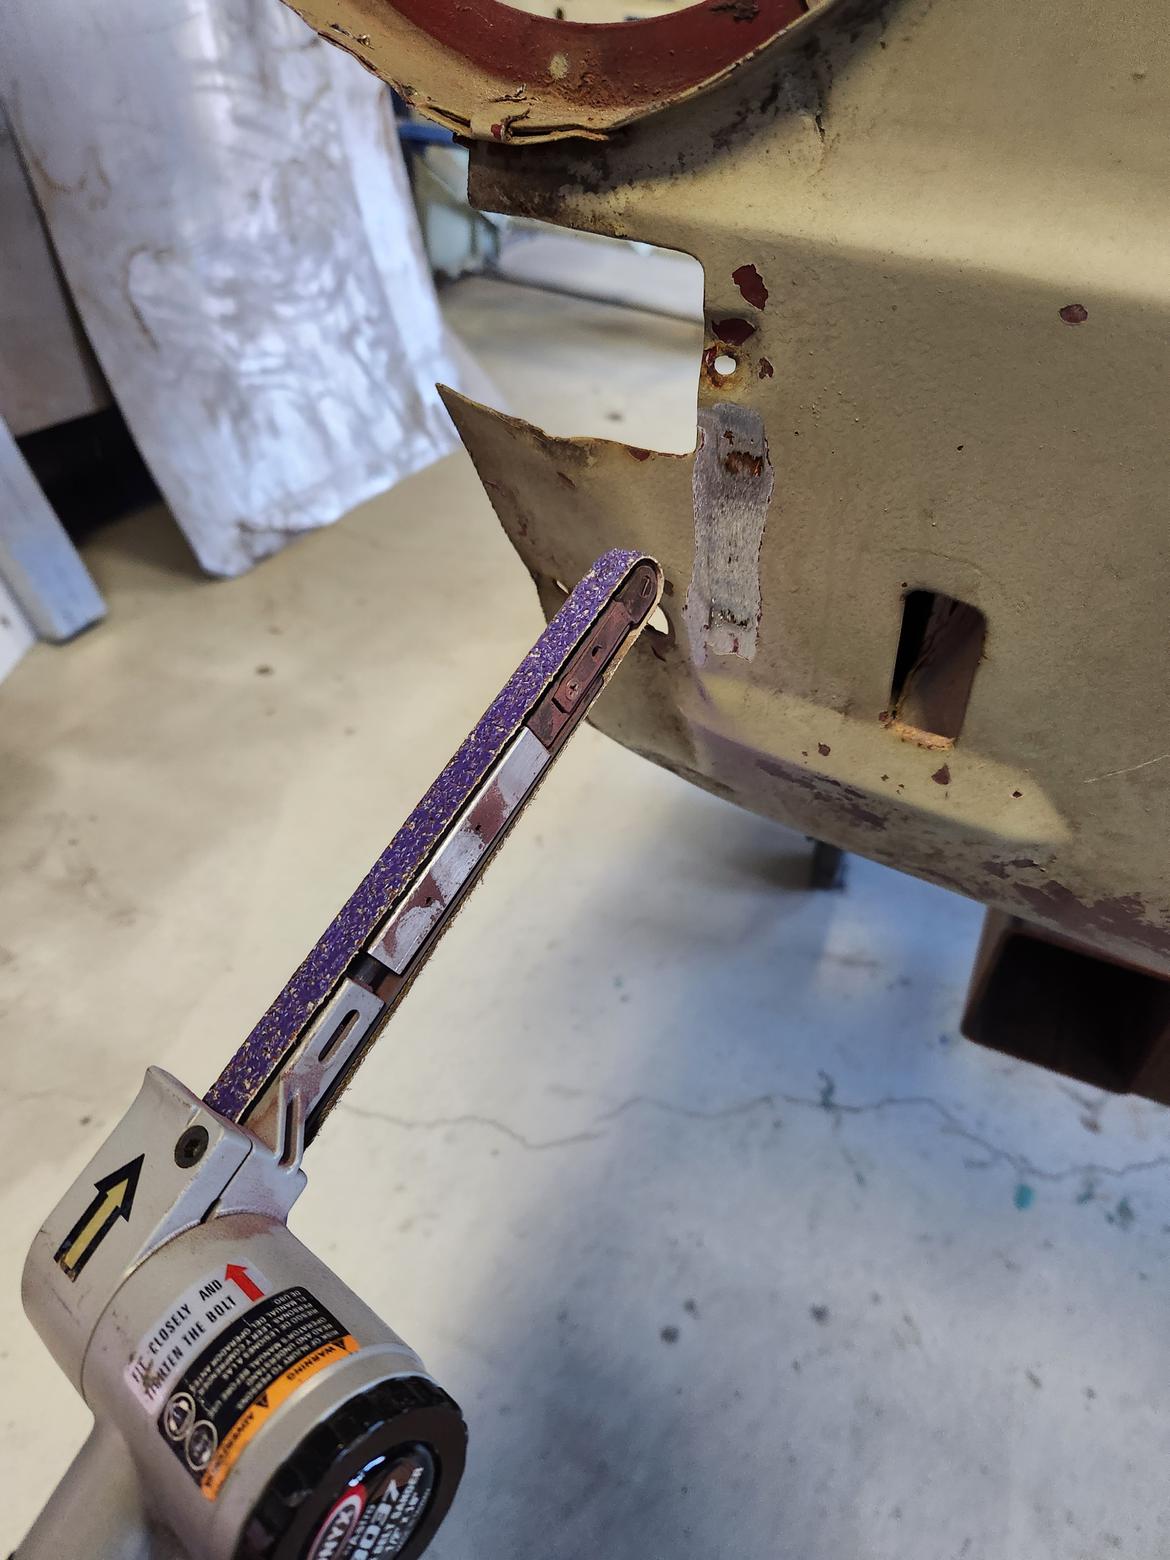
Started deleting spot welds with the trusty belt sander with a 36 grit.
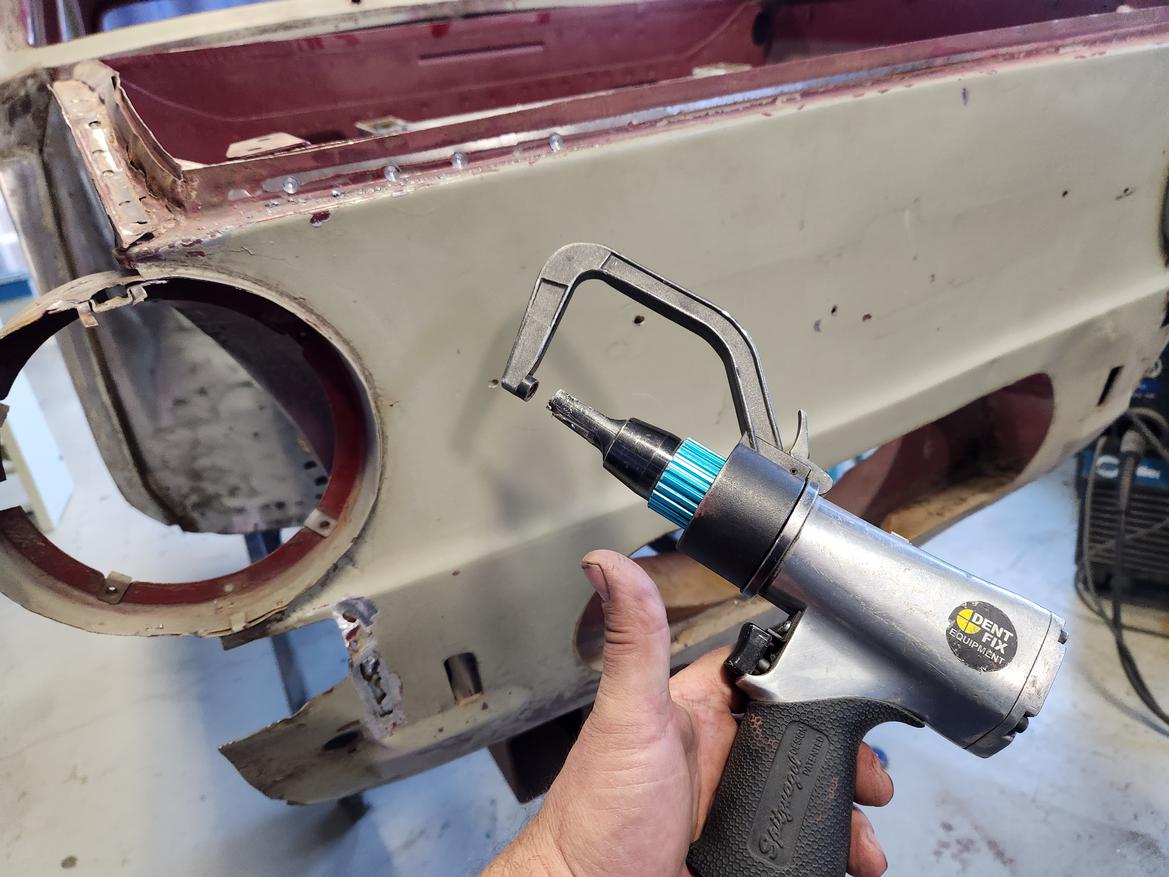
Then I realized I was being a dummy and borrowed the "real" tool. Holy moly guys! these things rock!
Cut the the pic above
Anyway. Now I get to deal with the mess past Trent left for present Trent. Luckily that panel is also the rust I have to address.
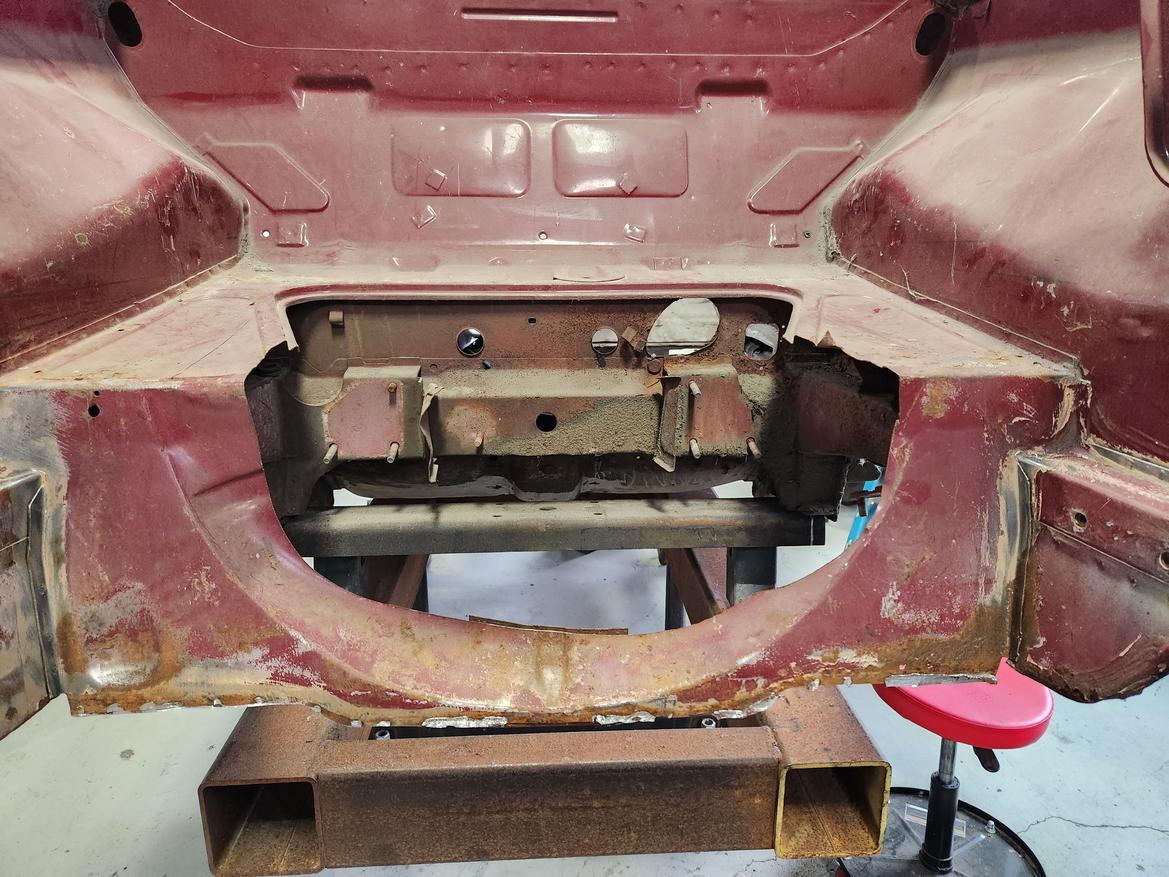
Well over a decade ago I hacked out the spare tire well and battery box to stuff a Civic "halfie" Radiator on its side in there. Never even mounted it, it just sat in there.
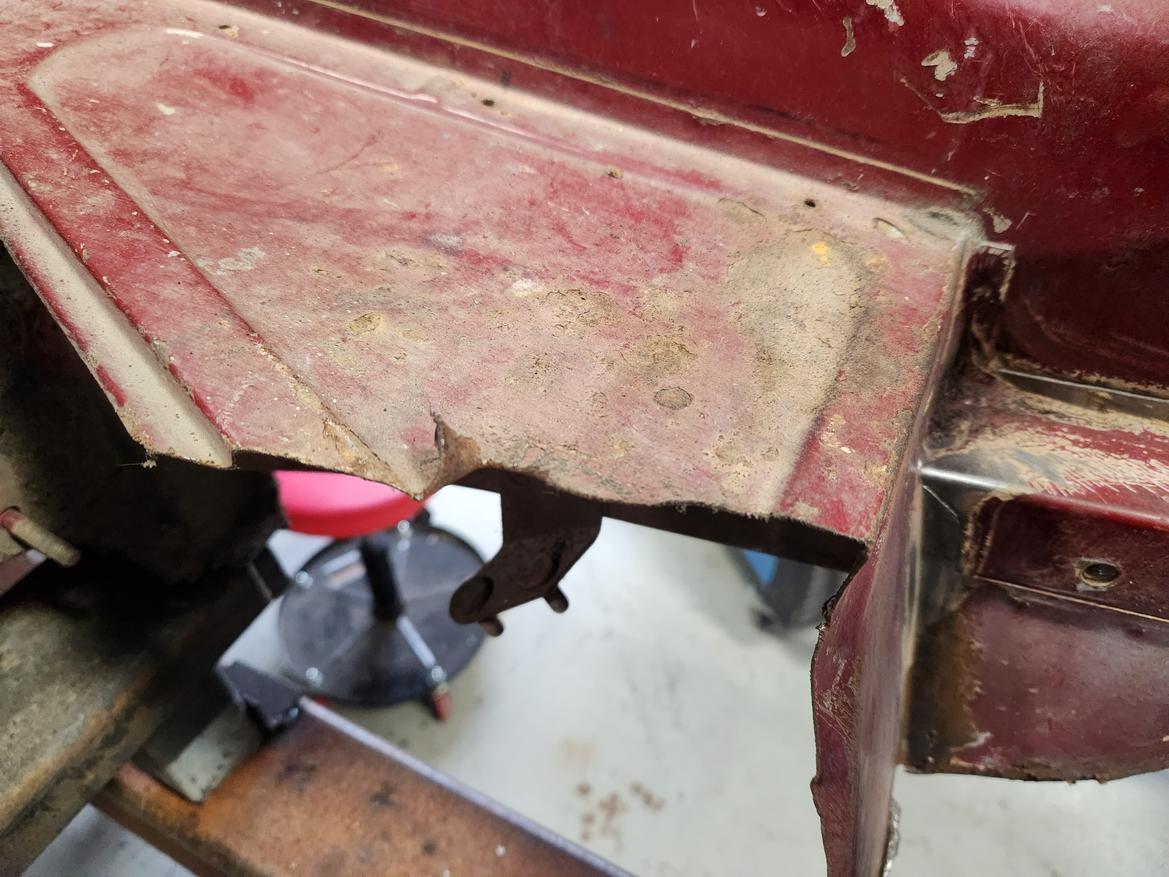
Look at that deadly edge! That is some quality work there champ!
I guess that is what happens when you are radically modding your daily on the evenings and weekends.
Anyway. The plan:
replace most of this panel. Add radiator mounts and a duct for the air to exit underneath the car. If at all possible a new battery box behind it.
For the radiator I am starting with this AFCO unit I have been holding onto for years

It is in good shape, pressure tests good but pretty much wrong in every other way. What it does have going for it is that AFCO rads are SOLID, Beefy things
Re the cooling system :
Anyway. The plan: replace most of this panel. Add radiator mounts and a duct for the air to exit underneath the car. If at all possible a new battery box behind it.
Why not through the bonnet a la Ford GT 40 ? Keeps hot air out from underneath and FWIW I think it would look pretty cool ...
Stunning thread, I'm in envy of your fabrication skills 
Why am I not hammer-forming? I should be hammer-forming.
BTW, nice annular cutters.
Trent
PowerDork
10/20/23 7:30 p.m.
RichardNZ said:
Why not through the bonnet a la Ford GT 40 ? Keeps hot air out from underneath and FWIW I think it would look pretty cool ...
I am shooting for a pretty "stock like" look. Sort of sleeper status.
But also, I remember driving with the hood cracked open once and the heat from the radiator poured into the cowl vent which ran straight into the cabin.
It sucked.
But yeah, vented through the hood could be awesome
Trent
PowerDork
10/20/23 7:33 p.m.
TVR Scott said:
Why am I not hammer-forming? I should be hammer-forming.
BTW, nice annular cutters.
It is fun and rewarding. I recommend giving it a go.
Then you can wonder why you are sore a few days later like I did.
Trent
PowerDork
10/23/23 11:50 a.m.
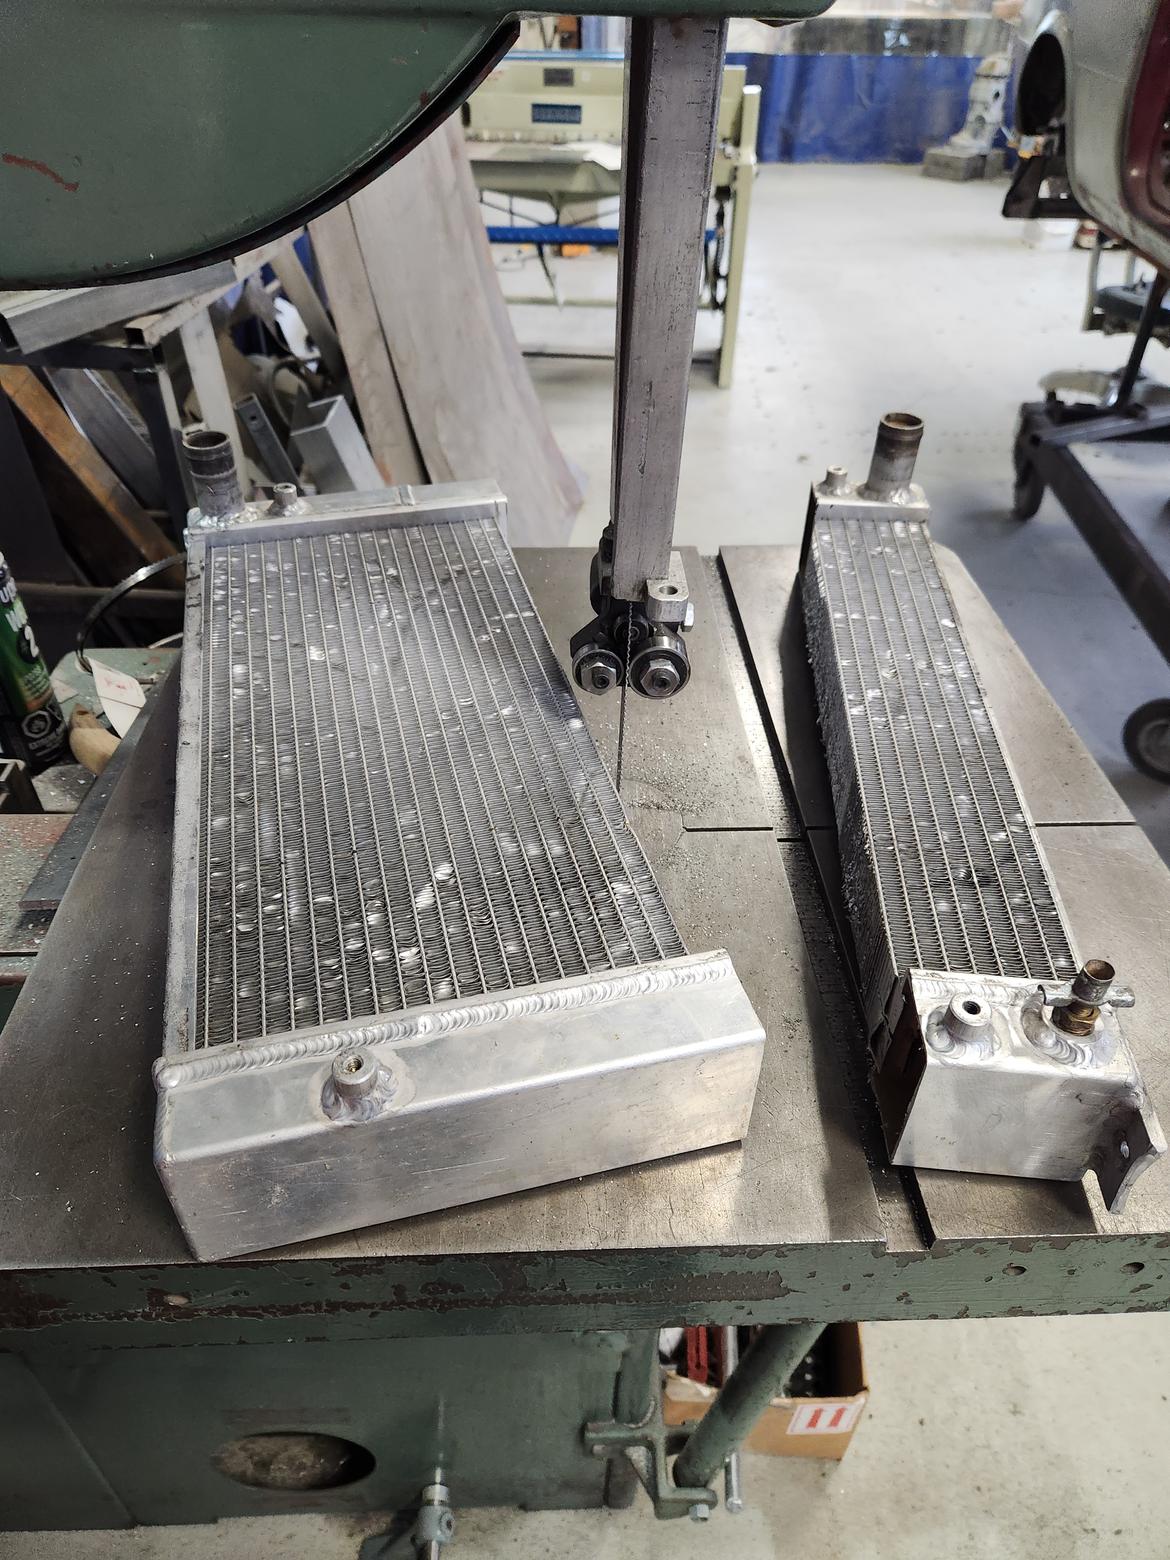
That is a bit closer to the size I require.
Cue the Doc Brown voice- "OEM parts? Where we're going, we don't need OEM parts..."

Thomas
New Reader
10/23/23 4:12 p.m.
This is some really nice fabrication work. I can't imagine what you would charge a customer for this (particularly that engine mount arm).
Related to that, I haven't realized I've never seen an aluminum engine mount. The only reason I can think of is aluminum's shorter fatigue life may make them shorter-lived than steel parts.
In reply to Thomas :
I see them all the time, though the OEM's are usually cast and not welded. My 91 Infiniti G20 has a cast aluminum top engine mount, later model Nissan Rouges and Altimas have aluminum upper and lower mounts. Come to think of it, so did my 96 Bonneville, and a cast dogbone mount so the V6 wouldn't torque over. The ones he fabricated are works of art, and at that thickness i don't believe he will run into any issues.
Trent
PowerDork
10/23/23 5:12 p.m.
Yeah, these welded alloy mounts might not work for long. It is a very light weight motor so perhaps I will get away with it. Worst case I have a sample of which I can base a second generation off of.
My '86 XR4Ti motor has aluminum mounts on it
Trent
PowerDork
11/1/23 5:56 p.m.
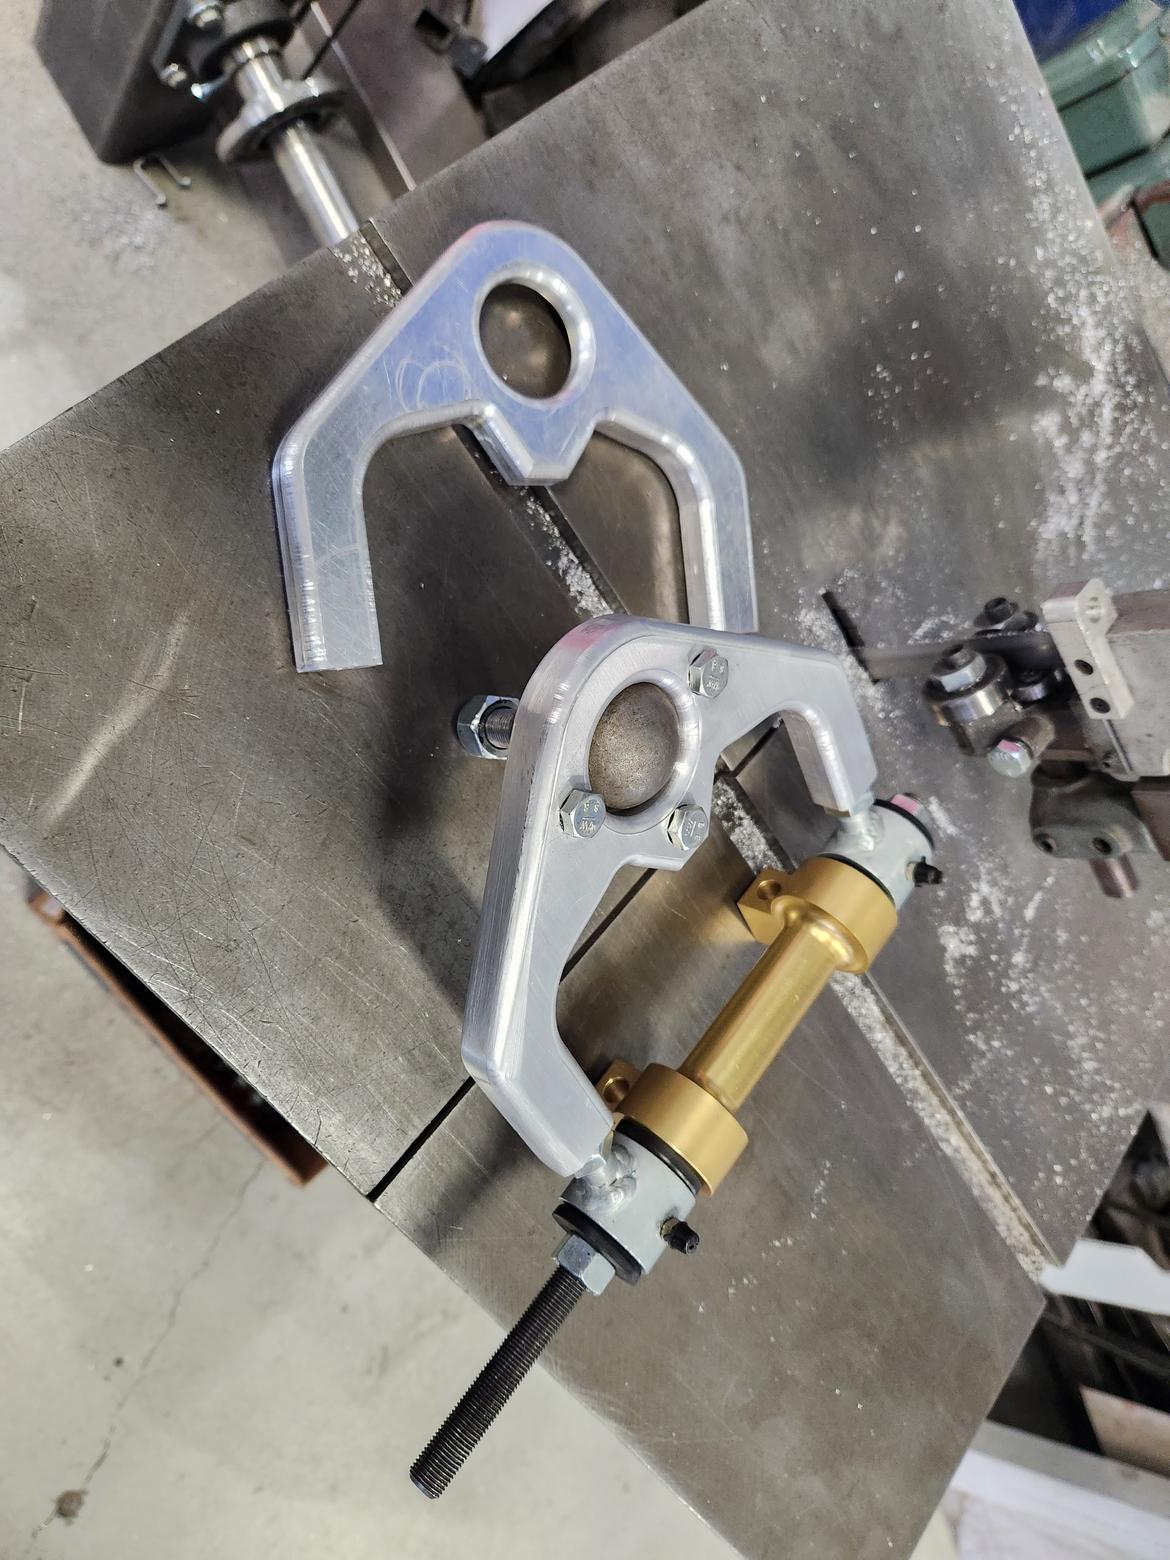
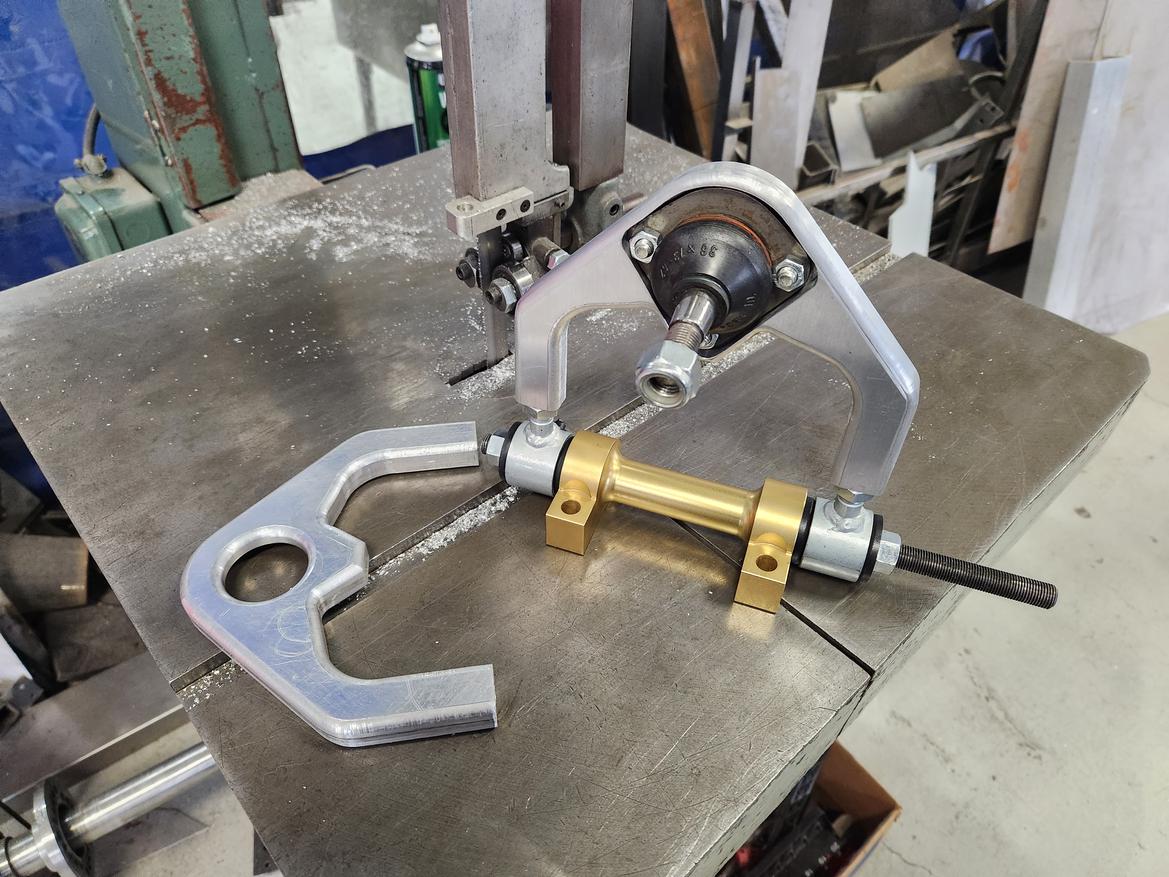
Back to good old fashioned subtractive manufacturing
This plate is one of 4 that are waste from an old EV battery module design we are no longer using so, pretty much trash
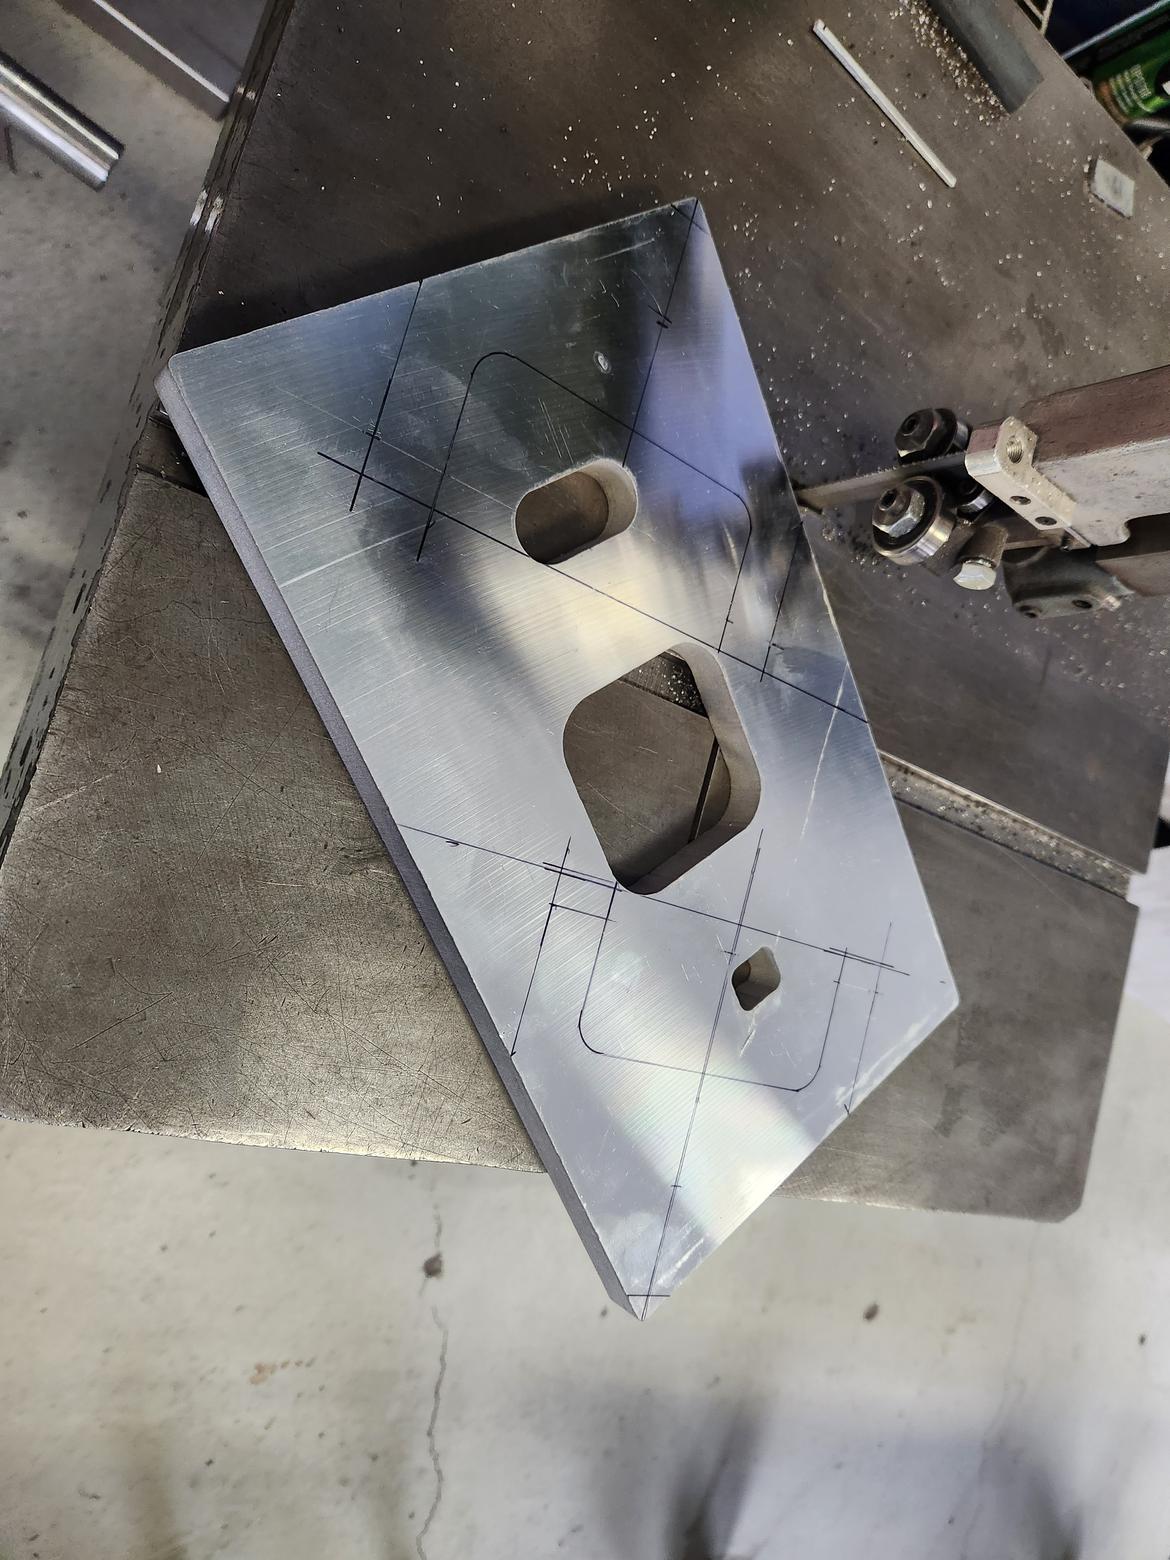
I spent a few hours trying to come up with a design that utilized the free material and was easily machined with a manual mill.
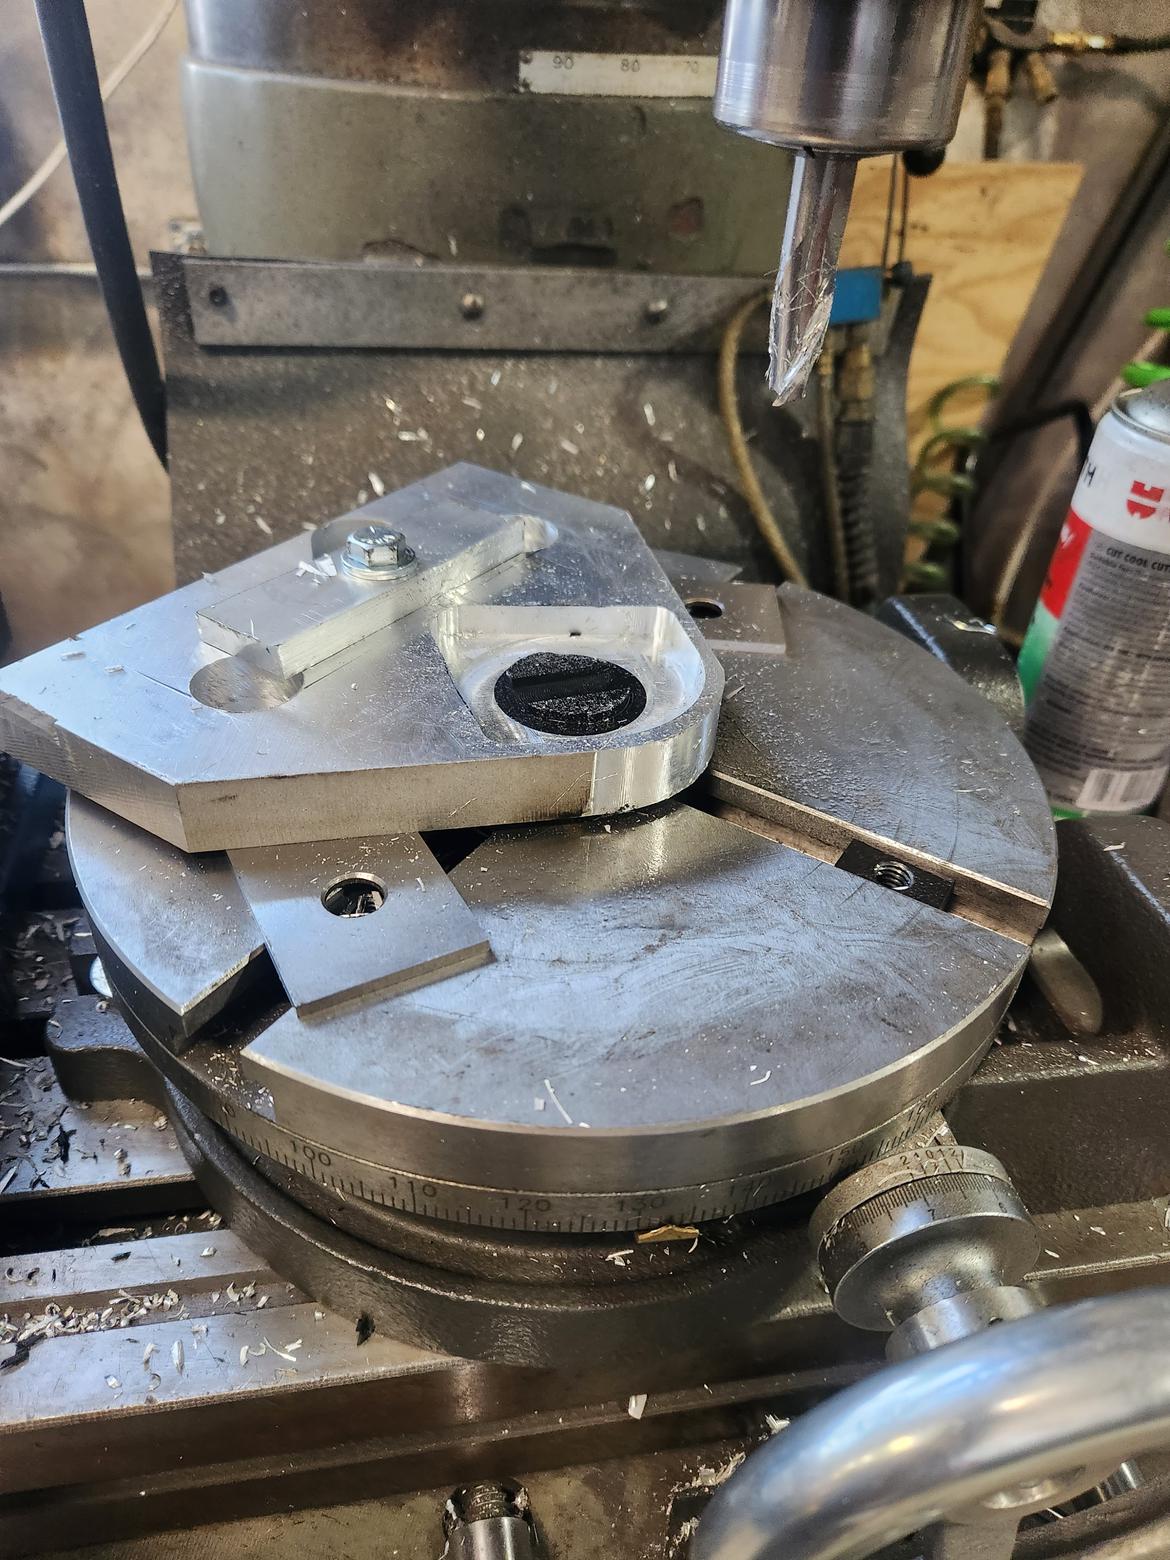
I probably should have spent more time looking for a better ball joint to work with, but the 124 ball joint was the easy button.

They still need some hand finishing work. Please disregard the stunt fasteners, the correct ones are on the way.
These are the front upper control arms BTW
What was the weight savings between aluminum and steel?